WARRANTY:
Treasure Garden warrants this product
(in residential use) to be free from defects
in original materials and workmanship for a
period of 1 year from the date of purchase.
If a defect in the original material or
workmanship appears during the warranty
period; Treasure Garden will (at its option)
repair or replace the product without
charge. Limited warranty against fabric
fading, depending on fabric grade.
Simply contact your original authorized
Treasure Garden dealer with a description
of the defect. The dealer will verify the
defect and work closely with Treasure
Garden to obtain the necessary service.
In many cases, simple problems can be
solved with a replacement part that can be
shipped directly to the dealer for
professional installation/repair.
In the event that warranted factory service
is required, Treasure Garden will assume
the responsibility of the return freight
charges on warranted product for the first
year only.
Returned product that (upon receipt and
inspection) is deemed to be “not covered”
under our warranty, will be shipped/billed
at your expense.
This warranty gives you specific legal rights,
and you may have other rights which vary
from state to state.
NOTE: Failure caused by unreasonable or
abusive use, or failure caused by neglect of
reasonable and necessary care are not
covered by this warranty.
Additionally, acts of nature (including but not
limited to wind, hurricanes, tornadoes, and
storms) are not covered by this warranty.
101
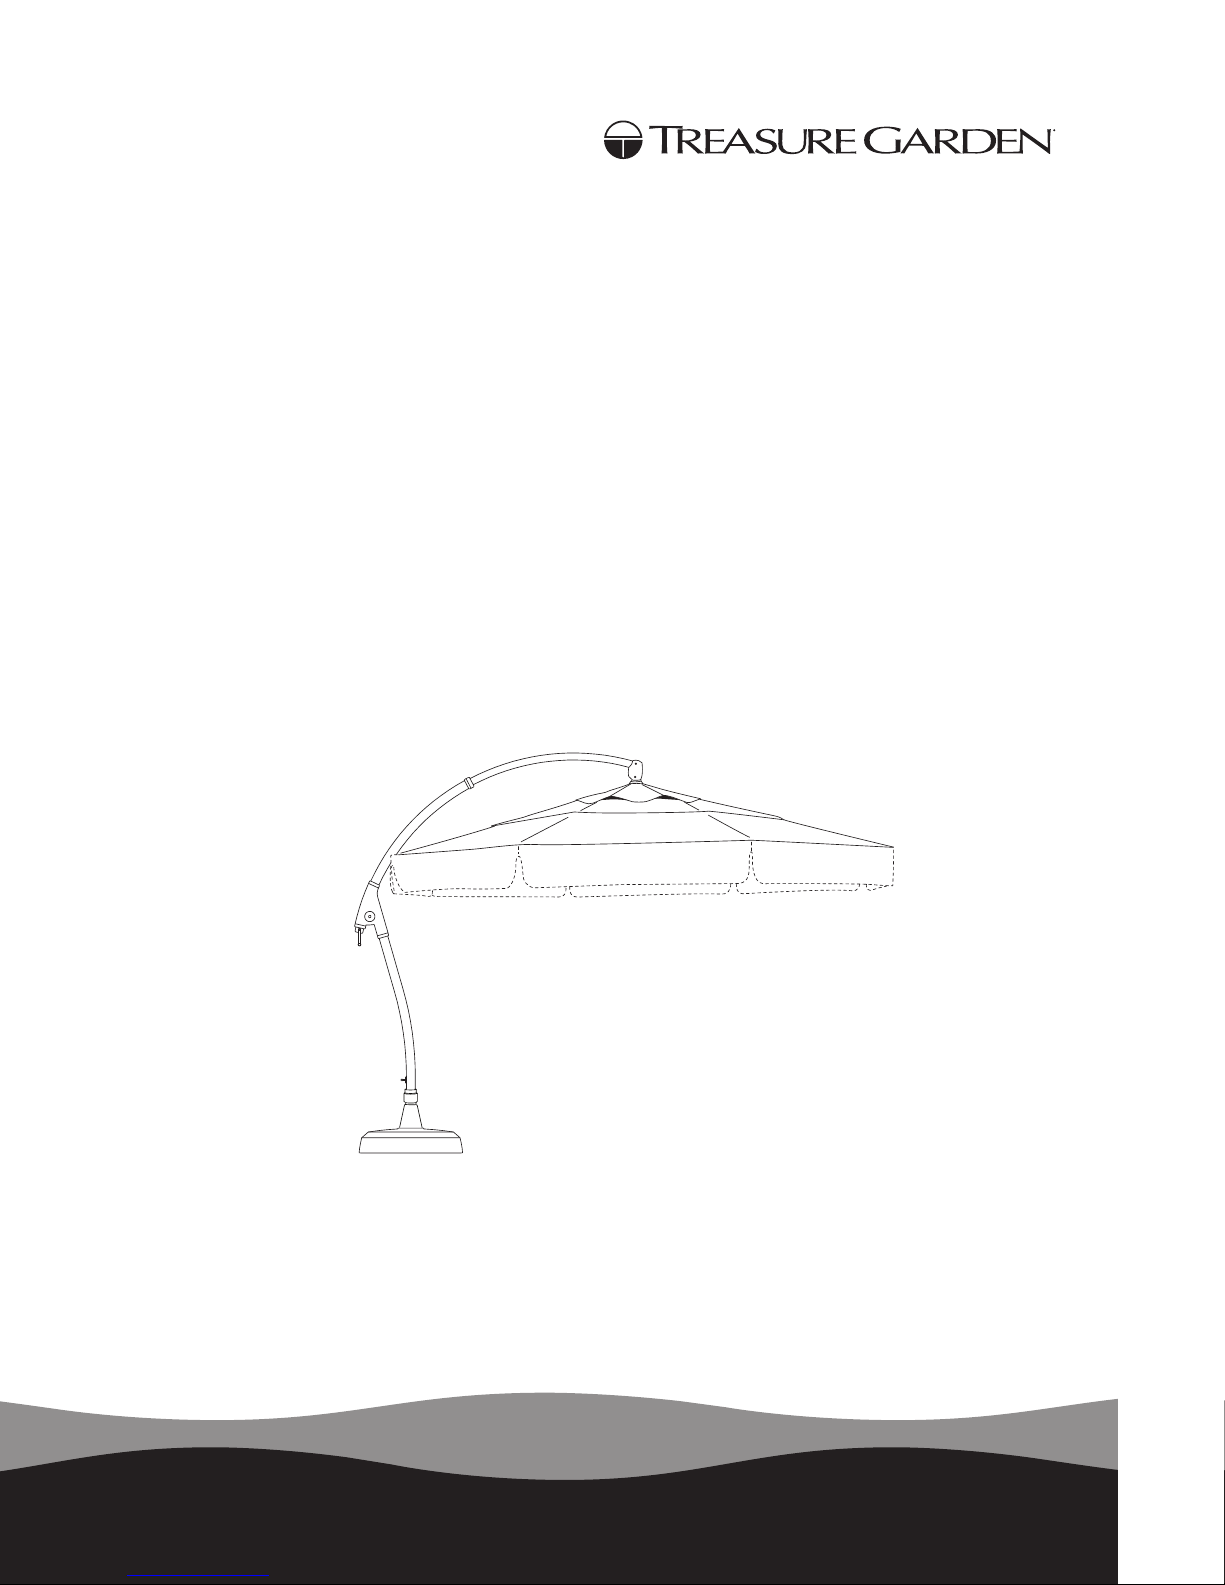
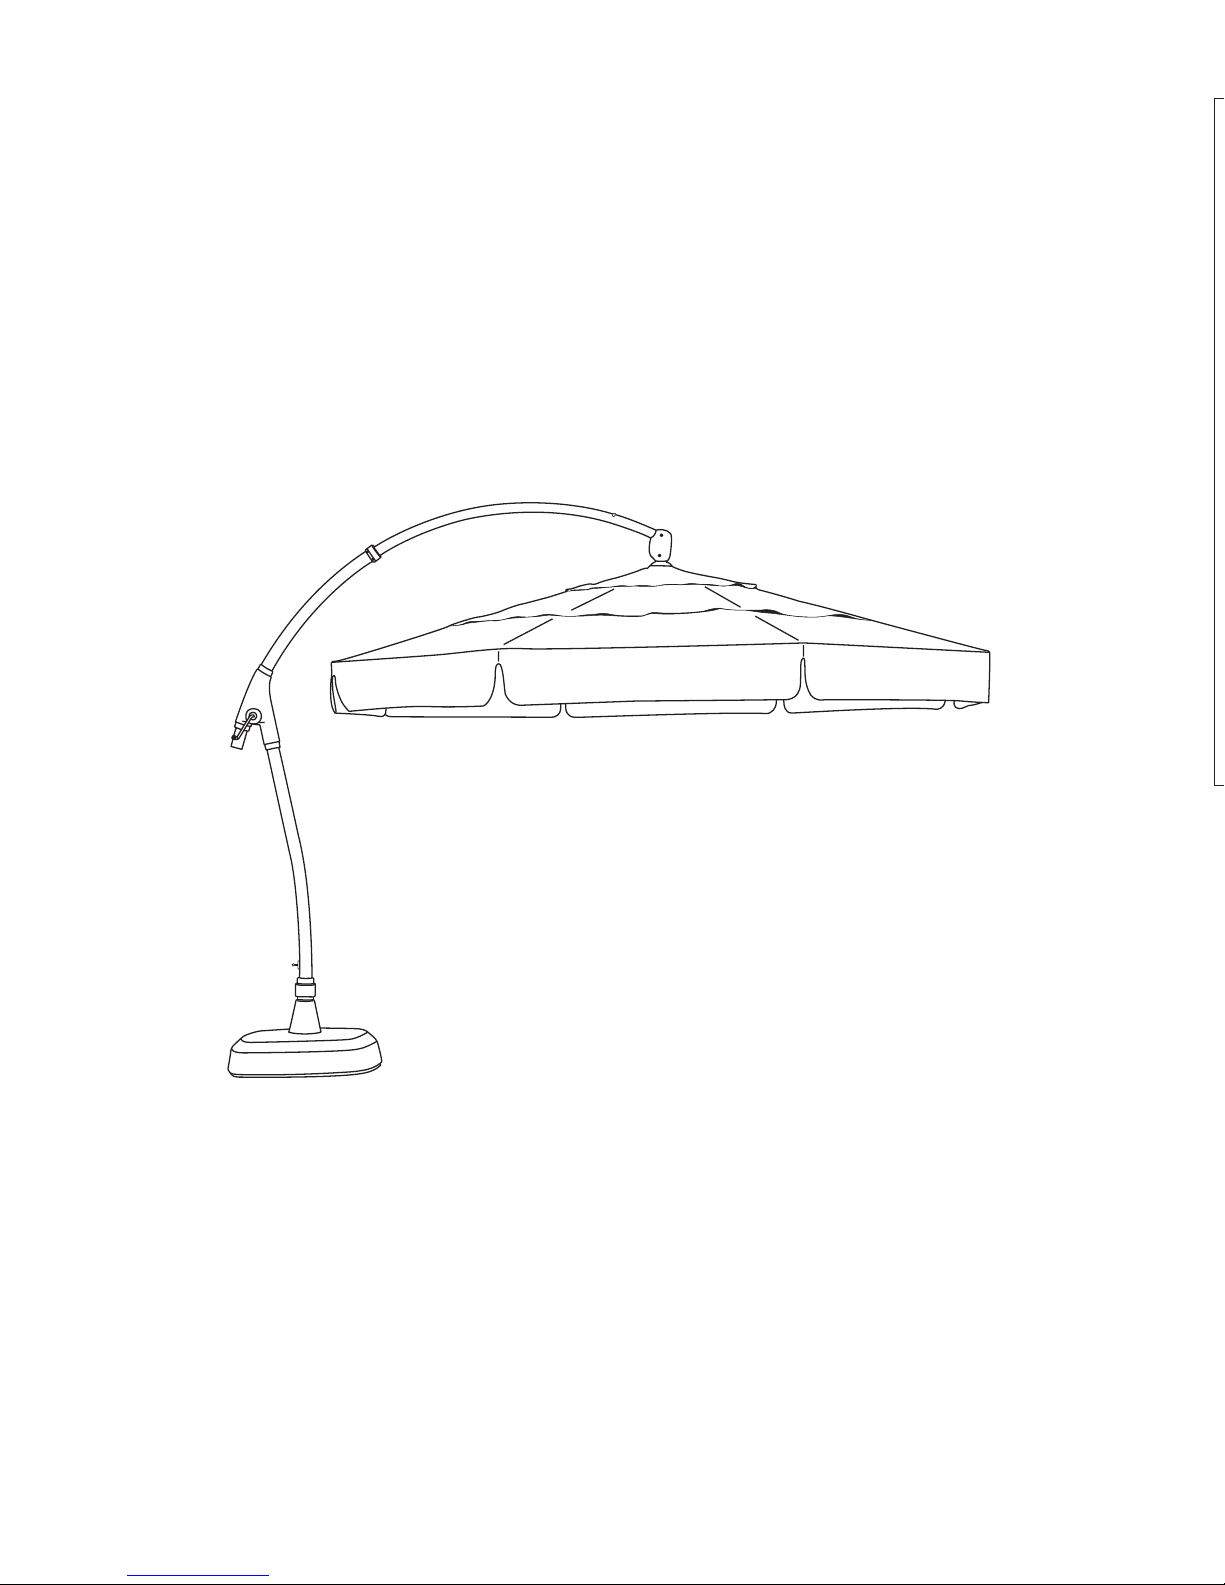
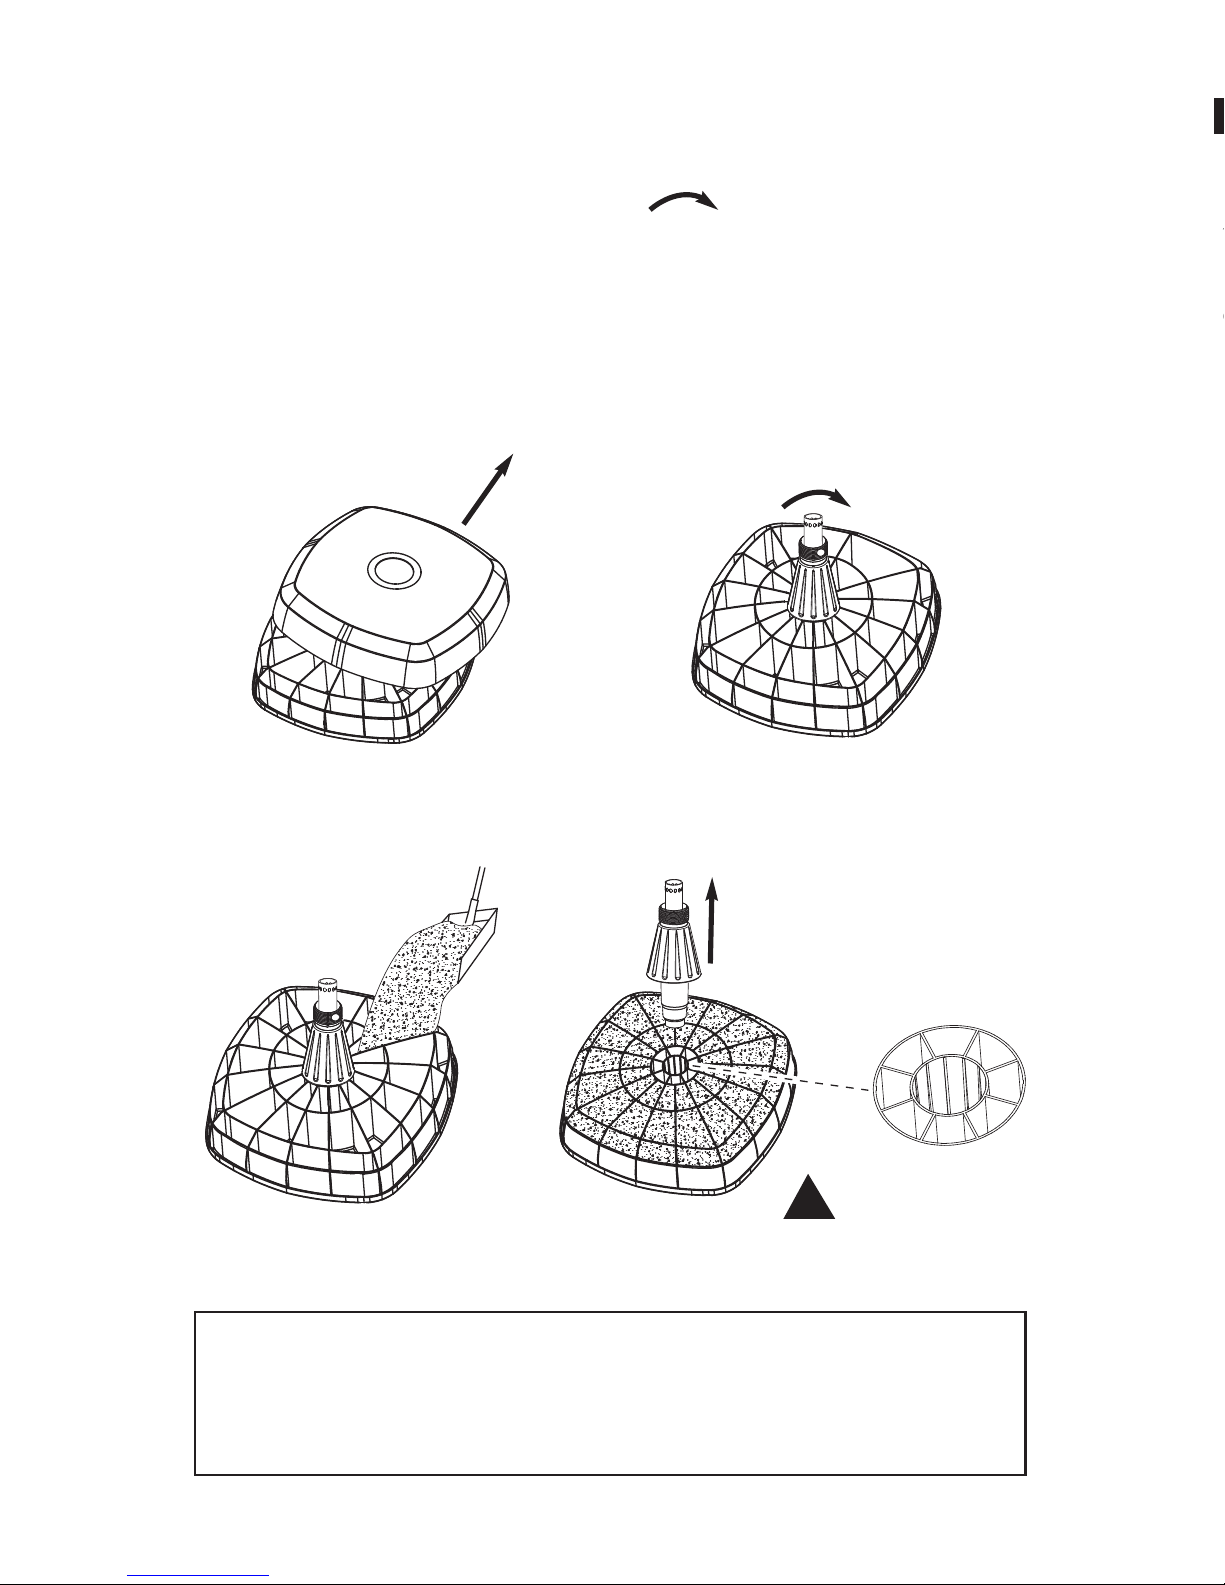
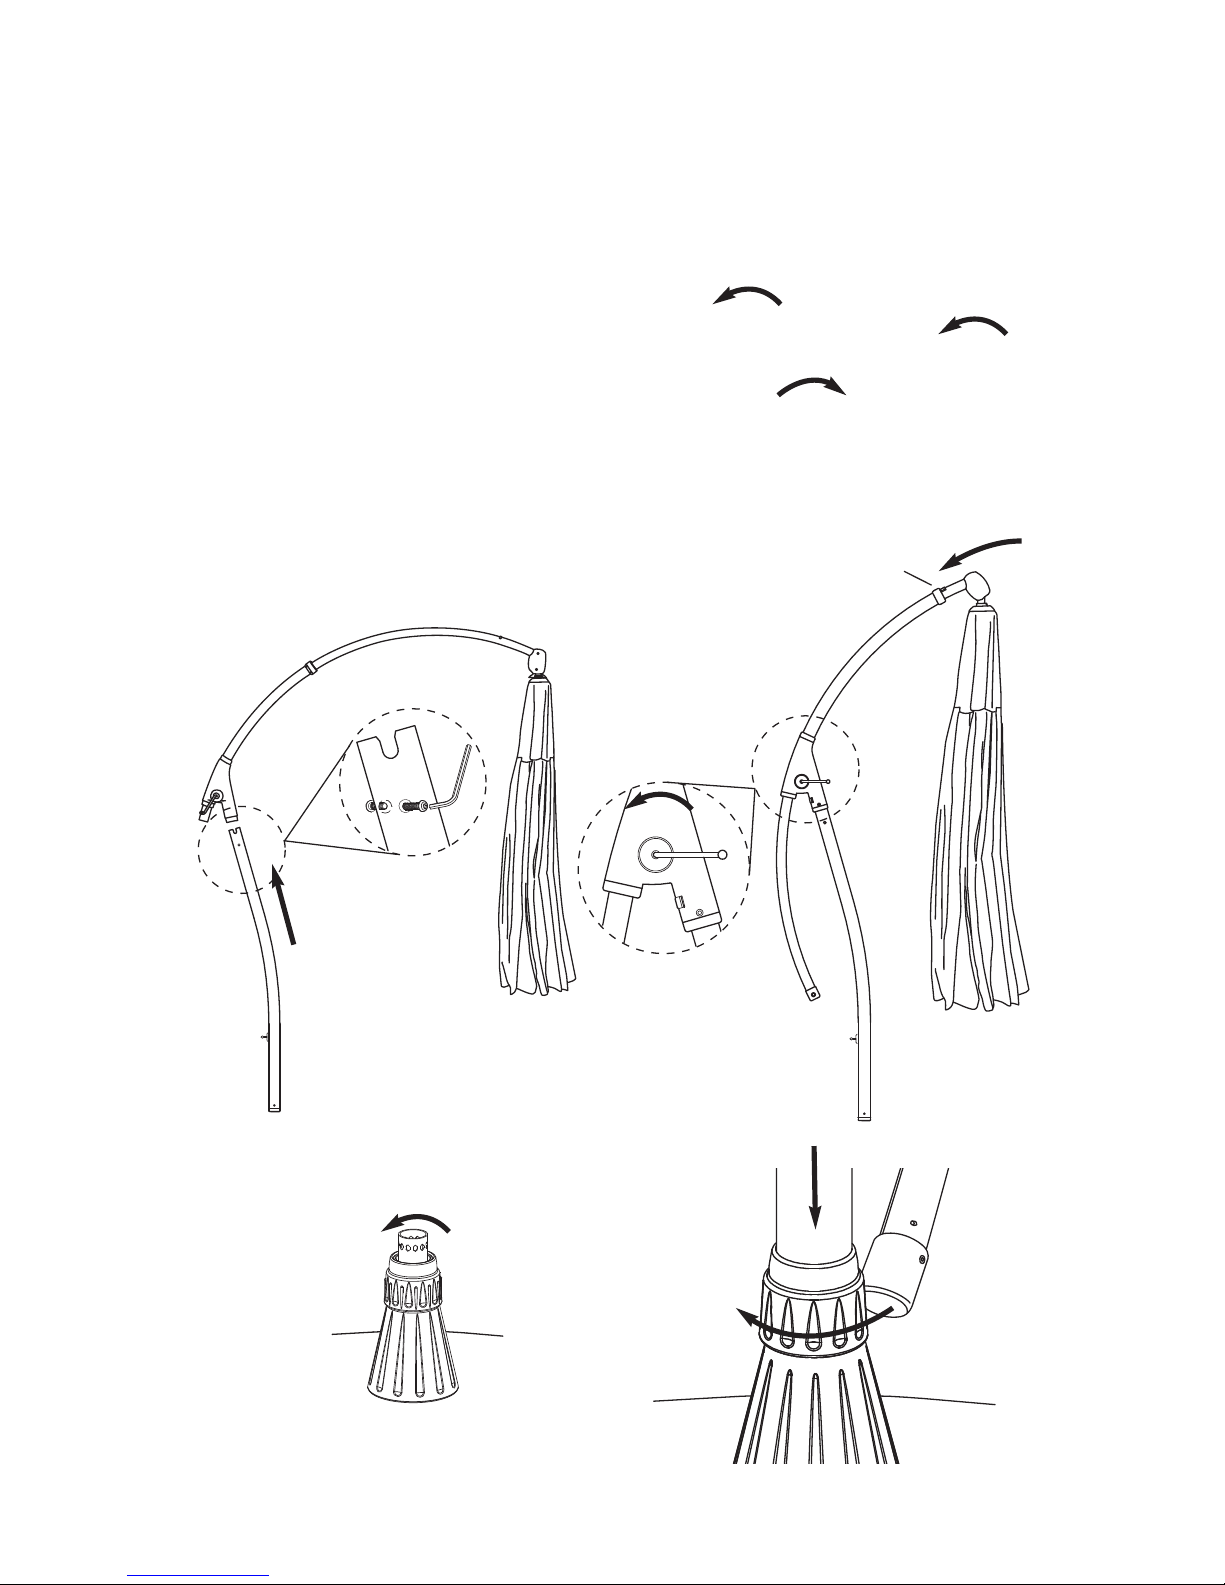
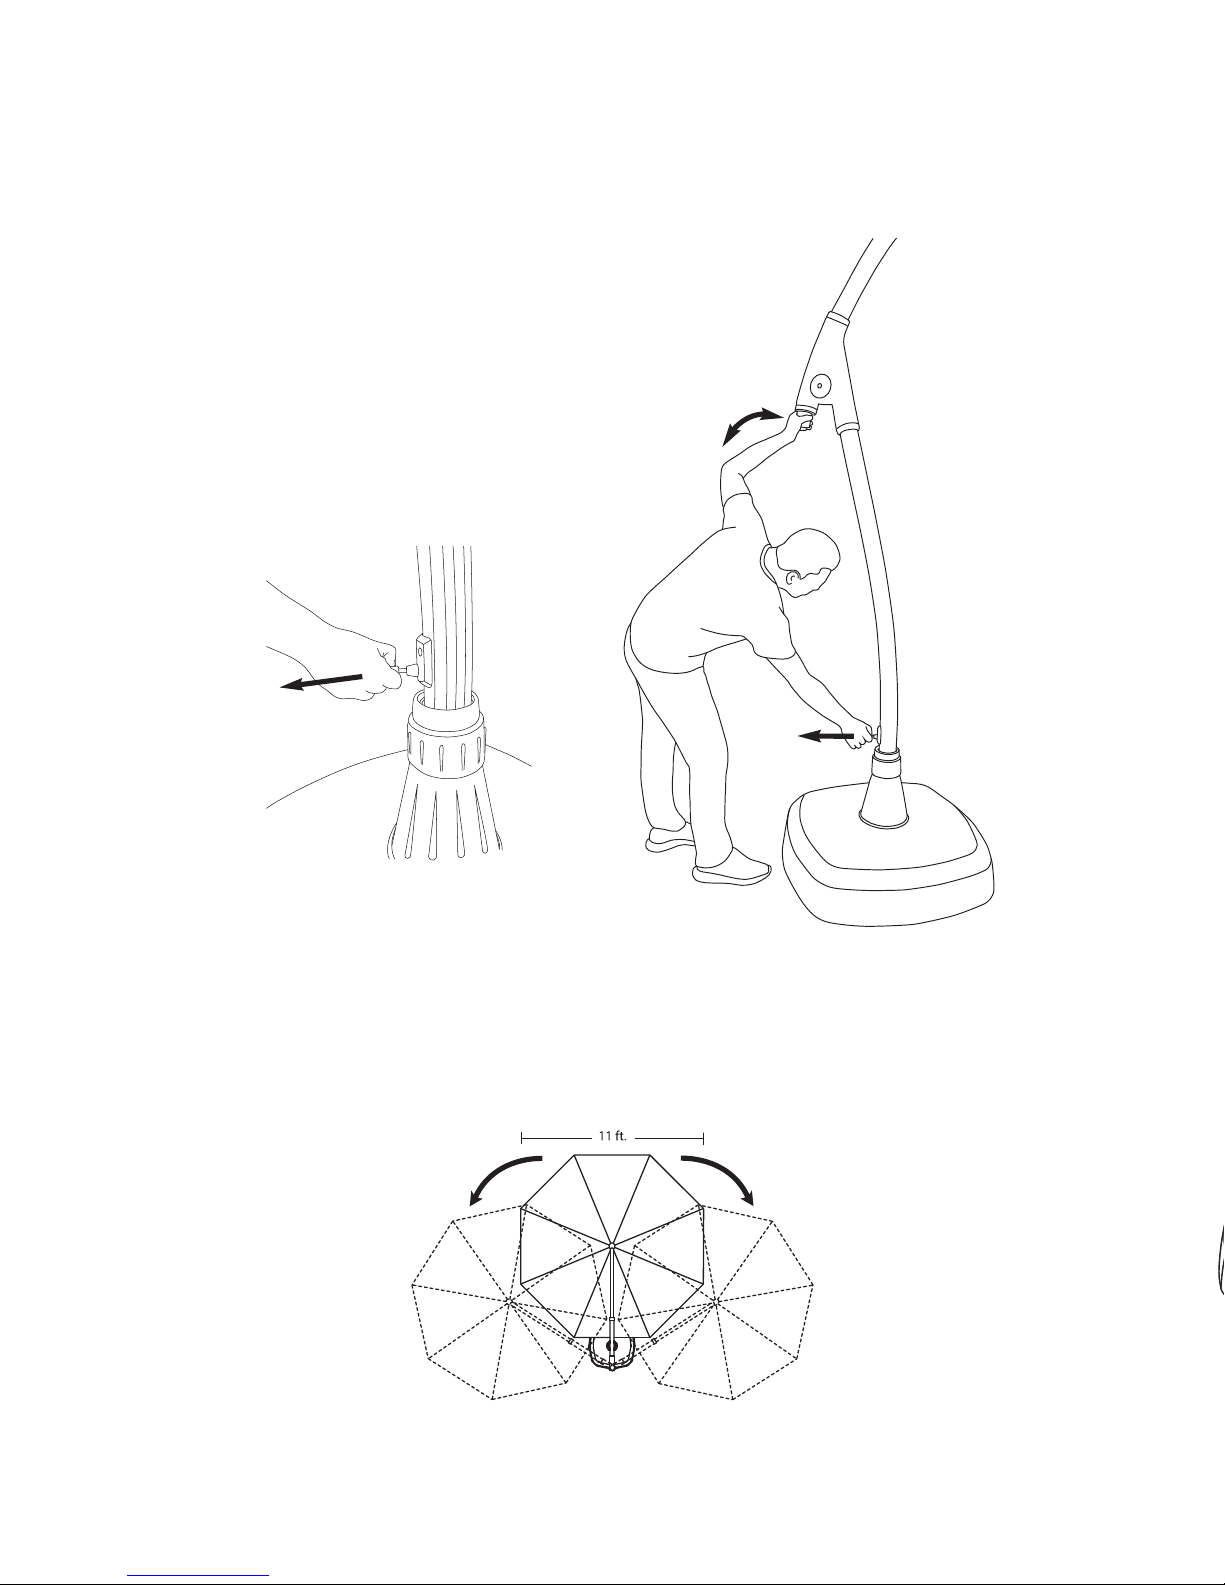
Prior to assembly it is important to decide on the location of the AG28 umbrella.
The umbrella measures approximately 123” in height when opened.
• Allow ample height to avoid damage to your umbrella during assembly and usage.
• Choose a location that is level and sturdy.
• Avoid any sloping or soft ground cover.
• Consider a location that will maximize the umbrella’s rotating feature. Placing the AG28
between two entertaining areas is ideal.
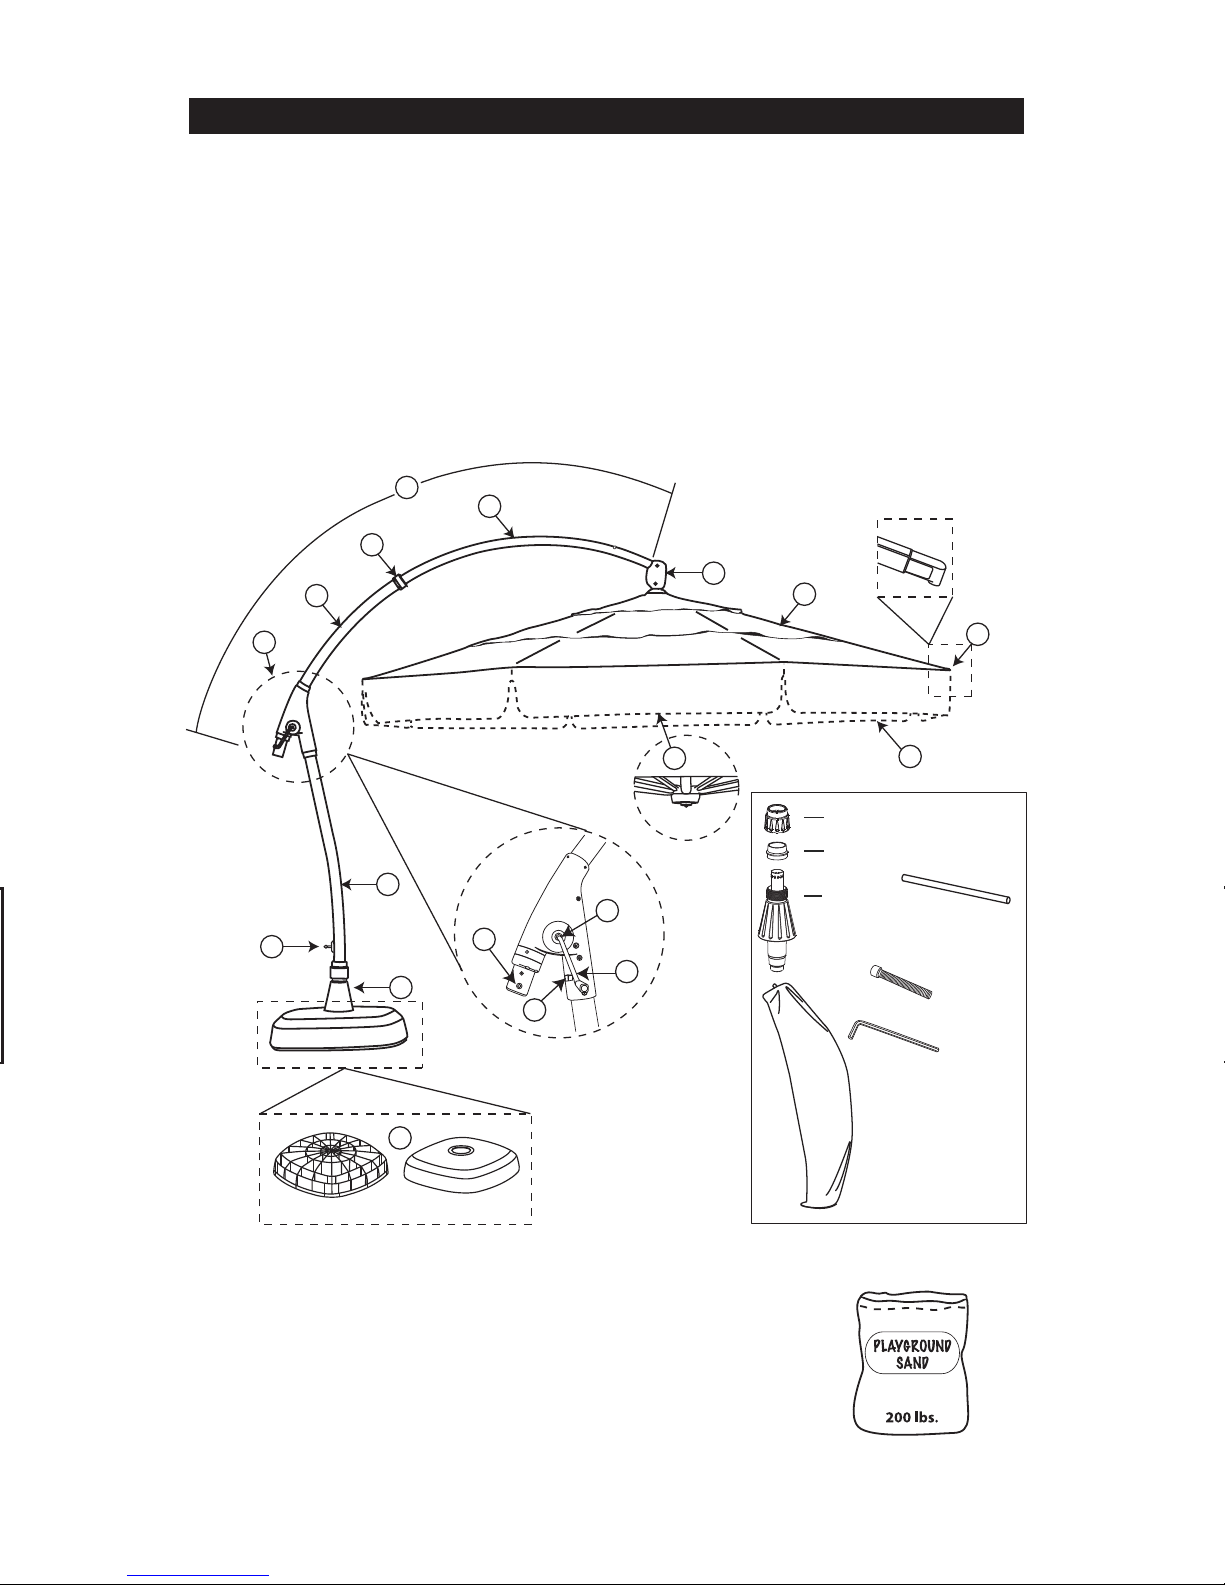
Thank you for purchasing Treasure Garden’s AG28 Cantilever Umbrella.
Please remove all contents from the package, inspect and review checklist.
CAUTION: To reduce personal injury and damage to your AG28, read and follow this
assembly and operation guide We recommend a two-person team for assembly and
disassembly. Save information for f t re reference.