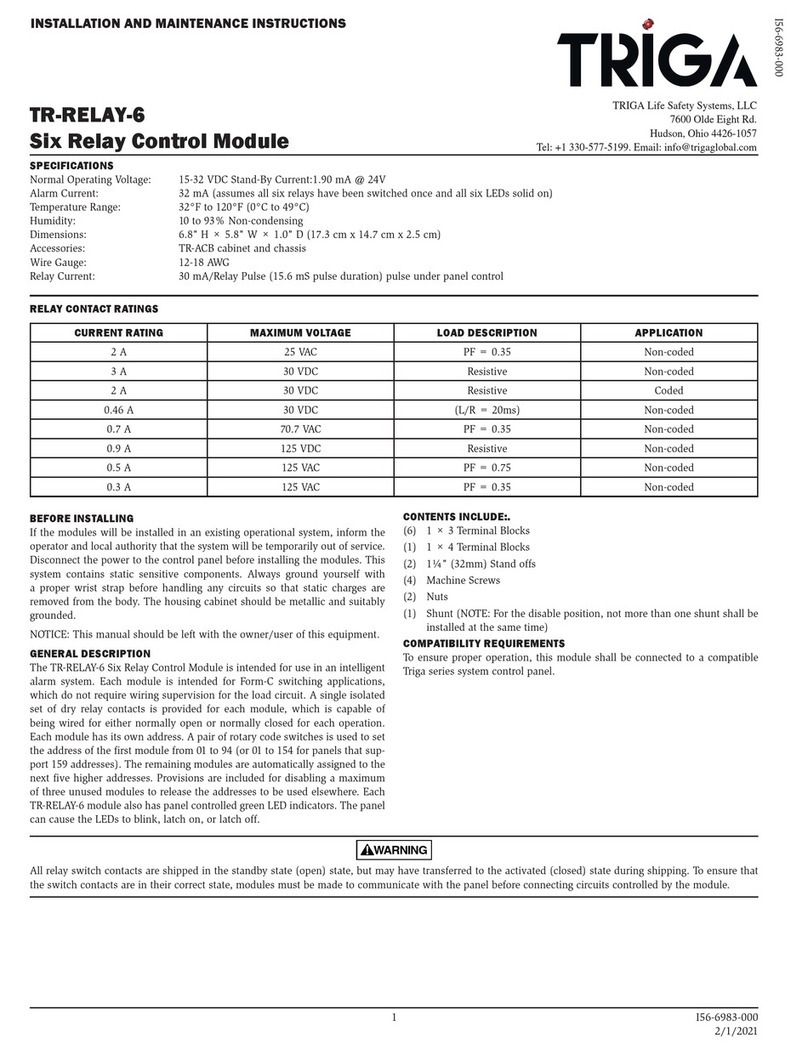
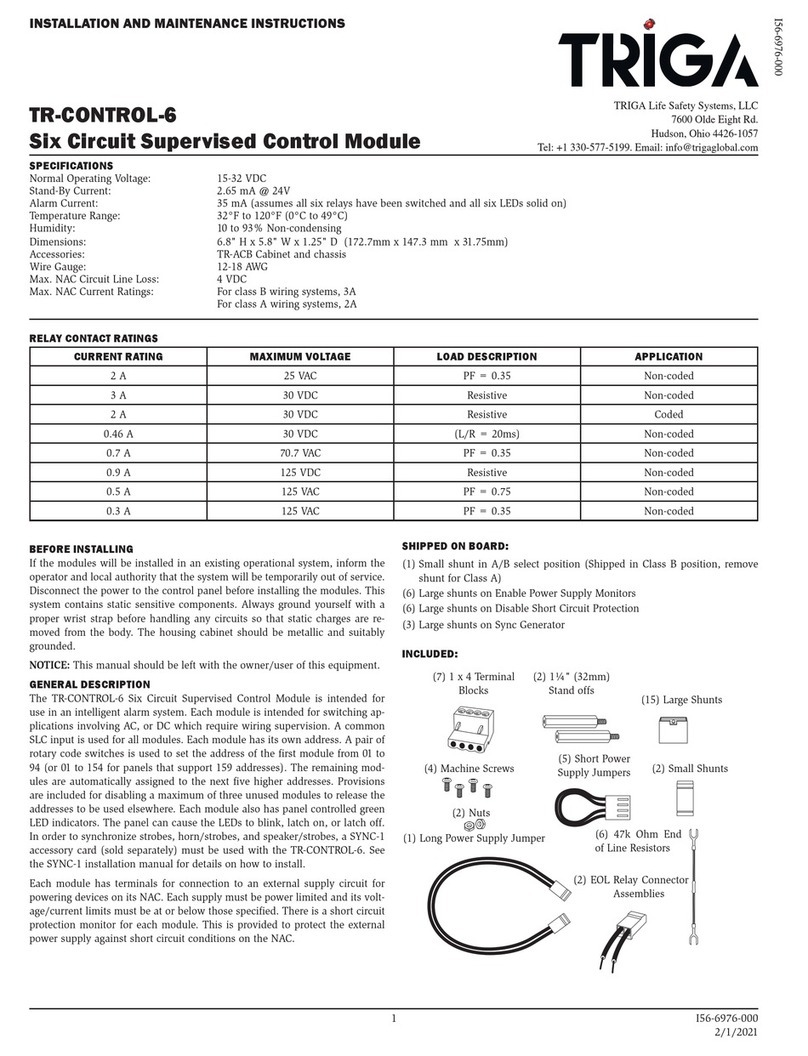
TRIGA TR-FML User manual

PN LSL10178-003TR-E:A 02/03/21 ECN: 151608
TR-FML/TR-FSL Fiber Option Modules
Product Installation Document
TRIGA Life Safety Systems, LLC
7600 Olde Eight Rd, Hudson, Ohio, 44236-1057
Tel: +1 330-577-5199, Email: info@trigaglobal.com
1 Description
The Triga Series, Emergency Communication System uses the
TR-NIC (Network Interface Card) to connect to the Triga Series
Fire, Alarm Control Panels. The TR-NIC supports two types of
fiber-option modules to convert the wire to the fiber.
1.1 TR-FML (Fiber-Optic Multi-Mode,
Receiver)
The TR-FML is a fiber module that is used as one channel to
transmit or receive communications with the ECS-NVCM (Net-
work Voice Control Module) or TR-NIC (Network Interface
Card). It allows the multi-mode fiber to network between the TR-
FML module boards. Figure 1 shows the TR-FML fiber module.
Figure 1 TR-FML Fiber Modules
1.2 TR-FSL (Fiber-Optic Single-Mode,
Transmitter)
The TR-FSL is a fiber module that is used as one channel to
transmit or receive communications with the ECS-NVCM (Net-
work Voice Control Module) or TR-NIC (Network Interface
Card). It allows the single-mode fiber to network between the
TR-FSL module boards. Figure 2 shows the TR-FSL fiber mod-
ule.
Figure 2 TR-FSL Fiber Modules
Table 1 lists the models that are assigned to the ECS and TR-
NIC.
1.3 Compatibility
The TR-FML/TR-FSL fiber option modules can be used with the
compatible Triga Series, Fire Alarm Control Panels (FACP's).
For additional information, refer to the following FACP docu-
ments that are located on the Triga ESD Website,
www.trigaglobal.com.
1.4 TR-FML/TR-FSL Specifications
Table 2 lists the TR-FML multi-mode fiber-optic and the TR-
FSL single-mode fiber-optic modules, digital audio ports specifi-
cations.
2 Installation
• TR-FML (Fiber-Optic Multi-Mode, Receiver)
• TR-FSL (Fiber-Optic Single-Mode Transmitter)
ECS TR-NIC
TR-2100ECSR TR-2100R
Table 1 Network Voice and Interface Card Modules
Document Document
Part Number
TR-2100ECSR Manual LS10143-003TR-E
TR-NIC Installation Sheet LS10171-002TR-E
TR-RPS1 Manual LS10259-002TR-E
Triga ECS Manual LS10262-002TR-E
Specifications TR-FML TR-FSL
Type of Connector: Type ST Type LC
Maximum
Attenuation: 8 dbB for multi-mode
with 62.5/125
micrometer cable
@ 200 µ.
30 dB for multi-mode
with 9/125 micrometer
cable @ 1310 nm.
Current Draw:
Standby Current: 0.053 A 0.079 A
Alarm Current: 0.053 A 0.079 A
Environment Rating: 32° to 120°F
(0° to 49°C), 0% to
93%
32° to 120°F
(0° to 49°C), 0% to
93%
Relative Humidity: Non-condensing at
90°F (30°C) Non-condensing at
90°F (30°C)
Table 2 TR-FML/TR-FSL Specifications
!
CAUTION: STATIC SENSITIVE EQUIPMENT:
THIS EQUIPMENT IS SENSITIVE TO STATIC
ELECTRICITY. IT MAY BE DAMAGED IF NOT
PROPERLY HANDLED. TRANSPORTAND STORE
THIS UNIT INA STATIC-SHIELDING BAG.
FAILURE TO OBSERVE THIS REQUIREMENT
COULD CAUSE LATENT DAMAGE TO THE
EQUIPMENT WHICH MIGHT NOT MANIFEST ITSELF
UNTILAFTER THE EQUIPMENT IS PLACED IN
SERVICE.
DISCONNECT ALL POWER:
REMOVE ALL SOURCES OF POWER BEFORE YOU
SERVICE, REMOVE OR INSTALLANY UNITS.

2 PRELIMINARY: TR-FML/TR-FSL Product Installation Document — P/N LSL10178-003TR-E:A 02/03/21
All components should be located per the following require-
ments:
• Installations are to be indoors only, in dry locations,
protected from rain, water, and rapid changes in temperature
that could cause condensation.
• Equipment must be securely mounted on rigid, permanent
walls.
• Operating temperature shall not exceed the range of 32° to
120° F (0 to 49° C).
• Operating humidity not to exceed 93% non-condensing at
90° F (32° C).
• All sub-assemblies and components are to be located in
compliance with the local, the national codes and the
manufacturer’s recommendations.
• All installation field wiring shall be in compliance with the
local code, the national code and the manufacturer’s
recommendations.
• Use the Architects and Engineering Specifications for
detailed information on your Facility’s Configuration.
2.1 TR-FML/TR-FSL Installation
1. Remove the unit from its static-shield bag, observing proper
static protection measures.
2. Visually inspect the unit for damage.
If any components are damaged, notify the shipping carrier
immediately. Report missing components to the Triga
Customer Service.
3. Use the hardware kit provided with the unit.
4. Plug the Fiber Module #1 into P6 of the ECS-NVCM or TR-
NIC circuit as shown in Location 1 in Figure 3 and Figure 4.
5. To connect the Fiber Module # 1 to the ECS-NVCM or TR-
NIC, insert and secure three screws (#4-40 x 1/4” (.635 cm))
as shown in Location 2 in Figure 3 and Figure 4.
6. Plug the Fiber Module #1 into P5 of the ECS-NVCM or TR-
NIC circuit as shown in Location 3 in Figure 3 and Figure 4.
7. To connect the Fiber Module #1 to the ECS-NVCM or TR-
NIC, insert and secure three screws (#4-40 x 1/4” (.635 cm))
as shown in Location 4 in Figure 3 and Figure 4.
NOTE: FIBER MODULES:TR-FSL AND TR-FML
Install a maximum of two boards per installation. The fiber
modules can be combined.
Figure 3 illustrates the TR-FML/TR-FSL installed to the
TR-NIC.
Figure 3 TR-FML Installation
Figure 4 illustrates the TR-FML/TR-FSL installed to the
ECS-NVCM.
Figure 4 TR-FSL Installation
TR-NIC TR-FML
TR-FSL
TR-FML
TR-FSL
FIK-FML
FIK-FSL
TR-FML
TR-FSL
ECS-NVCM
TR-FML
TR-FSL

PRELIMINARY: TR-FML/TR-FSL Product Installation Document — P/N LSL10178-003TR-E:A 02/03/21 3
3 Wiring
Table 3.1 and Section list the wiring for the following fiber-optic
modules.
• Fiber-Optic Multi-Mode Module (TR-FML)
• Fiber-Optic Single-Mode Module (TR-FSL)
3.1 TR-FML Fiber-Optic Module Wiring
Figure 5 illustrates the TR-FML PCB circuit board diagram.
Figure 5 TR-FML Circuit Board Diagram
TR-FML Fiber-Optic Module Wiring Connections
Table 3 lists the TR-FML terminal wiring designations to connect
the module.
Table 4 lists the TR-FML switch settings and drive currents.
3.2 TR-FSL Fiber-Optic Module Wiring
Figure 6 illustrates the TR-FSL, PCB circuit board diagram.
Figure 6 TR-FSL Circuit Board Diagram
TR-FSL Fiber-Optic Module Wiring Connections
Table 5 lists the TR-FML terminal wiring designations to connect
the module.
Table 6 lists the TR-FSL LED Indicators.
Designation Description
J1 Connects to the transmitting fiber.
(See Note)
J2 Connect to the receiving fiber.
(See Note)
SW1-1 Sets the optical output power for
the transmitting fiber. (See Table 4 )
SW1-2 Sets the optical output power
for the transmitting fiber. (See Table 4)
SW1-3 Sets the optical output power
for the transmitting fiber. (See Table 4 )
SW1-4 Not used.
P1 Plugs onto P5 (Port 1)
or P6 (Port 2) of the TR-NVCM or TR-NIC.
Note 1: Use standard ST connector fiber-optic cable, multi-
mode, up to 200 µ (optimized for 62.5/125 µ).
Note 2: Signal loss up to 8dB maximum between nodes.
Table 3 TR-FML Terminal Wiring Designations
SW1-1 SW1-2 SW1-3 Drive Current
OFF OFF OFF 10 mA
OFF OFF ON 20 mA
OFF ON OFF 32 mA
OFFONON42mA
ON OFF OFF 54 mA
ON OFF ON 64 mA
ON ON OFF 76 mA
ON ON ON 86 mA
Note: SW1-4 is not used.
Table 4 TR-FML Switch Settings and Drive Currents
J2
J1
FIBER-IN
FIBER-OUT
Designation Description
J1 Plugs on to P5 (Port 1) or P6 (Port 2) of the
TR-NVCM or TR-NIC.
U6 Top connection connects to the receiving fiber
(IN). Bottom connection connects to the
transmitting fiber (OUT).
Note: Use LC connector fiber-optic cable, single mode, up to
1310 nm (optimized for 9/125 µ). Signal loss up to 30 dB
maximum between nodes.
Table 5 TR-FML Terminal Wiring Designations
LED # Name Color Description
1 TX Green Lights while data is transmitted on the
Repeater.
When activity is detected, the TX light
flickers and turns ON.
If no activity is detected, the TX light
turns OFF.
2 RX Green Lights while data is received on the
Repeater. When activity is detected, the
RX light flickers and turns ON.
When no activity is detected, the RX
light turns OFF.
Table 6 TR-FSL LED Indicators
J1
U6 FIBER IN
FIBER OUT
LED1
LED2
RX
TX
This manual suits for next models
1
Other TRIGA Control Unit manuals
Popular Control Unit manuals by other brands
Motorline professional
Motorline professional MC61PL User& installer's manual
Wurth Elektronik
Wurth Elektronik CALYPSO Reference manual
eta
eta Fresh water module 33 operating instructions

Pilz
Pilz PSSu E S INC 24V se manual

SMC Networks
SMC Networks VEX3 Series Operation manual
Line Tech
Line Tech DM2.ZR Installation and maintenance instructions
