manuals.online logo
Brands
  1. Home
  2. •
  3. Brands
  4. •
  5. TRIGA
  6. •
  7. Security Sensor
  8. •
  9. TRIGA TR-B501-WHITE User manual

TRIGA TR-B501-WHITE User manual

INSTALLATION AND MAINTENANCE INSTRUCTIONS
BEFORE INSTALLING
Please read the System Smoke Detectors Application Guide, which provides
detailed information on detector spacing, placement, zoning, wiring, and spe-
cial applications.Observe guidelines for NFPA 72.
NOTICE: This manual should be left with the owner/user of this equipment.
IMPORTANT: Use only with compatible UL-listed detector heads for
proper system function. The detector used with this base must be tested
and main-tained regularly following requirements of NFPA 72 (depending
on location). The detector should be cleaned at least once a year.
GENERAL DESCRIPTION
The TR-B501-WHITE, TR-B501-IV, and TR-B501-BL are plug in detector
bases intended for use in an intelligent system with screw terminals
provided for power (+ and –), and remote annunciator connections.
Communication takes place over the power lines (+ and –).
BASE TERMINALS
No. Function
1 Power (–), Remote Annunciator (–)
2 Power (+)
3 Remote Annunciator (+)
FIGURE 1. TERMINAL LAYOUT
TAMPER PROOF
TAB
TERMINAL 3
TERMINAL 2
TERMINAL 1
C0131-01
SPECIFICATIONS
Base Diameter: 4.0" (10.2 cm)
Base Height: 0.74" (18.8 mm)
Operating Temperature Range: Refer to the applicable sensor’s operating temperature range provided in the sensor’s installation manual.
Electrical Ratings – includes base and detector
Operating Voltage: 15 to 32 VDC
Standby Current: 150 µA
Listing: UL268
I56-3738TRG-004
MOUNTING
This detector base mounts directly to 4" (10.2 cm) square with plaster ring,
3½" (8.9 cm) octagon, 50 mm, 60 mm, and 70 mm centers.
INSTALLATION AND WIRING GUIDELINES (SEE FIGURE 2)
All wiring must be installed in compliance with all applicable local codes
and any special requirements of the local authority having jurisdiction. Proper
wire gauges should be used. The conductors used to connect smoke detectors
to control panels and accessory devices should be color-coded to reduce the
likelihood of wiring errors. Improper connections can prevent a system from
responding properly in the event of a fire.
For signal wiring (the wiring between interconnected detectors and modules),
it is recommended that the wiring be no smaller than 18 AWG (0.823 mm²).
Wire sizes up to 12 AWG (3.31 mm²) may be used with the base.
Alarm system control panels have specifications for allowable loop resistance.
Consult the control panel specifications for the total loop resistance allowed
before wiring the detector loops.
Make wiring connections by stripping about 3/8" (10 mm) of insulation from
the wire end (use strip gauge molded in base). Then slide the wire under the
clamping plate and tighten the clamping plate screw. Do not loop the wire
under the clamping plate. (See Figure 3.)
Check the zone wiring of all bases in the system before installing the detec-
tors. This includes checking the wiring for continuity, correct polarity, ground
fault testing and performing a dielectric test.
The base includes an area for recording the zone, address, and type of detec-
tor to be installed at that location. This information is useful for setting the
detector head address and for verification of the detector type required for
that location.
Once all detector bases have been wired and mounted, and the loop wiring
has been checked, the detector heads may be installed in the bases.
FIGURE 2. TYPICAL WIRING DIAGRAM FOR 2-WIRE LOOP
(–)
(+)
+ -
UL Listed Compatible
Control Panel
CAUTION: Do not loop wire under terminal 1 or 2. Break wire run to
provide supervision of connections.
CLASS A OPTIONAL WIRING
REMOTE
ANNUNCIATOR
(–)
(+)
3
2
1
3
2
1
3
2
1
C0133TRG-03
TRIGA Life Safety Systems, LLC
7600 Olde Eight Rd.
Hudson, Ohio 4426-1057
Tel: +1 330-577-5199. Email: [email protected]
TR-B501-WHITE, TR-B501-IV,
and TR-B501-BL
4" Plug-in Detector Bases
1 I56-3738TRG-004
4/22/2021
FIGURE 3.
C0473-00
TAMPER-RESIST FEATURE
NOTE: Do not use the tamper-resist feature if the removal tool is to be used.
The detector base includes a tamper-resist feature that prevents removal of the
detector without using a small screwdriver or similar tool.
To activate this feature, use needle-nose pliers to break the tab on the detector
base as shown in Figure 4A. Then, install the detector.
To remove the detector from the base once the tamper-resist feature has been
activated, insert a small-bladed screwdriver into the small hole on the side
of the base and push the plastic lever away from the detector head. (See
Figure 4B). This allows the detector to be rotated counterclockwise for re-
moval.
The tamper-resist feature can be defeated by breaking and removing the plas-
tic lever from the base. However, this prevents the feature from being used
again.
FIGURE 4A. ACTIVATE TAMPER-RESIST FEATURE
PLASTIC LEVER BREAK TAB AT DOTTED LINE BY
TWISTING TOWARD CENTER OF BASE
SCREWDRIVER TO PRESS PLASTIC LEVER
IN DIRECTION OF ARROW
C0132-00
FIGURE 4B. DETECTOR REMOVAL
PLASTIC LEVER BREAK TAB AT DOTTED LINE BY
TWISTING TOWARD CENTER OF BASE
USE SMALL-BLADED SCREWDRIVER TO PRESS
PLASTIC LEVER IN DIRECTION OF ARROW
C0132-01
REMOTE ANNUNCIATOR (TR-RA100Z)
The remote annunciator is connected between terminals 1 and 3 using the
spade lug terminal packed with the remote annunciator. The spade lug termi-
nal is connected to the base terminal as shown in Figure 5.
It is not acceptable to have three stripped wires under the same wiring termi-
nal unless they are separated by a washer or equivalent means. The spade lug
supplied with the model TR-RA100Z is considered an equivalent means. See
Figure 2 for proper installation.
FIGURE 5. CONNECTION TO REMOTE ANNUNCIATOR TERMINAL
STRIPPED WIRE
WIRE WITH SPADE LUG
C0116-00
Triga™ is a trademark of TRIGA Life Safety Systems, LLC.
2 I56-3738TRG-004
©2021. 4/22/2021

This manual suits for next models

2

Other TRIGA Security Sensor manuals

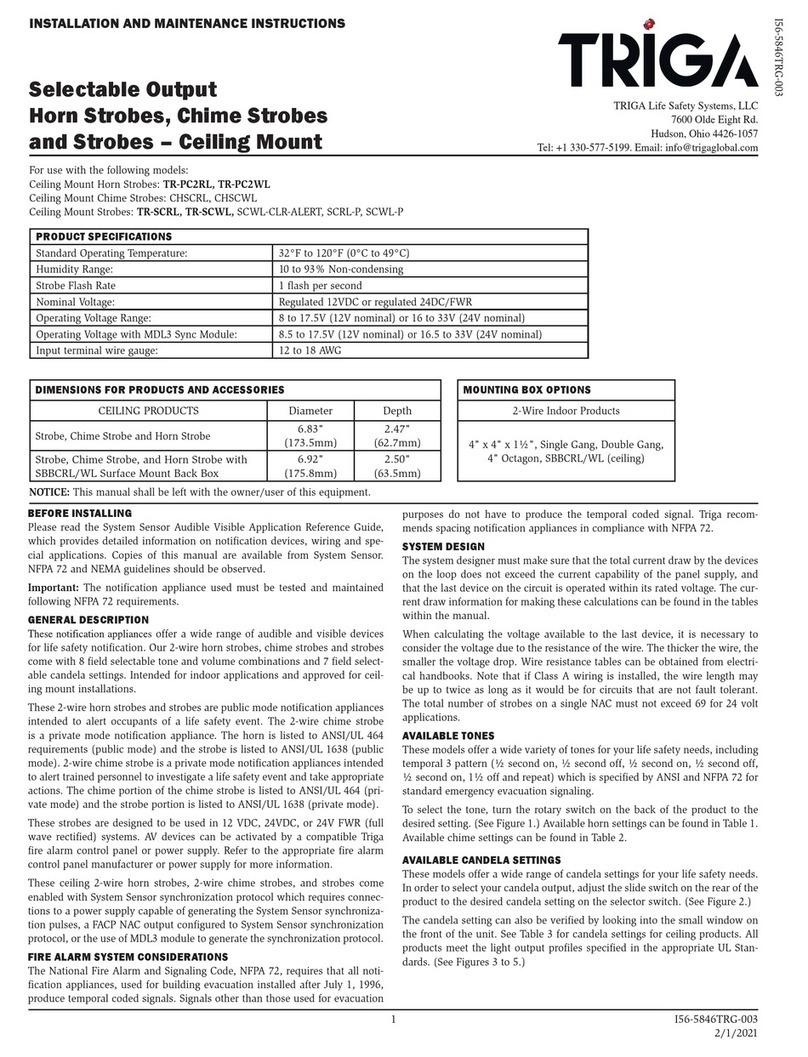
TRIGA TR-PC2RL User manual

TRIGA

TRIGA TR-PC2RL User manual

TRIGA TR-B224BI-WH User manual

TRIGA

TRIGA TR-B224BI-WH User manual

TRIGA TR-B300-6 User manual

TRIGA

TRIGA TR-B300-6 User manual

Popular Security Sensor manuals by other brands

System Sensor B401BR750 Installation and maintenance instructions

System Sensor

System Sensor B401BR750 Installation and maintenance instructions

Eaton Sure-Lites UX6 installation instructions

Eaton

Eaton Sure-Lites UX6 installation instructions

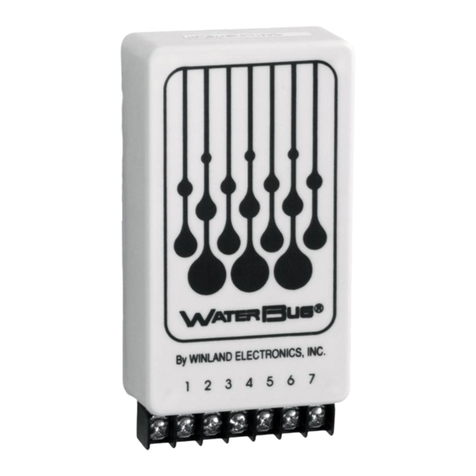
Winland WaterBug WB-200 Installation & owner's manual

Winland

Winland WaterBug WB-200 Installation & owner's manual

Jäger Direkt OPUS operating instructions

Jäger Direkt

Jäger Direkt OPUS operating instructions

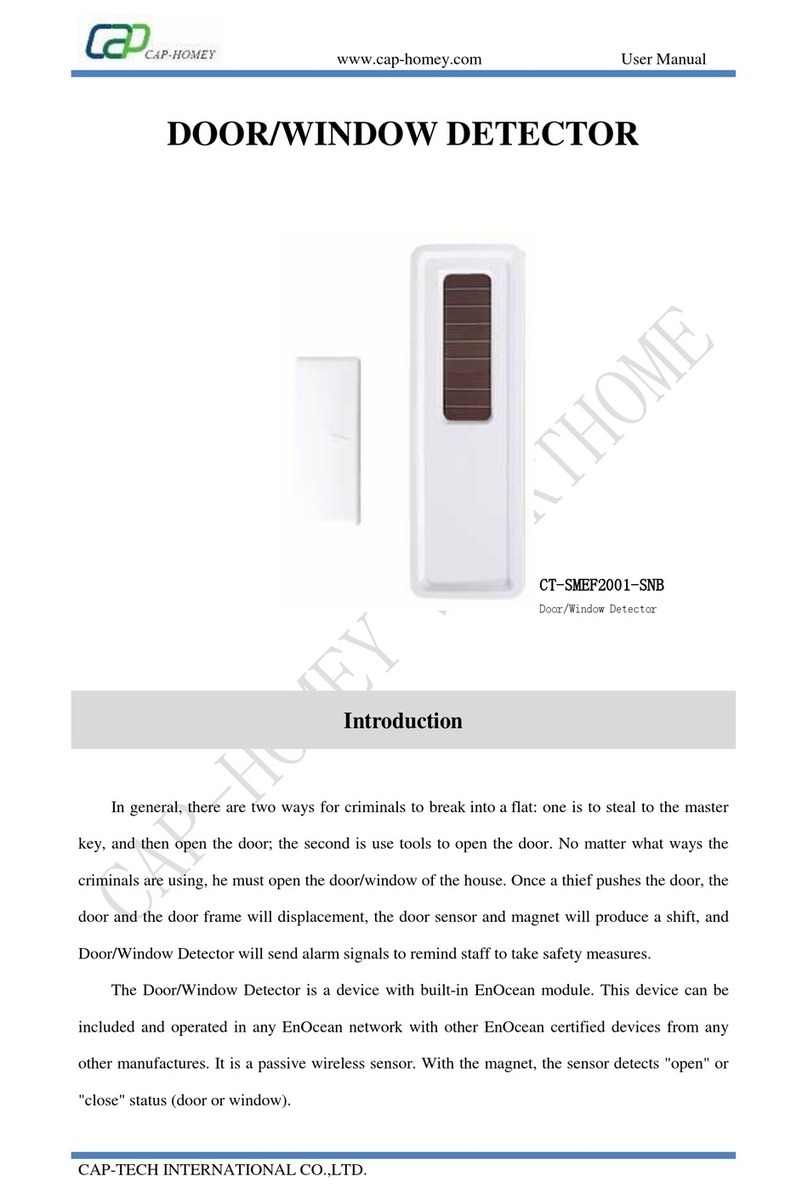
CAP-HOMEY CT-SMEF2001-SNB user manual

CAP-HOMEY

CAP-HOMEY CT-SMEF2001-SNB user manual

Bacharach H-10PM manual

Bacharach

Bacharach H-10PM manual

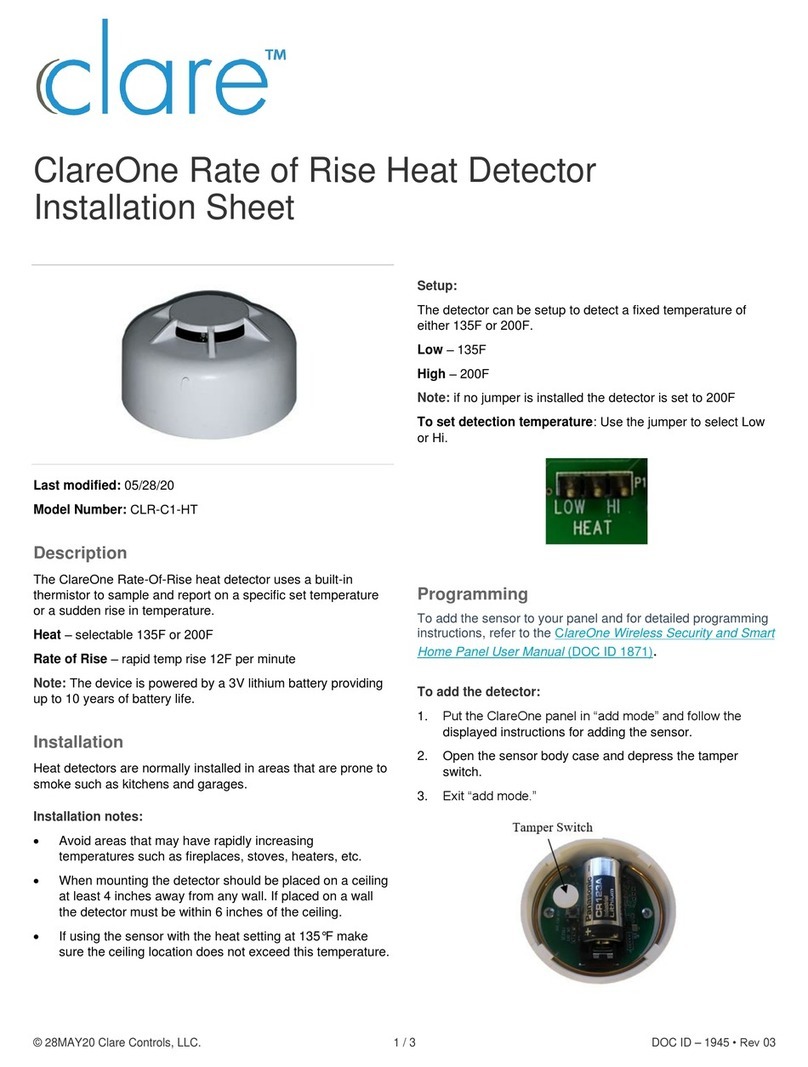
clare ClareOne Rate of Rise Installation sheet

clare

clare ClareOne Rate of Rise Installation sheet

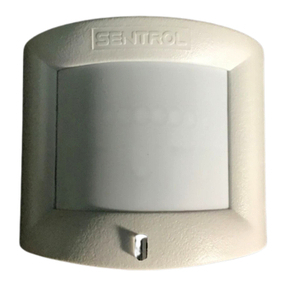
GE PI6000 - Sentrol Motion Detector installation instructions

GE

GE PI6000 - Sentrol Motion Detector installation instructions

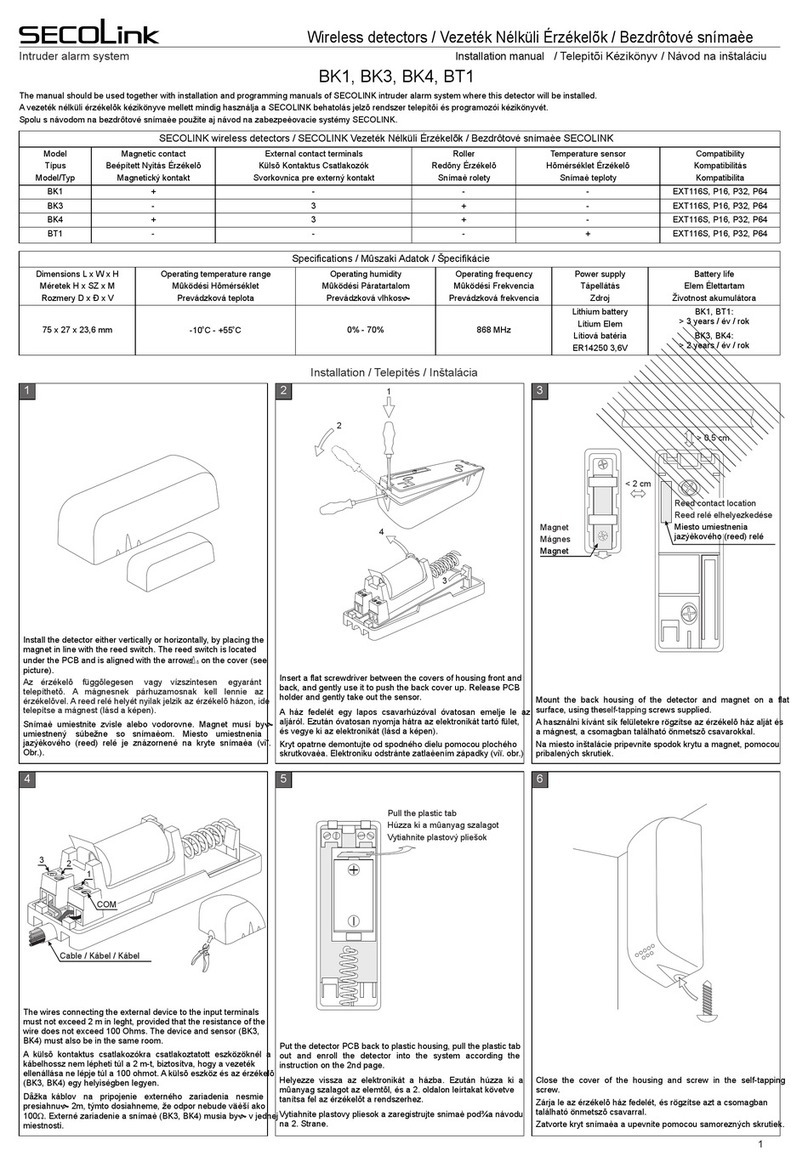
SECOLink BK4 quick start guide

SECOLink

SECOLink BK4 quick start guide

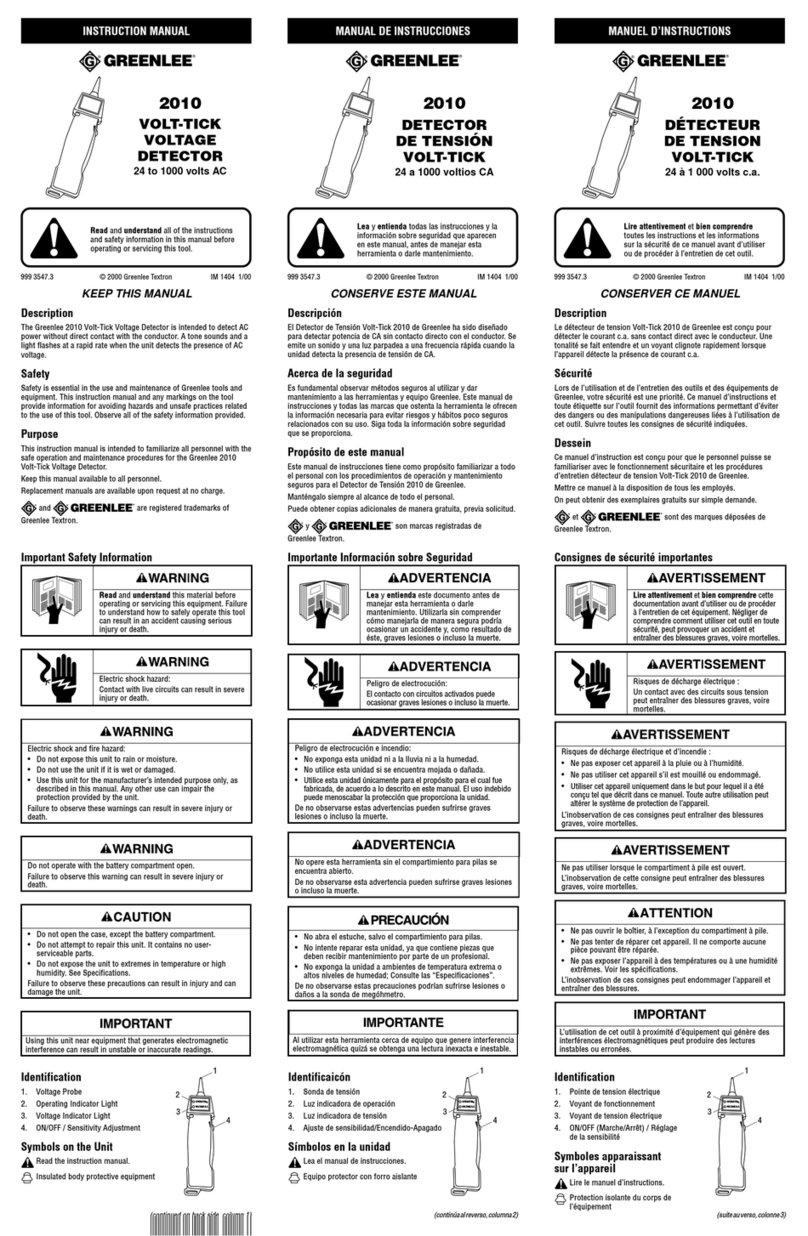
Greenlee 2010 instruction manual

Greenlee

Greenlee 2010 instruction manual

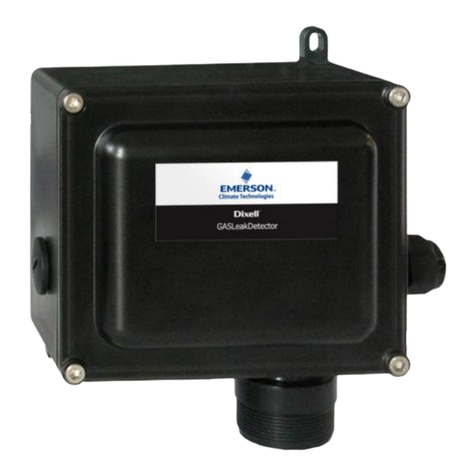
Emerson Dixell GDS41M Installing and operating instructions

Emerson

Emerson Dixell GDS41M Installing and operating instructions

VIEW-it V2-IR-SET Operation manual

VIEW-it

VIEW-it V2-IR-SET Operation manual

Innotech SENW51 manual

Innotech

Innotech SENW51 manual

Hach GS1440 user manual

Hach

Hach GS1440 user manual

Robus R180-01 Instruction leaflet

Robus

Robus R180-01 Instruction leaflet

Vision ZP 3102 EU Installation & operation manual

Vision

Vision ZP 3102 EU Installation & operation manual

Atim Cloud Wireless LoRaWAN ACW/LW8-THX user guide

Atim Cloud Wireless

Atim Cloud Wireless LoRaWAN ACW/LW8-THX user guide

Pepperl+Fuchs VAS/M-2A8L-KE4-6SE-EV operating instructions

Pepperl+Fuchs

Pepperl+Fuchs VAS/M-2A8L-KE4-6SE-EV operating instructions

manuals.online logo
manuals.online logoBrands
  • About & Mission
  • Contact us
  • Privacy Policy
  • Terms and Conditions

Copyright 2025 Manuals.Online. All Rights Reserved.