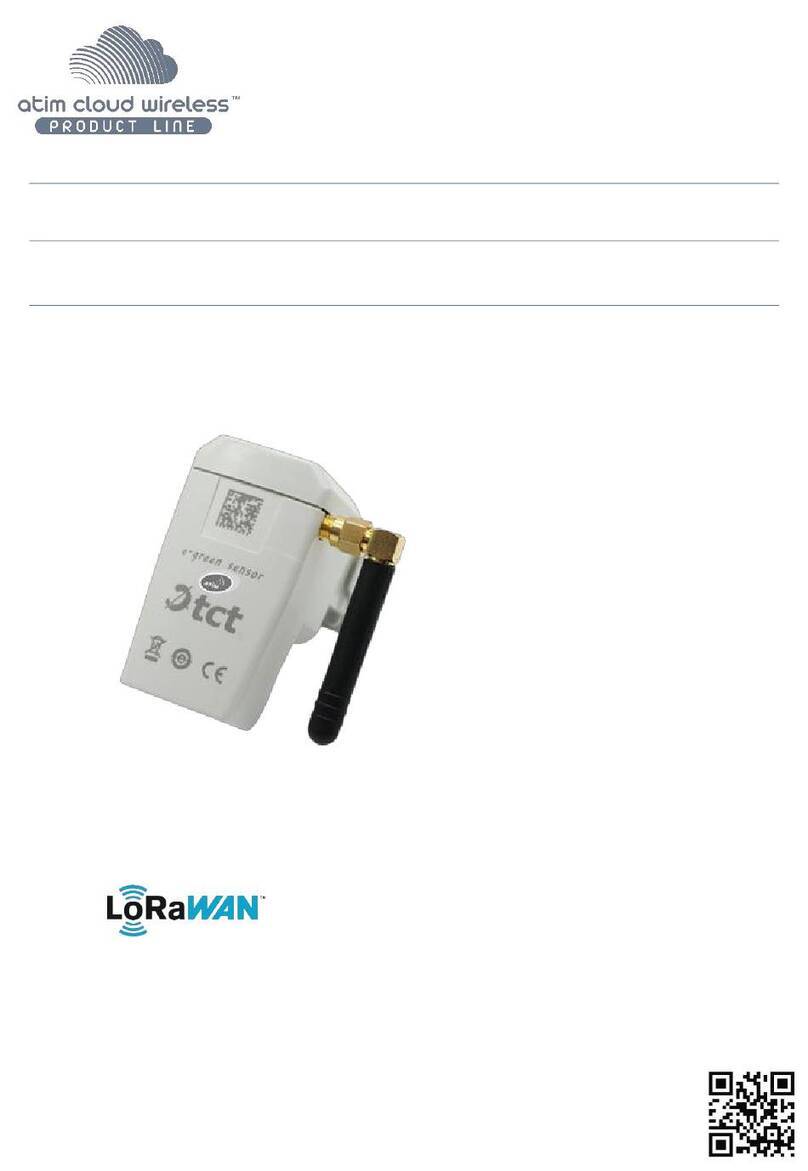
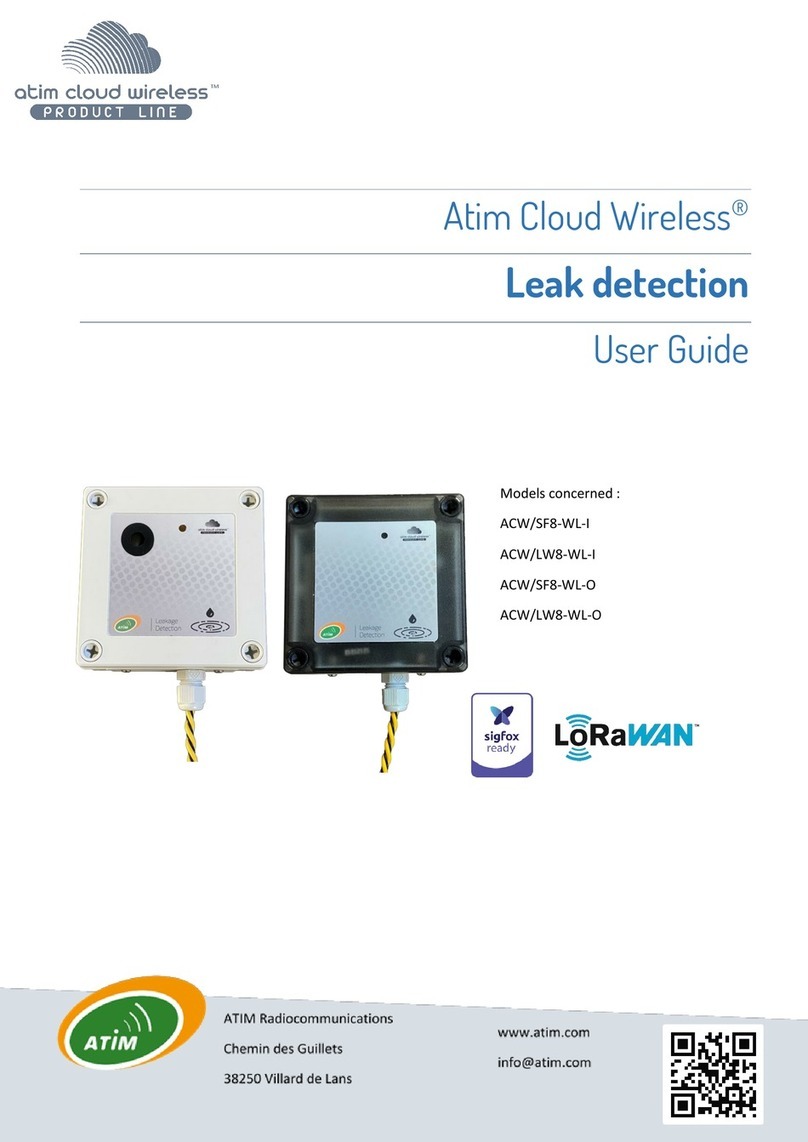
Atim Cloud Wireless LoRaWAN ACW/LW8-THX User manual

ATIM Radiocommunications
Chemin des Guillets
38250 Villard de Lans
France
www.atim.com
Atim Cloud Wireless®
Temperature and hygrometry sensor
User guide
Models concerned :
ACW/LW8-THX
ACW/SF8-THX

2
ATIM_ACW-THX_UG_EN_V1.1
Table of contents
THIS USER GUIDE IS APPLICABLE TO THE FOLLOWING REFERENCES.............................................................................................. 4
VERSION HISTORY OF THIS DOCUMENT ..................................................................................................................................... 4
DISCLAIMER ............................................................................................................................................................................... 5
TRADEMARKS AND COPYRIGHTS................................................................................................................................................ 5
DECLARATION OF CONFORMITY................................................................................................................................................. 5
ENVIRONMENTAL GUIDELINES................................................................................................................................................... 6
A.ENVIRONMENT................................................................................................................................................................................ 6
B.RADIO............................................................................................................................................................................................ 6
TECHNICAL CHARACTERISTICS .................................................................................................................................................... 7
A.PRODUCT ....................................................................................................................................................................................... 7
B.FUNCTIONS OF THE INTEGRATED SENSORS............................................................................................................................................. 7
CASE........................................................................................................................................................................................... 8
A.DIMENSIONS ................................................................................................................................................................................... 8
B.FIXING ........................................................................................................................................................................................... 8
C.INSTALLATION.................................................................................................................................................................................. 8
D.IDENTIFICATION............................................................................................................................................................................... 9
OPERATION ...............................................................................................................................................................................10
A.MODE OF OPERATION..................................................................................................................................................................... 10
B.PUTTING THE PRODUCT INTO OPERATION ............................................................................................................................................ 11
C.SENDING A TEST FRAME ................................................................................................................................................................... 12
D.PUTTING INTO STORAGE MODE ......................................................................................................................................................... 12
E.RADIO MODULE ACTIVITY ................................................................................................................................................................. 12
F.EXCEEDING THE THRESHOLD.............................................................................................................................................................. 13
G.SUBSTITUTION TO THE MAGNET ........................................................................................................................................................ 13
H.BATTERY PASSIVATION..................................................................................................................................................................... 13
ACW CONFIGURATOR................................................................................................................................................................13
A.COMPATIBLE CONFIGURATOR VERSIONS.............................................................................................................................................. 13
B.ACW-THW CONFIGURATION.............................................................................................................................................................. 15
Transmission period and samples in the frame........................................................................................................................ 15
Lifetime frame period............................................................................................................................................................... 17
Frame timestamp ..................................................................................................................................................................... 17
Radio module configuration..................................................................................................................................................... 18
Product clock ............................................................................................................................................................................ 19
Product versions ....................................................................................................................................................................... 19
Sensor configuration ................................................................................................................................................................ 20
Vibration detection ...................................................................................................................................................................................20
Temperature and humidity .......................................................................................................................................................................20
Configuration validation............................................................................................................................................................................20
C.FACTORY CONFIGURATION................................................................................................................................................................ 21
D.ACW UPDATE................................................................................................................................................................................. 22
UPLINK FRAME FORMAT ...........................................................................................................................................................23
A.DESCRIPTION ................................................................................................................................................................................ 23
Classic frame ............................................................................................................................................................................ 23
The different types of frames ................................................................................................................................................... 24
Measurement frame ................................................................................................................................................................ 24
Measurement alert frame ........................................................................................................................................................ 26

3
ATIM_ACW-THX_UG_EN_V1.1
Lifetime frame .......................................................................................................................................................................... 27
Error and general alarm frame ................................................................................................................................................ 28
B.EXAMPLES OF FRAMES..................................................................................................................................................................... 30
Measurement frame ................................................................................................................................................................ 30
Measurement alert frame ........................................................................................................................................................ 32
DOWNLINK................................................................................................................................................................................33
A.CHANGING PARAMETERS............................................................................................................................. ERREUR ! SIGNET NON DEFINI.
B.SENDING DOWNLINK COMMAND. .................................................................................................................ERREUR ! SIGNET NON DEFINI.
TECHNICAL SUPPORT......................................................................................................................ERREUR ! SIGNET NON DEFINI.

4
ATIM_ACW-THX_UG_EN_V1.1
This user guide is applicable to the following references
Version history of this document
Version
Date
Description
Author
Software version
concerned
/Revision
1.0
17/01/2022
Creation of the document
YL
V1.0.2 / B1
Product reference
Product Version
(Visible on the product label)
LoRaWAN
ACW/LW8-THX
B.2
Sigfox
ACW/SF8-THX
B.2

5
ATIM_ACW-THX_UG_EN_V1.1
Disclaimer of Liability
The information in this document is subject to change without notice and does not represent a commitment on the
part of ATIM radiocommunications. ATIM radiocommunications provides this document "as is" without warranty of
any kind, either expressed or implied, including, but not limited to, the implied warranties of merchantability or fitness
for a particular purpose. ATIM radiocommunications may make improvements and/or changes in this manual or in the
product(s) and/or program(s) described in this manual at any time.
Marques et droits d’auteurs
ATIM radiocommunications®, ACW ATIM Cloud Wireless®, ARM Advanced Radio Modem® are registered trademarks
of ATIM Sarl in France. Other trademarks mentioned in this document are the property of their respective owners.
Declaration of conformity
All ACW (Atim Cloud Wireless®) products comply with the regulatory requirements of the R&TTE Directive 1999/5/EC
Article 3 :
1 Safety (Article 3.1a of Directive 1999/5/EC)
NF EN60950-1 Ed. 2006/A1:2010/A11:2009/A12:2011 (health)
EN62479: 2010 (power <20mW) or EN62311:2008 (power > 20mW)
2 Electromagnetic compatibility (Article 3.1b of Directive 1999/5/EC)
EN 301489-3 v1.4.1, EN 301489-1 V1.9.2
3 Efficient use of the radio frequency spectrum (Article 3.2 of Directive 1999/5/EC)
ETSI EN300 220-2 v2.4.1 and EN300 220-1 v2.4.1

6
ATIM_ACW-THX_UG_EN_V1.1
Environmental recommendations
a. Environment
Observe the storage and operating temperature ranges of the products. Failure to do so may result in
operational disruption and even damage to the equipment. This equipment is not designed for an outdoor
environment !
Follow the precautions and instructions listed below to ensure your safety and that of your environment and
to prevent damage to your equipment.
General Danger - If instructions are not followed, there is a risk of damage to equipment.
WARNING : Do not install near any heat source or near any moisture source.
This symbol on the product or its packaging indicates that this product should not be disposed of with your other
household waste. Instead, it is your responsibility to dispose of your waste by taking it to a designated collection
point for the recycling of electrical and electronic equipment. Separate collection and recycling of your waste at
the time of disposal will help conserve natural resources and ensure environmentally and human health friendly
recycling. For more information on the nearest recycling center to your home, contact the nearest city hall, the
household waste disposal service or the store where you purchased the product.
b. Radio
The modems of the ACW series are part of the radiocommunication modems using the ISM (Industrial
Scientific Medical) bands which can be used freely (free of charge and without authorization) for industrial,
scientific and medical applications.

7
ATIM_ACW-THX_UG_EN_V1.1
Technical specifications
a. Product
Dimensions
80 x 80 x 35 mm
Antenna
Integrated (¼ wave)
Temperature
-20°C to +55°C (operating)
-40°C to +70°C (storage)
Fastening
Mural
Box
Home automation
Power supply
1 pack of Lithium batteries 3,6V / 7,2 Ah
Weight
100 g
Frequency
863 –870 MHz
Power
25 mW (14 dBm)
Radio version
Sigfox : v2.8.1
LoRaWan : v1.0.2 revB
Flow rate
Sigfox : 100 bits/s
LoRaWAN : 250 bit/s to 5.5 Kbit/s
Consumption
Sigfox
LoRaWAN
Tx mode
60mA
30 mA
Storage mode
15 µA
15 µA
Rx mode
50mA
5 mA
b. Functions of the integrated sensors
Temperature sensor
Track
-40°C to +125 °C
Resolution
0,01°C
Accuracy between -40°C and +80°C
+/- 0.2°C
Capteur d’humidité
Track
0 to 100 %RH
Resolution
0,01 %RH
Accuracy between 0 %RHC and 100 %RH (Operating range)
+/- 2 %RH

8
ATIM_ACW-THX_UG_EN_V1.1
Box
a. Footprint
b. Fastening
The ACW-THX is fixed to a wall with two screws that fit into the two fixing holes at the back of the case.
The holes of the cover must be on the right, in the same direction as the picture below.
c. Installation
For best results, it is recommended to install the box without environmental obstruction and to place it at a height of
about 1.5m. For information, the antenna is integrated in the box. It should be mounted on a vertical support, or fixed
to a wall.
60
<- Holes of ->
fasteners

9
ATIM_ACW-THX_UG_EN_V1.1
d. Identification
The Sigfox or LoRaWAN identifier of the product is visible on the external label on the back of the product, inside on
the electronic board, and in the status bar of the ACW configurator. For LoRaWAN modems, the communication keys
are automatically given by the network (pairing by "Over The Air Activation", or OTAA).
ACW/LW8-THX label
Product serial number
Product reference
Product revision number
(Hardware and firmware
technical status)
Datamatrix
DevEUI LoRaWAN
Network ID number
X

10
ATIM_ACW-THX_UG_EN_V1.1
Operation
a. Mode of operation
To find out the status of the product, you just need to pass a magnet briefly (<2 sec) against the QRCODE label,
which causes the LED to light up. The color of the LED indicates the operating mode of the product as
described:
Storage mode : When you take the product out of its packaging, it is by default in this storage mode,
which optimizes the life of the batteries by avoiding their oxidation. The product does not emit and waits
patiently for you to wake it up.
Network pairing mode : This mode is active as soon as the product leaves the storage mode and allows the
pairing to a network (automatic in case of battery change).
Configuration mode : This mode is active 5 minutes after the exit of the storage mode and authorizes the
configuration of the product in Bluetooth thanks to the PC configurator or to the mobile application ATIM. During
these 5 minutes messages are sent by radio every minute (5 "radio frames"), that allows you to check that the product
works well, for example after having placed it under a cast iron manhole. After this period, the product goes into
operation mode and the Bluetooth is deactivated (possibility to reactivate it via Downlink).
Operating mode : This is the default mode after the product start-up phase. In this mode, the module periodically
sends measurements according to the configuration applied (if the product has never been configured, the
factory configuration applies, see Factory Configuration).
Internal fault mode : This mode allows the normal operation of the module to be interrupted when a critical
event occurs. The nature of the event can be multiple:
- Battery empty (Battery voltage < 2.2V)
- Internal error of the radio module
- System error
The entry in this "Internal Fault" mode is signaled by a RED flashing of the product LED
If the error does not come from the radio module, the product will send a radio frame every 24 hours
containing the or the error codes (see chapter Frame format for error codes). In addition, the product will emit a
warning light depending on the nature of the event.
Once in this mode, the module must be restarted (by disconnecting and reconnecting the battery, by Downlink
command or with the magnet) to regain normal operation.

11
ATIM_ACW-THX_UG_EN_V1.1
b. Putting the product into service
Unless otherwise requested, ACW products are delivered with batteries connected and set to "storage" mode.
To place the product in its operating mode, hold a magnet against the QRCODE label for 6 seconds. During these
six seconds, the product's LED should blink WHITE and then GREEN at the end of the six seconds to indicate that
the product has been successfully switched on.L’ACW rentre alors en phase d’appairage au réseau. Durant cette phase,
un signal lumineux FUSCHIA avec un effet de fondu indique que la phase de recherche est en cours.
If the connection is successful, the product will emit a light signal indicating the quality of the network :
•GREEN light signal: good network quality
•YELLOW light : average network quality
•ORANGE light signal: low network quality
•WHITE : no information on the network quality
The module will then enter its operating mode and start sending information to the network according to the
configuration.
NOTE
The LoRaWAN version, if it fails to connect, will go into simple sleep mode and make the next pairing attempt the next day and
every day until it successfully joins the network.

12
ATIM_ACW-THX_UG_EN_V1.1
Special case
For a Sigfox product
To have the information on the quality of the Sigfox network (GREEN, YELLOW or ORANGE light signal), it is
necessary to provide a Sigfox Downlink. It is this one which will allow to rule on the quality of the network. The
product emits at startup a test Uplink described in the chapter Classic frame (frame type 0x02). If a Sigfox Downlink
is provided, the information on the network quality will be sent back by the ACW (light signal). If no Downlink is
provided, the ACW will always display the WHITE light signal at the end. If a WHITE light signal is emitted by the
product at the end of the 5 minute pairing phase and a Downlink has been provisioned, this means that the Network
is not accessible.
•If a WHITE light signal at the end of the 5min pairing phase is emitted by the product without a downlink being
provided, this has no meaning as to the network quality. The network quality can be good or bad (or non-
existent).
For a LoRAWAN product
•In the default LoRAWAN Class A operating mode, (see chapter Radio module configuration), if at the end of the 5
minutes pairing phase, no network has been reached, then the product goes into standby and will restart a 5
minutes pairing phase 24 hours later. So if the product is placed in an area not yet covered by a network, the
product will join it when connectivity is possible. There is no need to intervene on the product for it to join the
network.
c. Sending a test frame
When the product is in its operating mode (and only in this mode), it is possible to send a test frame (which
avoids waiting for the next measurement frame) including a measurement sample.
To do this, simply move the magnet against the QRCODE label, which turns the LED GREEN, and wait until it goes out
before removing the magnet. The successful sending of the test frame will be indicated by a CYAN light signal.
d. Putting into storage mode
During transport or storage of the ACW-THX, it is preferable to place it in its storage mode to limit unnecessary power
consumption.
From any operating mode (except fault mode), move a magnet against the QRCODE on the case for 6 seconds.
During these six seconds, the product's LED will flash the color corresponding to the operating mode and then
the end of the sequence will be indicated by a WHITE fade acknowledging that the product has been put to sleep.
The magnet can then be removed.
e. Radio module activity
Any transmission of a radio frame is normally indicated by three short flashes of GREEN color of the LED.

13
ATIM_ACW-THX_UG_EN_V1.1
f. Exceeding the threshold
When thresholds have been configured using the configurator and the measurement values exceed these thresholds,
the product LED emits a periodic ORANGE flash to notify this.
g. Substitution to the magnet
It is possible to use the push button on the ACW-THX board to perform the same actions as the magnet (switch the
product on or off, view the product status, send a test frame).
➔Pressing the button has the same effect as approaching the QRCode magnet.
h. De-passivation of batteries
All new generation ACW products include a battery de-passivation feature to prevent battery oxidation during
extended storage. This feature is automatically activated as soon as the product enters its storage mode. The product
will be woken up once a day to start the battery de-passivation sequence, then the product will return to storage mode
by itself.
ACW Configurator
a. Compatible configurator versions
For a THX with the following application software version
Using the ACW Configurator version
Sigfox : V1.0.3 (revision B2)
V5.3.2 or higher
LoRaWan: V1.0.3 (revision B2)
V5.3.2 or higher
Download and install the configuration software ''setupACW.exe'' at : https://www.atim.com/wp-
content/uploads/documentation/CONFIGURATEUR/ACW/configurateur-acw.exe
Magnet
Push button

14
ATIM_ACW-THX_UG_EN_V1.1
NOTE
The product must be in its configuration mode to be detected by the configurator. For safety reasons, configuration is only
possible for 5 minutes after the product has been started. First of all, the product must be put into deep sleep mode (magnet
close for 6 seconds), wait about 20 seconds for the entry into deep sleep to be effective, then wake up the product (magnet 6
seconds again). The product can then be configured.
When the ACW Configurator is launched, the waiting window appears on the screen.
The pairing of the ACW-THX to the configurator can be done in two ways:
•By USB: open the ACW-THX case and connect it to a computer with a micro-USB cable.
•By Bluetooth: make sure that Bluetooth is activated
WARNING
Do not leave the product connected to the configurator (via USB or Bluetooth) unnecessarily, otherwise the product's
autonomy will be significantly reduced.

15
ATIM_ACW-THX_UG_EN_V1.0
b. Configuration of the ACW-THX
Transmission period and samples in the frame
The transmission period corresponds to the time interval between each transmission of a measurement
frame. This period can be configured from :
⚫1 min to 255h for a LoRaWan product
⚫10min to 255h for a Sigfox product
The transmission period is set to 1 hour by default
WARNING
If the transmission period is less than 4 min on a LoRaWan product, an alert message will be displayed to warn the user that
the ADR (Adaptive Data Rate) will be disabled, and that the product will freeze its Data Rate at SF9
1
2
3
4
5
6
7
8
9
10
1

16
ATIM_ACW-THX_UG_EN_V1.0
It is possible to configure the number of samples in a frame . Thus, several measurements will be made before
sending the frame that will contain all these measurements.
For example, with a period of 60 minutes and a number of samples of 4, a measurement will be made every 15 minutes
and the 4 samples will be sent in 4 frames every hour. (4 frames because Sigfox product. 2 frames are needed in
LoRaWAN)
Finally, it is possible to apply data redundancy, which means that samples that were sent in frame n-1, n-2 or
n-3 can be sent again in frame n following the new measurement samples (the most recent sample first in the frame
and the least recent last).
For example, for a history depth of 3, the data from the last 2 frames will be sent, in addition to the new data, in the
next frame.
By default, there is only one sample per frame and no redundancy enabled.
TIP: HOW TO INCREASE BATTERY LIFE?
- Using the Threshold functionality, it is possible to configure 2 different cycle times, a "slow" one in standard operation, for
example 1 measurement and emission every 2 hours and a "fast" one, for example 1 measurement and emission every 10
minutes. The "fast" operation being defined by "Fast Tx Period" should in this case be taken into account only in cases where
the temperature is outside the comfort thresholds.
With this trick, the autonomy can easily be multiplied by 2!
2
3

17
ATIM_ACW-THX_UG_EN_V1.0
Period of the life frame
A life frame can be issued periodically. This frame will contain the supply voltage of the product.
The value of this period can be configured from 1 hour to 1 month.
By default, the value is set to 1 day.
Timestamp of the frame
is possible to disable/enable time stamping of all radio frames.
WARNING
This option, when activated, monopolizes 4 bytes in the frame that cannot be used for useful data. These 4 bytes will then
represent the timestamp of the sensor data acquisition.
By default the timestamp is disabled.
4
5

18
ATIM_ACW-THX_UG_EN_V1.0
Radio module configuration
It is possible for the product to work in three different ways both in LoRaWAN and in Sigfox :
For a LoRaWAN product
1. LoRAWAN Class A : The product modulation is done in LoRa and uses the LoRAWAN Class A protocol. This is
the default mode of the product. This mode requires a private LoRAWAN network (private gateway), or an
operated network to view the data sent by the product.
2. Local mode : The modulation of the product remains the LoRa modulation. However there is no LoRAWAN
overlay. In this mode, you have to choose the radio channel on which the product will transmit.To be able to
receive the frames of the product, you need a radio modem with the same parameters. This mode does not
have for the moment a real concrete use case, but future developments of this mode will allow to have
interesting point to point functionalities.
WARNING
This radio mode is NOT AVAILABLE on THX revision B1 (detailed in this user guide)
3. Compatibility mode with the ATIM LoRa/LoRAWAN Repeater : This mode is to be selected when you want
to operate in classic LoRAWAN, but no network (private or operated) is accessible. This mode, associated with
the ATIM LoRa/LoRAWAN Repeater, allows then to join the LoRAWAN network with the intermediary of this
repeater. In this mode, if the network is not joined (no JOIN_ACCEPT), then the product will transmit its frames
locally. The LoRa/LoRAWAN repeater will then relay these frames on the network that it has joined (It is
necessary that the repeater is placed at a location with connectivity to the desired network).
IMPORTANT NOTE
If the product has access to the LoRAWAN network, the default operating mode (LoRAWAN Class A) should be chosen. If this
mode is chosen, while the network is accessible, the product will still send a frame on the LoRAWAN network and this same
frame in Local mode to the Repeater, which will consume battery unnecessarily.
WARNING
This radio mode is NOT AVAILABLE on THX revision B1 (detailed in this user guide)
6

19
ATIM_ACW-THX_UG_EN_V1.0
For a Sigfox type product
1. Sigfox : Modulation and Sigfox protocol used. This is the default mode of the product. This mode
requires an access to the Sigfox network to work.
2. Local mode :The modulation of the frames is done in FSK. In this mode, you have to choose the
radio channel on which the product will transmit. To be able to receive the frames of the product,
it is then necessary a radio modem with the same parameters. This mode does not have for the
moment a real concrete use case, but future developments of this mode will allow to have
interesting point to point functionalities.
3. Compatibility mode with the ATIM FSK/Sigfox Repeater : This mode is to be selected when you want to
work in Sigfox, but the network is not accessible. This mode, associated with the ATIM FSK/Sigfox Repeater,
allows then to join the Sigfox network with the intermediary of this repeater. In this mode, the product
transmits these frames both on the Sigfox network and also in Local (FSK modulation). The FSK/Sigfox
repeater then relays these frames on the Sigfox network: it is indeed necessary that the repeater is placed at
a location where the Sigfox network is accessible.
4. IMPORTANT NOTE
If the product has an access to the Sigfox network, it is necessary to prefer the default mode (Sigfox). If this mode is chosen,
the product will always send a frame on the Sigfox network and this same frame in Local mode to the Repeater, which will
consume battery unnecessarily.
Product clock
At each connection to the configurator, the product clock is updated (based on the computer clock) and displayed.
In addition, an offset in seconds can be applied if needed.
Product versions
When connecting to the product, the configurator retrieves all the product software versions (product software and
radio module software) as well as the network identifier
7
8

20
ATIM_ACW-THX_UG_EN_V1.0
Sensor configuration
Here are the configuration parameters available for this sensor :
Vibration detection
The ACW-THX is equipped with a vibration sensor that allows to send a radio alarm in case of movement detection on
the product. (see chapter Alert frame for all available alerts).
This vibration sensor has two settings:
•Bounce time which corresponds to the duration of the vibration needed for the alert to be sent. This parameter
is set to 5s by default
•Dead time, which is the time the vibration sensor is disabled after the alert is sent by radio. This means that
two alerts cannot be sent with a period shorter than the inhibition time. This parameter is set to 24hby default.
Temperature and humidity
The ACW-THX has a built-in temperature and humidity sensor.
The sensor can be configured by applying :
•Temperature and humidity thresholds
•A temperature compensation on two points
The thresholds can be set by a high and low threshold according to a configurable hysteresis and duration. When a
measurement reaches a threshold, a radio frame will be sent (see the chapter Alert frame for details on the format of
the frame).
Moreover, the temperature and humidity values of the sensor are visible in real time when the product is connected
to the configurator (these values are refreshed every 2 seconds).
Validation of the configuration
After filling in all the configuration parameters, it is imperative to click on the "Apply to ACW" button to send the
configuration to the product.
It is also possible at any time to read the current configuration of the product which will update the settings on the
configurator or to reset the product to its default configuration.
9
10
This manual suits for next models
1
Table of contents
Other Atim Cloud Wireless Security Sensor manuals
Popular Security Sensor manuals by other brands

KAM
KAM OID user manual

Jung
Jung BM360MBWW operating instructions

CADDX
CADDX NX480 - ITI, Caddx Wireless Motion Detector installation instructions

schmersal
schmersal SRB 207AN/1-230V operating instructions

Sentera Controls
Sentera Controls RCMFH-3 Mounting and operating instructions

Sonoff
Sonoff SNZB-04P user manual