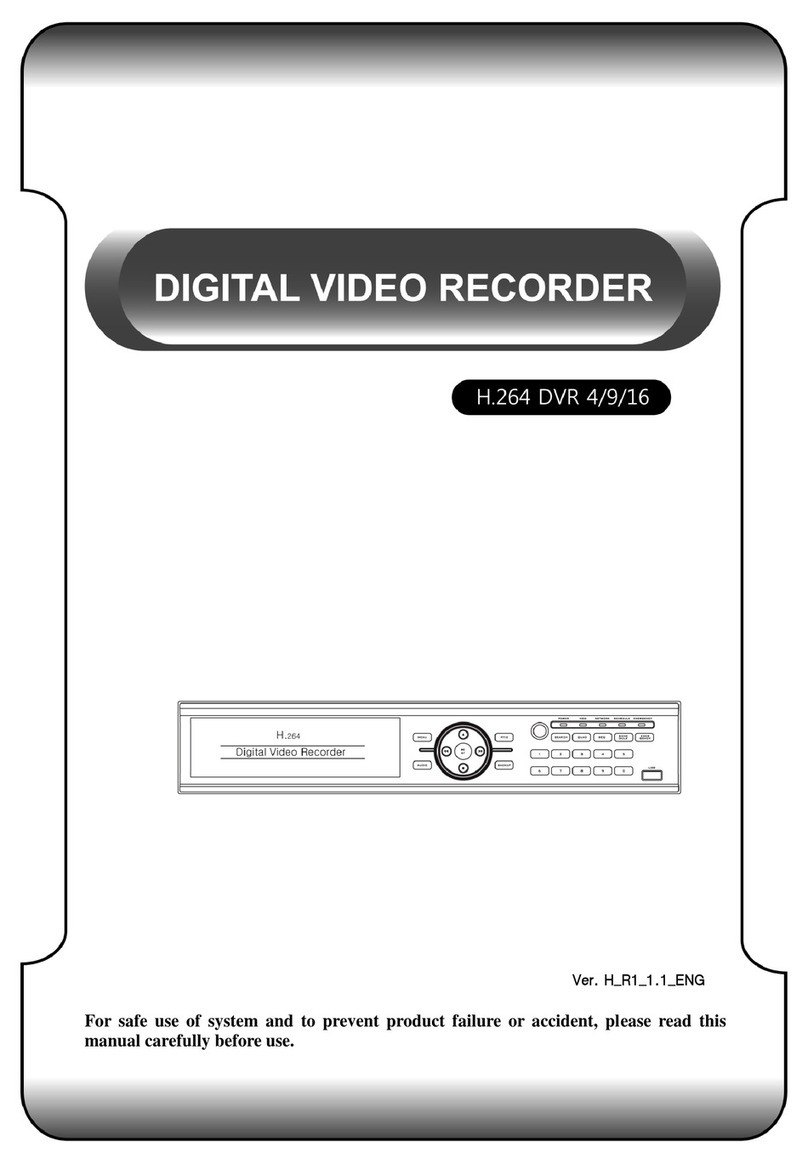
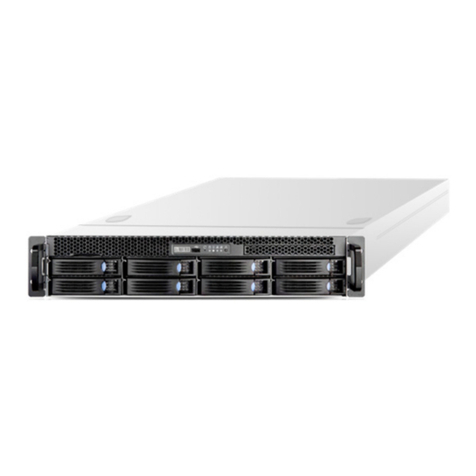
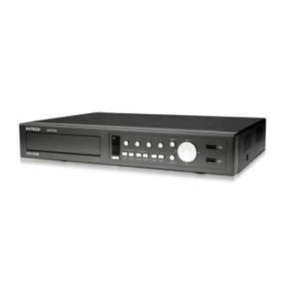
Triplex H.264 Network DVR User manual

User Guide
INFORMATION MAY CHANGE WITHOUT NOTICE.
Triplex H.264 4/8/16CH DVR
Digital Video Recorder

2
Triplex H.264 4/8/16CH DVR
Digital Video Recorder
Table of Contents
P
Pa
ac
ck
ka
ag
ge
e
C
Co
on
nt
te
en
nt
ts
s.
..
..
..
..
..
..
..
..
..
..
..
..
..
..
..
..
..
..
..
..
..
..
..
..
..
..
..
..
..
..
..
..
..
..
..
..
..
..
..
..
..
..
..
..
..
..
..
..
..
..
..
..
..
..
..
..
..
..
..
..
..
..
..
..
..
..
..
..
..
..
..
..
..
..
..
..
..
..
..
..
..
..
..
..
..
..
..
..
.3
3
I
In
nt
tr
ro
od
du
uc
ct
ti
io
on
n.
..
..
..
..
..
..
..
..
..
..
..
..
..
..
..
..
..
..
..
..
..
..
..
..
..
..
..
..
..
..
..
..
..
..
..
..
..
..
..
..
..
..
..
..
..
..
..
..
..
..
..
..
..
..
..
..
..
..
..
..
..
..
..
..
..
..
..
..
..
..
..
..
..
..
..
..
..
..
..
..
..
..
..
..
..
..
..
..
..
..
..
..
..
..
..
..
..
..
..
.4
4
1. Product Overview........................................................................................4
2. Front Panel...................................................................................................4
3. Rear Panel....................................................................................................5
4. IR Remote Controller ..................................................................................6
I
In
ns
st
ta
al
ll
la
at
ti
io
on
n.
..
..
..
..
..
..
..
..
..
..
..
..
..
..
..
..
..
..
..
..
..
..
..
..
..
..
..
..
..
..
..
..
..
..
..
..
..
..
..
..
..
..
..
..
..
..
..
..
..
..
..
..
..
..
..
..
..
..
..
..
..
..
..
..
..
..
..
..
..
..
..
..
..
..
..
..
..
..
..
..
..
..
..
..
..
..
..
..
..
..
..
..
..
..
..
..
..
..
..
..
..
.8
8
1. PTZ Camera connection.............................................................................8
2. Alarm (External) Installation.......................................................................9
S
St
ta
ar
rt
t
u
up
p
t
th
he
e
D
DV
VR
R
S
Sy
ys
st
te
em
m.
..
..
..
..
..
..
..
..
..
..
..
..
..
..
..
..
..
..
..
..
..
..
..
..
..
..
..
..
..
..
..
..
..
..
..
..
..
..
..
..
..
..
..
..
..
..
..
..
..
..
..
..
..
..
..
..
..
..
..
..
..
..
..
..
..
..
..
..
..
..
..
..
..
..
..
.1
11
1
1. Pop-Up Menu.............................................................................................11
2. Main Menu..................................................................................................12
2.1. Camera Setup ...................................................................................12
2.2. Motion Setup.....................................................................................13
2.3. Record Setup....................................................................................14
2.4. Alarm Setup ......................................................................................15
2.5. Hard Disk Management Setup.........................................................16
2.6. Network Setup ..................................................................................17
2.7. Backup Setup....................................................................................19
2.8. System Setup....................................................................................21
P
PT
TZ
Z
M
Me
en
nu
u.
..
..
..
..
..
..
..
..
..
..
..
..
..
..
..
..
..
..
..
..
..
..
..
..
..
..
..
..
..
..
..
..
..
..
..
..
..
..
..
..
..
..
..
..
..
..
..
..
..
..
..
..
..
..
..
..
..
..
..
..
..
..
..
..
..
..
..
..
..
..
..
..
..
..
..
..
..
..
..
..
..
..
..
..
..
..
..
..
..
..
..
..
..
..
..
..
..
..
..
..
.2
25
5
1. PTZ Preset..................................................................................................25
2. PTZ Setup...................................................................................................26
P
Pl
la
ay
yb
ba
ac
ck
k.
..
..
..
..
..
..
..
..
..
..
..
..
..
..
..
..
..
..
..
..
..
..
..
..
..
..
..
..
..
..
..
..
..
..
..
..
..
..
..
..
..
..
..
..
..
..
..
..
..
..
..
..
..
..
..
..
..
..
..
..
..
..
..
..
..
..
..
..
..
..
..
..
..
..
..
..
..
..
..
..
..
..
..
..
..
..
..
..
..
..
..
..
..
..
..
..
..
..
..
..
..
..
.2
27
7
1. Playback Menu ..........................................................................................27
2. Time Search...............................................................................................28
3. Event Search..............................................................................................29
4. Playback on PC .........................................................................................30
4.2 CD/DVD BACKUP PLAYBACK .................................................................34
4.3 USB & LOCAL BACKUP FILE PLAYBACK..............................................35
4.4 BACKUP FILE TO AVI ...............................................................................37
A
AP
PP
PE
EN
ND
DI
IX
X
A
A:
:
R
RE
EC
CO
OR
RD
DI
IN
NG
G
T
TI
IM
ME
E
L
LA
AP
PS
SE
E
(
(H
HO
OU
UR
RS
S)
).
..
..
..
..
..
..
..
..
..
..
..
..
..
..
..
..
..
..
..
..
..
..
..
..
..
..
..
..
..
..
..
..
..
.3
38
8
H
Ha
al
lf
f
D
D1
1-
-
7
72
20
0x
x2
24
40
0.
..
..
..
..
..
..
..
..
..
..
..
..
..
..
..
..
..
..
..
..
..
..
..
..
..
..
..
..
..
..
..
..
..
..
..
..
..
..
..
..
..
..
..
..
..
..
..
..
..
..
..
..
..
..
..
..
..
..
..
..
..
..
..
..
..
..
..
..
..
..
..
..
..
..
..
..
..
..
..
..
..
..
..
..
..
..
..
..
..
.3
38
8
C
CI
IF
F-
-3
36
60
0x
x2
24
40
0.
..
..
..
..
..
..
..
..
..
..
..
..
..
..
..
..
..
..
..
..
..
..
..
..
..
..
..
..
..
..
..
..
..
..
..
..
..
..
..
..
..
..
..
..
..
..
..
..
..
..
..
..
..
..
..
..
..
..
..
..
..
..
..
..
..
..
..
..
..
..
..
..
..
..
..
..
..
..
..
..
..
..
..
..
..
..
..
..
..
..
..
..
..
..
..
..
..
.4
40
0
A
AP
PP
PE
EN
ND
DI
IX
X
B
B:
:
H
HD
DD
D
C
CO
OM
MP
PA
AT
TI
IB
BL
LE
E
T
TA
AB
BL
LE
E.
..
..
..
..
..
..
..
..
..
..
..
..
..
..
..
..
..
..
..
..
..
..
..
..
..
..
..
..
..
..
..
..
..
..
..
..
..
..
..
..
..
..
..
..
..
..
..
..
.4
43
3
A
AP
PP
PE
EN
ND
DI
IX
X
C
C:
:
E
ER
RR
RO
OR
R
M
ME
ES
SS
SA
AG
GE
E
L
LI
IS
ST
T.
..
..
..
..
..
..
..
..
..
..
..
..
..
..
..
..
..
..
..
..
..
..
..
..
..
..
..
..
..
..
..
..
..
..
..
..
..
..
..
..
..
..
..
..
..
..
..
..
..
..
..
..
..
.4
44
4
C
Ca
au
ut
ti
io
on
n

3
Triplex H.264 4/8/16CH DVR
Digital Video Recorder
zFor your safety, unplugging the power before moving the DVR, installing, or
replacing any parts or hard drive.
zMake sure all the power cable and wires are properly set up before using the
DVR.
zTo avoid a short circuit, don’t leave any unnecessary parts inside the DVR.
zPlease avoid dramatic changes of the environment, such as dust, temperature,
and humidity. Keep the DVR in a temperature ranging from 5℃~40℃.
zKeep the DVR in a well-ventilated place and away from any heat-generating
objects.
zDo not block the DVR’s fan and vent.
zDo not expose this unit to the sun directly.
zIf you are not sure of the installation and setup, please consult the technicians.
zDon’t fix it yourself if there’s any damage to this unit or the power supply,
Consult the technician or the distributor.
P
Pa
ac
ck
ka
ag
ge
e
C
Co
on
nt
te
en
nt
ts
s
zDVR Main unit x 1
zPower Adapter x1 + Power cord x1(4/8ch DVR)
zPower cord x1(16ch DVR)
zCD with Software / Manual x 1
zUSB Mouse X1
zIR Remote Controller x 1
If there is any damage, shortage or inappropriate item in the package, please
contact with your local dealer.

4
Triplex H.264 4/8/16CH DVR
Digital Video Recorder
I
In
nt
tr
ro
od
du
uc
ct
ti
io
on
n
1. Product Overview
z4/8/16ch high performance digital surveillance system
zTriplex operations : Recording / Playback / Remote Backup
zH.264 Video compressive
z240PPS (8/16ch), 120PPS(4ch).
zCMS / 3GPP support.
zSearch by Time, Event.
zEthernet remote control/ Viewer, support PPPoE, DHCP, DDNS.
zFlexible and easy backup files through USB, CDRW/DVDRW.
zMulti-Lingual OSD support
zMultiple and flexible operation control by mouse and IR remote.
zP/T/Z camera control by RS485
zDimension(Width x Height x Depth):
340x60x270mm (4/8CH DVR), 430x80x325mm (16CH DVR)
2. Front Panel
4CH DVR (Front Panel 1)
No. Function
1 Power
2 HDD
3 USB for backup/ firmware upgrade
4 IR Receiver
4CH DVR (Front Panel 2)
8/16CH DVR

5
Triplex H.264 4/8/16CH DVR
Digital Video Recorder
No. Name Function
1 Power LED The DVR unit is powered up and running. (Green color)
2 IR Receiver IR Control receiver (Refer to IR Remote Controller)
3 Hard disk
Actived LED
LED indicator flashes at hard disk is acting (Red color)
4 USB Port USB Port for firmware upgrade or USB backup
3. Rear Panel
4CH DVR
8CH DVR
16CH DVR

6
Triplex H.264 4/8/16CH DVR
Digital Video Recorder
No. Function
1 USB PORT
2 VIDEO IN (BNC)
3 Monitor OUT
4 AUDIO-IN
5 AUDIO-OUT
6 Ethernet (RJ45)
7 RS-485/ ALARM/ RELAY, 4 pin connector for external control unit, 5
pin connector for Alarm input and 3 pin connector for relay
8 VGA Display Connector (DB-9)
9 DC-IN (12V)
10 S-VIDEO
11 SPOT MONITOR
12 Video Output
13 Alarm
14 RS232 / RS485 port
4. IR Remote Controller
ITEM Function
AUTO Press AUTO to switch channel by channel
automatically.
SEL
Press this button to select the different
assembled of camera formats or perform PTZ
functions.
REC Press REC to start recording & again to stop.
1-16 Press the button to select the channel for full
screen.
__ Fast backward
MENU STOP
MODE
1234
8765
9 101112
16151413
AUTO SEL
PB
REC
ZOOM
ID
_II Picture by picture backward play

7
Triplex H.264 4/8/16CH DVR
Digital Video Recorder
II`Picture by picture forward play
`` Fast forward
XPlay video forward
MODE Split Screen Switch
ID **ID setup to control DVRs
▲/►/ Switch split screen & Move up / right or
increase.
▼/◄Switch split screen & Move down / left or
decrease.
To enter item or make choose.
MENU To into or exit main menu
STOP Stop play and playback
1) Each DVR can setup its own ID number. The user can control DVR via remote
controller by pressing ID button first and then ID number of DVR and ID button again
of remote controller.
2) For example, if DVR is set to 1, the user has to press ID button+ 1+ ID button again of
remote controller to control this DVR.
3) Click ID button first and then number 99 and ID button again to control multi-DVR(s) on
the same time.

8
Triplex H.264 4/8/16CH DVR
Digital Video Recorder
I
In
ns
st
ta
al
ll
la
at
ti
io
on
n
Be sure there is no power connection before starting installation!
1. PTZ Camera connection
Following diagram for DVR connect between PTZ camera & joystick controller, for
DVR to control PTZ camera please make sure the CAMERA ID, BANDRATE (default
at 9600 bps) and RS-485 cable.

9
Triplex H.264 4/8/16CH DVR
Digital Video Recorder
2. Alarm (External) Installation
The DVR unit provides one alarm (speaker) signal. Please refer to following figure.
There are three types of alarms that the system can be configured to handle. They are
Motion detection Alarm, External Alarm and Video Loss Alarm.
A. Motion detection Alarm and External Alarm:
When motion detection or External Alarm was triggered, there are 5 possible
actions will be taken.
1. Changes recording speed as alarm recording speed.
2. Monitor will display corresponding full screen alarm channel, it will switch
automatic mode to manual mode if buttons pressing activity occurred in 5
seconds.
3. Relays can be activated by motion detection or external alarm when turning on.
4. The camera title will be transformed into color of yellow when motion is
happening, “ALARM” text will show up when external alarm is triggered.
B. Video Loss Alarm:
The default setting of Video Loss alarm is enabled.
Terminal Connectors:
Symbol Function
T+ RS-485 sends +
T - RS-485 sends -
R- RS-485 receives -
R+ RS-485 receives +
ALARM1-4 Camera alarm input.
GND GND.
N.C Relay N.C.
COM Relay COM
N.O Relay N.O.

10
Triplex H.264 4/8/16CH DVR
Digital Video Recorder
EXAMPLE 1:Connect Alarm In One with PIR (Passive Infrared).
EXAMPLE 2:Connect with Alarm Siren at Relay N.O.

11
Triplex H.264 4/8/16CH DVR
Digital Video Recorder
S
St
ta
ar
rt
t
u
up
p
t
th
he
e
D
DV
VR
R
S
Sy
ys
st
te
em
m
After the unit is properly installed, the DVR unit is ready to record and play. Please plug the
power to turn on the DVR.
1. Pop-Up Menu
There is a Pop-Up Menu on the bottom of the screen to control DVR.
: Main Menu. Press this button to get into main menu.
: PTZ Control. Press this button to get into PTZ setup menu.
: Disk Drive Information. Press this button to display disk information.
: Digital Zoom. : Under full-screen mode, click mouse left button and to pull a
range to zoom in or zoom out the image (up to 16X). Right-click the mouse button can
disable this function.
: Audio Control. Press this button to turn the audio on / off.
: Screen Display Mode Selection
:Full screen :4 Split View :9 Split View :16 Split View
: Auto channel rotation
: Record/Playback Control
:Start Recording :Stop Recording :Play / Playback

12
Triplex H.264 4/8/16CH DVR
Digital Video Recorder
2. Main Menu
Press to enter the “main menu”.
:Camera Setup :Motion Setup :Record Setup
:Alarm Setup :Hard Disk Setup :Network Setup
:Backup Setup :System Setup :Exit
Press ▲or ▼to select items Press ◄or ►to change values
Press SET to see more options ESC/Discard:To escape this menu
2.1. Camera Setup
♦CAMERA: To select or specify the camera for display/record.
♦VIDEO ADJUST: To adjust video display contract, brightness, hue, color and
sharpness

13
Triplex H.264 4/8/16CH DVR
Digital Video Recorder
♦CAMERA TITLE: To specify each camera name by entering characters.
♦DISPLAY: Set the selected camera at “CAMERA” to display on screen or not.
“OFF” – Hidden the channel on screen you choose, “ON”- Not hidden
♦DWELL TIME: To setup the time period of camera auto rotate.
♦PTZ SETUP: PTZ setup menu. (Please refer to “PTZ Menu”)
2.2. Motion Setup
♦CAMERA: To select or specify the camera for motion setting.
♦MOTION DETECT: “ON” / “OFF” – Enable/Disable motion detection.
♦BUZZER: Press ◄or ►/ mouse wheel to change value for buzzer while motion
detected.
♦SENSITIVITY: Press ◄or ►/ mouse wheel to change sensitivity value from
001 (minimum) to 100 (maximum).
♦AREA SETUP: Press SET to enter Motion Area Setting. (Note: The default
setting of all area is “MOTION ON”.)
SELECT: Cancel the selected
area.
CLEAR: Select the area without
motion detection.
EXIT: Exit the motion detection
setup.

14
Triplex H.264 4/8/16CH DVR
Digital Video Recorder
2.3. Record Setup
.
♦RESOLUTION: To setup recording resolution as 720 x 240 (NTSC)/ 720 x 288
(PAL) or 360 x 240 (NTSC)/ 360 x 288 (PAL)
♦NORMAL RECORD PPS: Press SET to change the PPS in normal recording.
Choose “AVERAGE” to set PPS automatically by system or change the PPS for
each channel manually
♦ALARM RECORD PPS: Press SET to change the PPS in alarm recording.
Choose “AVERAGE” to set PPS automatically by system or change the PPS for
each channel manually.
♦ALARM REC DURATION: To set the time period of alarm recording.
♦RECORD QUALITY: Press SET to switch image quality of each channel (720 ×
240 ( NTSC ) / 720 × 288 ( PAL )) or each two channels (360 × 240 ( NTSC ) /
360 × 288 ( PAL )). The image quality of each single channel can be setup as
LOW/ MEDIUM/ HIGH/ BEST, or use “AVERAGE” to switch the image quality of
all channels at once.

15
Triplex H.264 4/8/16CH DVR
Digital Video Recorder
♦RECORD MODE: Set record mode as ALWAYS/ MOTION/ SCHEDULE / OFF
♦AUDIO RECORD: Enable/Disable the audio recording as ON/OFF
♦SCHEDULE SETUP: Press SET to get into schedule setup menu。
1. Use mouse to select schedule day/ time/ mode.
2. Click to save change and exit.
2.4. Alarm Setup
♦EXT. ALARM MODE: Select N.C for “normal close” alarm input, or select N.O
for “normal open” alarm input.
♦ALARM DISPLAY MODE: Set display mode when alarm occurs.
♦VIDEO LOSS DETECT: Enable/Disable video loss diction.
♦EVENT LOG SETUP: Press SET to change value for MOTION EVENT / VIDEO
LOSS EVENT to ON / OFF
♦BUZZER TIME SETUP: Press SET to set dwell time of BUZZER/ ALARM.

16
Triplex H.264 4/8/16CH DVR
Digital Video Recorder
♦RELAY TIME SETUP: Press SET to set dwell time of RELAY
2.5. Hard Disk Management Setup
2.5.1. OVERWRITE MODE
“ON” / “OFF":Enable or Disable hard disk overwriting function.
2.5.2. CAPACITY WARNING
Set the hard disk capacity left (by %) that will start overwriting function to
enable “Alarm” as warning.
Remark: When Overwrite Mode is OFF, Capacity Warning will enable
automatically.
2.5.3. HDD INFORMATION
Display existed hard disk information.

17
Triplex H.264 4/8/16CH DVR
Digital Video Recorder
2.5.4. HDD FORMAT SETUP
♦HDD Password Protect:“Enable” or “Disable” HDD Password protection.
♦HDD Password Setup: Specify the limits of authority of user and set its
own password. Default is “1111” .
♦HDD Format: Press SET to start FORMAT Hard disk.
2.6. Network Setup
To set up Network configurations
♦IP MODE:Set IP mode as Static or DHCP.
♦HTTP PORT: Assign a communication port.

18
Triplex H.264 4/8/16CH DVR
Digital Video Recorder
♦IPADDR: The IP address acts as a locator for one IP device to find another and
interact with it.
♦NETMASK: Subnet mask is a range of logical addresses that is assigned to an
organization. Please check with your M.I.S staff or administrator to enter the
setting
♦GATEWAY: Gateway IP address, please check with your M.I.S staff or
administrator to enter the setting.
♦DNS 1 / DNS 2: Domain Name System(DNS) translate hostnames to IP
addresses (default setting).
♦PPPOE: Point-to-Point Protocol over Ethernet.
Enter “USER NAME” / “PASSWORD” as ADSL account / Password.
♦DDNS: Dynamic DNS is a system which allows the domain name data held in a
name server to be updated in real time
♦RTSP:
“RTSP PORT”: Press SET to setup RTSP port. The default value is 554.
“RTP START PORT”: Press SET to setup RTP start port.
“RTP END PORT”: Press SET to setup RTP end port.
“VIDEO QUALITY”: Press◄or ►/ mouse wheel to select video quality.

19
Triplex H.264 4/8/16CH DVR
Digital Video Recorder
There are BEST, HIGH, STANDARD, MEDIUM & LOW five options.
2.7. Backup Setup
NOTE 1: Ethernet remote control will be stopped when backup processing
NOTE 2: If there is compatible issue, please refer to APPENDIX B.
NOTE 3: Please format USB flash memory with FAT32.
2.7.1. USB BACKUP
Plug the USB disk into USB port on DVR front panel
If there is no USB detected, it will display “USB DEVICE NOT FOUND”:
You can choose the time period of recorded data for backup by setting the
“START”-Start Time and “END”- End Time and plug in the USB disk.
It will count the backup capacity automatically.
Click to start backup, the total process will be shown on screen.
BACKUP FILE NAME: Each backup file will be named as START TIME.
EXAMPLE: 174624.264 is 17:46:24
USB PORT

20
Triplex H.264 4/8/16CH DVR
Digital Video Recorder
AFTER BACKUP: After backup, the system will copy “R6VIEWER.EXE”
automatically on USB device for the user to play back backup file.
2.7.2. CD/DVD RW BACKUP
Insert a new CD/DVD disk into CD/DVDRW Device on DVR front panel.
You can choose the time period of recorded data for backup by setting the
“START”-Start Time and “END”- End Time and plug in the USB disk.
It will count the backup capacity automatically.
Click to start backup, the total process will be shown on screen
BACKUP FILE NAME: Each backup file will be named as START TIME.
EXAMPLE: 03311041.264 is March 31st 10:41
AFTER BACKUP: After backup, the system will copy “R6VIEWER.EXE”
Automatically on disk for the user to play back backup file.
Other manuals for H.264 Network DVR
1
Table of contents
Other Triplex DVR manuals
Triplex
Triplex MP4 SDVR User manual
Triplex
Triplex MP4 SDVR User manual
Triplex
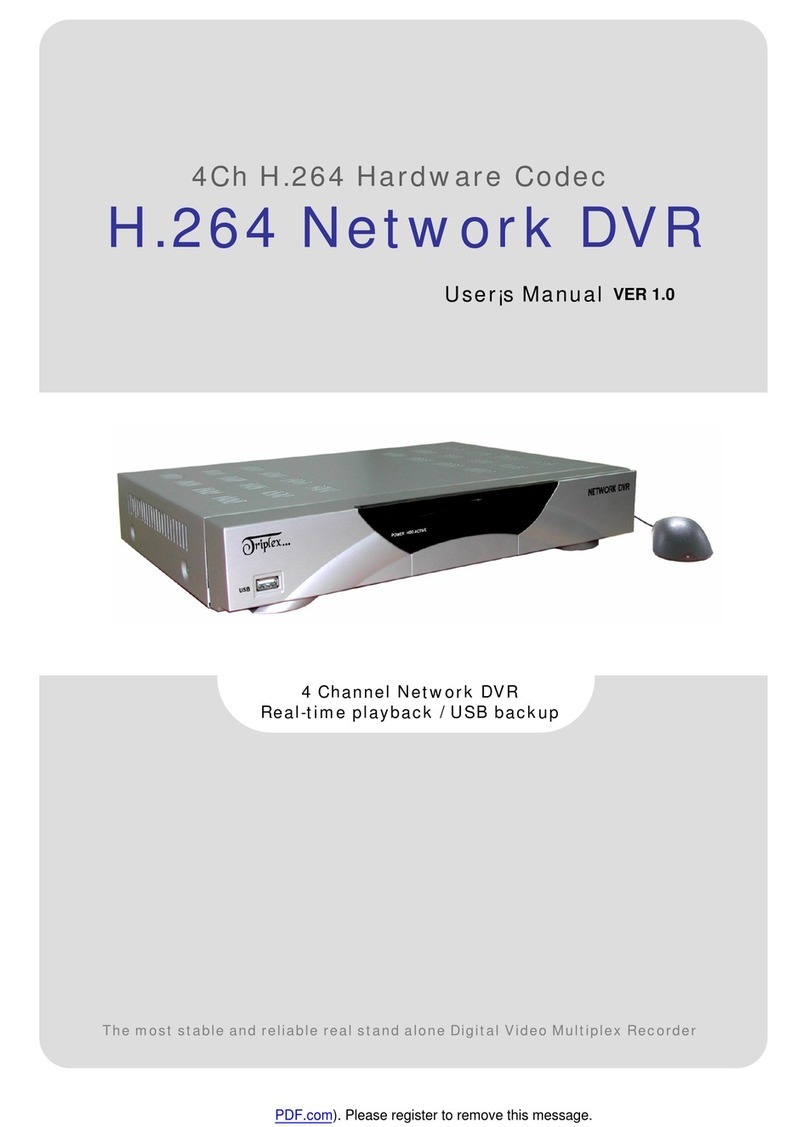
Triplex H.264 Network DVR User manual
Triplex
Triplex Removable HDDCD-RW User manual

Triplex
Triplex HS-400STB User manual
Triplex
Triplex T3200-DVR User manual
Triplex
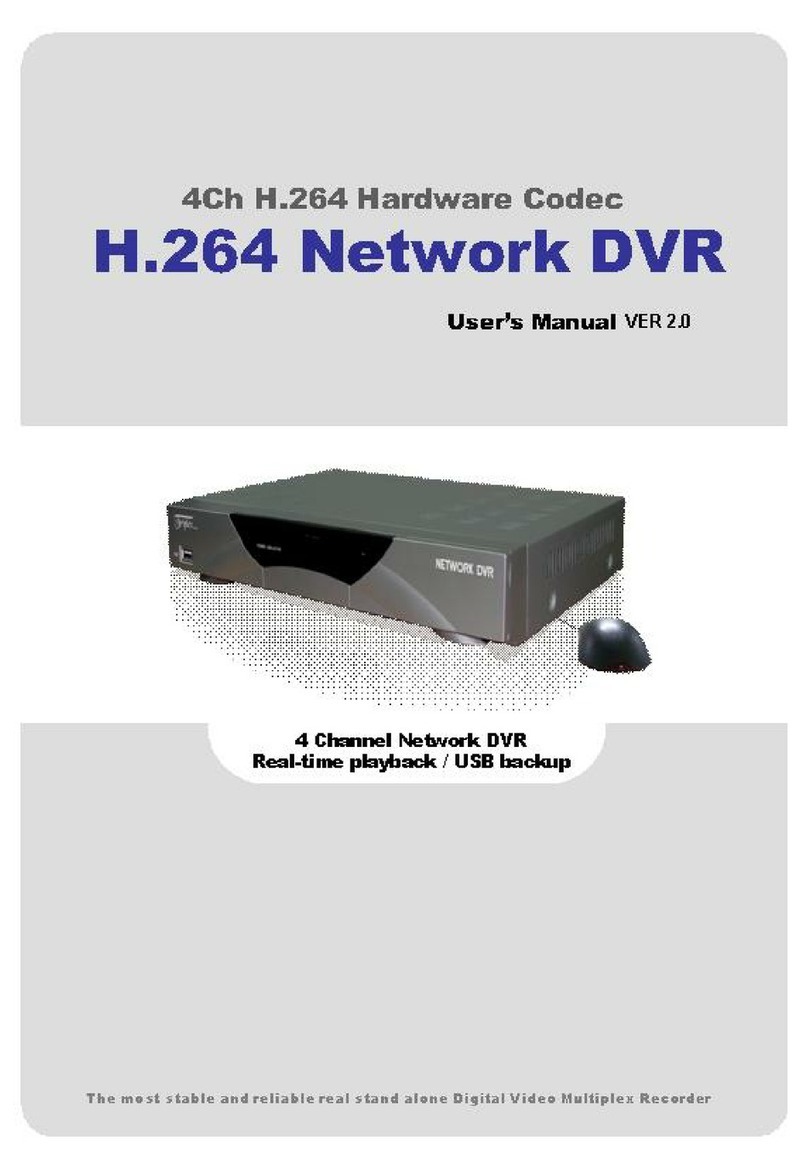
Triplex Nextwork DVR User manual
Triplex
Triplex MPEG-4 User manual
