7
3. Operation
3.1 Control Interfaces
There are three ways to operate your NetController KVM Switch—Push buttons, Keyboard Hotkeys or the OSD Menu. The operation of these three control
methods is detailed below.
3.1.1 Push Buttons
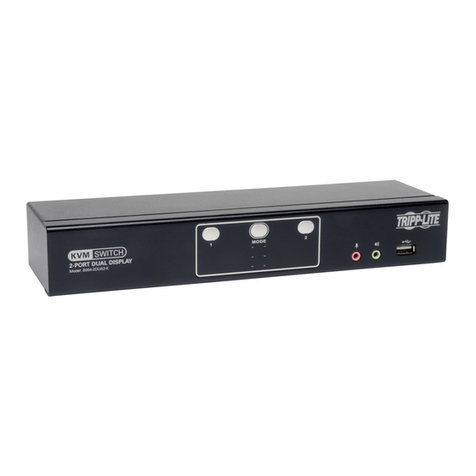
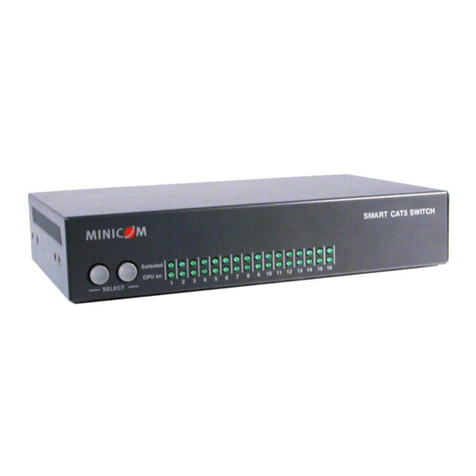
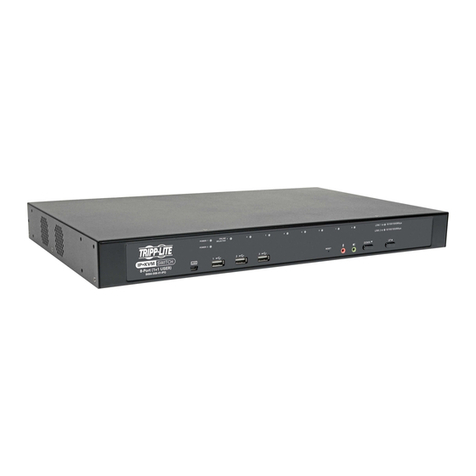
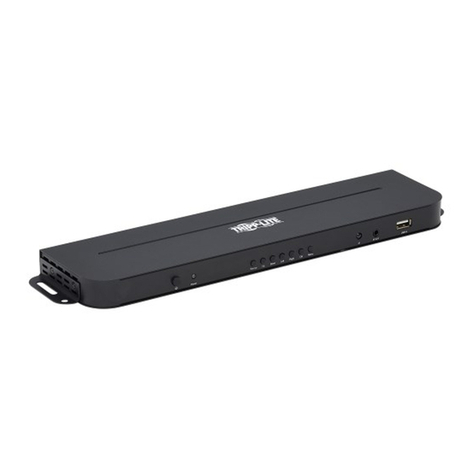
The push buttons are used to directly select the active computer channel that can be controlled by the shared keyboard, mouse and monitor. Pressing a front-
panel button during normal operation will cause the corresponding channel to be selected.
3.1.2 Keyboard Hotkeys
Hotkey commands are a convenient way to switch ports or perform basic operations on the KVM switch using only your keyboard. By default, all hotkey
commands are started by pressing the [Scroll Lock] key twice, and then completed with a series of keystrokes. The preceding hotkey can be changed from
[Scroll Lock] to [Caps Lock], [Num Lock] or [F12]. (See page 9 for details on changing the hotkey)
Hotkey Command* = [Scroll Lock], [Scroll Lock], Command Key/Sequence
*Hotkeys in a hotkey command must be pressed within 2 seconds of each other for the command to be successful.
The following table lists all of the hotkey commands that can be performed on the KVM switch, and gives a description of what they do.
This chapter provides general guidelines for KVM Switch operation. It is strongly recommended that you read this chapter in advance of operating your
NetController KVM Switch.
Hotkey Command Hotkey Sequence1Description
Select Port (Single-Stage
Installation)
[Scroll Lock], [Scroll Lock], ab
ab = 2-Digit Port Number (01 – 16)
Switches console focus to the selected port.
Select Port (Daisy-Chain
Installation)
[Scroll Lock], [Scroll Lock], ab, yz
ab = 2-Digit Station Number (01 – 16)
yz = 2-Digit Port Number (01 – 16)
Switches console focus to the selected KVM switch and port.
Next Lower Port [Scroll Lock], [Scroll Lock], [↓]Switches console focus from the current port to the next accessible port prior to it.
Next Higher Port [Scroll Lock], [Scroll Lock], [↑]Switches console focus from the current port to the next accessible port after it.
Next Lower Station [Scroll Lock], [Scroll Lock], [Page Up] Switches console focus from the current port to the rst accessible port on the next
lower-level KVM switch.
Next Higher Station [Scroll Lock], [Scroll Lock], [Page Down] Switches console focus from the current port to the last accessible port on the next
higher-level KVM switch.
Beep On/Off [Scroll Lock], [Scroll Lock], [B] Toggles the Beeper On/Off. The Beeper sounds when performing a Hotkey Command
or during an Auto Scan.
Initiate an Auto Scan [Scroll Lock], [Scroll Lock], [S] Initiates an Auto Scan. Press any key to stop an Auto Scan.
Title Bar On/Off [Scroll Lock], [Scroll Lock], [T] Turns the Title Bar On/Off. Note: This does not affect the Title Bar setting in the OSD.
Reset Console Mouse [Scroll Lock], [Scroll Lock], [End] Resets the console mouse in the event of a lockup.
Open the OSD Menu [Scroll Lock], [Scroll Lock], [Spacebar] Opens the OSD Menu.
Change the Hotkey
Preceding Sequence
[Scroll Lock], [Scroll Lock], [H], y
y = [Scroll Lock], [Caps Lock], [Num Lock] or [F12]
Changes the hotkey preceding sequence to [Scroll Lock], [Caps Lock], [Num Lock] or
[F12].
Last Known Active Port
Restore
[Scroll Lock], [Scroll Lock], [L] Enables/Disables the feature that restores the KVM switch to the last port to have the
KVMs focus prior to a power failure.
1Hotkeys in a hotkey command must be pressed within 2 seconds of each other for the command to be successful.
3.1.3 On-Screen Display (OSD)
The On-Screen Display (OSD) is a text based interfaced used to navigate between ports and perform operations on the KVM switch. The OSD can be dis-
played by pressing the hotkey command [Scroll Lock], [Scroll Lock], [Spacebar]. The following section describes the features of the OSD and how to use
them.
