Tru-Test S2 User manual

1
QUICKSTART GUIDE
This quickstart guide provides basic instructions for setting up and using the S2
Weigh System.
Contents
Unpacking the box ..................................1
Installing the S2 Weigh System ................2
Weighing an animal ................................6
Changing indicator settings .....................6
Maintenance and care .............................7
Warranty and servicing ............................7
Compliance .............................................8
For further information, visit
www.tru-test.com
1Unpacking the box
Check that you have all of these items. If anything is missing, contact your supplier.

2
2Installing the S2 Weigh System
Before you start:
Fully charge the indicator overnight.
Step 1:
Place the load bars on a flat surfac
e
up to 2.5 m (8') apart.

3
Step 2:
Use the supplied bolts to bolt the
weigh platform onto the load bars.
Step 3:
If desired, bolt the load bar feet
onto the ground. In non-
permanent
solutions, you can use it without
bolting down, but pay attention to
movement.

4
Step 4:
Tuck the load bar cables under the
weigh platform.
Step 5:
Mount the indicator bracket onto an
appropriate support that the
indicator connector on the load bar
cable will reach. Slide the indicator
onto the bracket.

5
Step 6:
Plug the indicator connector (on the
load bar cable) into the indicator and
tighten up.
Step 7:
Press to power on the
indicator.

6
3Weighing an animal
Ensure that the indicator is displaying 0.0. If not, press .
1. Move the animal onto the platform.
2. When the stable light illuminates, the indicator has locked onto the animal’s
weight.
3. Move the animal off the platform.
If the indicator is not displaying 0.0
between animals or there are problems
with inaccurate or unstable weights, make sure that the bars are firmly
secured to the concrete floor and free from stones or dirt and that the load
bars are properly connected to the indicator.
4Changing indicator settings
Data Link enables you to change settings on the indicator such as displaying metric or
imperial measurements during weighing.
1. Ensure that your PC has internet connectivity and download the Data Link PC
Software from livestock.tru-test.com/applications/datalink
2. Connect the indicator to your PC with the supplied USB cable or via
Bluetooth
®.
3. Launch Data Link on your PC; click , and Settings.

7
5Maintenance and care
Caring for the Weigh System
•Keep the underside of the weigh platform and load bars free from dirt or stones.
•Do not leave the indicator, load bars or indicator connector immersed in water.
•Cables should be placed under the weigh platform to prevent damage.
•When not in use, always replace the dust cap on the indicator connector.
•Remove dust and moisture from the plugs and dust cap using methylated spirits,
ethyl alcohol, or a suitable electrical contact cleaner. Stronger spirits must not
be used, as they may react with the plastic.
Europe - Instructions for disposal of product
This symbol on the product or its packaging indicates that this product (and its
battery) must not be disposed of with other waste. Instead, it is your
responsibility to dispose of your waste equipment by handing it over to a
designated collection point for the recycling of waste electrical and electronic
equipment. The separate collection and
recycling of your waste equipment at
the time of disposal will help conserve natural resources and ensure that it is
recycled in a manner that protects human health and the environment. For
more information about where you can drop off your waste equipment for
recycling, please contact your local city recycling office or the dealer from
whom you purchased the product.
This product incorporates a lithium-ion (IFpR19/66, 4.8 Wh) rechargeable battery.
For instructions on how to dismantle this product for recycling, email
contact@trutest.co.nz.
6Warranty and servicing
For service and warranty information, see www.tru-test.com/product-warranty

8
7Compliance
FCC notice
This device complies with part 15 of the FCC Rules. Operation is subject to the following two conditions: (1) This device may not cause
harmful interference, and (2) this device must accept any interference received, including interference that may cause undesired
operation.
This equipment has been tested and found to comply with the limits for a Class B digital device, pursuant to part 15 of the FCC Rules.
These limits are designed to provide reasonable protection against harmful interference in a residential installation.
This equipment generates, uses and can radiate radio frequency energy and, if not installed and used in accordance with the
instructions, may cause harmful interference to radio communications. However, there is no guarantee that interference will not occur
in a particular installation. If this equipment does cause harmful interference to radio or television reception, which can be determined
by turning the equipment off and on, the user is encouraged to try to correct the interference by one or more of the following
measures:
- Reorient or relocate the receiving antenna.
- Increase the separation between the equipment and receiver.
- Connect the equipment into an outlet on a circuit different from that to which the receiver is connected.
- Consult the dealer or an experienced radio/ TV technician for help.
- Any changes or modifications not expressly approved by Datamars could void the user's authority to operate the equipment
Responsible party in the USA
This product is supplied by:
Datamars Inc
528 Grant Road
Mineral Wells
Texas 76067
UNITED STATES
Toll free: 800 874 8494
Industry Canada notice
This device complies with Industry Canada licence-exempt RSS standard(s). Operation is subject to the following two conditions:
(1) this device may not cause interference, and
(2) this device must accept any interference, including interference that may cause undesired operation of the device.
EU declaration of conformity
Datamars Limited hereby declares that the S2 indicator is in compliance with the essential requirements and other relevant
provisions of Directive 2014/53/EU. The declaration of conformity may be consulted at
livestock.tru-test.com/en/compliance
The
Bluetooth
®word mark and logos are registered trademarks owned by Bluetooth SIG, Inc. and any use of such marks by Datamars
SA and its subsidiaries is under license. Other trademarks and trade names are those of their respective holders.
All trademarks with an * are neither owned by nor licensed to Datamars SA and belong to their respective owners.

9
GUÍA DE INICIO RÁPIDO
Esta guía de inicio rápido ofrece instrucciones básicas para configurar y usar el
sistema de pesaje S2.
Índice
Instrucciones de desempacado.................9
Instalación del Sistema de pesaje S2......10
Pesaje de un animal ..............................14
Cómo cambiar la configuración
del indicador .........................................15
Mantenimiento y cuidados.....................16
Garantía y servicio.................................17
Cumplimiento normativo .......................17
Para mayor información visite
www.tru-test.com
1Instrucciones de desempacado
Revise que cuente con todos estos artículos. Si falta algo, póngase en contacto con su
proveedor.

10
2Instalación del Sistema de pesaje
S2
Antes de comenzar:
Cargue completamente el indicador
durante toda la noche.
Paso 1:
Coloque las barras de carga en una
superficie plana y a una distancia no
mayor de 2,5 m entre sí.

11
Paso 2:
Use los tornillos incluidos para
atornillar la plataforma de pesaje a
las barras de carga.
Paso 3:
Si lo desea, puede fijar los pies de
las barras de carga al piso. Si no es
una instalación permanente, puede
usarse sin fijarse al piso, pero debe
prestar especial atención a
cualquier movimiento.

12
Paso 4:
Coloque los cables de la barra de
carga debajo de la plataforma.
Paso 5:
Coloque el soporte del indicador en
un lugar adecuado y que quede al
alcance del conector en el cable de
la barra de carga. Deslice el
indicador en el soporte.

13
Paso 6:
Enchufe el conector del indicador (en
el cable) al indicador y ajústelo.
Paso 7:
Pulse para encender el
indicador.

14
3Pesaje de un animal
Asegúrese de que el indicador muestra 0.0. En caso contrario, pulse .
1. Suba el animal sobre la plataforma.
2. Cuando la luz de "estable" se ilumine, el indicador ha detectado con precisión el
peso del animal.
3. Retire al animal de la plataforma.
Si el indicador no muestra 0.0
entre animales o hay problemas de precisión o
pesos inestables, asegúrese de que las barras estén aseguradas con firmeza al
piso de concreto y que estén libres de sedimentos o depósitos; además, revise
que la conexión al indicador sea correcta.

15
4Cómo cambiar la configuración
del indicador
Data Link le permite cambiar la configuración del indicador, como por ejemplo, que
se muestren las medidas en unidades métricas o imperiales durante el pesaje.
1. Asegúrese de que su PC esté conectada a Internet y descargue el software de
Data Link de livestock.tru-test.com/applications/datalink
2. Conecte el indicador a su PC con el cable USB incluido o a través de
Bluetooth
®.
3. Abra la aplicación Data Link en su PC; haga clic en , y en Configuración.

16
5Mantenimiento y cuidados
Cuidado del sistema de pesaje
•Mantenga limpia la parte inferior de la plataforma de pesaje y las barras de
carga.
•No deje el indicador, las barras de carga o los conectores inmersos en agua.
•Los cables deben colocarse debajo de la plataforma de pesaje para evitar daños.
•Cuando no esté en uso, coloque el tapón protector en el conector.
•Quite cualquier residuo y la humedad de los enchufes y tapones utilizando
alcohol desnaturalizado, alcohol etílico u otro detergente apropiado para
contactos eléctricos. No deben usarse limpiadores más fuertes puesto que
pueden reaccionar con el plástico.
Europa - Instrucciones para la eliminación del producto
Este símbolo en el producto o en el embalaje indica que no se puede desechar
el producto (y su batería) junto con los residuos domésticos. Es
responsabilidad del usuario desechar del aparato entregándolo en un punto
destinado al reciclaje de residuos de aparatos eléctricos y electrónicos. La
recolección y el reciclaje por separado de sus residuos en el momento en el
que Ud. se deshace de los mismos ayudarán a preservar los recursos naturales
y a garantizar que el reciclaje se realice de modo inocuo para la salud de las
personas y el medio ambiente. Si desea obtener mayor información sobre los
puntos de reciclaje de residuos de aparatos, póngase en contacto con las
autoridades locales de su ciudad, el servicio de eliminación de residuos
domésticos o la tienda donde adquirió el producto.
Este producto cuenta con una batería recargable de ión de litio (IFpR19/66, 4,8 Wh)
Si desea recibir instrucciones para desarmar este producto para su reciclado,
escríbanos a contact@trutest.co.nz

17
6Garantía y servicio
Para mayor información sobre la garantía y el servicio, visite
www.tru-test.com/product-warranty
7Cumplimiento normativo
Declaración de conformidad de la UE
Datamars Limited declara por la presente que el indicador S2 cumple con los requisitos esenciales y otras provisiones de
la Directiva 2014/53/EU. La declaración de conformidad puede consultarse en livestock.tru-test.com/en/compliance
La marca
Bluetooth
®y sus logotipos son marcas registradas de Bluetooth SIG, Inc. y el uso por parte de Datamars SA o cualquiera de
sus dependencias se hace bajo licencia. Las otras marcas y nombres comerciales pertenecen a sus respectivos propietarios.
Todas las marcas registradas con un * no son propiedad de Datamars SA ni se cuenta con una licencia, y pertenecen a sus respectivos
dueños.

18
GUIA DE INÍCIO RÁPIDO DO
Este guia rápido fornece as instruções básicas para a instalação e o uso do sistema de
pesagem S2.
Conteúdo
Desembalar a caixa ...............................18
Instalar o sistema de pesagem S2 ..........19
Pesar um animal....................................23
Modificar as configurações do indicador.24
Manutenção e cuidados.........................25
Garantia e assistência............................26
Conformidade .......................................26
Para mais informações, visite a
www.tru-test.com
1Desembalar a caixa
Verifique que haja todos os seguintes itens. Se algo estiver faltando, contate o seu
fornecedor.

19
2Instalar o sistema de pesagem S2
Antes de começar:
Carregue o indicador
completamente durante a noite.
Passo 1:
Coloque as barras de carga verticalmente
em uma superfície plana numa distância
máxima de 2,5 m.

20
Passo 2:
Use os parafusos fornecidos para
aparafusar a plataforma de
pesagem nas barras de carga.
Passo 3:
Caso desejado, aparafuse os pés da
barra de carga no chão. Para
soluções não permanentes, você
pode usar a balança sem aparafusar
as barras de carga, mas observe os
movimentos.
Table of contents
Languages:
Other Tru-Test Accessories manuals
Tru-Test
Tru-Test 5000 Series User manual

Tru-Test
Tru-Test Series 2000 User manual
Tru-Test
Tru-Test WOW2 User manual
Tru-Test
Tru-Test MP600 User manual
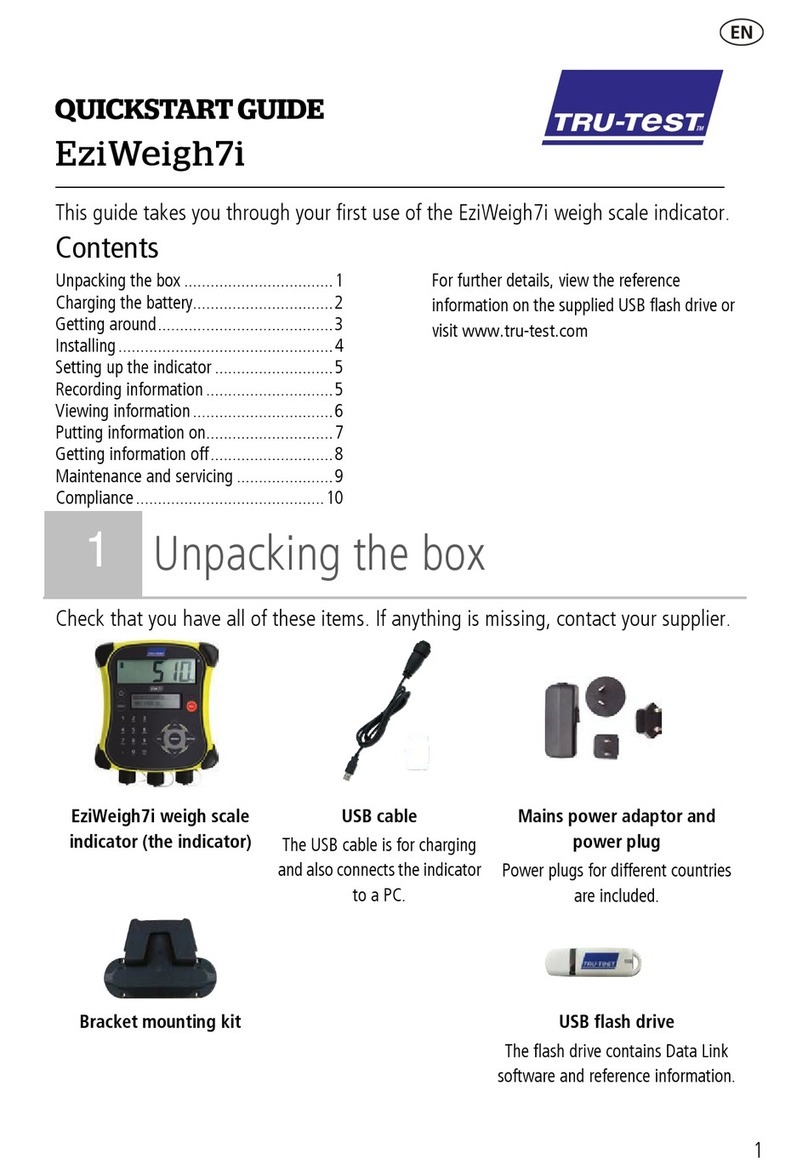
Tru-Test
Tru-Test EziWeigh7i User manual
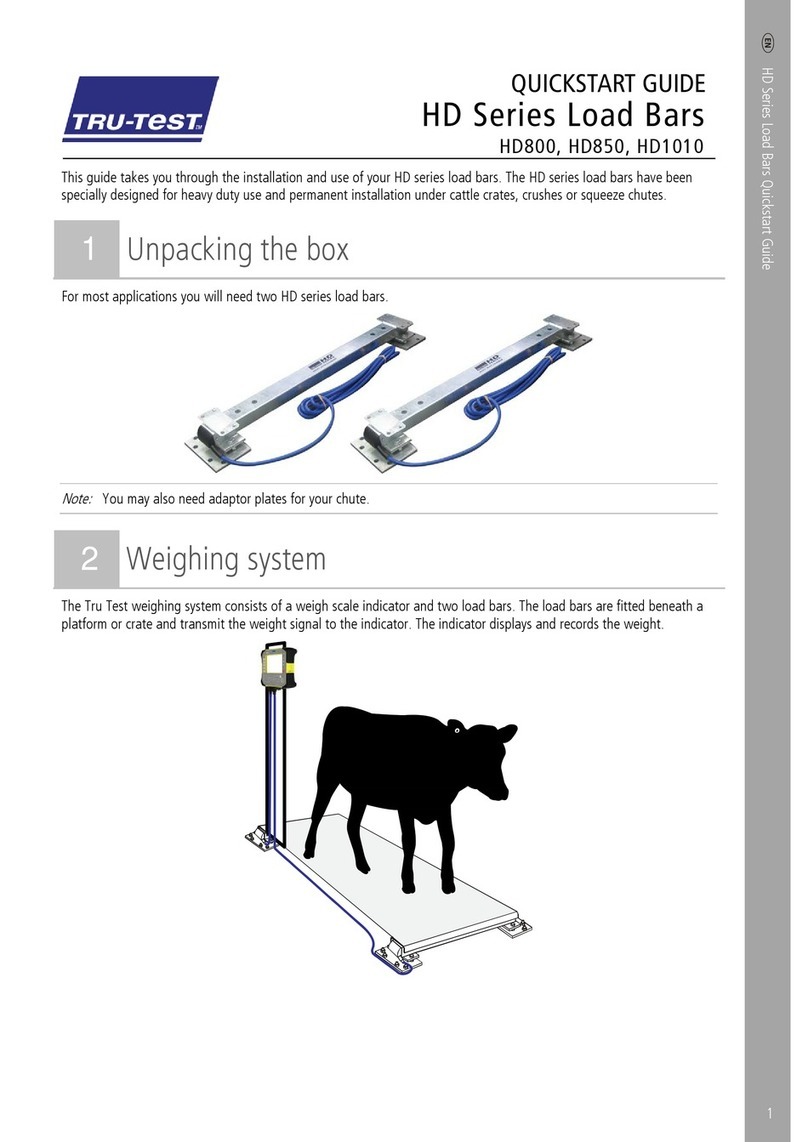
Tru-Test
Tru-Test HD Series User manual

Tru-Test
Tru-Test EziWeigh5i User manual
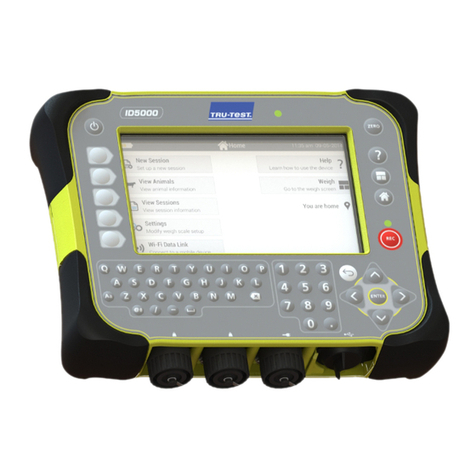
Tru-Test
Tru-Test ID5000 User manual
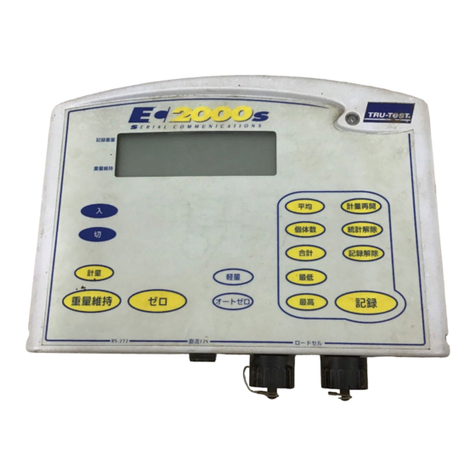
Tru-Test
Tru-Test 2000 Series User manual
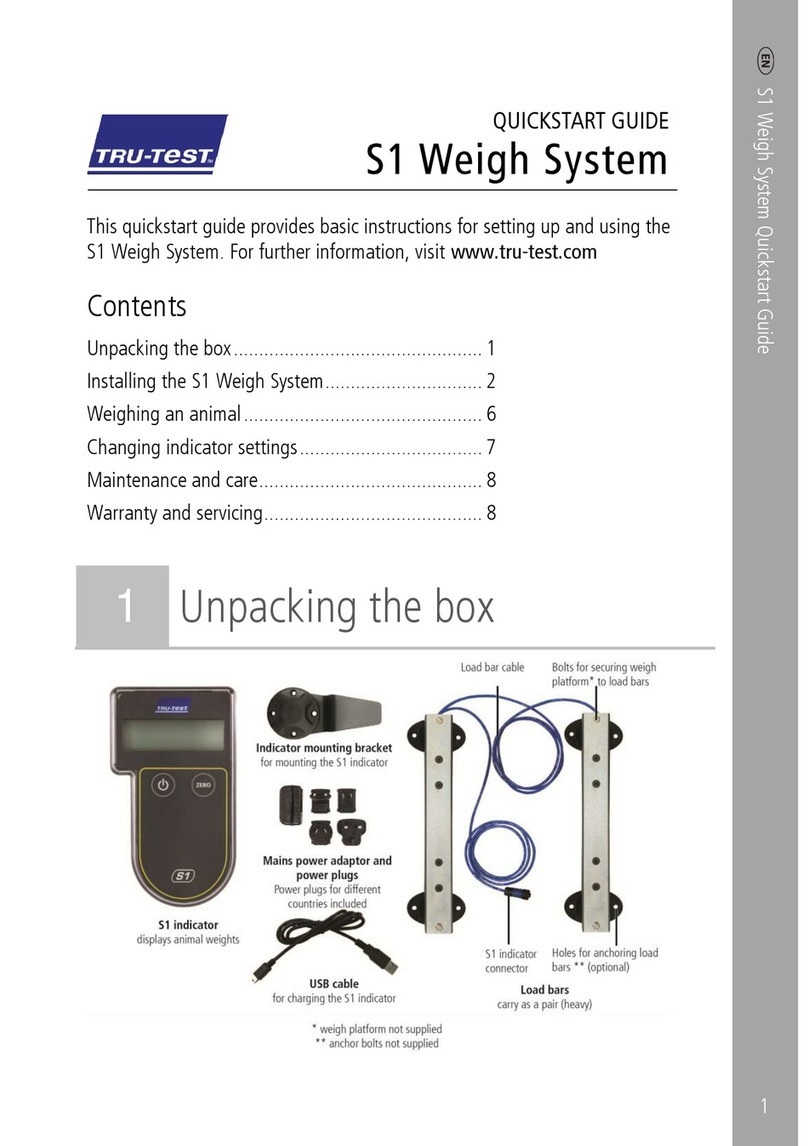
Tru-Test
Tru-Test S1 User manual
Popular Accessories manuals by other brands
Hardy Process Solutions
Hardy Process Solutions HI 6020IT user guide
F&F
F&F DRM-01 24 V instructions
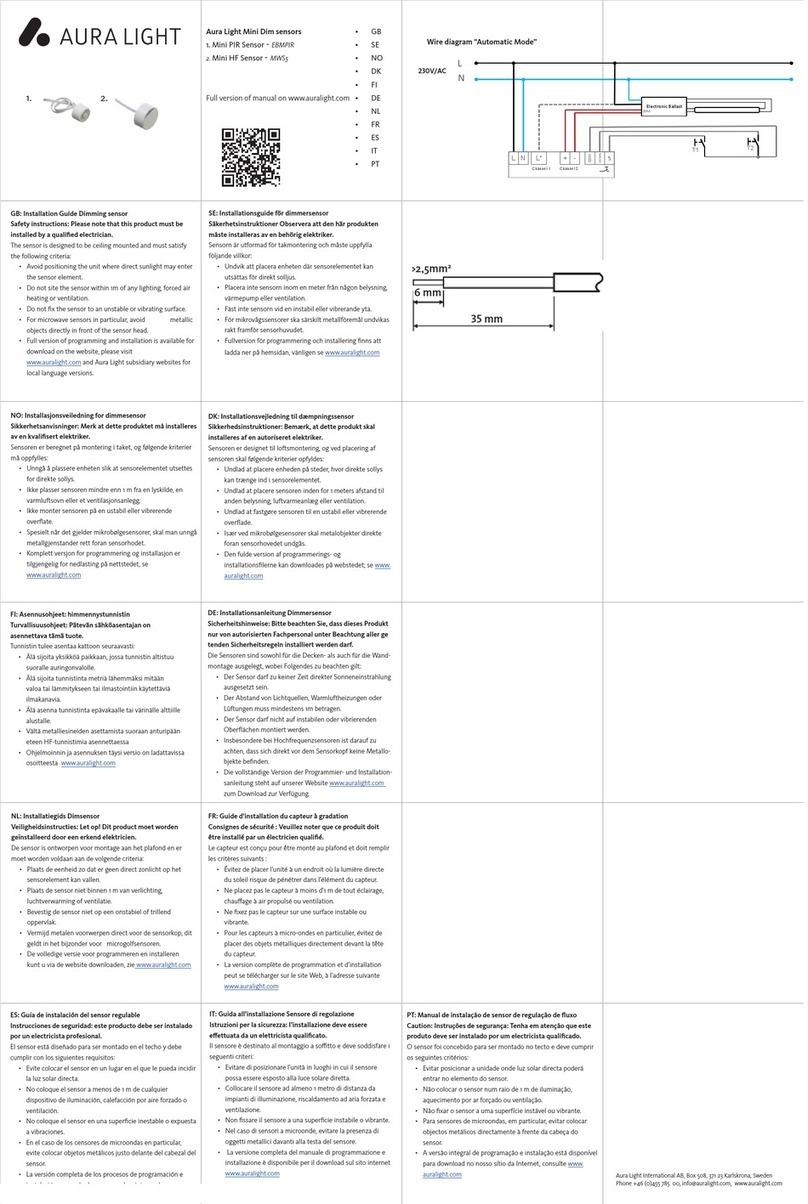
Aura Light
Aura Light MWS5 installation guide
Honeywell
Honeywell H7012A Series manual
Stadler Form
Stadler Form Jasmine operating instructions

Ronan Engineering
Ronan Engineering X96S Instructions and operating manual

