manuals.online logo
Brands
  1. Home
  2. •
  3. Brands
  4. •
  5. Tru-Test
  6. •
  7. Accessories
  8. •
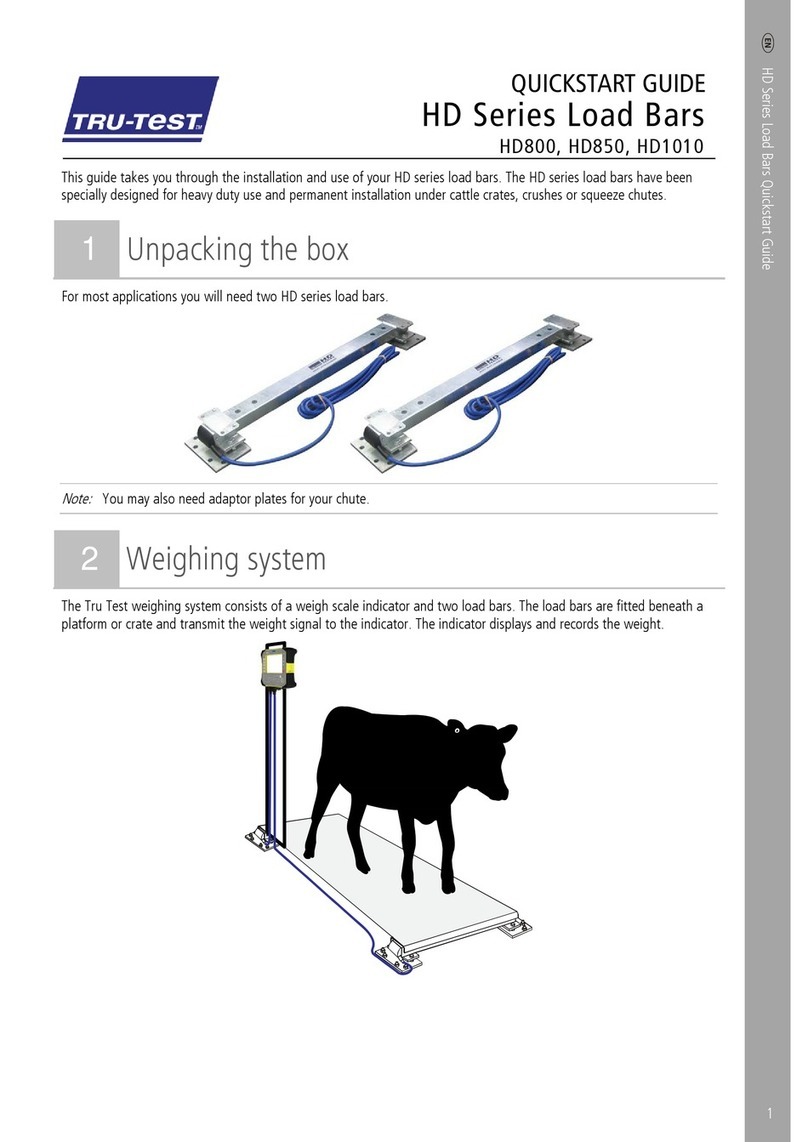
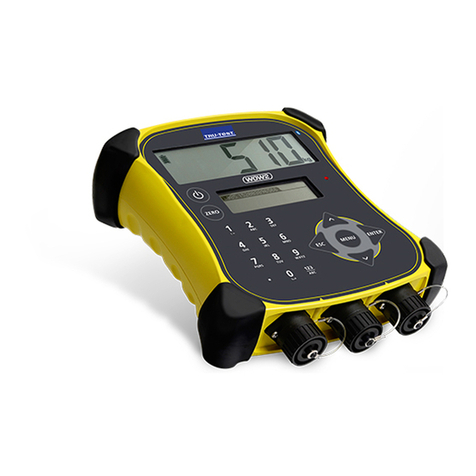
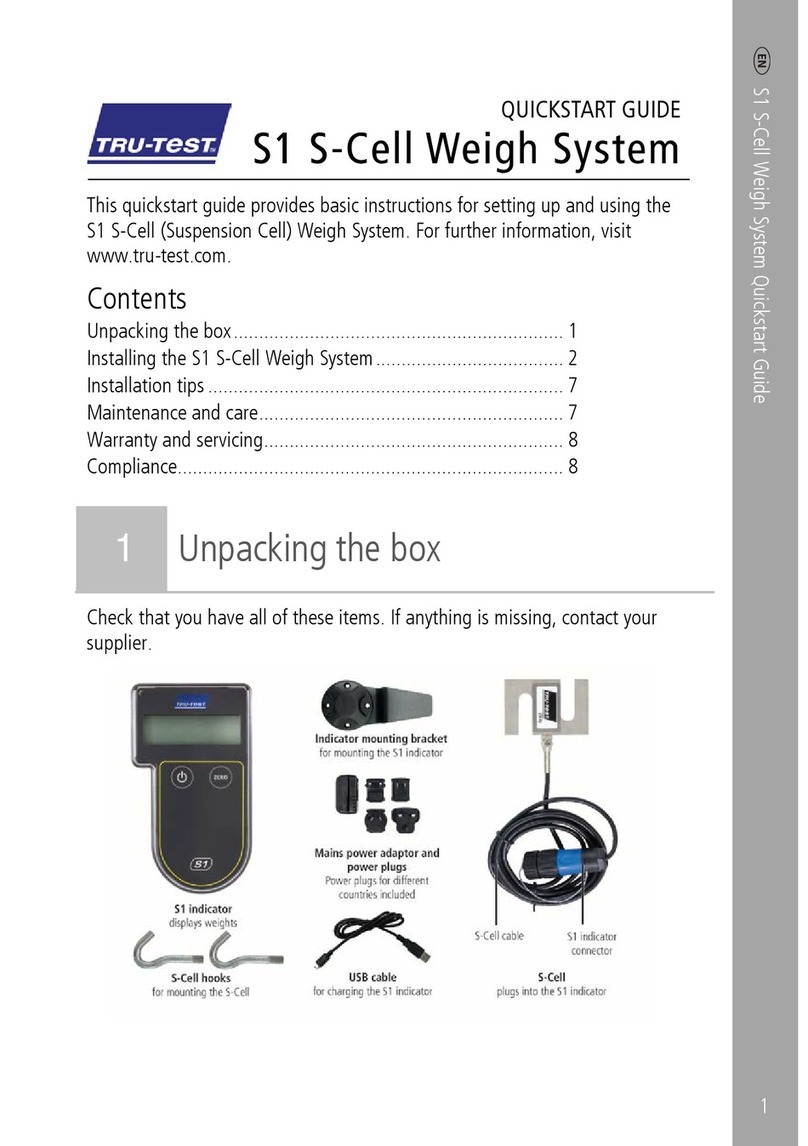
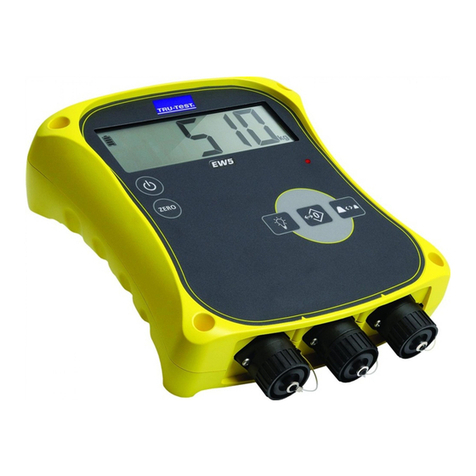
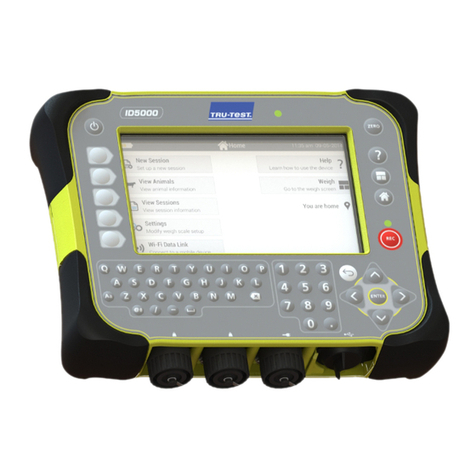
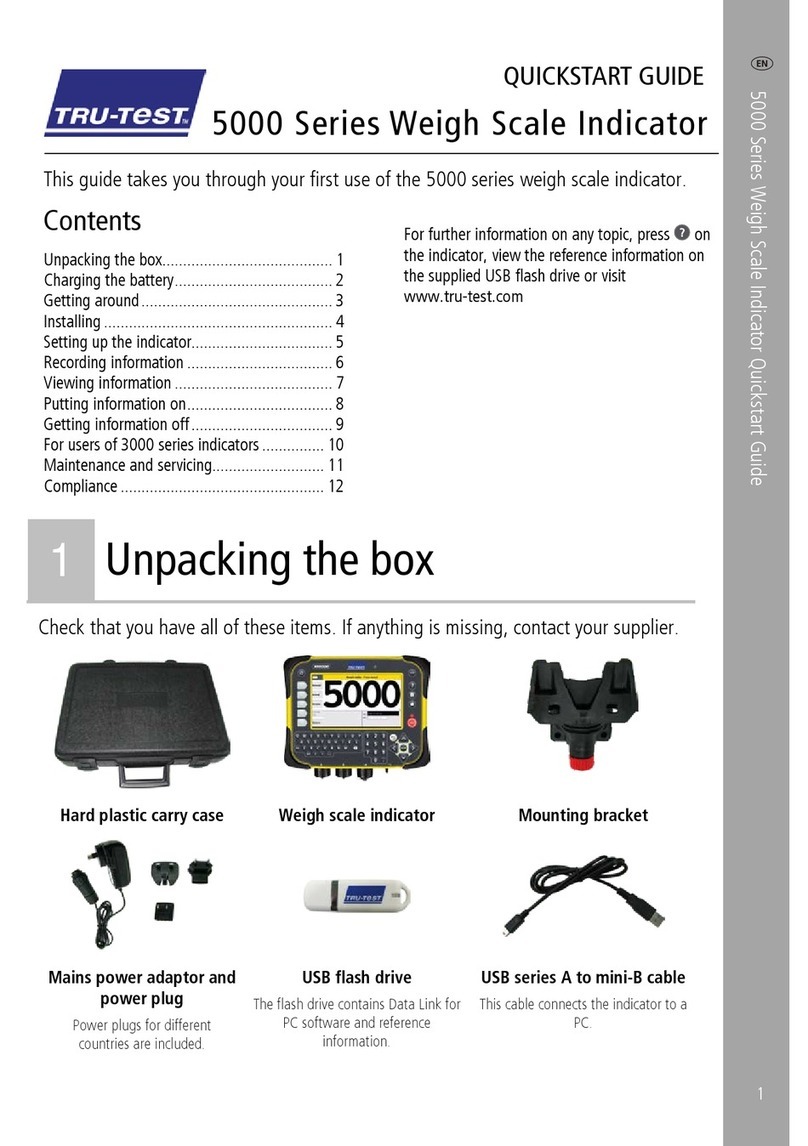
  9. Tru-Test 2000 Series User manual

Tru-Test 2000 Series User manual

OFF
ON
C
E
RE C OR D ED
HO L D
LIVE
MAX
AUTO
ZERO
MIN
FINE
MODE
TO TAL
COUNT
AVERAGE
CLEAR
STATS
HOLD
WEIG HT ZERO RECORD
ESCAPE
UNDO
RECOR D
PO W ER L OA D CE L LS
INSTALLATION
Your Tru-Test indicator is supplied fully
installed and calibrated for your
Giltrap silage wagon. The internal
battery is charged and ready to use,
or you may wish to connect the
power cable semi-permanently by
installing a plug at the back of your
tractor.
Congratulations if you have purchased this Tru-Test Series 2000 scale Indicator with your Giltrap silage
wagon.To ensure you receive maximum benefit from owning a weighing system, please pay careful
attention to the following instructions.
USER GUIDE
Power connector for connecting 12 V vehicle battery (red clip to positive
terminal) or Tru-Test power adaptor. Connection to a 12V vehicle battery will
charge the internal battery in the indicator.
BASIC WEIGHING
1 Press and wait for display.
2 Load the silage wagon with the first feed product.
3 Wait for stable light .
4 Note the weight before continuing to load, or commence
feeding out when the wagon is loaded satisfactorily.


CE
Loadcell connectors.
Use either connection
for the silage wagon
load cells.
Dust caps screw together
to keep out dirt and
moisture when cables
are connected to
Indicator. Screw back
on Indicator/cables
when cables removed.
®
ON
All manuals and user guides at all-guides.com
all-guides.com
CE
OF F
ON
LI V E
MA X
AU TO
ZE R O
MI N
FI N E
MO D E
TOTA L
CO U NT
AVE R A G E
CL E A R
STAT S
HOLD
WEIGHT ZERO RECORD
POW E R LOA D C ELL S
HOL D
ES C AP E
UN D O
RE C O R D
REC O R DED
kg
Returns Indicator to live
weight display
Shows current weight has been recorded
Exits statistics and returns
to live weight display.
Stable light shows weight is stable and
or can be pressed.


Clears last recorded weight
Adds current weight on
platform to statistics.




Displays average of recorded weights.
Displays number of recorded weights.
Displays total of recorded weights.
Displays minimum recorded weight.
Clears recorded weights.
appears after
is pressed.
Press again to
clear recorded weights, or
press to cancel.



Press to manually zero the scale
Sets fine weighing on/off.
Cannot be changed unless stats cleared.
Locks weight until next load is
weighed, or it is pressed again.
annunciator is on when
weight is locked.
HOLD
FUNCTIONS
Turns indicator on.
Press again to turn
backlight on
Turns indicator off. Statistics
will be kept in memory even
when power is disconnected
Shows displayed weight has been
locked using key
HOLD
WEIGHT
RECORD
HOLD
WEIGHT
CL E AR
STATS
CL E AR
STAT S
ES CA P E
AVE R A G E
CO U NT
TOTA L
MI N
Displays maximum recorded weight.
MA X
Sets automatic zeroing on/off. The indicator will
zero on power up or when there is no load on
the wagon.
This zeroes the wagon to compensate for any
build up of dirt, or zero drift during the
weighing process. Insome situations this feature
should be turned off.
For example:
1 To avoid zeroing a load left in the wagon
when the indicator is turned off and then on
again later.
All manuals and user guides at all-guides.com
OPERATING NOTES
INTERNAL BATTERY
Do not leave the Indicator or loadbars in or exposed to water. Store the Indicator in a cool dry place.
The Indicator automatically turns off after 15 minutes of no activity, to limit discharge of the internal battery.
The internal battery charger operates from either the recommended Tru-Test power adaptor or a 12 volt vehicle battery. Damage to the Indicator
caused by other charging supplies, including automotive battery chargers, is not covered by the warranty.
The Indicator displays about 10 minutes before flat, if the battery was fully charged within the last 2 weeks.
To maximise battery life, observe the following simple guidelines:
 Preferably recharge the battery overnight.
 Never charge the Indicator in direct sunlight.
 Store the Indicator in a cool dry place.
The internal battery charger ensures maximum life of the battery, while giving the fastest charging rate possible. The battery is protected from
overcharging. Charging a flat battery takes 6 hours at temperatures of 10 °C to 35 °C (50 °F to 95 °F).
You can safely leave the Indicator on charge all the time. The scale can be used while charging. You do not need to charge before storage.
Charging at low or high temperatures could extend the charging time to 12 hours. At extreme temperatures the Indicator will not charge.
Fully charge the Indicator after storage.

Charge the Indicator for 12 hours before using it for the first time.
Loadcell type not recognised.
Contact .
Recharge battery.
About 10 minutes till flat.
Memory empty, or previous recorded weights
already removed.
Battery is charging.
Indicator can be used normally.
Clear statistics prompt.
Press to confirm, or to
cancel.
Previous recorded weight has been removed
from statistics.
Duplicate record.
Weight already recorded.
Charge level. Battery is low.
Charge level. Battery is fully charged.
It is safe to leave on charge.
Scale needs service. Note the error number
and contact
TRU-TEST
TRU-TEST.
 
External power supply too high.
Check power supply.
External power supply too low.
Voltage too low to charge.
Not recorded.
No loadcell connected or weight not stable.
Otherwise clear stats and try again.
Function is off.
Function is on.
Overload. Weight on scale is greater than
capacity. If fine mode is on, clear stats and
turn fine mode off.
Weight recorded.
Under load.
Negative load or faulty loadcell/wiring.
Indicator is zeroing.
Zero overload.
DISPLAY MESSAGES
CL E AR
STATS ES CA P E
All manuals and user guides at all-guides.com
SPECIFICATIONS
FCC NOTICE
Note: product specifications may change without prior notice.
Total Capacity 15000 kg
Resolution Set to 0.5 kg (fine mode 0.1 kg) or 1 lb (fine mode 0.2 lb).
Accuracy ±1 % or 2 resolutions (whichever is greater) with Tru-Test loadbars/EziFeet connected.
Power supply 12 V DC (power adaptor or vehicle battery).
Operating temperature -10 °C to +40 °C (14 °F to +104 °F).
Storage temperature -20 °C to +35 °C (-4 °F to +95 °F).
Internal battery run time Up to 8 hours
Environmental IP67 (immersion in 1 m of water).
The Tru-Test Model EC2000 Indicator has been tested and found to comply with the limits for a Class A digital device, pursuant to Part 15 of the
FCC rules. These limits are designed to provide reasonable protection against harmful interference when the equipment is used in a commercial
environment. This equipment generates, uses and can radiate radio frequency energy and, if not installed and used in accordance with the
instruction leaflet, may cause harmful interference to radio communications. Operation of this equipment in a residential area is likely to cause
harmful interference, in which case users will be required to correct the interference at their own expense.
FOR SERVICE
www.tru-test.com
New Zealand
USA
Australia Vic. S.A. Tas.
Qld. N.S.W. N.T.
W.A.
UK
Ireland
Denmark
Hungary
Czech Republic
Poland
Latvia
Lithuania
Estonia
Phone (09) 978 8888 Facsimile (09) 978 8889 Toll Free 0800 878 837
Phone (210) 495 9130 Facsimile (210) 495 9129 Toll Free 1 800 874 8494
Phone (03) 5820 1800 Facsimile (03) 5831 5524 Toll Free 1 800 682 880
Phone (07) 3274 7800 Facsimile (07) 3255 6454 Toll Free 1 800 682 880
Phone (08) 9274 1122 Facsimile (08) 9274 4824 Toll Free 1 800 682 880
Phone (01765) 689 541 Facsimile (01765) 689 851
Phone (021) 334 066 Facsimile (021) 334 520
Phone 45 800 922 Facsimile 45 800 999
Phone (23) 414 100
Phone (5) 4721 5729
Phone (22) 645 1247
Phone 2945 796 E-mail [email protected]
Phone 2790 034 E-mail [email protected]
Phone 7362 716 E-mail [email protected]
© Tru-Test Limited, 1999
Auckland, New Zealand
Phone +64 9
Fax +64 9
An ISO 9001 Quality Registered Company
978 8888
978 8889
• S I M P L E • R U G G E D • V E R S A T I L E • P O W E R F U L •
®
WID81000 English rev 2 11.99
All manuals and user guides at all-guides.com

This manual suits for next models

1

Other Tru-Test Accessories manuals

Tru-Test S2 User manual

Tru-Test

Tru-Test S2 User manual

Tru-Test HD Series User manual

Tru-Test

Tru-Test HD Series User manual

Tru-Test Series 2000 User manual

Tru-Test

Tru-Test Series 2000 User manual

Tru-Test S1 User manual

Tru-Test

Tru-Test S1 User manual

Tru-Test ID5000 User manual

Tru-Test

Tru-Test ID5000 User manual

Tru-Test 5000 Series User manual

Tru-Test

Tru-Test 5000 Series User manual

Tru-Test WOW2 User manual

Tru-Test

Tru-Test WOW2 User manual

Tru-Test S1 User manual

Tru-Test

Tru-Test S1 User manual

Tru-Test MP600 User manual

Tru-Test

Tru-Test MP600 User manual

Tru-Test EziWeigh7i User manual

Tru-Test

Tru-Test EziWeigh7i User manual

Tru-Test EziWeigh5i User manual

Tru-Test

Tru-Test EziWeigh5i User manual

Tru-Test EziWeigh5i User manual

Tru-Test

Tru-Test EziWeigh5i User manual

Popular Accessories manuals by other brands

Aeotec Door / Window Sensor 7 user guide

Aeotec

Aeotec Door / Window Sensor 7 user guide

VALERA OSBORNE 500 datasheet

VALERA

VALERA OSBORNE 500 datasheet

HP 245161-B22 - 10642 42U Rack Shock Pallet installation instructions

HP

HP 245161-B22 - 10642 42U Rack Shock Pallet installation instructions

ScrapeTec AirScrape installation guide

ScrapeTec

ScrapeTec AirScrape installation guide

MobilePal 8000mAh Qi Wireless Power Bank user manual

MobilePal

MobilePal 8000mAh Qi Wireless Power Bank user manual

HOF HTL 220 user manual

HOF

HOF HTL 220 user manual

Emos EMT757-F manual

Emos

Emos EMT757-F manual

Fluke 80T-150UA instruction sheet

Fluke

Fluke 80T-150UA instruction sheet

ECG ED 80 HN instruction manual

ECG

ECG ED 80 HN instruction manual

TIRECHECK INTIRE installation manual

TIRECHECK

TIRECHECK INTIRE installation manual

ELEKTROBOCK TS10 manual

ELEKTROBOCK

ELEKTROBOCK TS10 manual

Reflex Fillguard Instructions for use

Reflex

Reflex Fillguard Instructions for use

Hudora 76915 INSTRUCTIONS ON ASSEMBLY AND USE

Hudora

Hudora 76915 INSTRUCTIONS ON ASSEMBLY AND USE

Intermec 5020 instructions

Intermec

Intermec 5020 instructions

Axor Brushed Nickel 41360820 Specification sheet

Axor

Axor Brushed Nickel 41360820 Specification sheet

Leon Engineering LD5208 user manual

Leon Engineering

Leon Engineering LD5208 user manual

ekwb EK-FC980 GTX WF3 Backplate Installation and mounting manuals

ekwb

ekwb EK-FC980 GTX WF3 Backplate Installation and mounting manuals

Summit VIPER CLASSIC instructions

Summit

Summit VIPER CLASSIC instructions

manuals.online logo
manuals.online logoBrands
  • About & Mission
  • Contact us
  • Privacy Policy
  • Terms and Conditions

Copyright 2025 Manuals.Online. All Rights Reserved.