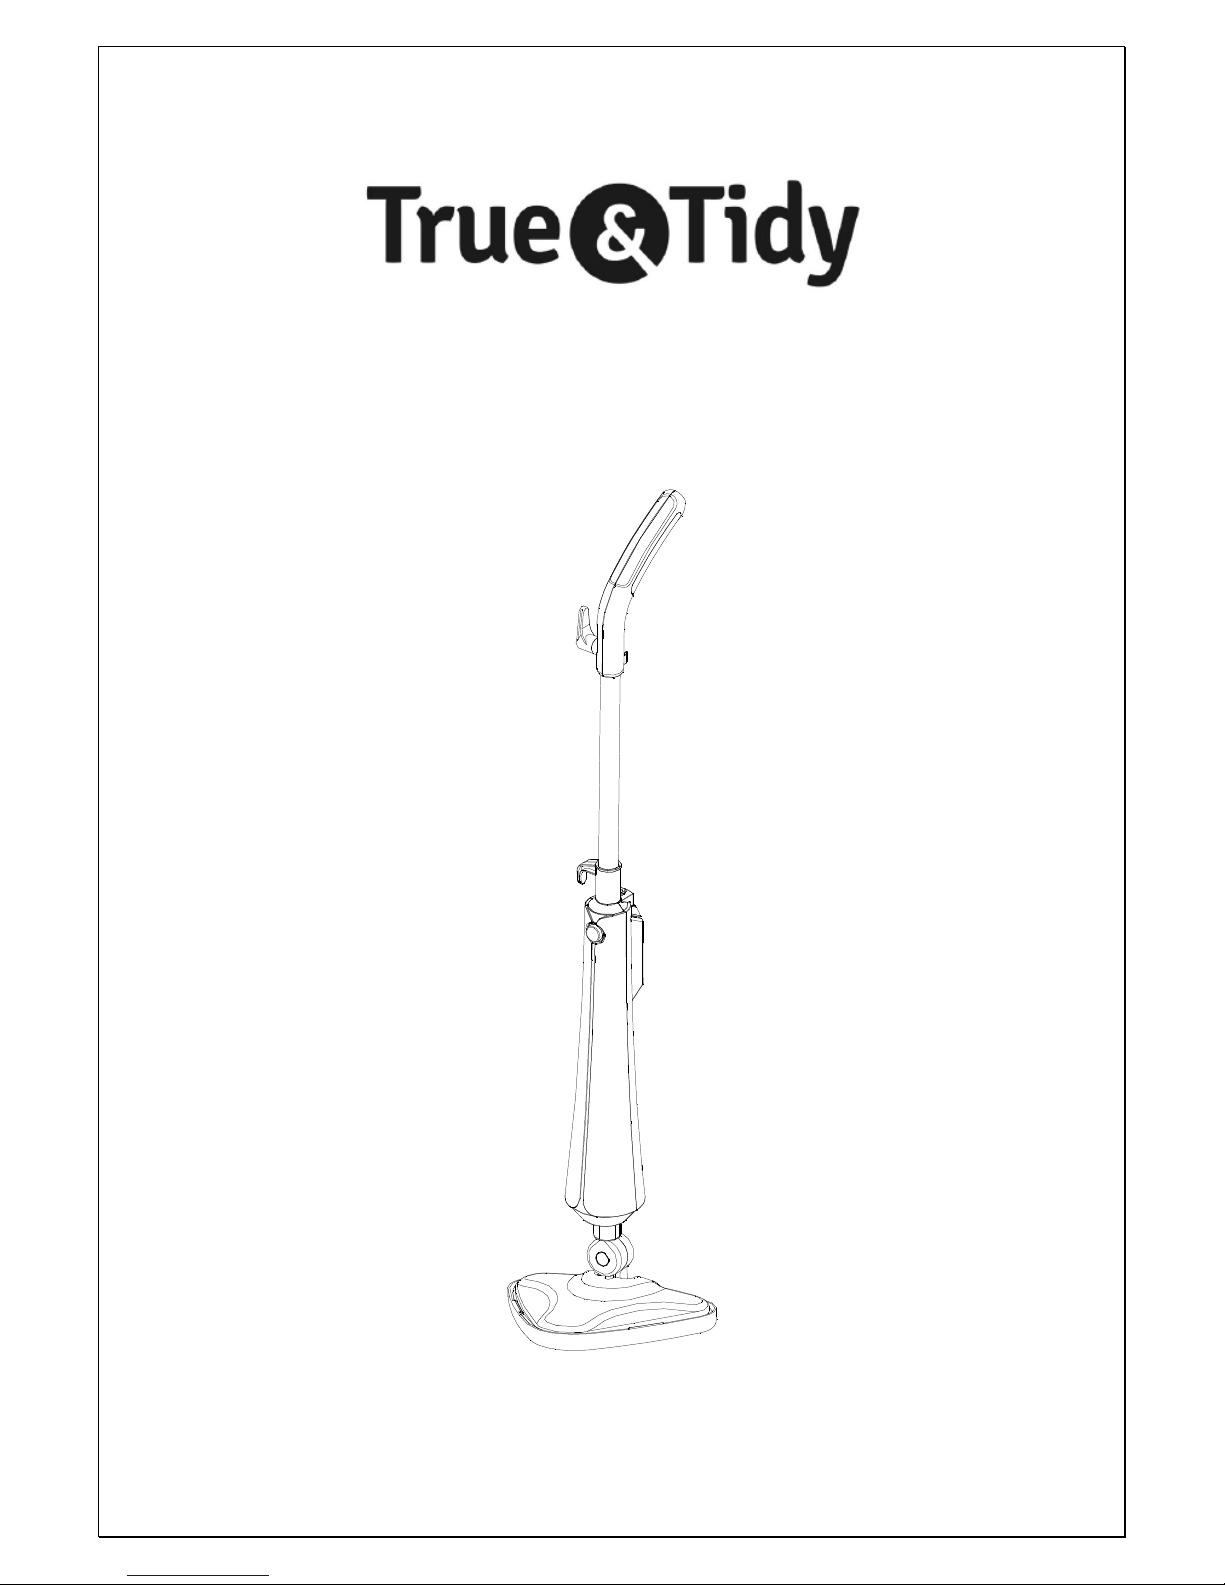
True & Tidy STM-300 User manual
Page 1 of 9
STEAM MOP
Instruction Manual
STM-300
www.trueandtidy.com

Page 2 of 9
TRUE & TIDY (1) Year Limited Warranty
True & Tidy products are warranted for 1 year from t e date of
purc ase if t e appliance is defective in materials or workmans ip.
True & Tidy will repair or replace (at our option) your unit during t is
period. Any replacement product will carry t e remaining warranty
of t e original product.
True & Tidy is not liable for any incidental, misuse, negligence or
failure to follow True & Tidy’s user manual.
To obtain a repair or replacement under t e terms of t is warranty,
contact customer service for return aut orization. After receiving
aut orization, carefully pack your unit and return to t e service
center. Please enclose a note or letter explaining t e issue along
wit proof of purc ase and $9.95 for s ipping and andling. Please
provide your name, p one number, and complete address.
If you ave any questions regarding t is warranty, you may contact
us t roug our website: www.trueandtidy.com
Customers located outside of t e continental US will be responsible
for all international s ipping c arges for your return or replacement.
WARRANTY

Page 3 of 9
At True & Tidy, safe performance is our top priority in any consumer
product, so t at you can use and trust our products confidently.
Please use and operate product wit due care and attention placed
on t e following operating instructions.
•Carefully read all instructions before operating t e steam mop
for t e first time.
•T is appliance is not intended for use by c ildren or persons
wit p ysical, mental or sensory capabilities, or lack of
experience and knowledge wit out t e supervision or
instruction concerning t e use of t e appliance by a person
responsible for t eir safety.
•Remove and safely discard t e protective cover to prevent
c oking azard for c ildren.
•Ensure t e steam mop is properly assembled before use.
•Only use attac ments or accessories provided and specified in
t is instruction manual.
•Always test t e appliance at a small, inconspicuous spot
before cleaning. Do not place t e appliance in t e same spot
for more t an 10 seconds to avoid damage from eavy eating.
•Never use t e appliance wit out t e mop pad.
•Allow t e steam mop to cool down completely before storing.
•Store t e appliance indoors in a cool, dry place.
•Do not touc t e bottom of t e appliance during operation.
•Do not leave appliance unattended w ile it is in operation or
connected.
•Do not use steam mop if it s ows visible signs of damage or if
t ere is leaking.
•Do not use t e appliance if t e power cord is damaged.
•Do not tilt or turn t e appliance over w en in use. Only use on
flat, orizontal surfaces.
•Do not fill t e water tank wit ot water or corrosive cleaning
agents. Distilled or filtered water is strongly recommended.
•Only connect to 120V power outlet.
•Do not immerse t e appliance, plug, or power cord in water to
reduce t e risk of electric s ock.
IMPORTANT SAFETY MEASURES
IMPORTANT
Page 4 of 9
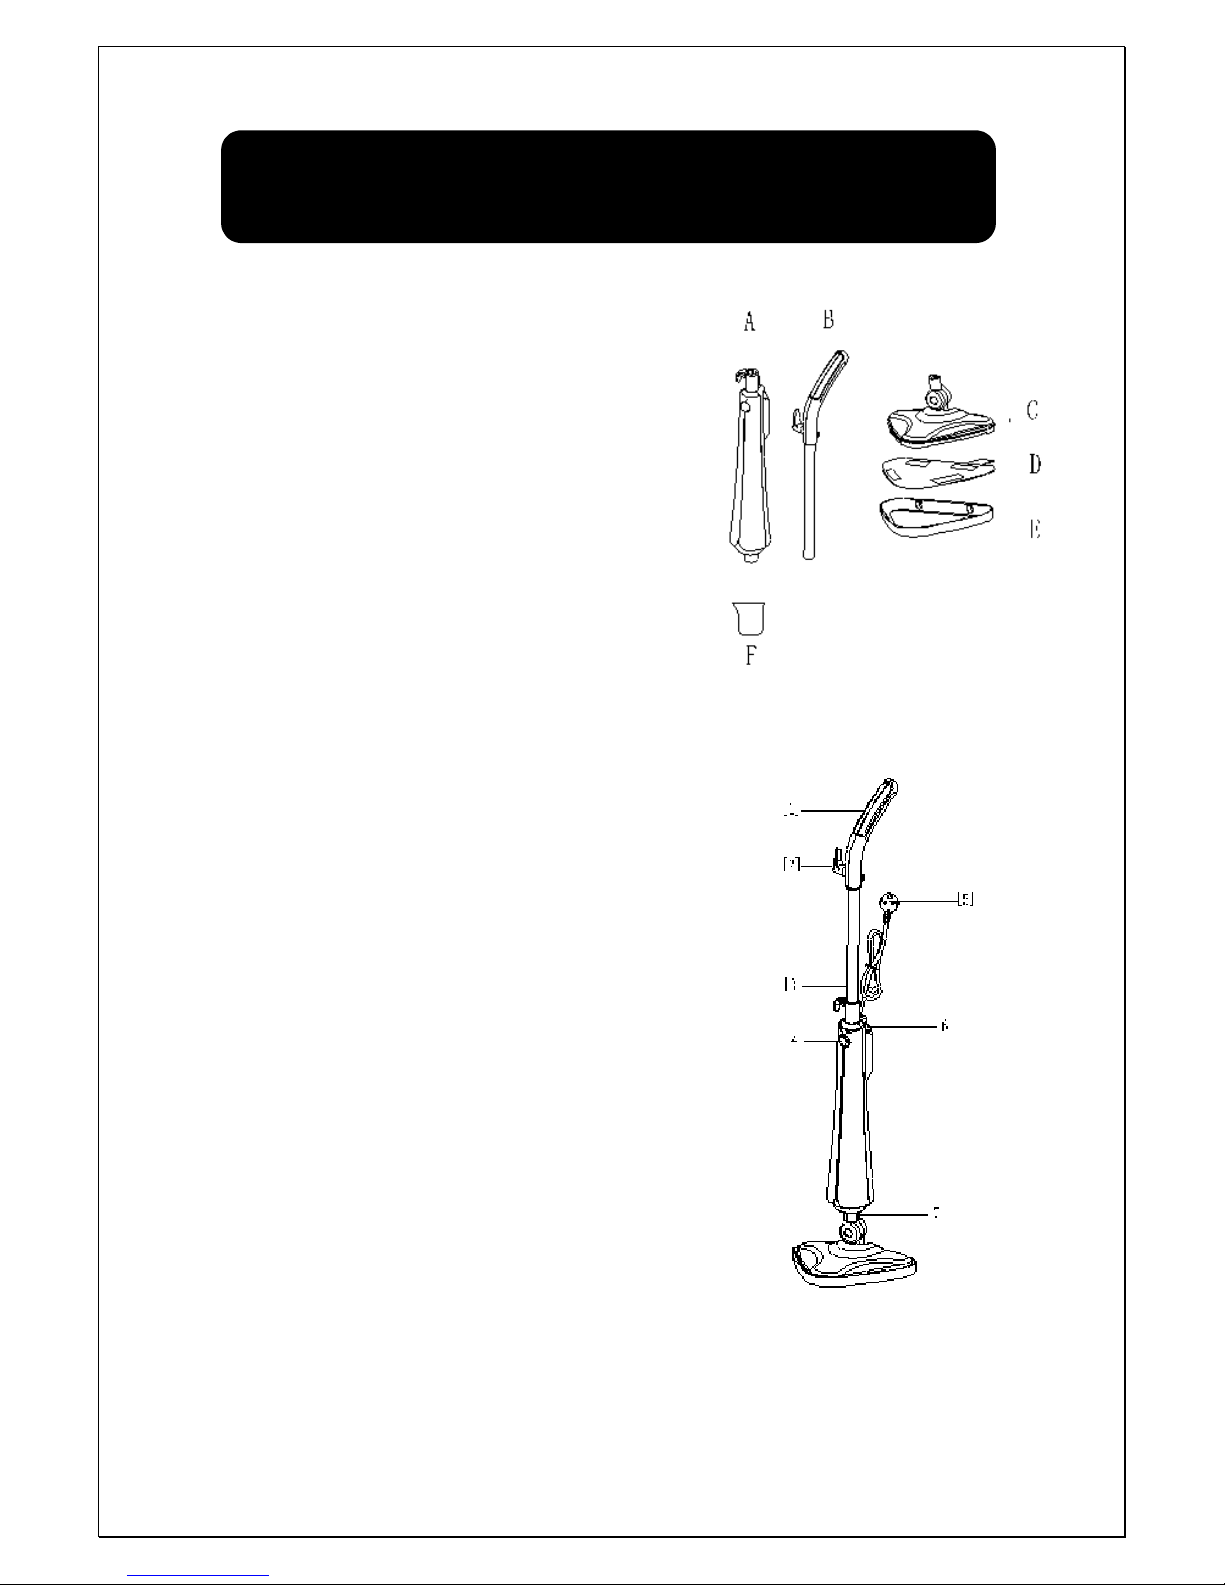
PARTS & A ESSORIES
A Main Body
B Main Handle
C Steam Mop Head
D Microfiber Pad
E Carpet Gilder
F Measuring Cup
PRODU T OMPONENTS
1Handle
2Cord Hook
3Handle Bar
4On/Off Power Switc
5Power Cord
6Water Reservoir
7Steam Mop Head Joint
8Steam Mop Head
COMPONENTS
Page 5 of 9
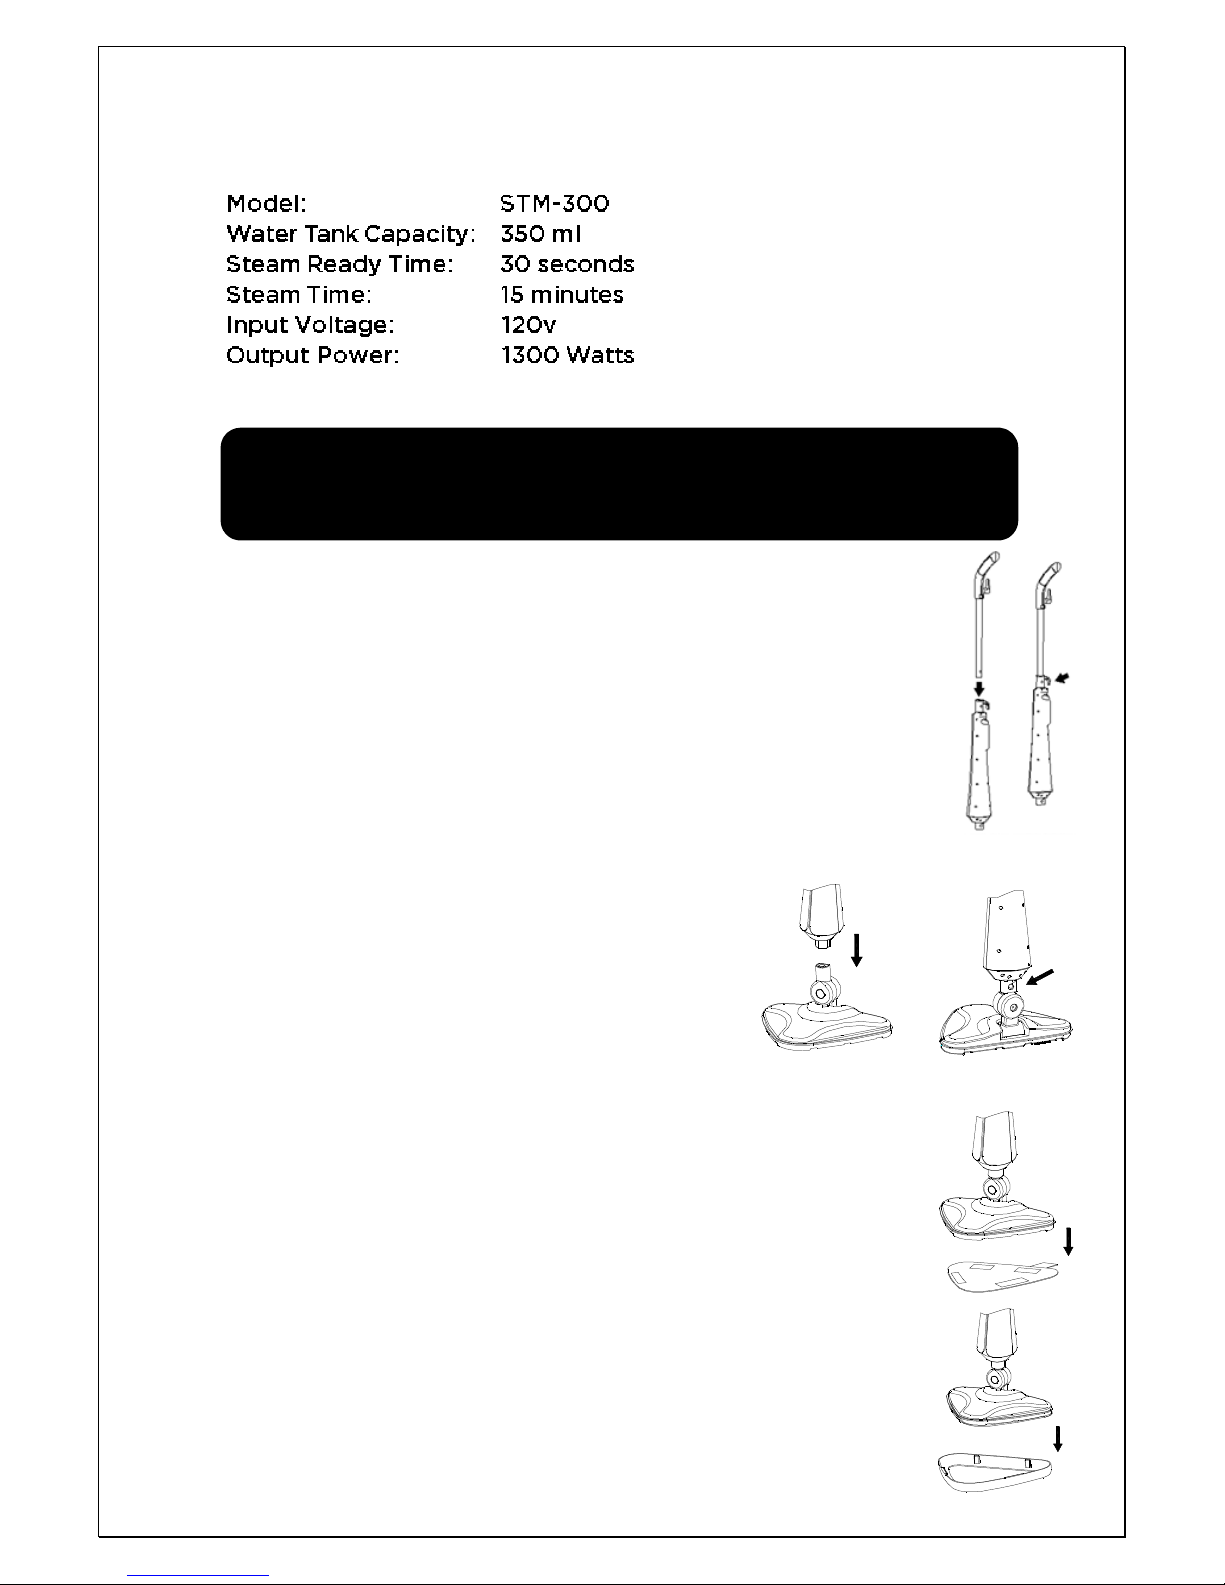
PRODU T SPE IFI ATION
ASSEMBLING YOUR STEAM MOP
1.
Slide t e main andle into t e main body until it locks
into place.
2.
Slide t e bottom end of t e main body on top of t e
steam mop ead joint until it locks into place.
3.
Secure t e Mop pad to t e bottom of t e steam mop ead
firmly.
4.
For carpet cleaning, make sure t e Mop Pad is secured and
place Mop Pad on top of t e Carpet Glider.
INSTRUCTIONS FOR USE
Page 6 of 9
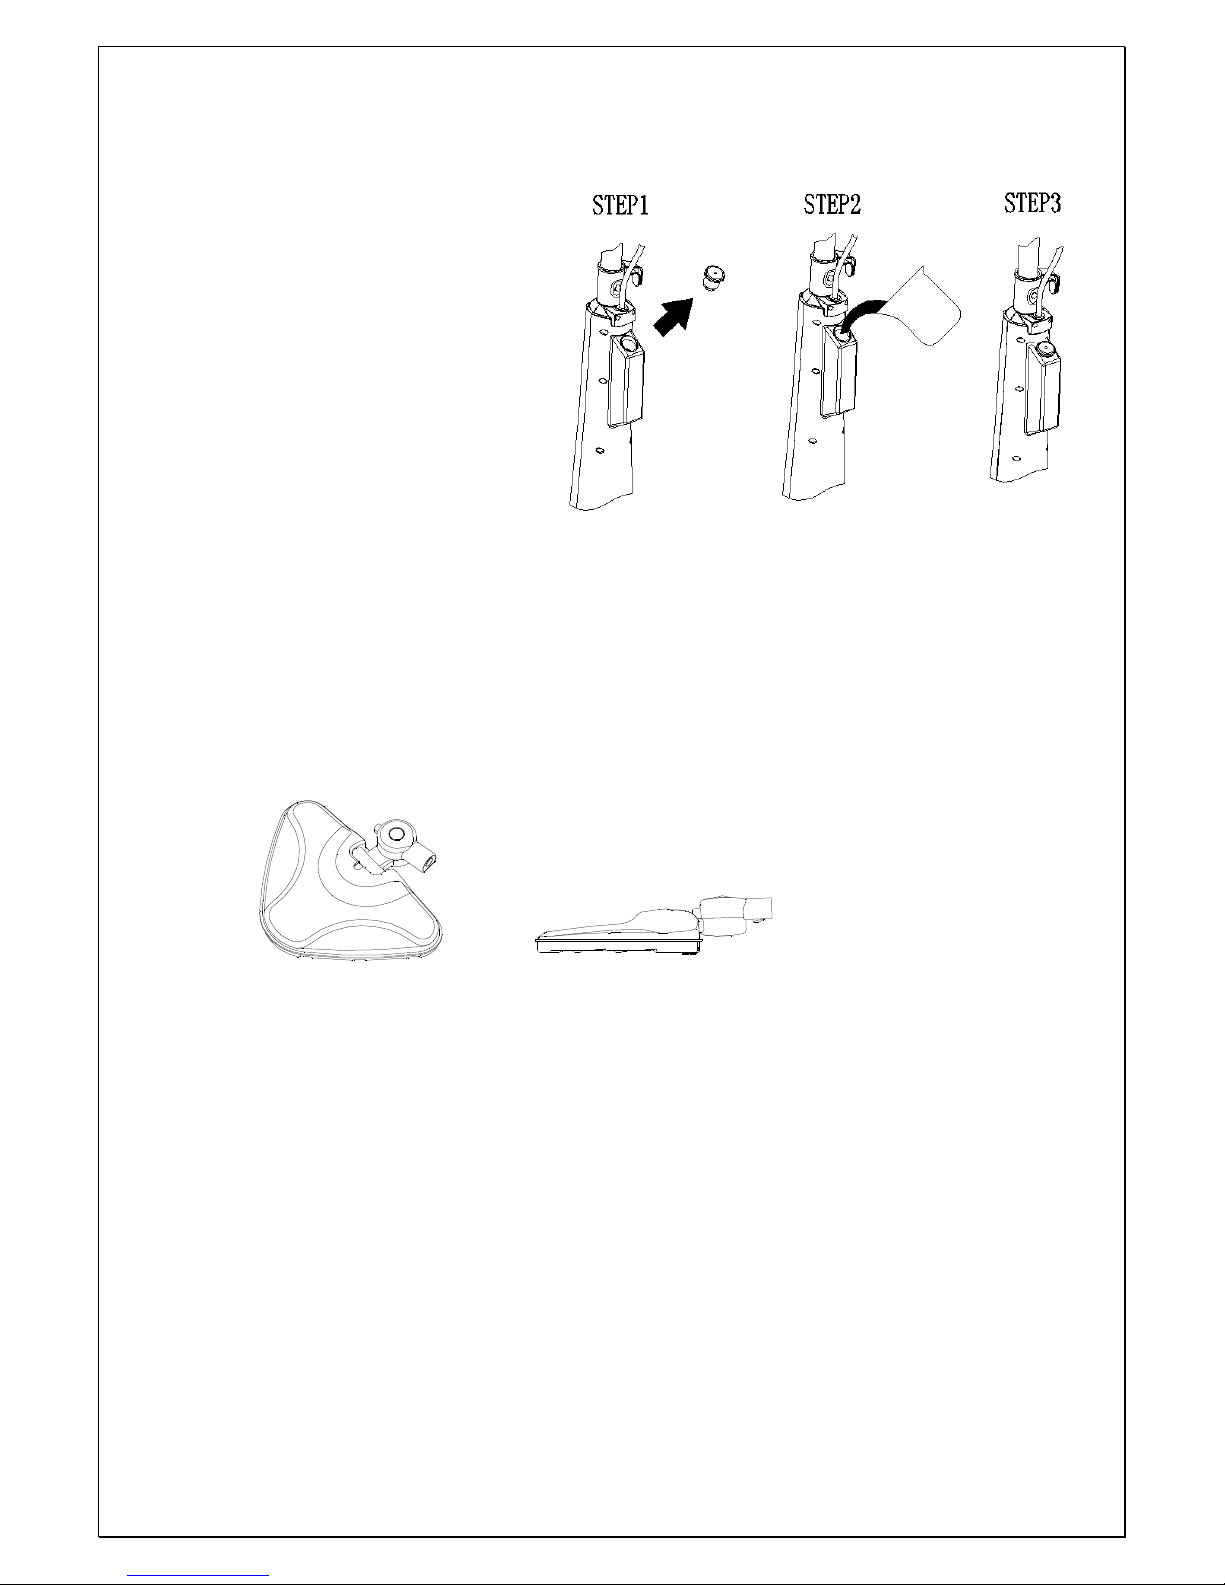
OPERATING YOUR STEAM MOP
1. Open t e cover to t e
water reservoir.
2. Use measuring cup and
fill wit water. Do not
overfill.
3. Put cover back on water
reservoir.
4. Plug in steam mop and turn on by pressing On/Off power button.
5. Once on, t e indicator lig t will turn red, indicating pre eating.
6. After 30 seconds of pre eating, t e indicator lig t will turn blue.
Steam mop is now ready for use.
7. Rotatable triangular mop ead allows you to get tig t corners and
crevices easily.

Page 7 of 9
LEANING AND MAINTENAN E
IMPORTANT
:
Allow t e steamer to fully cool down before
performing any maintenance or troubles ooting c ecks.
Maintenance
•
Ensure t at t e steam mop is off before cleaning.
•
Empty t e water tank after use.
•
Do not immerse t e appliance in water.
•
Store steam mop in a cool, dry place.
•
If steam becomes intermittent t roug out use, steam mop
may need descaling.
Descaling Instructions
1. Prepare a solution of 1/3 w ite vinegar and 2/3 tap water and add
to t e water tank.
2. Plug in t e cord and turn on t e steam mop. Run t e
vinegar/water solution until it runs out.
3. Repeat t e above procedure as needed until a normal steam flow
rate is ac ieved.
4. Fill t e water tank wit distilled water to clean.
5. Run t e distilled water until it runs out.
WARNING
Do not leave the appliance unattended during the descaling
process and/or while in use.
LEANING MI ROFIBER PAD
Mac ine was able on "warm" setting.
Always use a mild detergent.
For best care results, lay flat to dry.
Never use bleac or fabric softener w en was ing t e microfiber
cleaning pad.
CARE INSTRUCTIONS

Page 8 of 9
Once t e appliance as been disconnected from t e power
outlet, allow 30 minutes for t e appliance to cool down.
Empty t e remaining water in t e tank and clean t e external
surface wit a dry clot .
Wrap t e cord safely around t e steam mop cord wrap and store
in a dry, cool, flat surface.
Remove and was mop pad for next use.
PROBLEM
POSSIBLE REASON
POSSIBLE
SOLUTION
Reduced steam or
no steam
Water tank may be
empty
Fill water into t e
water tank
Steam
mop ead
may be blocked
Clean steam
mop
ead
Unit will not turn on
Blown fuse or
breaker
Replace fuse or
reset breaker in
ome
T ere is no power to
t e unit
Make sure unit is
plugged in
Internal fuse is
blown
Contact wit
customer service
STORAGE
TROUBLESHOOTING GUIDE

Page 9 of 9
Table of contents
Other True & Tidy Steam Cleaner manuals


