manuals.online logo
Brands
  1. Home
  2. •
  3. Brands
  4. •
  5. Shark
  6. •
  7. Steam Cleaner
  8. •
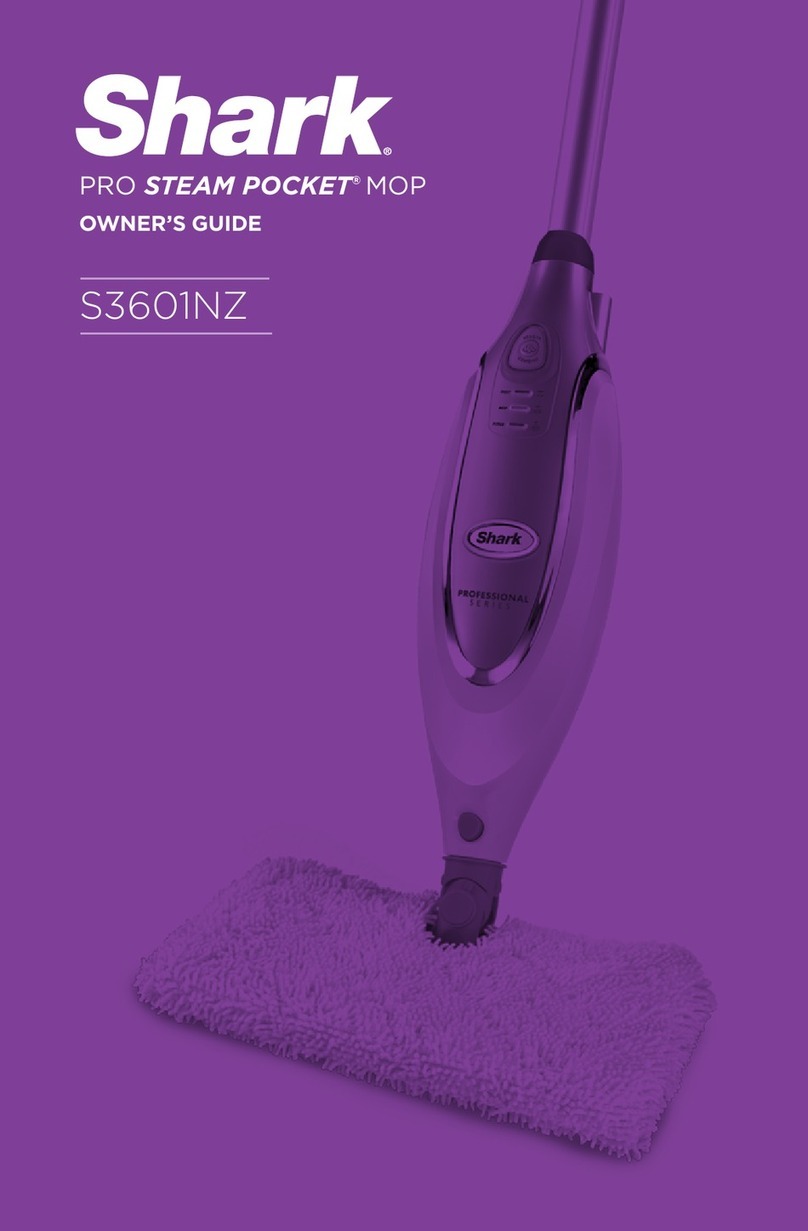
  9. Shark STEAM POCKET S3601 User manual

Shark STEAM POCKET S3601 User manual

Other manuals for STEAM POCKET S3601

2

Other Shark Steam Cleaner manuals

Shark Klik N' Flip Smartronic Deluxe Steam Pocket... User manual

Shark

Shark Klik N' Flip Smartronic Deluxe Steam Pocket... User manual

Shark SK410 series User manual

Shark

Shark SK410 series User manual

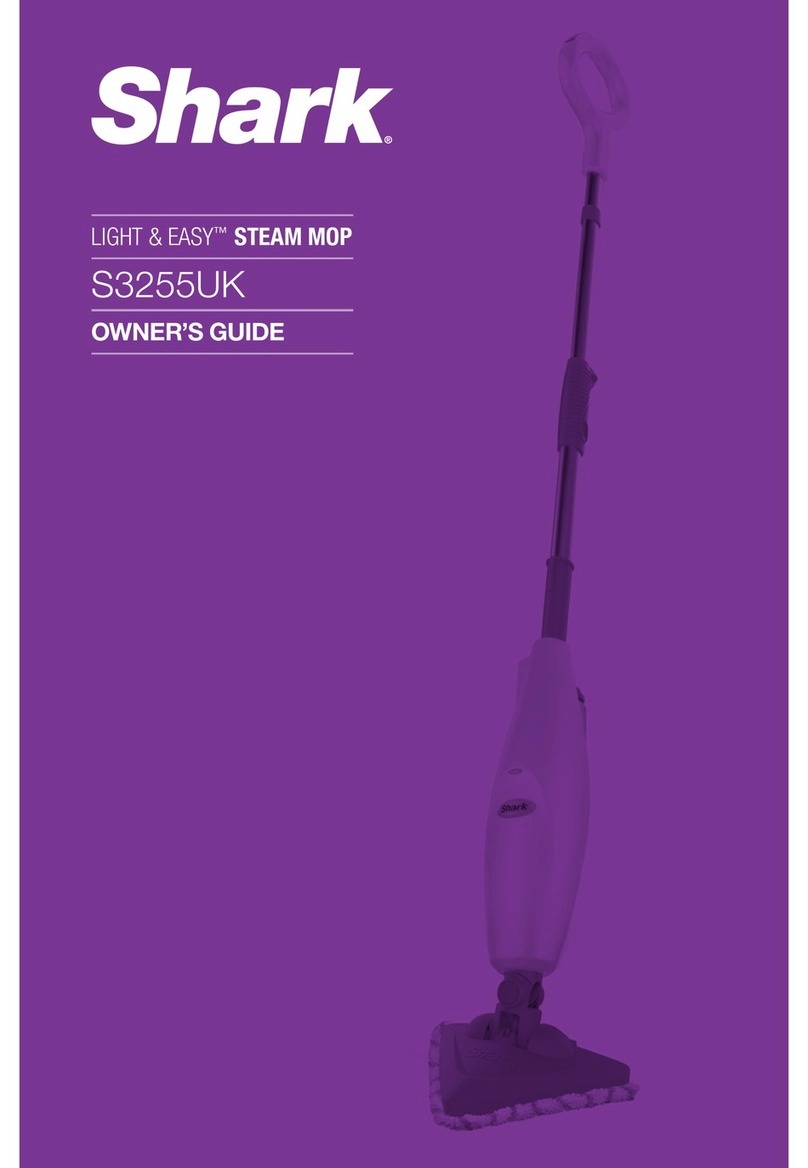
Shark VACMOP User manual

Shark

Shark VACMOP User manual

Shark S3101 N3 User manual

Shark

Shark S3101 N3 User manual

Shark S3455SL User manual

Shark

Shark S3455SL User manual

Shark SK410 series User manual

Shark

Shark SK410 series User manual

Shark STEAM POCKET SE400 User manual

Shark

Shark STEAM POCKET SE400 User manual

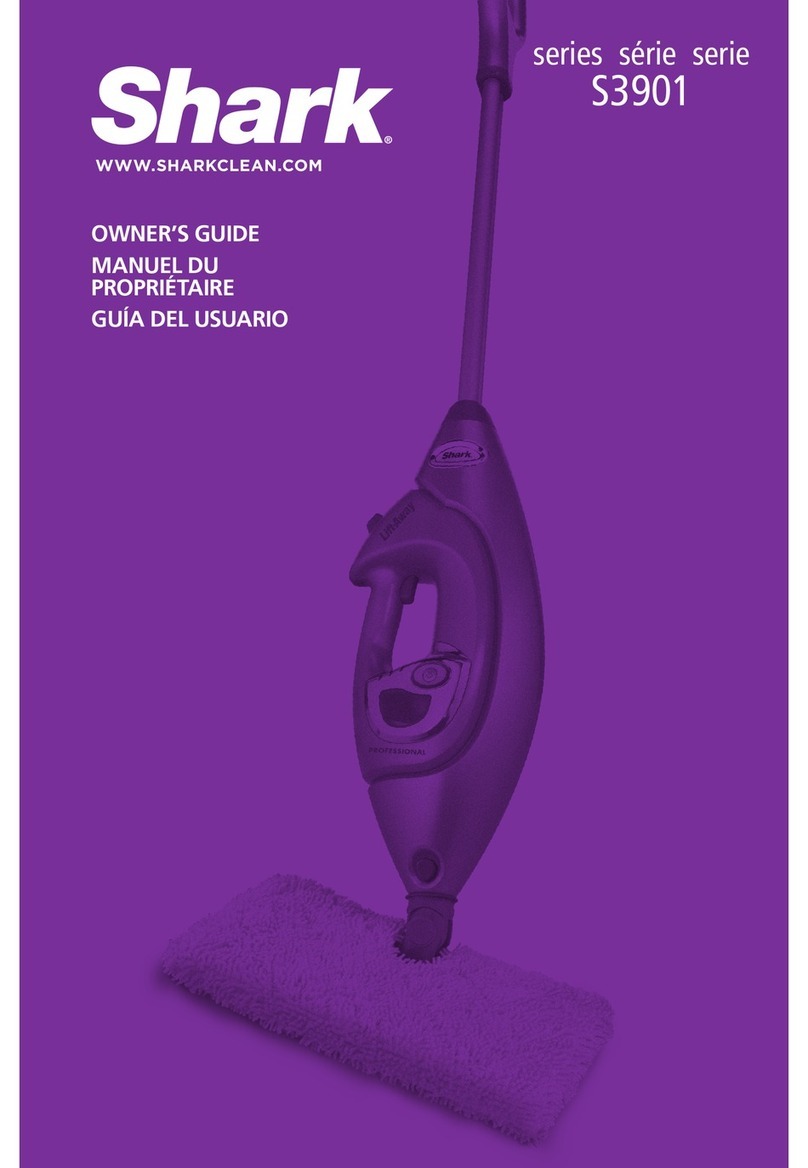
Shark LIFT-AWAY PRO STEAM POCKET S3901SL User manual

Shark

Shark LIFT-AWAY PRO STEAM POCKET S3901SL User manual

Shark SC630W User manual

Shark

Shark SC630W User manual

Shark GI460 Quick reference guide

Shark

Shark GI460 Quick reference guide

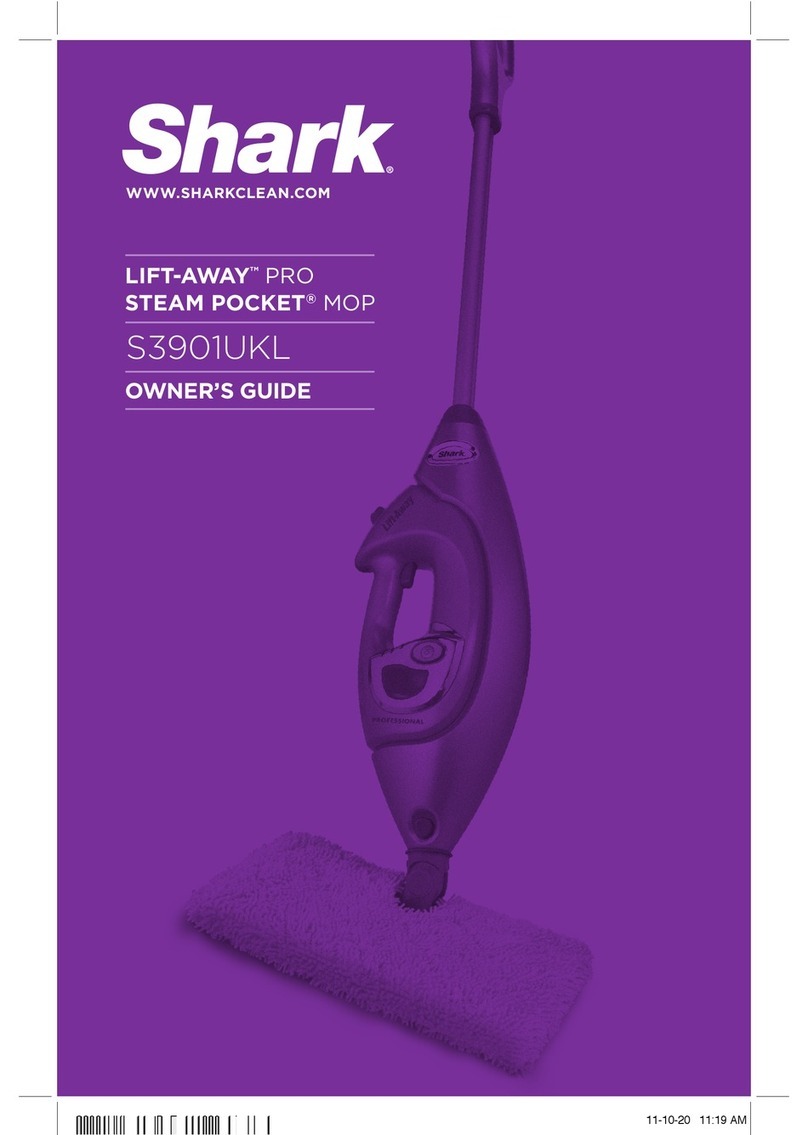
Shark S3901UKL User manual

Shark

Shark S3901UKL User manual

Shark SK115 User manual

Shark

Shark SK115 User manual

Shark Pro Steam Pocket SE450 Series User manual

Shark

Shark Pro Steam Pocket SE450 Series User manual

Shark V1950Q User manual

Shark

Shark V1950Q User manual

Shark S6005UK User manual

Shark

Shark S6005UK User manual

Shark SonicScrub Mop User manual

Shark

Shark SonicScrub Mop User manual

Shark LIFT-AWAY PRO STEAM POCKET MOP S3901K N User manual

Shark

Shark LIFT-AWAY PRO STEAM POCKET MOP S3901K N User manual

Shark GENIUS S6003C User manual

Shark

Shark GENIUS S6003C User manual

Shark GS500QUK User manual

Shark

Shark GS500QUK User manual

Shark V3800UK User manual

Shark

Shark V3800UK User manual

Shark HS150 Series User manual

Shark

Shark HS150 Series User manual

Shark S1000SM User manual

Shark

Shark S1000SM User manual

Shark KLIK N' FLIP S6003UKDB User manual

Shark

Shark KLIK N' FLIP S6003UKDB User manual

Shark STEAM POCKET S3452 User manual

Shark

Shark STEAM POCKET S3452 User manual

Popular Steam Cleaner manuals by other brands

Fagor FGBV50 instruction manual

Fagor

Fagor FGBV50 instruction manual

liebfeld 4742022040133 Instructions for use & safety instructions

liebfeld

liebfeld 4742022040133 Instructions for use & safety instructions

Magio MG-332 instruction manual

Magio

Magio MG-332 instruction manual

Oreck STEAM-IT STEAM100LRH user guide

Oreck

Oreck STEAM-IT STEAM100LRH user guide

MPM MZP-02 user manual

MPM

MPM MZP-02 user manual

Kärcher SC 3 Premium operating instructions

Kärcher

Kärcher SC 3 Premium operating instructions

Haan Floor Sanitizer MS-30 user manual

Haan

Haan Floor Sanitizer MS-30 user manual

Black & Decker HSM13E1 instruction manual

Black & Decker

Black & Decker HSM13E1 instruction manual

HOFFEN GS-1231 instruction manual

HOFFEN

HOFFEN GS-1231 instruction manual

POLTI VAPORETTO SYSTEME PRO Instructions for use

POLTI

POLTI VAPORETTO SYSTEME PRO Instructions for use

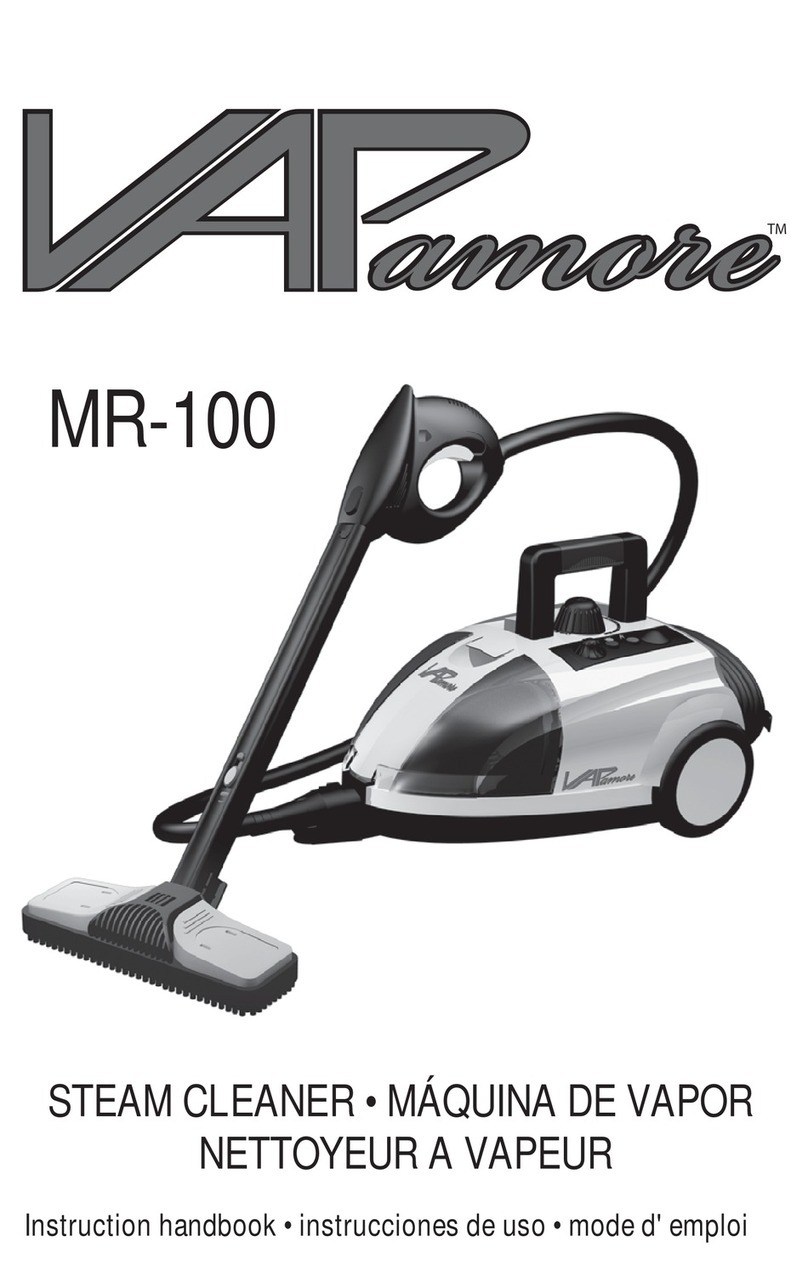
VAPamore Primo MR-100 Instruction handbook

VAPamore

VAPamore Primo MR-100 Instruction handbook

Beautural YPZ-146 instruction manual

Beautural

Beautural YPZ-146 instruction manual

Tempo di saldi SPINSCRUBBER Use and maintenance manual

Tempo di saldi

Tempo di saldi SPINSCRUBBER Use and maintenance manual

Bestron AZQ016 instruction manual

Bestron

Bestron AZQ016 instruction manual

DOMENA HYGIAFLOR instructions

DOMENA

DOMENA HYGIAFLOR instructions

Electrolux Refine 500 instruction manual

Electrolux

Electrolux Refine 500 instruction manual

Mega Cocina MEGASWIRL instructions

Mega Cocina

Mega Cocina MEGASWIRL instructions

Jula 802-337 installation instructions

Jula

Jula 802-337 installation instructions

manuals.online logo
manuals.online logoBrands
  • About & Mission
  • Contact us
  • Privacy Policy
  • Terms and Conditions

Copyright 2025 Manuals.Online. All Rights Reserved.

2
Please be sure to read the enclosed Shark® Owner’s Guide prior to using your unit.
ASSEMB LY
AMop Handle
BMop Body
CMop Head
D(1) 6mm x 54mm Large Screw
E(2) Dirt Grip™ Pocket Pads
FFilling Flask
B
C
WHAT’S INSIDE
FILLING THE WATER TANK
USING THE PRO STEAM POCKET MOP
INTELLIGENT STEAM CONTROL
1. Remove the water tank cap by turning it
counterclockwise.
2. Use the filling flask and pour water
into the tank. Do not overfill. Replace
the cap on the water tank, and turn
clockwise to lock.
1. Plug the power cord into an electrical
outlet. The STEAM CONTROL BUTTON
will flash blue. Press the button to select
your steam setting: once for DUST; twice
for MOP; and three times for SCRUB.
Pressing a fourth time will place the unit
on standby.
2. Wait 30 seconds for the unit to begin
producing steam. Start mopping on an
appropriate sealed hard-floor surface
with a forward and backward motion.
3. When one side of the Dirt Grip Pocket
Pad gets dirty, simply flip the mop over to
use the other side of the pad.
S3601_QSG_170228
1. Screw the Mop handle into the Mop Body
(screwdriver not included).
2. Secure the Mop Head inside the Dirt Grip Pocket Pad.
3. Snap the Steam Mop Body onto the post on the
Mop Head.
A
QUICK START GUIDE
1
F
D
E
3
(Click)
SETTING IDEAL FOR
THESE SEALED
SURFACES
RECOMMENDED USAGE
DUST Laminate
Hardwood
Marble
Light cleaning & dusting
MOP Hardwood
Marble
Tile
Stone
Cleaning most surfaces & large areas
SCRUB Tile
Stone
Deep cleaning & cleaning
hard-to-clean surfaces
PRO STEAM POCKET®MOP
With Intelligent Steam Control®
1.
Wash pads in warm water. Wash separately from other laundry. Only use liquid detergent. (no powder detergent) Don’t use any
fabric softeners. Line dry or dry on a low dryer setting.
1.
When you have finished using the Pro Steam Pocket® Mop, press the Steam Control button until the LED light turns flashing
BLUE. This stops the unit from steaming. Unplug the cord from the outlet and place the Steam Mop in the upright position.
Let the unit cool for 2-3 minutes.
2.
Remove the Dirt Grip™ Pocket Pad by releasing the quick fasteners and using the loop on the side of the pad, avoiding contact
with the hot pad.
3.
To store the Shark® Pro Steam Pocket® Mop hanging up, first remove the head (after it has cooled and the steam has been
released), then hang on a large hook (not included). Empty the water tank before storing the Pro Steam Pocket Mop for an
extended period.
CLEANING THE PAD
AFTER USE AND STORAGE
TROUBLESHOOTING
For questions or to register your product, contact us at: 800-798-7398 or visit us online at sharkclean.com
@sharkcleaning
PROBLEM POSSIBLE REASONS & SOLUTIONS
The Pro Steam Pocket Mop will not
turn on. Ensure the power cord is plugged in correctly to a working electrical outlet.
The Pro Steam Pocket Mop will not
make steam.
Verify the Steam Control button is illuminated steadily in blue, indicating a
steam setting has been selected. Ensure that the unit is filled with water.
Cannot activate steam mode on the
Pro Steam Pocket Mop.
Unplug the unit from the electrical outlet, wait 15-30 seconds, then plug the unit
back in.
The Pro Steam Pocket Mop leaves water
on the floor or is becoming hard to push.
Confirm that the pocket pad is properly axed to the mop head and not overly
saturated. If the pocket pad is overly wet, unplug the unit, wait 2 to 3 minutes for
the pocket pad to cool, and then replace with a clean, dry pocket pad.
The Pro Steam Pocket Mop left a white
spot on the floor.
Always use the wet steam mop in the correct manner. Never leave the unit with a
damp or wet pad attached.
Floors are cloudy, streaky or spotty
after steaming.
The pad may be dirty. Replace with a clean pad.
If you washed pad with powdered detergent, then it may contain residual
detergent. Wash pad again with liquid detergent.
In kitchen areas with grease buildup, first prep the floor with a de-greasing agent
such as an all-purpose cleaner or dish soap, then wipe with paper towels.
You might have left the mop in the same spot for too long.
Do you have hard water? We recommend using distilled water rather than tap
water in the tank.
Streaks, clouds, and spots may be caused by cleansers previously used on the
floor surface. Clean with Steam Mop a few more times to remove leftover cleansers.