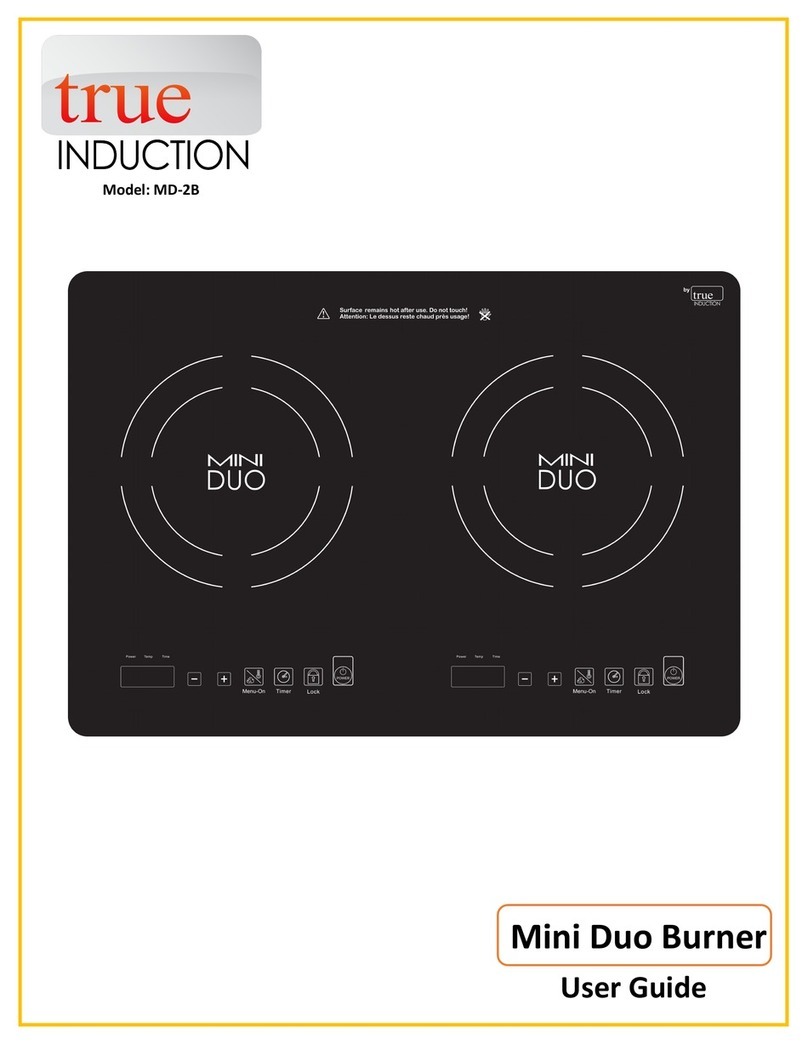
True F-IH-01SS User manual

Induction Cooker
F-IH-01SS
3200W/240V
OPERATION MANUAL
INDUCTION
.com

1
CAUTION
IMPORTANT SAFEGUARDS!
When using electrical appliances, basic safety precautions should always be followed.
DO NOT operate induction range if unit appears damaged or malfunctions in any manner. Call customer
service for assistance.
Including the following:
Read all instructions and be properly trained before operating induction range.
zDo not touch ceramic glass plate surfaces while or after cooking, ceramic glass surface will become hot
from heat generated by cooking pan.
zTo protect against electrical shock do not immerse cord, plugs, or appliance in water or any liquid.
zClose supervision is necessary when induction range is being used. Operator must be properly trained on
all operational and safety procedures, especially when using near children.
zUnplug unit when not in use and before cleaning. Allow unit to cool before moving or cleaning.
zDo not operate the appliance with a damaged cord or plug or after the appliance malfunctions or has been
damaged in any manner. Call our customer service for assistance.
zThe use of any accessories or cooking pans, which are not recommended by the manufacturer, may cause
injuries.
zDo not use outdoors, indoor use only.
zDo not allow power cord to hang over edge of table or counter, or touch hot surfaces.
zDo not place the induction range in, on, or near open flames, electric burners, heated ovens, or other high
temperature equipment or surroundings.
zTo disconnect, turn off all controls, then gently remove plug from wall outlet.
zDo not use induction range for anything other than cooking with suitable pans and subversion.
zDo not immerse induction range in water, as this will cause permanent damage to unit.
zDo Not Use if ceramic glass cook top should break or crack, as cleaning solutions and spillovers may
penetrate the broken cook-top and could create an electrical shock risk.
zBefore Cleaning Ceramic Glass Plate Surface – Unit must be unplugged and cool to touch. Wipe ceramic
glass plate with damp cloth and only use a non-abrasive glass cleaning solution on spills.
zCaution - To ensure continued protection against risk of electric shock, connect to properly grounded
outlets only.
zDo not heat any empty pans or pots as this will automatically activate the over heating protection device
and shut off unit. Never heat any sealed metal cans on induction range as this could cause them to
explode and unit to shut down.
zDo not place metallic objects such as knives, forks, spoons, lids, cans and aluminum foils on or near the
top glass plate.
zAllow sufficient space around the cooking area and always place unit on level flat surface. Do not block the
air-intake panel as this may cause unit to overheat. Keep unit a minimum of 4” from wall or other
equipment or obstructions for proper ventilation
zNever use or place the unit on low-heat-resistant or flammable materials (carpet, vinyl, paper, or fabric).
zDo not ever place any paper between the cooking pan and cooking plate. The paper could ignite.
zWhen storing, DO NOT place any objects on top of the induction range. This could cause damage to
cooking surface or unit.
zAny Items with a magnetic field, such as: radios, televisions, automatic-banking cards and cassette tapes,
can affect the unit.
zPeople with pacemakers should stand a minimum of 30” from unit while in use.

2
OPERATION
Installation : Maintain a distance of 10CM (5 inches) between the appliance and walls or other objects.
Cookware : Suitable cookware includes
Steel or enamelled cast iron
Iron, steel or non-enamelled cast iron
18/0 stainless steel and aluminium (if marked suitable for induction cooking) Unsuitable cookware
includes:
Cookware with a diameter of less than 12cm
Ceramic or glass cookware
Stainless steel, aluminium, bronze or copper cookware unless marked as suitable for induction
cooking
Cookware with feet
Cookware with a rounded bottom (e.g. wok)
Control Panel :
1.Timeselection
2. Reduce time, temperature or power
3.LCDDisplay
4. Increase time, temperature or power
5. Heat, Temperature and Timer indicator lights
6. Temperature button
7. On/Off button
8. Heat button
9. Power indicator
Cooking:
1. Connect the appliance to the mains power supply. A beep will sound and the display will briefly light up.
2. Place suitable cookware on to the centre of the glass plate.
3. Press the On/Off button to turn the appliance On.
4. Press either the HEAT or TEMP button, depending on your cooking requirements. The
corresponding indicator light comes on.
5. Press the UP or DOWN buttons repeatedly to reach the desired setting. This setting can be changed at
any time during the cooking process.
150℉, 160℉, 170℉, 180℉, 190℉, 200℉, 210℉, 220℉, 230℉, 240℉, 250℉, 260℉, 270℉, 280℉,
290℉, 300℉, 310℉, 320℉, 330℉, 340℉, 350℉, 360℉, 370℉, 380℉, 390℉, 400℉, 410℉, 420℉, 430
℉, 440℉, 450℉. The defaults is 270℉.
400W ,600W, 800W, 1000W, 1200W, 1400W, 1600W, 1800W, 2000W, 2200W, 2400W, 2600W,
2800W ,3000W, 3200W. Total 15 level. The defaults is 1600W.
6. Press the TIMER button: ‘0’ appears on the display.
7. Press the UP or DOWN buttons repeatedly to set the cooking time. The time can be set in 5 minute
increments up to a maximum of 150 minutes, which then counts down in 1 minute increments.

3
8. A beep will sound when the cooking time has finished, and the appliance switches to standby mode.
9. After cooking is completed, press the ON/OFF button again to turn off the unit.
Notice:
1. The power will completely shut off with 9 second if either (a) the wrong type of cookware is applied or (b) no
cookware is placed on the unit.
2. If the unit be used for 150 minutes under the TEMP or HEAT state, the LED display will show EE code and
sound, then turn off automatically.
3. The Max Timer is 150 minutes per operation.
CLEANING
zClean after each use. Turn Off, Disconnect plug from power source, and wait until unit has cooled down
before cleaning.
zIf the pots/pans are used without being cleaned, this may result in discoloration or stains.
zDo not use benzene, thinner, scrubbing brush or polishing powder to clean any surface on induction cooker.
zWipe down the unit using a damp cloth
zWhen needed, use vacuum cleaner to remove dirt from the air intake and exhaust vent. Never insert any
type of metal or iron wire into these two vents
zNever run water over the unit (If water gets inside it will damage & cause unit to malfunction.)
WARNING: an authorized service representative should perform any servicing
TROUBLE SHOOTING
If LED-display shows the error code, please reference to the solution as following
Error Code Cause and Solution
“---“ and the unit sounds
“Dee, Dee, …” There is no cookware or no suitable cookware on the stove.
The power will completely shut off with 9 second if it is no
cookware or wrong type of cookware placed on the unit.
E01 Voltage is under 160V
E02 Voltage is over 270V
E03 The accessory and spare parts are damaged, please contact
the nearest authorized service facility for trouble shooting,
repair and adjustment.
E04 The accessory and spare parts are damaged, please contact
the nearest authorized service facility for trouble shooting,
repair and adjustment.
E05 The cooking temperature exceed 300℉.If you use the function
mode “POWER” to cook, the max temperature is 300℉.If the
cooking temperature exceeds 300℉, the device shows an error
code. Please power off to eliminate the wrong record and let
the appliance cool down. Then plug the power cord again and
restart. If you would like the cooking temperature exceed 300℉,
please use the function mode “TEMP”, the max temperature is
450℉.
E06 The accessory and spare parts are damaged, please contact
the nearest authorized service facility for trouble shooting,
repair and adjustment.
E07 The cooking temperature exceeds 450℉while using the
function mode “TEMP“. After the device has cooled down, the
appliance will automatically enter standby mode.
E08 You are using unsuitable cookware. Please use the suitable
cookware (with the flat base). Power off to eliminate the wrong
record, plug in the power cord again and restart.
Table of contents
Other True Cooktop manuals