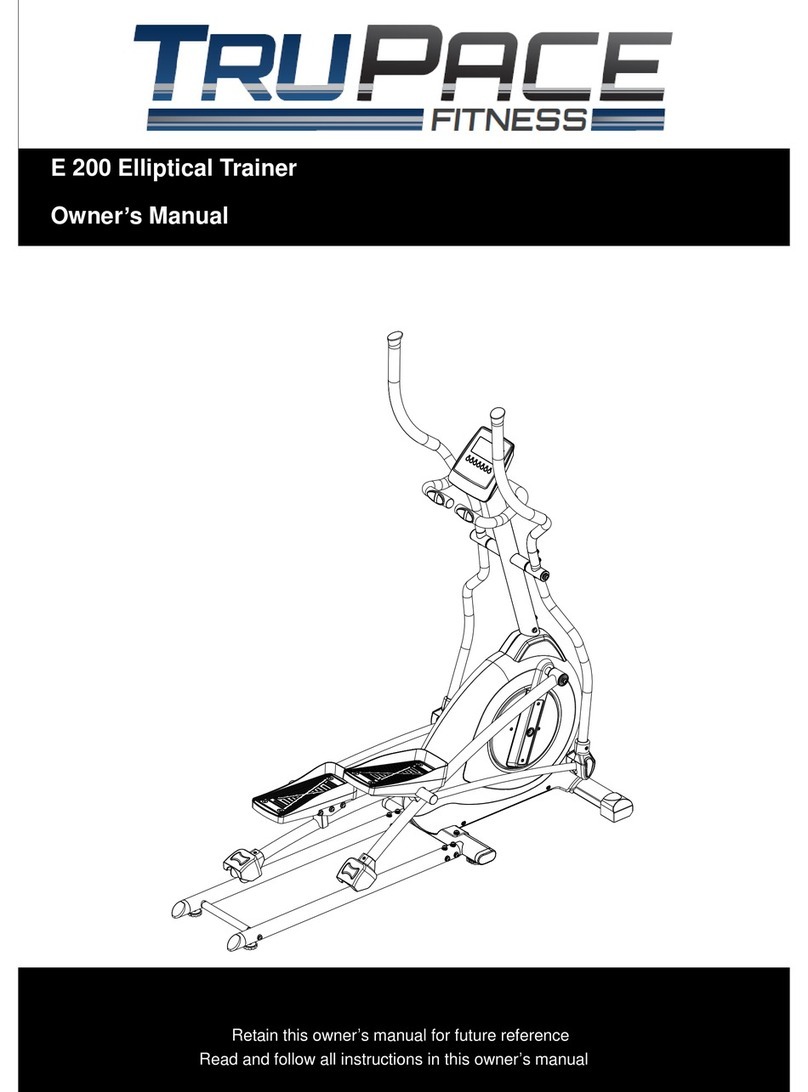
TruPace E250 User manual

E 250 Elliptical Trainer
Owner’s Manual
Retain this owner’s manual for future reference
Read and follow all instructions in this owner’s manual

Page
Contents
1
General Information
2
Warnings
3
Power Requirements
4-10
Assembly Instructions
11-12
Getting Started
13-19
Computer Operation
20-21
Maintenance
22-23
Troubleshooting
24
Parts Diagram
25-28
Parts List
29
Exercise Warnings
30
Heart Rate Chart
31-34
Warm up / Stretching
35-36
Limited Warranty
Table of Contents

Thank you for choosing this elliptical trainer.
You have taken the first step to a healthier and more rewarding lifestyle.
This Elliptical is especially designed to give you reliable performance and enjoyable workouts in
the comforts of your home. Below you find below the features and benefits of your new Elliptical.
◇Multiple level electronic magnetic resistance.
◇Low impact exercise system
◇Mobility wheels for easy moving and relocation.
◇Hand contact heart-rate system to monitor cardio performance.
TECHNOLOGY DATA
Voltage
Self-Generating
Max weight
300 LBS.
Dimension
64.8"L x 24.8"W x 46.3"H
Owner’s Manual 1
CAUTION:
Before beginning any exercise program always consult your physician. If you experience chest
pain, nausea, dizziness or shortness of breath, stop exercising and consult your physician before
continuing.

WARNING: To reduce the risk of burns, fire, electric shock, or injury to persons, read the
following important precautions and information before operating the Elliptical. It is the
responsibility of the owner to ensure that all users of this Elliptical are adequately informed of all
warnings and precautions.
●Use the Elliptical only as described in this manual.
●Place on a level surface, with 3 feet (1 m) of clearance behind it. To protect the floor or carpet
from damage, place a mat under the Elliptical.
●When choosing a location for the Elliptical be sure that the location and position permit access
to a plug.
●Keep the Elliptical indoors, away from moisture and dust. Do not put the Elliptical in a garage
or covered patio, or near water.
●Do not operate the Elliptical where aerosol products are used or where oxygen is being
administered.
●Keep children under the age of 12 and pets away from the Elliptical at all times.
●The Elliptical should not be used by persons weighing more than 300LBS.
●Never allow more than one person on the Elliptical at a time. Wear appropriate exercise
clothing when using the Elliptical. Do not wear loose clothing that could become caught in the
Elliptical. Athletic support clothes are recommended for both men and women. Always wear
athletic shoes. Never use the Elliptical with bare feet, wearing only stockings, or in sandals.
●When connecting the power cord, plug the power cord into a grounded circuit.
●Always examine your Elliptical before using to ensure all parts are in working order.
●Never insert any object or body parts into any opening.
●Follow the safety information in regards to plugging in your Elliptical.
●Keep the power cord away from the wheels and do not run the power cord underneath your
Elliptical. Do not operate the Elliptical with a damaged or frayed power cord.
●Always unplug the Elliptical before cleaning and/or servicing. Service to your Elliptical should
only be performed by an authorized service representative, unless authorized and/or instructed
by the manufacturer. Failure to follow these instructions will void the Elliptical warranty.
Owner’s Manual 2

ASSEMBLY INSTRUCTIONS
Step 1:
A. Place the product in the area it will be used.
a.Note: The elliptical must be placed on a level surface
B. Remove the Elliptical from the packaging
C. Attach the slider tubes (116) to the rear stabilizer (80) using 12 x M8*20mm Allen bolts
(17), 12 x Ф8 spring washers (20), and 12 x Ф8*19*1.5t curved washers (16)
D. Attach the connecting tube (108) to the sliding tube (116) using 2 x M8*70mm Allen
Bolts, 2 x Ф8 spring washers (20), and 2 x Ф8*19*1.5t curved washers (16)
E. Attach the rear stabilizer (80) to the main frame (53) using 4x M8*20mm (17), 4 x Ф8
spring washers (20), 2 x Ф8*19*1.5t curved washers (16), and 2 x Ф8*19*1.5mm flat
washer (38). Note: the flat washers are used on the bolts attached through the top of the
rear stabilizer.
F. Attach the front stabilizer (39) to the main frame (53) using 2 x M8*55mmAllen bolts (37)
and 2 x Ф8*19*1.5mm flat washer (38).
G. Tighten all bolts now.
116
105 20 16
20 16
17
38
106
108
39
37
38
53
54
Owner’s Manual 3
Caution Pinch point. Do not
place your hands between
the frame components

Step 2:
A. Slide the handlebar post cover (36) onto the handlebar post (55).
B. Connect the upper computer cable (3) with the lower computer cable (54) put the
excess cable in to the handlebar post.
C. Insert the handle par post (55) into the main frame (53) by using 6 x M8*20mmAllen bolt
(17), 6 x Ф8 spring washers (20), 6 x Ф8*19*1.5t curved washers (16).
D. Tighten all bolts now.
20 16
17
55
53 55
53
17
20
16
54
3
36
54
3
54
3
116
Owner’s Manual 4
Handlebar post
cover
Caution: Do not pinch the
computer wires between
the handlebar post and the
main frame during
assembly

Step 3:
A. Insert the rotation rod (14) into the handlebar post (55).
B. Slide 1 x Ф19.5*38*0.5mm (15) on to each side of the rotation rod (14) prior to attaching
the lower handlebars (49L & 49R)
C. Attach the lower handlebars (49L) and (49R) onto the rotation rod (14) Note: Be certain
the correct handlebare is attached to the correct side of the post before securing.
D. Secure the lower handlebars, using 2x M8*20 Locking Allen bolt (9), 2 x Ф8 spring
washers (20), and 2 x Ф8.5*36*3tmm flat washer (19).
E. Tighten all bolts now
55
15
14
49R
49L
9
19
3
53
116
20
Owner’s Manual 6

Step 4:
A. Attach the left pedal arm (77L) the left side crank (66)
B. Secure the left pedal arm to the crank by using 1 x M8*20 Locking Allen bolt (9), 1 x Ф8
spring washers (20), and 1 x Ф8.5*36*3tmm flat washer (19).
C. Attach the decorative cover (104) on to the left pedal arm by using 2 x M5*15 round
head screw (40)
D. Place the left pedal arm on to the slider tube.
E. Repeat the process above for the right side.
F. Tighten all bolts now.
104 40
77R
77L
104 40
116
55
3
19
19
9
20
66
9
Owner’s Manual 7

Step 5:
A. Attach the left pedal connecting to tube (75L) to the left lower handlebar (49L) by using 1
x M10*78mmAllen bolt, 1x Ф10*19*2t mm flat washer, and 1x M10 nut.
B. Attach the left pedal connecting tube (75L) to the left pedal arm (77L) by using 1 x Fixing
plate, 3 x M8*20mm Allen bolt (17), 3 x Ф8 spring washers (20), 3 x Ф8*19*1.5mm flat
washer (38).
C. Tighten all bolts now.
D. Attach the decorative cover (60L) to the lower handlebar (49L) by using 2 x M5*15
round head screw (40)
E. Repeat the process above for the right side
F. Attach the stationary handlebar (13) to the handlebar post (55) by using 2 x M8*20
LockingAllen bolts (9) and 2 x Ф8*19*1.5t curved washers. Tighten bolts now
G. Insert the left upper handlebar into the left lower handlebar and secure by using 2 x
M8*20mm Allen bolt (17), 2 x Ф8 spring washers (20), 2 x Ф8*19*1.5t curved washers
(16).
H. Repeat the process above for the right side
I. Tighten all bolts now.
Owner’s Manual 8
16
17
69R
69L
69R
69L
69L
71L 71L
102 20 34
17
44L
44R
44R
54L
54R
36
68
53
75
9
16
13
49
49
13
71R
20

Step 6:
A. Attach the left pedal (73L) to the left pedal connecting tube (75L) by using 4 x M8*20mm
Allen bolts (72)
75L
73L
72
8
Owner’s Manual 9

Step 7:
A. Remove the 4 console screws (2) from the back of the computer console.
B. Connect the upper computer cable (3) to the computer console cable (4)
Note: put the excess wire in to the handlebar post
C. Attach the computer console (4) to the handlebar post (55) by using the 4 screws (2)
removed from the procedure above.
D. Tighten all bolts now.
4
2
8
55
Congratulations your Elliptical is now ready to use.
Plug in the power adaptor
Owner’s Manual 10

PLACEMENT IN YOUR HOME
·Do not place the Elliptical outdoors.
·Do not place the Elliptical near water or in high moisture content environment.
·If your room is carpeted, check the clearance to make sure there is enough space
between the carpet fiber and the Elliptical slider tubes. If you are uncertain, it is best to place
mat beneath your Elliptical.
·Place the Elliptical at least 3 feet from walls or furniture.
LEVELING THE BASE
It is important that you place the Elliptical on a firm level surface.
Check the Elliptical to ensure the frame is level once you have moved the Elliptical into the
place of your choice. There are 4 levelers under the slider tubes at the rear and middle of the
elliptical. Adjust the side to side and front to back leveling by turning the levelers either
clockwise to lower or counter clockwise to raise the elliptical frame.
Owner’s Manual 11
GETTING STARTED
Owner’s Manual 12
CAUTION!
Make sure the elliptical is positioned on a stable level surface. If the elliptical is positioned on an
uneven surface,it may cause damage to the pedal arms and slider tubes.
Leveler location

GETTING ON AND OFF THE ELLIPTICAL
Take care when getting on or off the Elliptical. Step on the lower pedal and use the handlebars
while getting on or off.
During your exercise, keep your body and head facing forward at all times. Never attempt to
turn around on the Elliptical when working out.
MOVING THE ELLIPTICAL
GETTING STARTED
Owner’s Manual 13
OPERATING THE CONSOLE
Caution: This equipment is heavy and, if it is not handled properly, may cause injury

Program profiles
DOT Matrix
Owner’s Manual 14
START (P )
To start the workout
STOP ( P)
To pause and reset the
workout
TEXT MENU
Sets the, date time,
back light
brightness and
Odometer.
▲/▼ KEY
Adjusts and set
all functions.
Control resistance
settings UP or
DOWN
MODE KEY
Confirms all
settings. Changes
dot-matrix
display. Starts
recovery mode

【DISPLAY FUNCTION】
TIME
Count up - The time will count up from 00:00 to maximum 99:59 with each
increment is 1 minute.
Count down - If training with preset Time, Time will count down from the preset to
00:00. Each preset increment is 1 minute between 01:00 to 99:00.
SPEED
Displays current training speed. Maximum speed is 99.9 KM/H or ML/H.
RPM
Displays the Rotation Per Minute. Display range 0~15~999
DISTANCE
Accumulates total distance from 00:00 up to 99.99 KM or ML. The user may
preset target distance data by pressing the UP/DOWN key. Each increment is
0.1KM or ML.
CALORIES
Accumulates calories consumption during training from 0 to maximum 9999
calories. (This data is a rough guide for comparison of different exercise sessions
which is not intended for medical treatment.)
PULSE
User may set up target pulse from 0 - 30 to 230 and computer will beep when
actual heart rate is over the target value during workout.
HEART
SYMBOL
When monitor receives the heart rate signal, the symbol will begin blinking.
WATTS
Display current workout watts. Display ranges 0~999.
Recovery
After exercising press the recovery key and hold the heart rate hand grips until
the display reads F1, F2, F3, F4, F5, or F6. This function will test how rapidily
your body recovers to a normal resting heart rate. F1 is the lowest rated result
(worst) and F6 is the highest (best) Press the recovery key again to return to the
main screen.
Temperature
The room temperature will be displayed when in sleep mode
Calendar
The date will be displayed when in sleep mode
Clock
The time will be displayed when in sleep mode
Sleep mode
When the machine is not used for 4 minutes the computer will enter sleep mode

【OPERATING INSTRUCTIONS】
POWER ON
This is a self-generating machine and does not require external power. To power the computer
display you must be using the machine for it to function.
【INITIAL SET UP】
Setting the date, time odometer and back light brightness
1. Power up the machine
2. Press the TEXT MENU KEY until the desired function is displayed on the screen
3. Press the MODE key to confirm
4. Press the UP or DOWN KEY to adjust the numerical value
5. Press the MODE key to confirm
6. When completed press the START (P ) or STOP (P ) key to return to the main
screen
【PROGRAMMING MODE】
Setting USER information (U1 –U4):
1. U0 will blink on the screen and is a preset user mode and cannot be adjusted. You can
choose USER profile 1 –4 by pressing the UP or DOWN keys.
2. Press the MODE key to enter
3. The name setting will blink on the screen. Press the UP or DOWN keys to adjust the
name character is displayed.
4. Press the MODE key to enter
5. The age setting will blink on the screen. Press the UP or DOWN keys to adjust the age
value.
6. Press the MODE key to enter
7. The weight setting will blink on the screen. Press the UP or DOWN keys to adjust the
weight value
8. Press the MODE key to enter
9. The height setting will blink on the screen. Press the UP or DOWN keys to adjust the
height value
10. Press the MODE key to enter
11. The gender setting will blink on the screen. Press the UP or DOWN keys to adjust the
gender value
Owner’s Manual 15

12. Press the MODE key to enter
13. Press start to begin the workout in manual or choose from the preset programs.
MANUAL PROGRAM
NOTE: the computer will default to the goal that end first and will end when that value
reaches 0
1. After entering the USER information press UP or DOWN to choose the type of program.
2. Press MODE key to confirm.
3. After selecting MANUAL mode, press UP and DOWN keys to increase and decrease
the starting resistance level (from 1 to 16)
4. Press MODE key to confirm.
5. Adjust the time by pressing the UP or DOWN keys
6. Press MODE key to confirm.
7. Adjust the distance by pressing the UP or DOWN keys
8. Press MODE key to confirm.
9. Adjust the calories by pressing the UP or DOWN keys
10. Press MODE key to confirm.
11. Press start to begin the workout
12. Level is adjustable during workout
PRESET PROGRAM
1. After entering the USER information press UP or DOWN to choose the type of
program.
2. Press mode to confirm the program type.
3. After entering the Preset Program, press UP and DOWN to select program profile from
P1 - P12
4. Press MODE key to enter the program profile.
5. Press UP and DOWN to adjust profile level.
6. Press mode to confirm.
7. Press MODE key to confirm.
8. Adjust the time by pressing the UP or DOWN keys
9. Press MODE key to confirm.
10. Adjust the distance by pressing the UP or DOWN keys
11. Press MODE key to confirm.
12. Adjust the calories by pressing the UP or DOWN keys
13. Press MODE key to confirm.
14. Press start to begin the workout
15. Level is adjustable during workout.
Owner’s Manual 16

USER PROGRAM
1. After entering the USER information press UP or DOWN to choose the type of program.
2. Press mode to confirm the program type.
3. After choosing the user program press up or down to adjust the level of intensity of the
first segment
4. Press MODE to confirm and move to the next segment
5. Press up or down to adjust the level of intensity of the next segment
6. Press MODE to confirm and move to the next segment
7. Continue this process until all segments have been adjusted
8. There are 20 segments to each program. To create a shorter program, adjust the
desired amount of segments then press and hold the MODE key for 3 seconds. The
program will be entered.
9. Press start to begin the workout
HEARTRATE CONTROL PROGRAM
1. After entering the USER information press UP or DOWN to choose the type of program.
2. Press mode to confirm the program type.
3. After choosing the HRC program press up or down to select between 55%, 75%, 90%,
TARGET.
4. Press MODE to confirm
5. Adjust the time by pressing the UP or DOWN keys
6. Press MODE key to confirm.
7. Adjust the distance by pressing the UP or DOWN keys
8. Press MODE key to confirm.
9. Adjust the calories by pressing the UP or DOWN keys
10. Press MODE key to confirm.
11. If target Heart rate is selected use the UP or DOWN keys to adjust the target heart rate
12. Press the MODE key to confirm
13. Press start to begin the workout
14. Level is adjustable during workout.
15. Press start to begin
Owner’s Manual 17

WATT PPROGRAM
1. After entering the USER information press UP or down to choose the type of program.
2. Press mode to confirm the program type.
3. After choosing the WATTS program, 120, the preset watts setting will blink on the
screen
4. Press UP or DOWN to adjust the watts value. (wattage range 10-350)
5. Press MODE to confirm
6. Press START to begin
FITNESS TEST
NOTE: This test is based on the amount of distance that can be completed in 12 minutes
the resistance level cannot be changed.
1. After entering the USER information press UP or down to choose the type of program.
2. Press mode to confirm the program type.
3. After choosing the FITNESS TEST, the preset training time is 12min at level 5
4. Press start to begin the test
5. Once the 12 minutes has been completed the computer will show the fitness score
ranging from F-1 to F-5. F1 is the highest rating and F5 is the lowest
SPECIAL FEATURES DURING THE WORKOUT
1. Press the MODE key to change the matrix display to a track, heart rate chart, watts
chart, or speed chart.
2. Press the TEXT MENU key and the will display the current workout mode for 3 seconds
3. Press mode to confirm the program type.
SPECIAL FEATURES DURING A STOPPED WORKOUT
Note: The computer must stay powered to function and the user must be in a paused
program (this feature will not function if the computer is on the home screen)
1. Heart Rate Recovery
a.When the program is paused PULSE RECOVERY will be displayed
b.Press the MODE key to enter the recovery heart rate mode.
c.Immediately place both hands on the hand grip heart rate sensors.
d.When the test is complete the computer will display recovery score
e.Press Start to continue the workout
Owner’s Manual 18

2. Change the work out time distance calories and pulse.
a.When the program is paused PULSE RECOVERY will be displayed
b.Press the MODE key to enter the recovery heart rate mode.
c.Do Not place your hands on the hand grip heart rate sensors.
d.Time will begin to flash
e.Adjust the time by pressing the UP or DOWN keys
f. Press MODE key to confirm.
g.Adjust the distance by pressing the UP or DOWN keys
h.Press MODE key to confirm.
i. Adjust the calories by pressing the UP or DOWN keys
j. Press MODE key to confirm.
k.Adjust the calories by pressing the UP or DOWN keys
l. Press MODE key to confirm
m. Press start to begin the work out again.
3. Press the TEXT MENU key to PULSE, RECOVERY, NEW START, BACK TO
EXERCISE, RECALL EXERCISE, and SAVE EXERCISE.
a. Change from one special feature to the other by pressing the UP or DOWN keys
b.Press MODE key to confirm selection
c.Pulse Recovery
i. Press the MODE key to enter the recovery heart rate mode.
ii. Immediately place both hands on the hand grip heart rate sensors.
iii. When the test is complete the computer will display score
iv. Press Start to continue the workout
d.NEW START: Reset the computer to the home screen
e.BACK TO EXERCISE: Return to the current program
f. SAVE EXERCISE: Saves newest training information. (Available for U1-U4 user
profiles)
g.RECALL EXERCISE: Review saved training record. (Available for U1-U4 user
profiles) Each user has 30 training data records in the computer memory, and
the user can refer to previous the previous records by pressing the UP/DOWN
button after entering the RECALL EXERCISE mode. The records are stored in
the order they were saved with the newest record displayed first.
Owner’s Manual 19
Table of contents
Other TruPace Elliptical Trainer manuals
Popular Elliptical Trainer manuals by other brands
Matrix
Matrix E3X-01 Service manual

Torque Fitness
Torque Fitness XPLLP owner's manual
Bowflex
Bowflex Max Trainer M3 Owner's/assembly manual
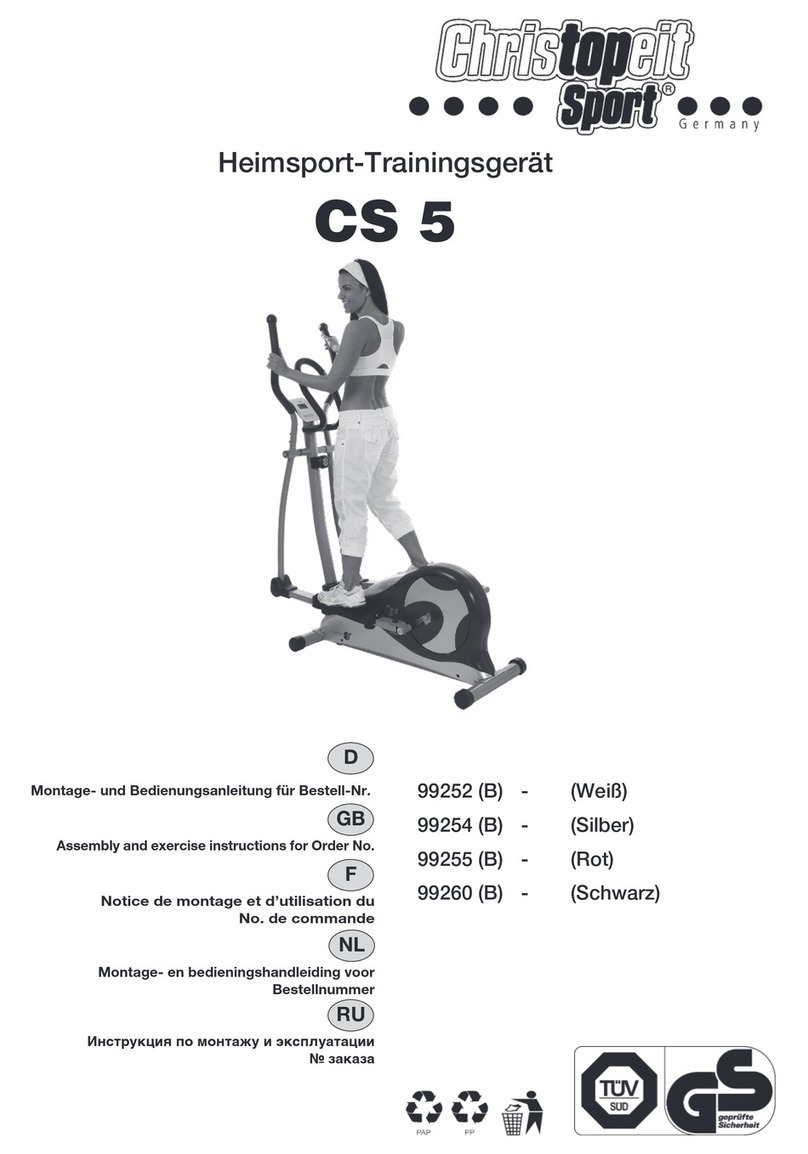
Christopeit Sport
Christopeit Sport CS 5 Assembly and exercise instructions
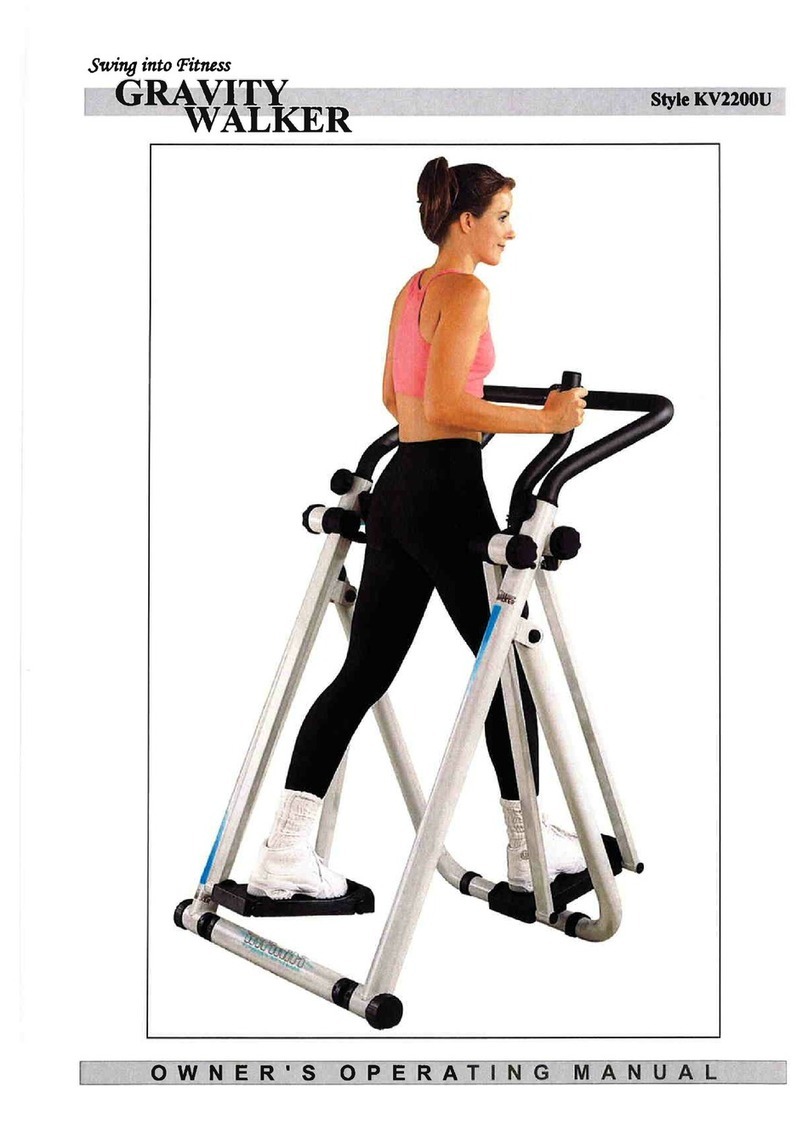
Gravity Walker
Gravity Walker KV2200U Owner's operating manual
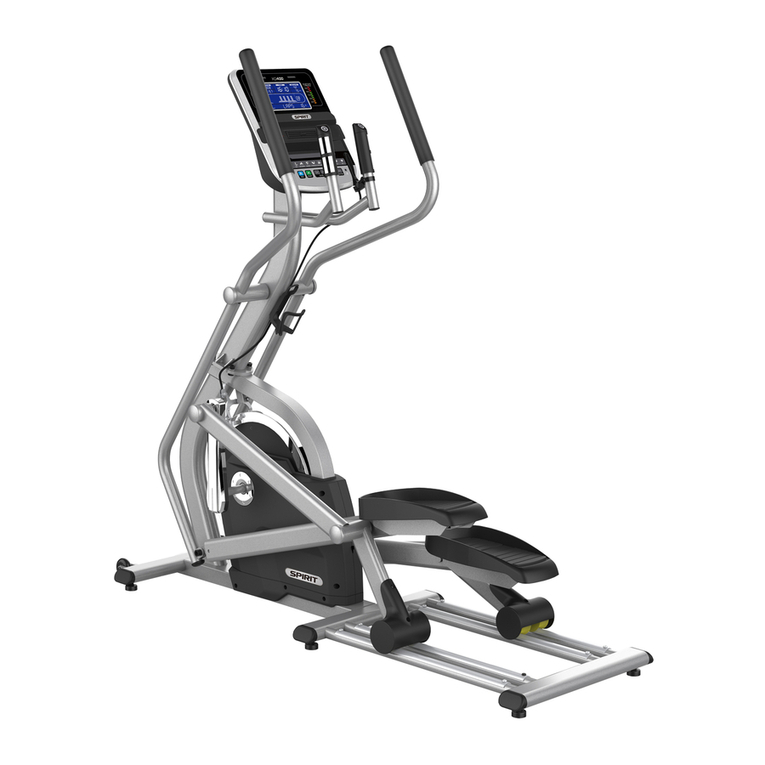
Spirit
Spirit XG400 e-Glide Trainer owner's manual
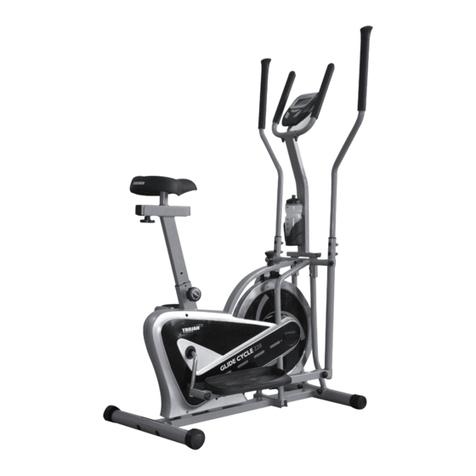
Trojan
Trojan GLIDE CYCLE 220 user manual

BH FITNESS
BH FITNESS G855 Instructions for assembly and use

NordicTrack
NordicTrack Elliptical E7.5 user manual
Insportline
Insportline Forsan IN 16185 user manual
HEALTH RIDER
HEALTH RIDER H67e Elliptical Manuel de l'utilisateur
Pro-Form
Pro-Form 500 Le Elliptical Manuel de l'utilisateur
