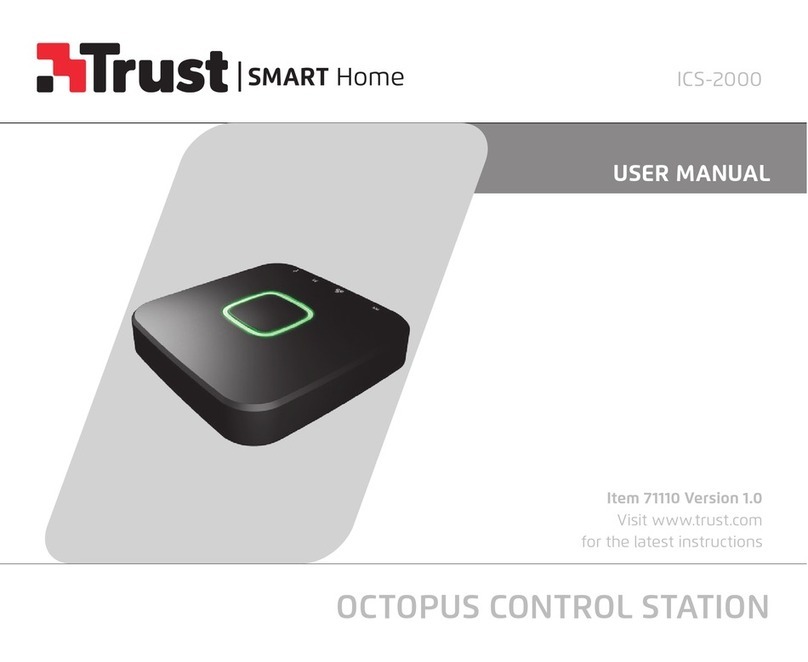
Trust ICS-2000 Setup guide

www.trust.com

ICS-2000
OCTOPUS CONTROL STATION
ONLINE MANUAL
Item 71110 Version 1.0
Visit www.trust.com
for the latest instructions

ICS-2000 INTERNET CONTROL STATION
3
Index
1.1 Add a room 7
1.2 Edit/Delete room 8
2.1 Connect a new device 9
2.2 Connect an existing device (Clone) 12
2.3 Edit/Delete device 13
3.1 Add scenes 14
3.2 Add/Delete actions 15
3.3 Add/Delete delays 16
4.1 Configure timers 17
4.2 Edit/Delete timer 20
5.1 Configure rules 21
5.2 Edit/Delete rule 24
6.0 Connect manually 25

ICS-2000 INTERNET CONTROL STATION
4

ICS-2000 INTERNET CONTROL STATION
5
COMPATIBILITY
This product works with all Trust Smart Home
transmitters and receivers.
FUNCTIONALITY
The ideal solution to wirelessly control and monitor
your home for ultimate comfort and security
WIRELESS RADIO SIGNAL
• The 433.92 MHz radio signal passes through walls, windows and doors.
• Indoor 433.92 MHz range: up to 30 m. Outdoor 433.92 MHz range: up to 70 m (optimal conditions).
• The 868 MHz radio signal passes through walls, windows and doors.
• Indoor 868 MHz range: up to 70 m. Outdoor 868 MHz range: up to 120 m (optimal conditions).
• The Zigbee radio signal passes through walls, windows and doors.
• Indoor Zigbee range: up to 30 m. Outdoor Zigbee range: up to 70 m (optimal conditions).
• The range is dependent on local conditions, such as the presence of metals. For example, the thin
metal coating in Low-emissivity (Low-E) glass can have a negative impact on the range of radio
signals.
• There may be restrictions on the use of this device outside the EU. If applicable, check whether this
device complies with local directives.
• This class 1 wireless device meets the essential requirements and other relevant conditions of
R&TTE Directive 1999/5/EC. Be careful when using wireless devices if you have a pacemaker or are
dependent on other life-saving, sensitive electronic equipment, because this device transmits radio
signals.
Read the manual carefully. Failure to follow these instructions can be dangerous.
Incorrect installation will void any warranty on this product.
For safety & liability information visit www.trust.com/safety

ICS-2000 INTERNET CONTROL STATION
6
LIFE SUPPORT
Never use Trust Smarthome products for life
support systems or other applications where
failures can have life-threatening consequences.
REPAIRS
Do not try to repair this product yourself.
The device contains no serviceable parts for the
user.
WATER-RESISTANT
This product is not water-resistant.
CLEANING
Clean this product with a dry cloth.
Do not use harsh chemicals, cleaning solvents or
strong detergents.
HANDLING
Do not drop the device, bump the device
against something or shake it. Rough handling
can damage internal circuit boards and fine
mechanics.
ENVIRONMENT
The product should not be exposed to extreme
heat or cold. This can damage the circuit boards
and batteries or shorten its life.

ICS-2000 INTERNET CONTROL STATION
7
1.1
A
1.1 Add a room
APress the + button at the top of the screen to add a new room
BFill in a name for the room you want to add.
CPress the ADD button to save the new room
B
C

ICS-2000 INTERNET CONTROL STATION
8
1.2
1.2 Edit/Delete room
A
B
C
ATo edit the name of a room press the pencil button at the top of the screen
BPress on the room name to begin editing.
CWhen you are done editing the name press the CONFIRM button.
DTo delete a room press the DELETE button in front of the room when in editing mode. Press the
CONFIRM button to go back to the room overview.
D

ICS-2000 INTERNET CONTROL STATION
9
2.1 Connect a new device
APress on a room name to open it.
BPress the + button at the top of the screen to add a new device.
CEnter a name for the device you want to add
DPress ADD
A
B
C
D
2.1

ICS-2000 INTERNET CONTROL STATION
10
ESelect the type of device you want to add to your room.
If you already control your Trust Smart Home receiver with a remote control or wall switch
continue to step 2.2. (Only for Startline products)
FPut your receiver in connect/learn mode. (Read the manual of the receiver on how to put it in connect/
learn mode).
GWhen the receiver is in connect/learn mode press CONNECT.
E
1 sec.
F
F
G

ICS-2000 INTERNET CONTROL STATION
11
The receiver will go on and o twice to acknowledge the connection.
HThe device is now added to your room. You can now control the device with the App.
IUse the buttons to control the device.
HI

ICS-2000 INTERNET CONTROL STATION
12
2.2 Connect an existing device (Clone)
This step is recommended when you already control your Trust Smart Home receiver with a remote
control or wall switch. (Only for Startline products)
APress CLONE
BA dialogue is shown to clone the signal of the transmitter
CGive an ON signal on the transmitter that controls the device chosen in step 2.1e.
A
B
C

ICS-2000 INTERNET CONTROL STATION
13
2.3
ATo edit the name of a device first open the room which contains the device.
BPress the pencil button the enter edit mode.
CPress on the device name to begin editing.
DWhen you are done editing the name press the confirm button.
ETo delete a device press the DELETE button in front of the device when in editing mode. Press the
CONFIRM button to go back to the device overview.
2.3 Edit/delete device
B
C
A
D
E

ICS-2000 INTERNET CONTROL STATION
14
3.1
With a scene you can trigger dierent devices at the same time or with an delay.
APress the scene button in the menu bar
BPress the + button at the top of the screen to add a new scene.
CFill in a desired name for the scene.
DPress OK.
3.1 Add scenes
D
A
B
C

ICS-2000 INTERNET CONTROL STATION
15
3.2
APress the ADD ACTION button to add actions to the scene.
BAdd the desired actions for the devices by pressing the buttons.
CPress CONFIRM to add the actions to the scene.
DBy pressing the pencil button you enter edit mode.
EDelete an action by pressing the DELETE button.
FPress CONFIRM again to save the scene.
3.2 Add/delete actions
A
B
CD
E
F

ICS-2000 INTERNET CONTROL STATION
16
3.3
It is possible to add a delay between actions. First add an actions like described in step 3.2
APress the ADD DELAY button.
BChoose how long the delay must be by selecting a time period.
CPress the CONFIRM button to add the delay to the scene
DThe delay is now added to your scene.
EBy pressing the pencil button you enter edit mode.
FPress the DELETE button to delete a delay.
3.3 Add/delete delays
A
B
C
D
E
F

ICS-2000 INTERNET CONTROL STATION
17
4.1
With a timer you can trigger one or multiple devices on a fixed time, Sunrise or Sunset.
APress the Timers/Rules button in the menu bar
BPress the + button at the top of the screen to add a new timer.
CPress on Timer wizard.
DFill in a name for your timer and press OK.
4.1 Configure timers
A
B
C
D

ICS-2000 INTERNET CONTROL STATION
18
EChoose the kind of start time for the timer. (In this example a fixed time is used)
FSelect the desired start time for the timer and press NEXT.
GChoose which days and in which months the timer should be triggered. (By default all days and months
are selected). Press NEXT
E
F G

ICS-2000 INTERNET CONTROL STATION
19
HChoose the desired actions for when the timer is triggered. Press NEXT
IA message appears asking if you want to add a timer to turn the devices OFF. Press Yes
JSelect the time you want the devices to be turned OFF. Press NEXT
KThe timers have been added to the overview.
H
I
J

ICS-2000 INTERNET CONTROL STATION
20
K
L
LPress the pencil button the enter edit mode.
MPress on the timer name to begin editing.
NWhen you are done editing the name press the confirm button.
OTo delete a timer press the DELETE button in front of the timer when in editing mode. Press the
CONFIRM button to go back to the timers/rules overview.
4.2 Edit/delete timer
M
N
O
4.2
Other manuals for ICS-2000
2
Table of contents
Other Trust Control System manuals
Popular Control System manuals by other brands

UTC Fire and Security
UTC Fire and Security Chubb VS-MKII Installation, operation and maintenance manual

Airzone
Airzone ZS6 Quick installation guide

Lamtec
Lamtec BT300 BurnerTronic manual

ASA Electronics
ASA Electronics iN-Command Pro Plus JRVCS2 Getting started

ATMOX
ATMOX EDGE installation guide

Stanley
Stanley GUARD STST1-79226 manual