INSTRUCTION FOR TUBULAR MOTOR
NO35,NO45,NO60/NOM60 series
**Warning: Read the safety instructions before you start installation. If these instructions are not followed, the
manufacturer's liability and warranty are forfeited. manufacturer is not liable for any change in the regulations and
standards introduced after the publication of this manual.
Ⅰ.Product instruction
The current product can be used as an electrical drive and automatic control for the rolling doors, the awnings or the
similar equipments. With the advantages of compact structure, easy operation, convenience installation and high liability,
the product is wildly used in residences, stores and hotels.
Ⅱ. Warnings:
1. Motor installation and adjustment should be operated by professional staff, using the appliance only in the described
manner.
2. Don't use or stop the use if the appliance is damaged, especially the electrical wire and sleeve. If the cable is damaged, it
must be replaced by the manufacturer, its service agent or similarly qualified person in order to avoid a hazard.
3. Children can’t recognize the risks of electrical appliances. Therefore use or keep the appliance only under supervision of
adults or out of the reach of children.
**Important safety instructions. It is important to follow and keep these instructions for the sake of safety.
4. Don't operate the awning when maintenance, such as cleaning window, is being carried out in the vicinity.
5. Don't allow children to play with remote control. Keep remote control away from children.
6. Before installation, please check whether drive parts have good mechanical performance, balance and the action of open
and close.
7. Motor installation should be correct and reliable. Shutter should move along its rail smoothly, without any hindrances.
8. Electrical outlet should collocate earth jack and be reliably connected to the earth.
9. For installation for awnings, a horizontal distance of at least 0,4m is to be maintained between the fully unrolled driven
part and any fixed part.
10.The rated torque and operating time required must be calculated when selecting a motor for a blind, awning or shutter.
11.The cables must be installed inside the room unless they are protected by conduit which is sun resistant.
12.When operating the motor, ensure there is no person within the area before the door or shutter closes completely.
13.All wire can’t touch the roller shutter during the installation and use of motor. Keep the receiving antenna in good
conditions. (Don’t cut the antenna short or wrap metal material around it, otherwise, it will affect the control.)
14.It will be better to install the motor in the ventilation and desiccation environment.
15.Before carrying out any form of maintenance, isolate the power to the motor and controls.
16.In case you have any questions regarding the installation and the operation of the Lianda motor, or the accessories, please
call +86-572-3787555 for the consultation.
17.The product can only be used when it is protected by an external rolling tube.
Ⅲ. Product reference instruction:
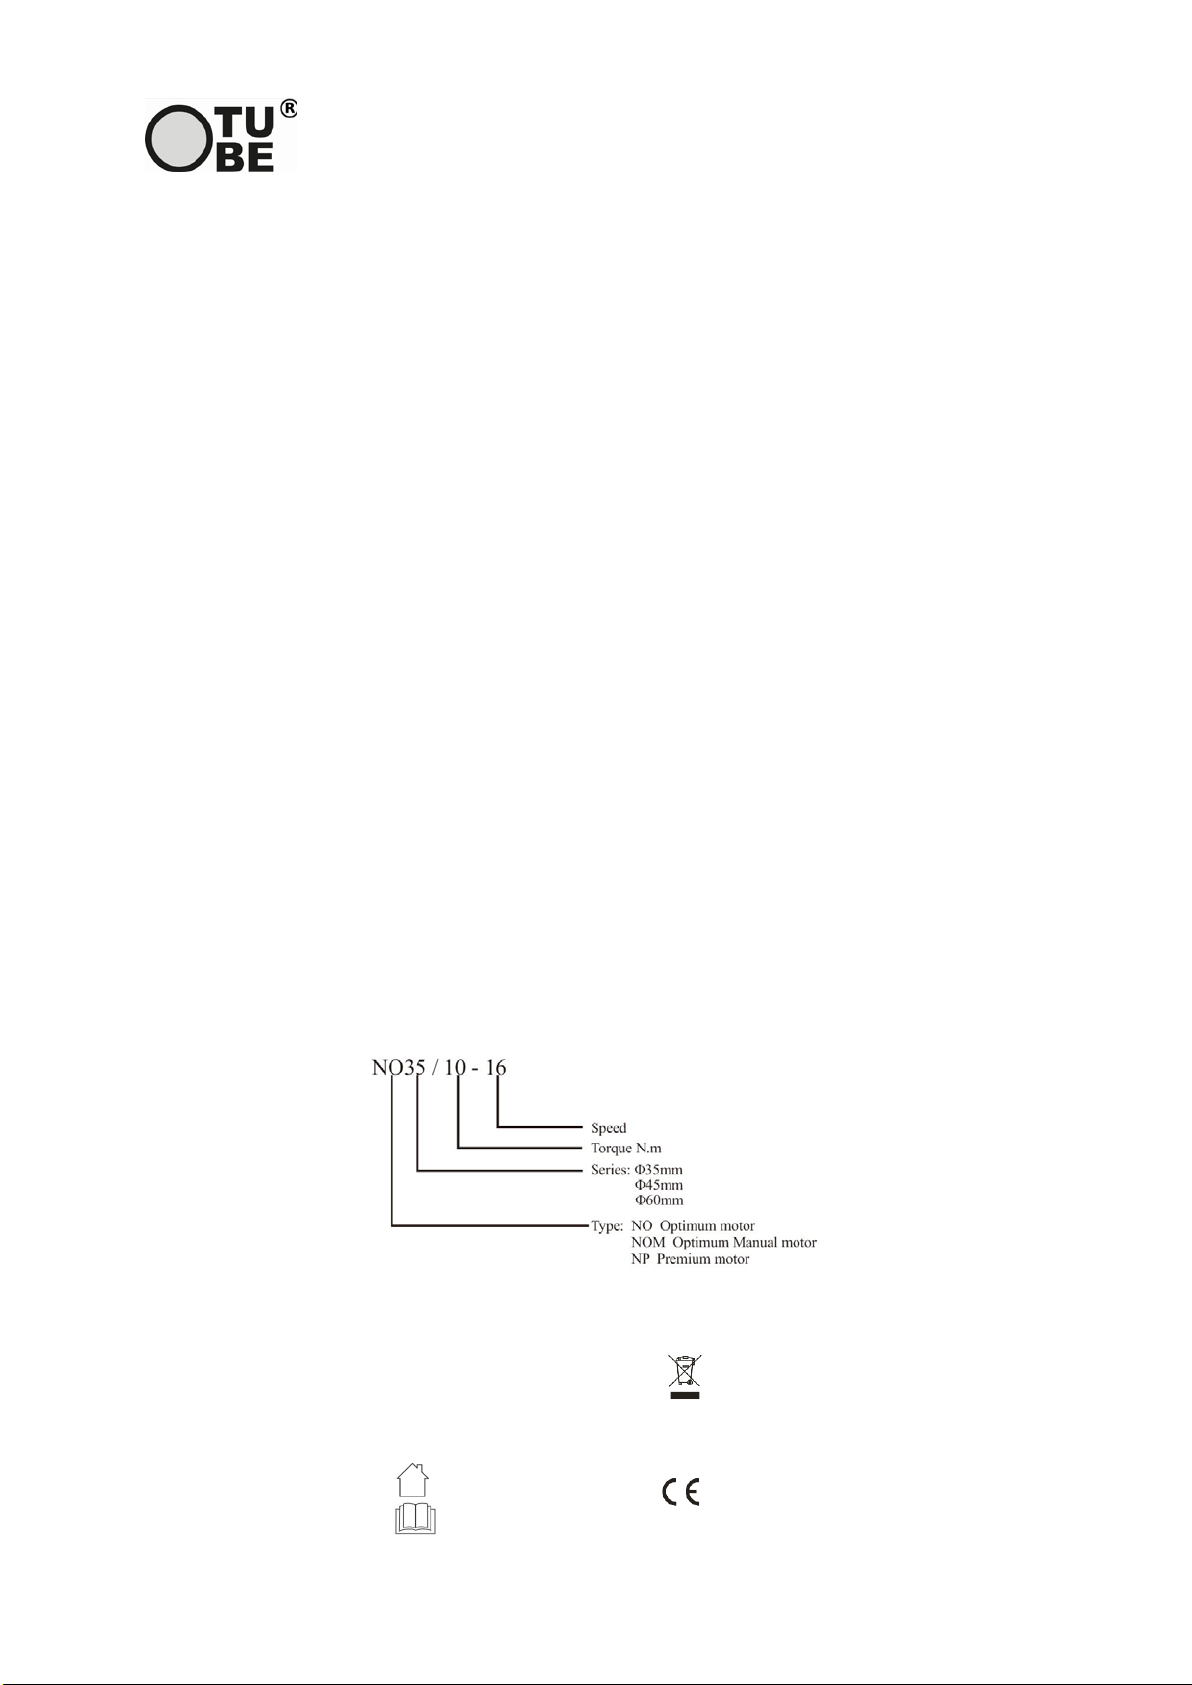
1. Product reference:
2. Product label
Exampl:NO35/10-16
Rated Voltage:AC230V Frequency: 50Hz : Conformity European
Rated Power: 150W Rated Torque: 10N.m
Rated Speed: 16rpm Rated Current: 0.55A
Rated operate time: 4min
Protection class: H : Only interior decoration :Don't throw in the life rubbish
Moisture protection : IP44 : Read instruction before installation
Page 1


