Tucsen Dhyana User manual

Dhyana
Quick Start
Camera
This guide is for information purposes only and does not constitute any
commitment.
For more information please visit:
http://www.tucsen.net
Copyright © Tucsen Photoelectric Co., Ltd. 2018, All rights reserved.
If there is inconsistency between the image and the actual product, the
actual product shall govern.

-1-
1. List of Accessories
1x Power cord Three-pin 10A, 250V
1x USB3.0 data cable 2M with screw set hole
1x USB-Stick Software and drivers
2x USB port set screw M 3*13.5mm
*3x Hexagonal set screw M 2.5*3mm
*1x Adjustable ring M 42mm
*1x T ring Φ 50mm
*1x Hexagon wrench 1.3mm(L type)
Item Name Specification Picture
Note:Items with * are only equipped for Dhyana95 Camera
1x Power adapter 12V/8A
1x sCMOS camera Dhyana
2. Camera Installation
① Dhyana Camera ② USB Cable
③ PC ④ Microscope or Lens ⑤Power
-2-

-3- -4-
3. Driver Installation
1. System Requirements:
OS Windows 7/8/10 (32 & 64bit)
CPU Intel i5 or higher is recommended
Memory 2GB or More is recommended
USB ports USB3.0 Hi-Speed port
3. Go to the Device Manager and check whether the driver is installed properly. If
there is NO YELLOW FLAG with the camera under Imaging Devices in Device
Manager, the driver is installed successfully. If there is YELLOW FLAG, You need to
reinstall the driver.
2. Connect the camera to the PC. Insert the comes with the camera,
copy the driver “Tucsen Dhyana Camera Driver.exe” to the computer. Double click
on it and follow the [Next] button to finish the installation.
USB-Stick
4. Software Installation
1. Double-click the software to start the installation and follow the [Next] button
to finish the installation.
2. After finish the installation, a software shortcut will be created on the desktop.
Note: If previous version Mosaic was installed in your PC, the installer will
automatically detect it and ask to remove it first before install the new one.
If the previous installed Mosaic is still running, it will ask to close the software
and then start the installation.
3. Double-click the Mosaic shortcut to start the software. Software will auto-
matically detect the device and start the preview.
Note: If get the “No Camera” error, it could be the camera is not detected by the PC
or the driver is not installed properly. Please go to Device Manager to check the
camera driver installation status.
Mosiac
Dhyana 95 22fps
..
..........
.......
..
..
..
..
..
..
..
Display adapters
Human Interface Devices
IDE ATA /ATAPI controllers
Imaging devices
Dhyana 95
keyboards
Mice and other pointing devices
Monitors
√
Setu p-Mos ai c
Completing the Mo sai c Set up
Wizard
Setup has fi nished insta lling Mosaic on you r co mputer.
The appl ication may be la unched by sel ecting the ins talled
short cuts.
Click Fi nish to exit Setu p.
Finis h
Mainboard Compatible with 5th Intel Core processor
(i3-5xxx, i5-5xxx, i7-5xxx) and above

-5- -6-
5. Software Settings
④Exposure control:Depending on actual applications, user may set the camera's
exposure time manually.
Note: For Dhyana 95/400D, user can choose HDR or High Gain mode; 400DC
supports 9-level Gain adjustment; 400BSI supports three mode options
HDR/HG/CMS.
5.1.Basic Settings
5.2. Image Adjustment
① With the histogram, the user can manually adjust the image's shade, Gamma
and brightness to calibrate image tone, including contrast, also brightness and
layer of color images.
② Auto level: By checking [ Auto Min ] or [ Auto Max ], the software will auto-
matically define maximum and minimum pixels of each channel as white and
black, and redistribute the pixels proportionally between the two limits. (Single
RGB channel does not support AutoLevel function).
③ * Color adjustment (only supported by color camera): Mosaic allows the user
to adjust the display parameters of the image depending on actual applications
to obtain the image effects that better meet user needs.
Red :
Blue :
Black Balance
Green :
256
256
256
Auto White Balance
Saturation :
115
Color Temp :
2000K
②Start/stop preview, after preview is disabled, the image will be frozen.
③Different adjustment modes can be obtained through different cameras.
During use, user can choose the most appropriate level to transmit and
browse image data depending on specific application requirements.
①Click the resolution drop-down box to select the working resolution of the
camera.
Image Adjustment
Default
Contrast :
100
Auto Min :
Gamma :
33
Mean:342
Sta:725.922
Gray
0 65535
Auto Max :
①
②
Main Control
Resolution :
Once Exp :
Exp Time :
s ms
μs
OK
017
263
Stop
High Gain
Depth : 16 B i t
①
③
④
②
HDR
OnceAE
Note: 1) For monochrome camera Click [OnceAE], the software automatically
adjusts the exposure time according to the brightness of the specimen.
2) For color camera When checked the software will acquire
images of appropriate brightness by automatic adjustment of exposure time
depending on image brightness.
:
: [Auto Exp]. ③

6. Precautions
CAUTION
Do not disassemble
Do not contact water
Do not subject the
camera to physical shock
Immediate repairrequest
Do not disassemble, repair or modify on your own.
Otherwise it will cause damage to the camera chip
or devices on the circuit board.
Avoid allowing the camera to get wet, since this may
cause the failures such as circuit board device
corrosion, burnout and so on.
Avoid physical impacts such as dropping or banging.
Unplug the data cable and the power supply
thenrequest TUCSEN to have the authorized dealer
or sales for repair.
Note: Man-made damage including self-disassembly, water ingress, physical shock and so
on is not within the scope of warranty.
!
-8-
③File format: Support JPG \ TIF \ RAW \ AVI, default to TIF, and can be checked
simultaneously, but at least one of them must be chosen.
②Image naming : A file will be saved with the name "Mosaic" as default, but
the name can be customized. "Customized name + time stamp" is supported.
A name can contain up to 64 bytes .
①Save path Under default status, the image file shall be saved to a filefolder
specified in defined [ Path ]; user could modify save path through [ … ].
-7-
5.3. Image Taking
Note: 1)Select AVI for video storage, click Setting beside AVI to pop up a dialog
box to select compression format and video playback rate; 2) Dhyana 400DC
does not support RAW format.
④
]
There are two modes of saving files:
[To RAM Save the data into computer memory; after image capturing,write the data
into a disc file. Limited by the size of memory space, this mode is not suitable for
capturing images for a long time.
[To Disk]Instant reading and writing; in the process of capturing images,the function
will automatically write the data into disk. This is good for long-term shooting .
Image Capture
Path :
Use Time-stamped
Capture
20171128_V1 .7/image
Image Name :
Mosaic
Total Frame :
10
0 6 0
m s ms
0 6 0
m s ms
Total Time :
Interval Time :
File Format
Save as
JPG
TIF
AVI Set
To Disk:
To RAM: RAM...
...
√
RAW
①
②
③④

-10--9-
8. After-sales support
1. Obtain software-related information and technical support information from the
official website [support] -> [FAQ].
2. Contact technical support:
· TEL: +86-591-88194580-811
· Email: service@tucsen.com
· Or landing the official website to leave a message: http://www.tucsen.net.
please have the following information prepared:
1) Camera model and S/N (product serial number);
2) Software version number and system information;
3) Description of the problem and any images related to the problem.
7. Maintenance
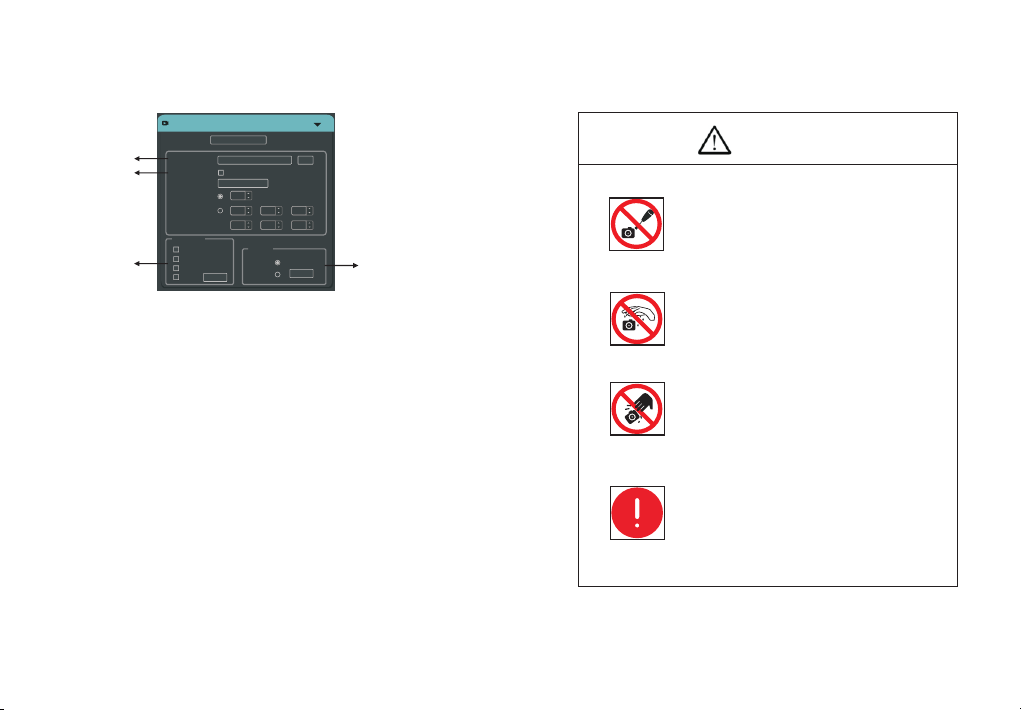
1. Avoid removing the lens cap in a dusty environment.
2. When removing the lens cap or mounting a lens, hold the camera face down
to prevent dust from falling on the sensor surface.
3. When the camera is not being used, the lens cap should be replaced.
4. Use a professional dust removal tool to remove any dust on the camera optical
filter.
f dust gets on the filter, it should be removed using low pressure air.
For stubborn oily dust, the surface can be gently wiped using a lint-free cotton
swab dipped in ethanol.
If it still cannot be cleaned, contact the after-sales personnel for assistance. The
use of non-professional equipment for cleaning is prone to lead to scratches on the
filter surface.
5. If the camera has been stored in a low temperature environment, allow the
camera to gradually warm up before use, because otherwise condensation may
form on the optics and electronics.
6. Use only the original power adapter. Ensure the adapter and associated cables
are free from items that may cause damage. If the power adapter is damaged,
please contact the supplier for an immediate replacement.
7. Inevent that the adaptor appears to be operating abnormally, cut off the adapter
power supply immediately in order to avoid damage to the camera.
8. The camera has been designed for external triggering functions, that can be
activated via an external connector. Consult the supplier if you require additional
information regarding these functions.
I
Table of contents
Popular Laboratory Equipment manuals by other brands

NEW BRUNSWICK SCIENTIFIC
NEW BRUNSWICK SCIENTIFIC Excella E-25 Guide to operations

Westlab
Westlab 665-259 manual

MRC
MRC MHK-4D Operation manual

Nippon Genetics
Nippon Genetics FastGene NG040 instruction manual

Heidolph
Heidolph Hei-TORQUE Core operating instructions

Tommee Tippee
Tommee Tippee ZTD10XB-8016 Instructions for use

THORLABS
THORLABS LED4D Series Operation manual

Amos
Amos TEC 2800 Operation manual

Westlab
Westlab 665-134 product manual

Atlantic Ultraviolet
Atlantic Ultraviolet AeroLogic AERO-8 owner's manual

Miele professional
Miele professional G 7896 DOS operating instructions

Cole Parmer
Cole Parmer ShatterBox SM-300 Operation manual