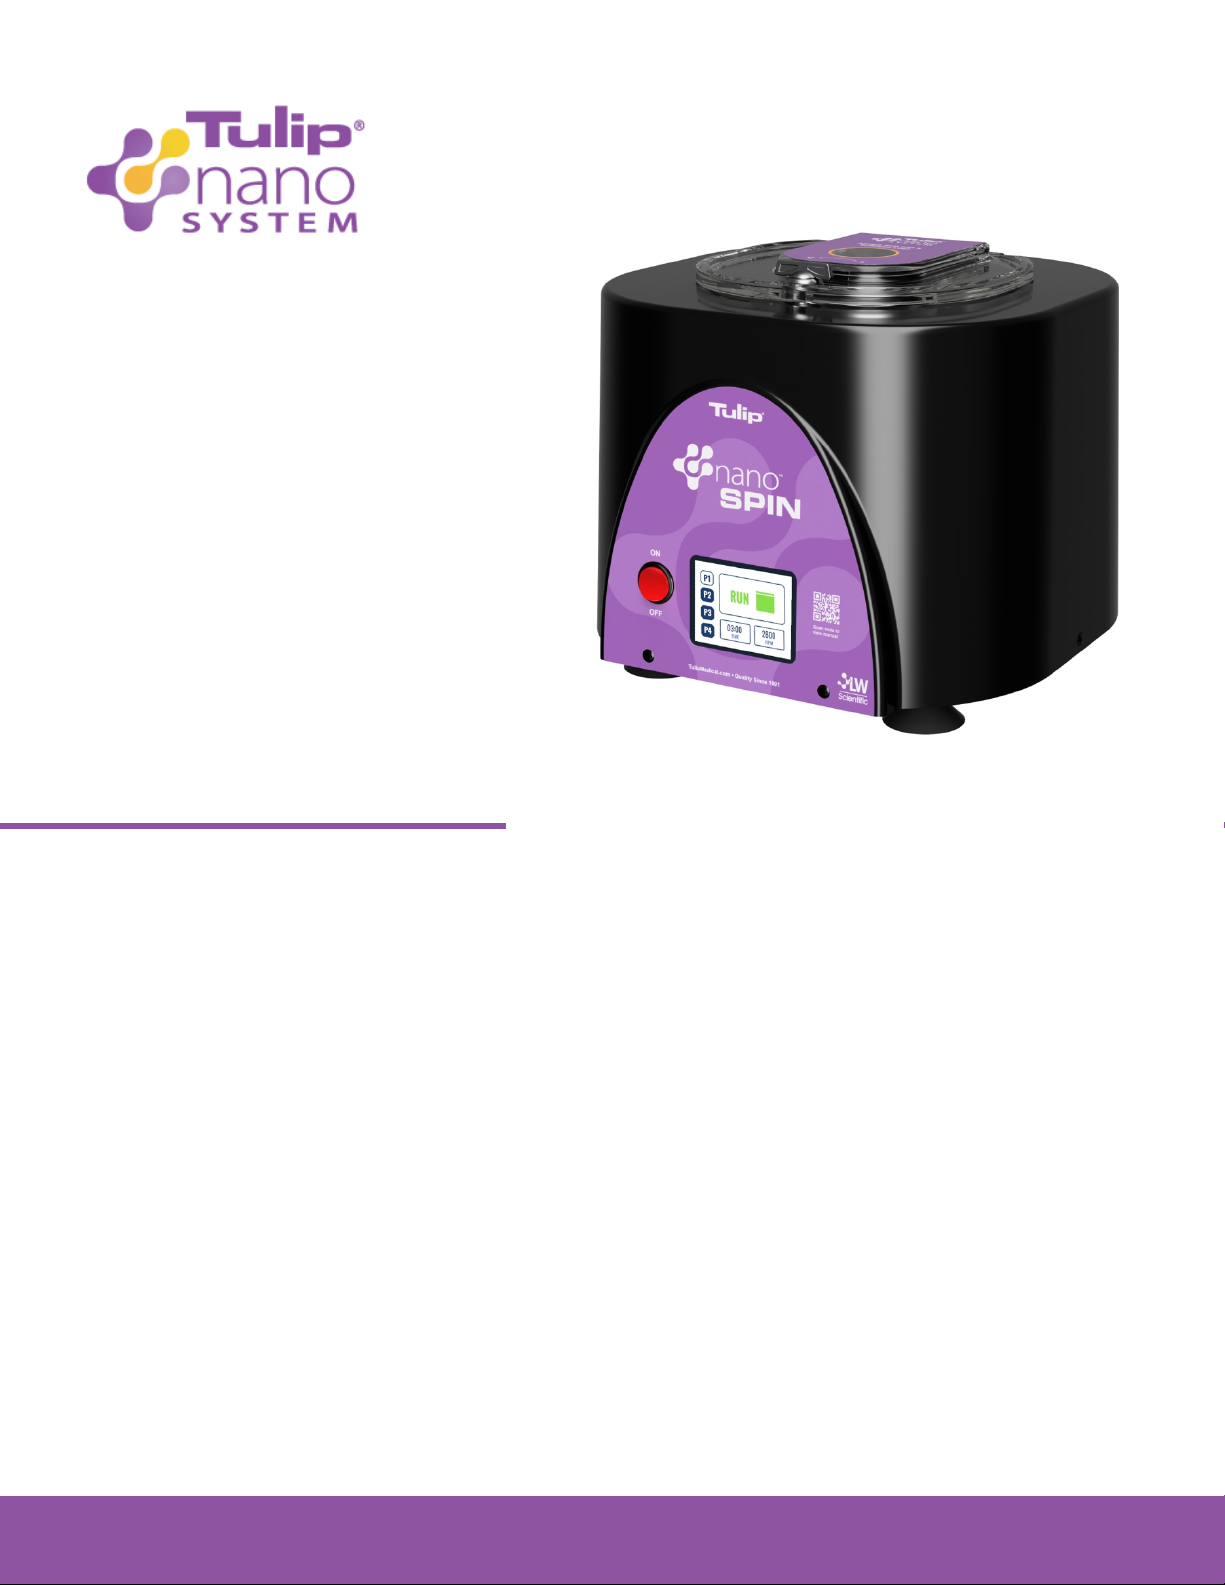
Tulip Medical Products
•
800-325-6526
•
TulipMedical.com
3.
Place the NanoSpin on a sturdy, level surface. Turn the lid latch to the UNLOCK position (“U”). Open to verify that there
are no loose objects or packing materials inside the chamber, and that the 8 large aluminum tube shields are in place
and seated in the angled 8-place rotor.
4.
Verify the power switch on the front of the unit is in the OFF position. Connect the 3-prong wall power cable to the power
supply adapter, and then connect the power supply adapter to the back of the NanoSpin. Plug the power cable into an
approved and properly grounded outlet. Do not insert specimen syringes prior to the initial test run.
5.
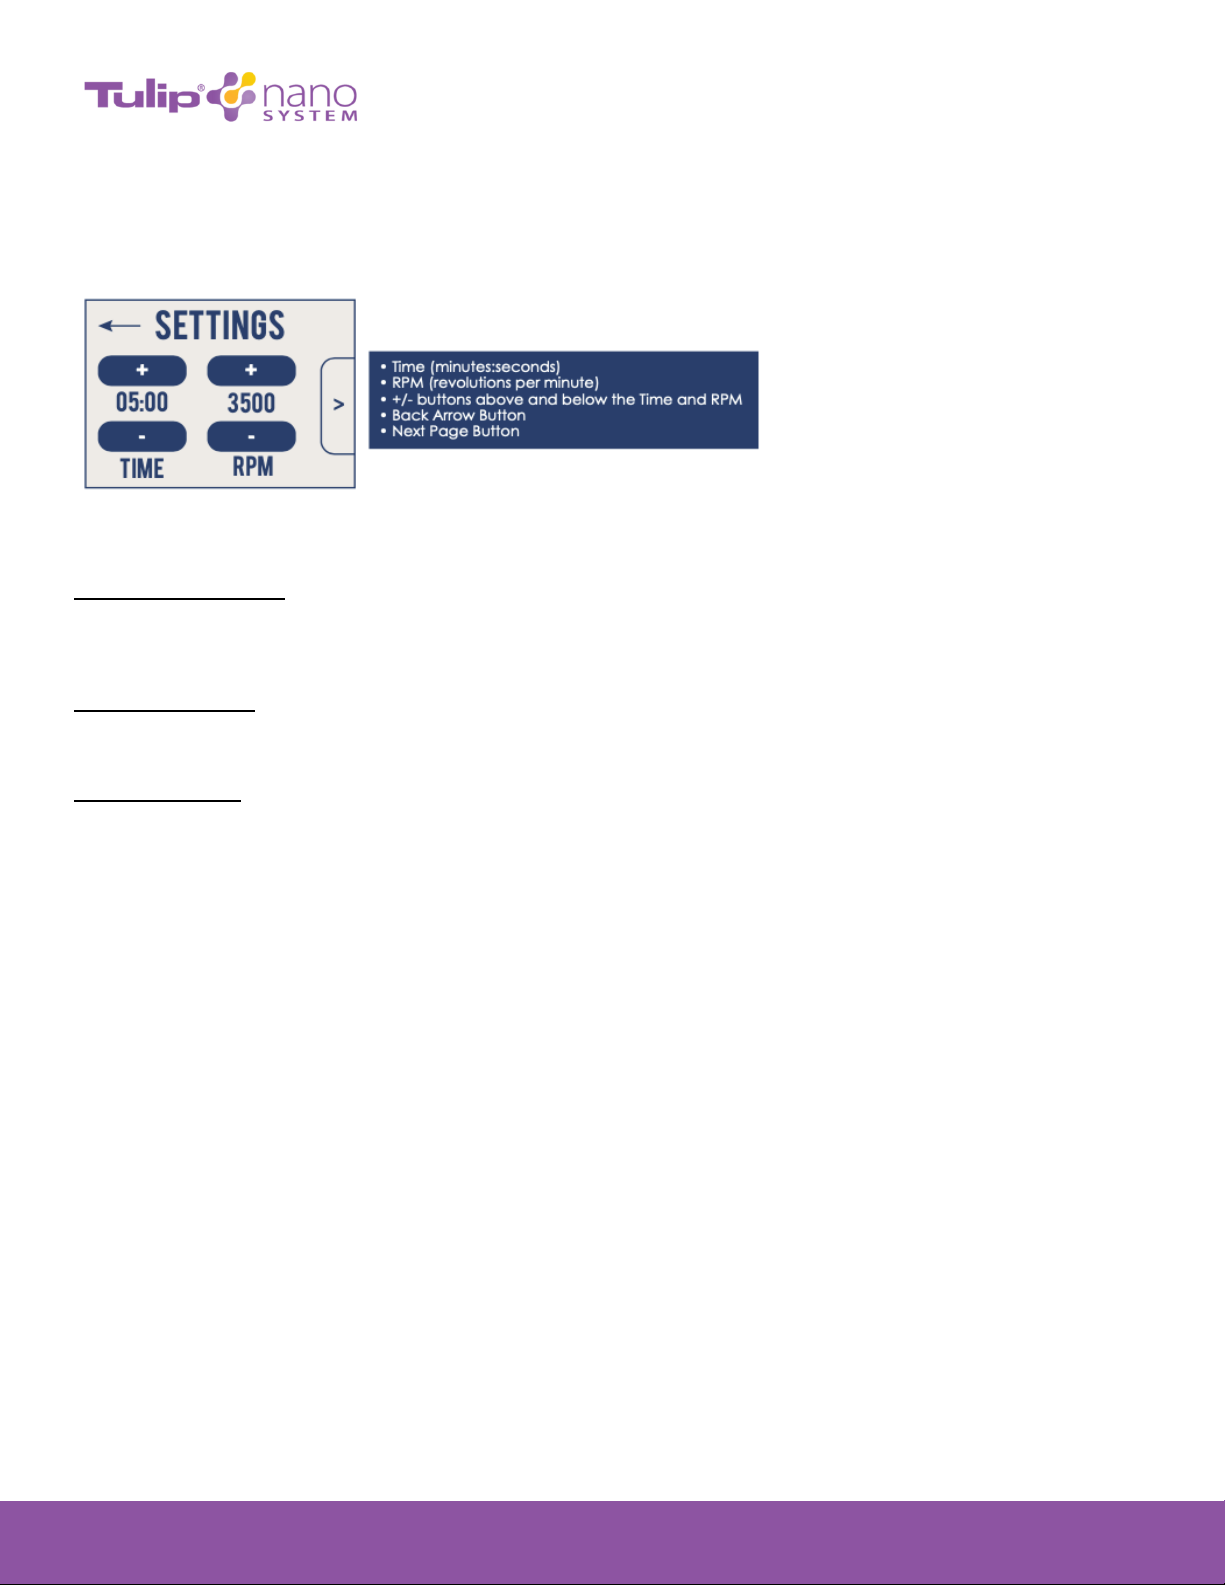
Close the lid. Turn the lid latch to the LOCKED position (“L”) and turn power switch ON. Adjust the speed to 3500rpm
and set the timer for 10 minutes. Initiate NanoSpin and press RUN. If there is a smooth whirring sound and the unit
accelerates with little or no vibration, your NanoSpin centrifuge is ready to operate. If there are loud, unusual sounds
or if you experience excessive vibration, immediately turn the unit off. DO NOT OPERATE. Contact your distributor
or Tulip Medical Products.
Loading
and
Operating
This symbol refers to hazards that may be encountered when using this product.
CAUTION means that damage to product or environment could occur
WARNING means that injury or contamination could occur
1. The anodized 10cc syringe sleeves are designed to hold crowned and capped 10cc BD syringes. Make sure
syringe caps are installed and Tulip Crowns™ are secured prior to loading the syringes into the NanoSpin.
Insert/Slide syringes into sleeves. Never force a syringe into the syringe sleeve. The syringe sleeves are
designed to hold 10cc BD syringes.
For detailed instructions on the Tulip Crown System, please reference the Tulip Crown Quick Start Guide,
(included) or found at www.tulipmedical.com/getstarted. If you do not have the proper Tulip Crowns™, contact Tulip
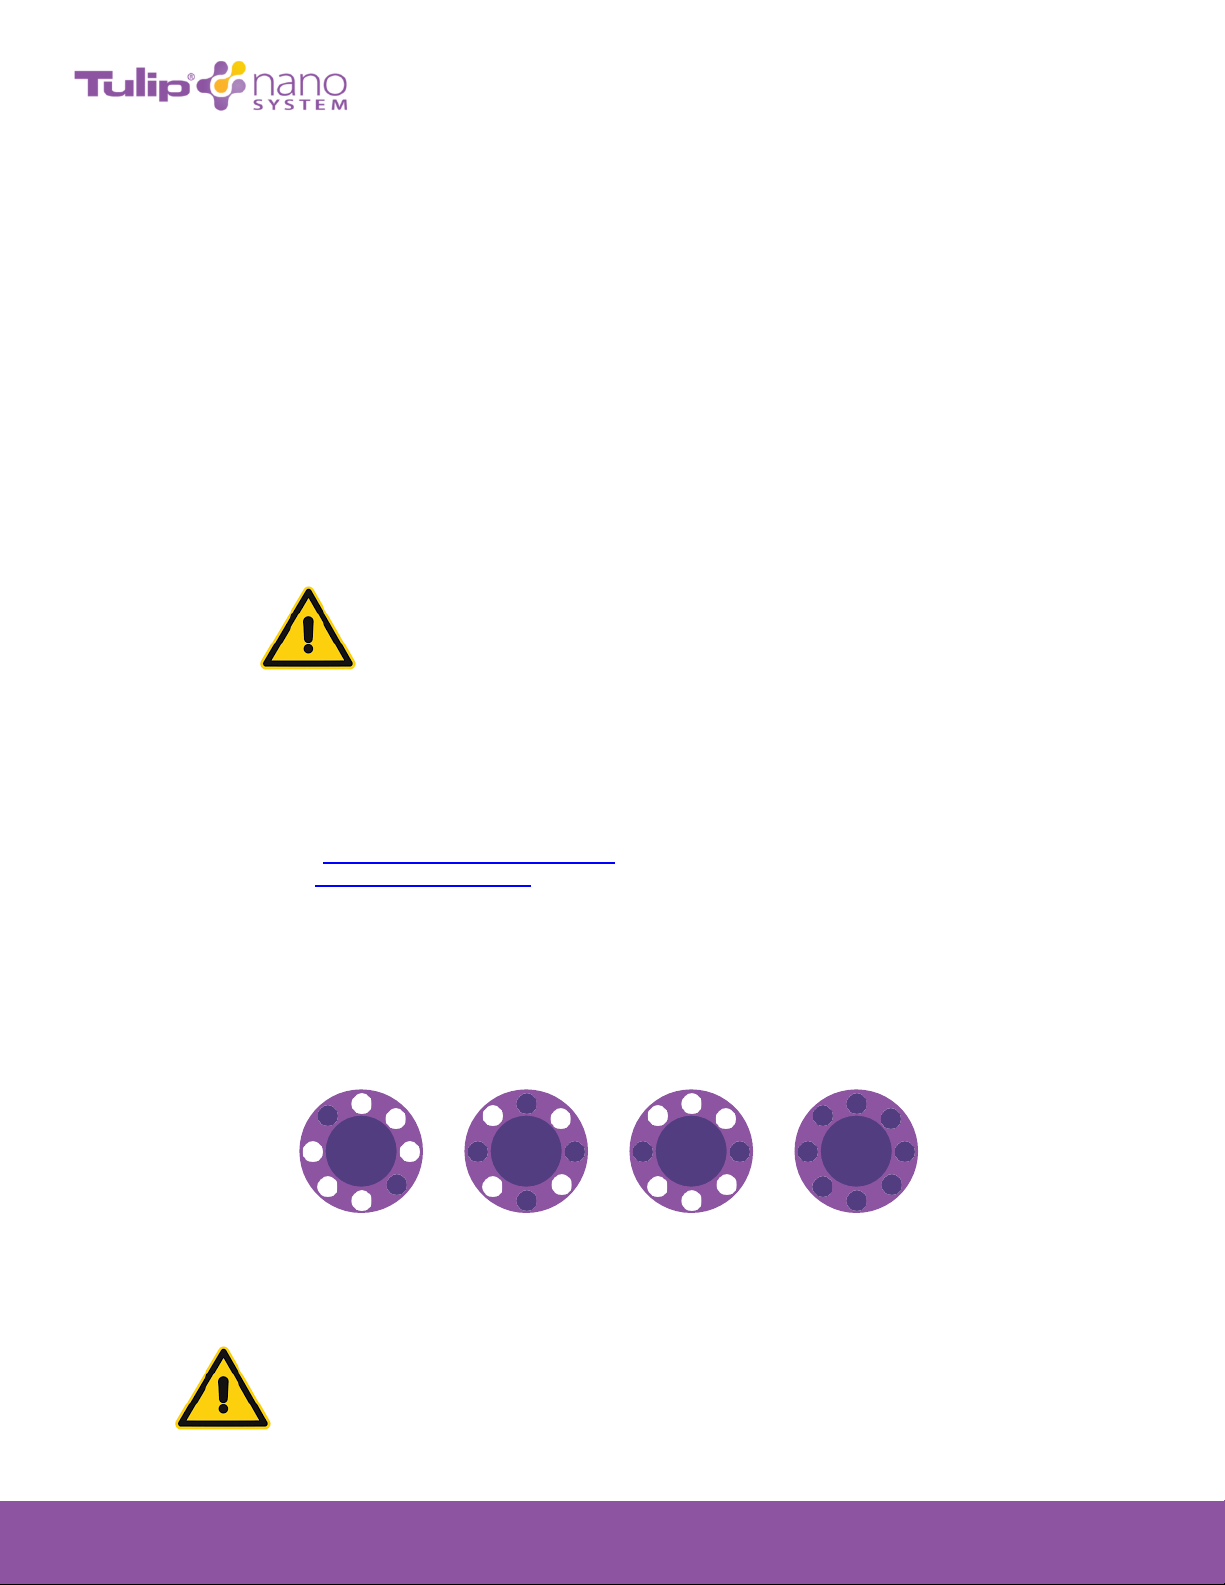
2. Spin only balanced loads. Make sure that the sleeves contain equal weight. Weigh the loaded syringes and make
sure they are equal in weight. Syringes of equal weight and size should be placed opposite each other as pictured
below. Use water-filled syringes for balance, if necessary. Proper sample balancing will improve sample separation
and will extend the life of the NanoSpin. Out of balance loads may wobble, create excess noise, break or damage
the NanoSpin. Please refer to the examples below.
3. After each run cycle has ended, the lid must be opened and closed before the next cycle is run. This allows for re-loading
and re-balancing of each load.
WARNING: Always ensure rotor is secure before each use!
DO NOT OPEN WHILE SPINNING!