Tynetec ZXT444 User manual

Doc No. FM0576 issue G Page 1
ZXT444 DOOR CONTACT
Freq. 169.48125MHz
Environmental Group II
Made in UK
tynetec
We declare this product complies with the relevant UK
legislation on condition that it is used in the manner
intended, and in accordance with the current installation
standards and/or the manufacturer's recommendations.
A copy of the full UKCA Declaration of Conformity is
available on request.
169MHz Telecare Devices
No Alarm Door Contact
__________________________________________________________________________________________________________
•Compatible with Reach Plus GSM & Reach Ultra at-home alarms
and Advent xt warden call systems
•Self-adhesive contact & transmitter unit
•Supplied with surface mount door magnet
•Low battery warning
•Dimensions: 80mm x 40mm x 20mm (HxWxD)
•Weight: 49 grams
•Product Code: ZXT444
What are No Alarm Door Contacts used for?
The no alarm door contact is used to log a “Door Open” event every time a door is opened.
Note: this is used for life style monitoring purposes only; it does not raise an alarm.
Tynetec’s iCare website is used to analyse the Reach Plus GSM, Reach Ultra or Advent xtmemory.
Note: the Advent xt controller will require an optional Ethernet Interface Kit.
Where should No Alarm Door Contacts be fitted?
The magnet will usually be screw-fixed to the door with the transmitter unit fixed alongside as close as possible on the door frame
using the self adhesive foam pad. These parts can be reversed if it is more convenient to fit.
Fitting the Door Contact
The transmitter unit and a magnet will be held together with an
elastic band to prevent the battery being drained in transit.
Remove the elastic band and fix the transmitter unit to the
door frame using the self adhesive foam pad provided.
Fix the magnet to the door alongside the “CONTACT SIDE”label
on the transmitter unit using the screws provided.
Note: there should be no more than 10mm gap between the
transmitter unit and the magnet when the door is closed.
When the door is opened the magnet must move away
from the transmitter unit.
Testing & Registering the No Alarm Door Contact
The no alarm door contact must be registered onto the Reach Plus GSM or Reach Ultra at-home alarm unit, or the Advent xt
warden call system. See pages 2 & 3 for how to put each of these products into “Learn Mode”.
To perform a test call simply open and close the door.
The range of all radio devices can be affected by the working environment - always take care during installation and
perform several test calls.
Battery Life
WARNING: If the door is left open for an extended period this will cause unnecessary drain on the battery and
may reduce its life considerably.
The transmitter battery is checked once a day, if the voltage falls and stays below a pre-set level for 7 consecutive days a low
battery alert is automatically transmitted. Once a low battery call is received the door contact should be replaced within 7 days.
Door Contacts must be returned to Tynetec/Aidcall for battery replacement.
Detailed information on battery management for all Tynetec/Aidcall products is available - request Doc No. FM0630.
Declaration of Conformity
DOOR FRAME
DOOR
MAGNET
TRANSMITTER UNIT
Tynetec and Aidcall are business units of Legrand Electric Ltd
Unit 10 Cowley Road, Blyth Riverside Business Park, Blyth
Northumberland, NE24 5TF. Tel: 01670 352 371
Email: sales@tynetec.co.uk Web: www.tynetec.co.uk
We declare this product complies with the relevant
European legislation on condition that it is used in the
manner intended, and in accordance with the current
installation standards and/or the manufacturer's
recommendations. A copy of the full CE Declaration of
Conformity is available on request.
Doc No. FM0576 issue G Page 2
Registering a No Alarm Door Contact onto a Reach Plus GSM or Reach Ultra at-home alarm unit
1. Put the Reach unit into programming mode…
2. Activate the door contact…
3. Exit programming mode…
4. Activate the door contact; Logon to Tynetec’s iCare website and check the event has been recorded. Note: the Reach Plus GSM
and Reach Ultra upload data to the iCare website every 10 minutes.
Deleting a No Alarm Door Contact from a Reach Plus GSM or Reach Ultra at-home alarm unit
Enter 1 6 7 0 using the keypad on the rear of the Reach unit –the front light will FLASH FAST GREEN and the unit will announce
“Program Mode - Ready”.
Enter # 0 4 1 and the Reach will announce “Delete Radio Device” followed by a “Beep”.
Enter the 8 digit no alarm door contact ID to be deleted; after the “Beep” press #to exit.
Press the key to exit Program Mode; the unit will sound a “Double-Beep” and the front light will return to STEADY GREEN.
The 8 digit ID can be found on a label on the door contact –it will always start with 58xxxxxx
Refer to the Reach Plus GSM and Reach Ultra instruction booklets provided with these products for more
information on programming and testing radio devices.
Open the door and the Reach will announce “Door Contact - Enter Location Code”.
Enter a 2 digit location code from the list given in Reach Plus GSM/Ultra user guide.
The unit will announce “Message Number” –enter a recorded message number
(01 to 16) or enter 00 if no message is required.
The unit will announce “Acknowledge” –enter 1 for Yes or 0 for No; if set as 1 (Yes)
the GREEN button can be pressed to silence the alarm message, if set as 0 (No) the
message will repeat for 60 seconds.
The unit will announce “Alarm” –enter 1 for Yes or 0 for No; if set as 1 (Yes) then an
emergency call will be initiated when the input is activated, if set as 0 (No) then the
alarm message will repeat for 60 seconds only.
The unit will beep; press the #key to end.
“Program
Mode
…Ready”
Undo the screw and remove the stand to access the rear
keypad on the Reach unit.
Enter 1 6 7 0 on the keypad, the unit will announce
“Program Mode - Ready” and the front light will be
FLASHING FAST GREEN.
Enter # 0 5 0 on the keypad –the unit will announce “Learn
Radio Device and Enter Location Code”
You now have 1 minute to activate the door contact.
Press the key and the unit will sound a “Double-Beep”.
The front light will return to STEADY GREEN and the Reach
is back in normal operating mode.
⚫
“Beep
…Beep”

Doc No. FM0576 issue G Page 3
Registering a No Alarm Door Contact onto an Advent xt warden call system
1. Put the Advent xt system into radio device learn mode…
2. Activate the door contact…
3. Exit the Advent xt system radio device learn mode…
4. Activate the door contact; Logon to Tynetec’s iCare website and check the event has been recorded. Note: the iCare website
collects data at pre-set intervals (e.g. every 2 hours) on Advent xt.
Deleting a No Alarm Door Contact from an Advent xt warden call system
Press the LINE key and wait for the “Ready” prompt.
Enter 5 0 0 1 followed by the key.
Enter the flat number the no alarm door contact is being deleted from followed by the key.
Activate the door contact to be deleted.
Wait for the “Pendant Disabled –Enter Flat” prompt.
Press the #key and wait for the “Ready” prompt, then press the LINE key to clear the connection.
Refer to the Advent xt operator’s manual (Doc No. FM0420) provided with the warden call system for more
information on programming and testing radio devices.
Tynetec and Aidcall operate a policy of continuous improvement and reserve the right to change product specifications without notice.
If any variation to the details contained in this document are suspected please contact Tynetec’s customer support dept on 01670 352371.
Using the Manager’s DECT telephone;
Press the LINE key and wait for the “Ready” prompt.
Enter 5 0 0 0 followed by the key.
Enter the flat number the no alarm door contact is being installed in
followed by the key.
You now have 1 minute to activate the door contact.
“Ready”
Using the Manager’s DECT telephone;
Press the #key and wait for the “Ready” prompt.
Press the LINE key to clear the connection and the warden call system is
now back in normal operating mode.
Open the door.
Wait for the “Enter Location Code” prompt then press 0(no location)
followed by the key.
Wait for the “Pendant Enabled –Enter Flat” prompt.
“Ready”
Table of contents
Other Tynetec Intercom System manuals

Tynetec
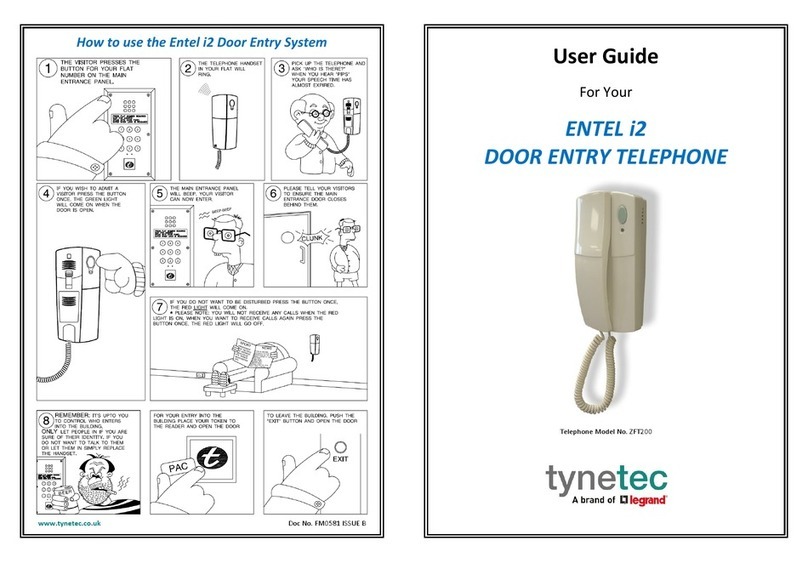
Tynetec ZXT438 User manual

Tynetec
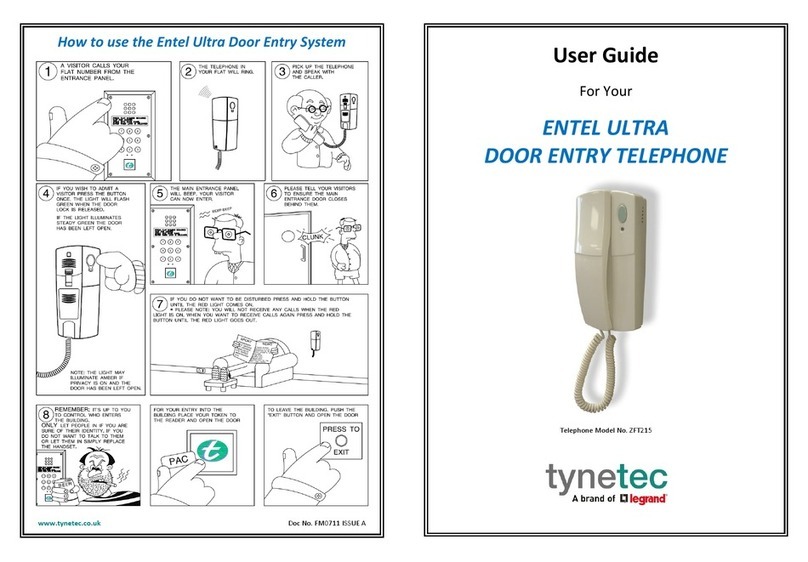
Tynetec ZFT215 User manual

Tynetec
Tynetec Aidcall Big Button User manual

Tynetec
Tynetec Entel Ultra User manual

Tynetec
Tynetec Aidcall User manual

Tynetec
Tynetec Advent xt User manual

Tynetec
Tynetec DVENT xt ZFT320 User manual

Tynetec
Tynetec Touch 2 User manual

Tynetec
Tynetec ENTEL i2 User manual

Tynetec
Tynetec Entel Ultra User manual