UAV Frame CW8 User manual

Uavframe CW8
Assembly manual

Notes
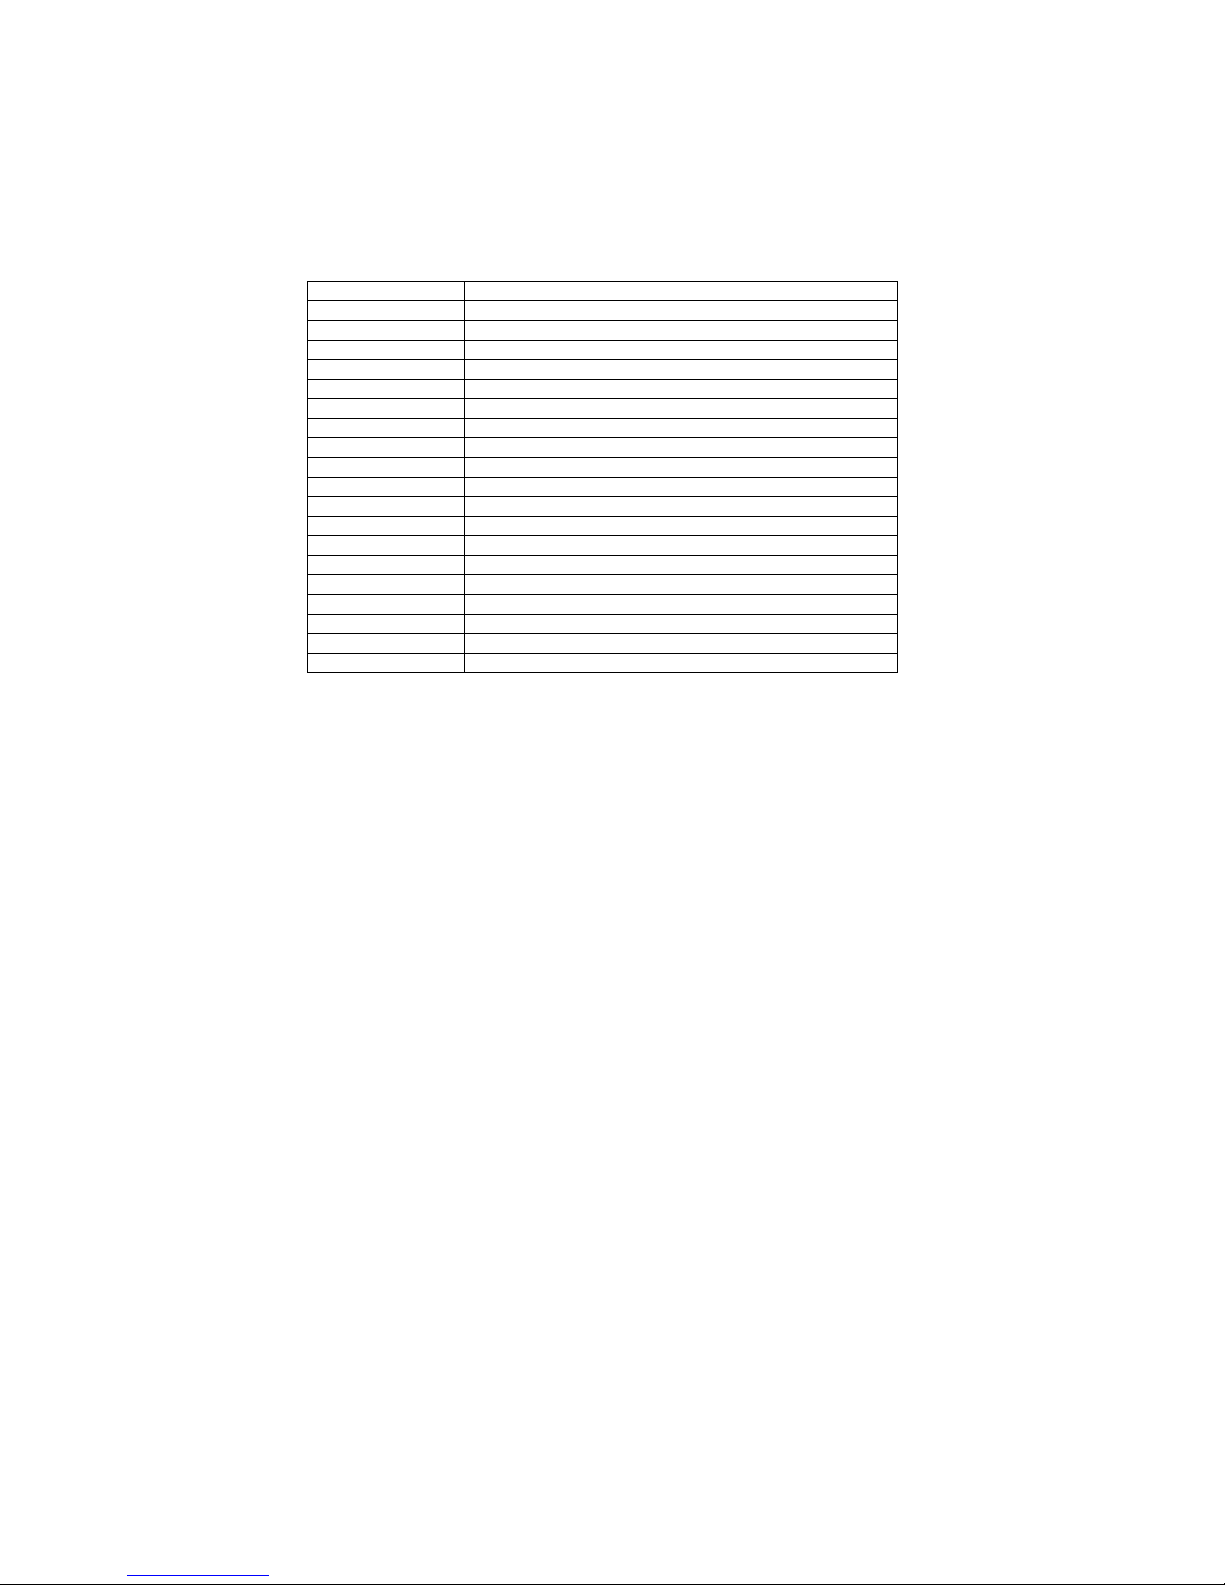
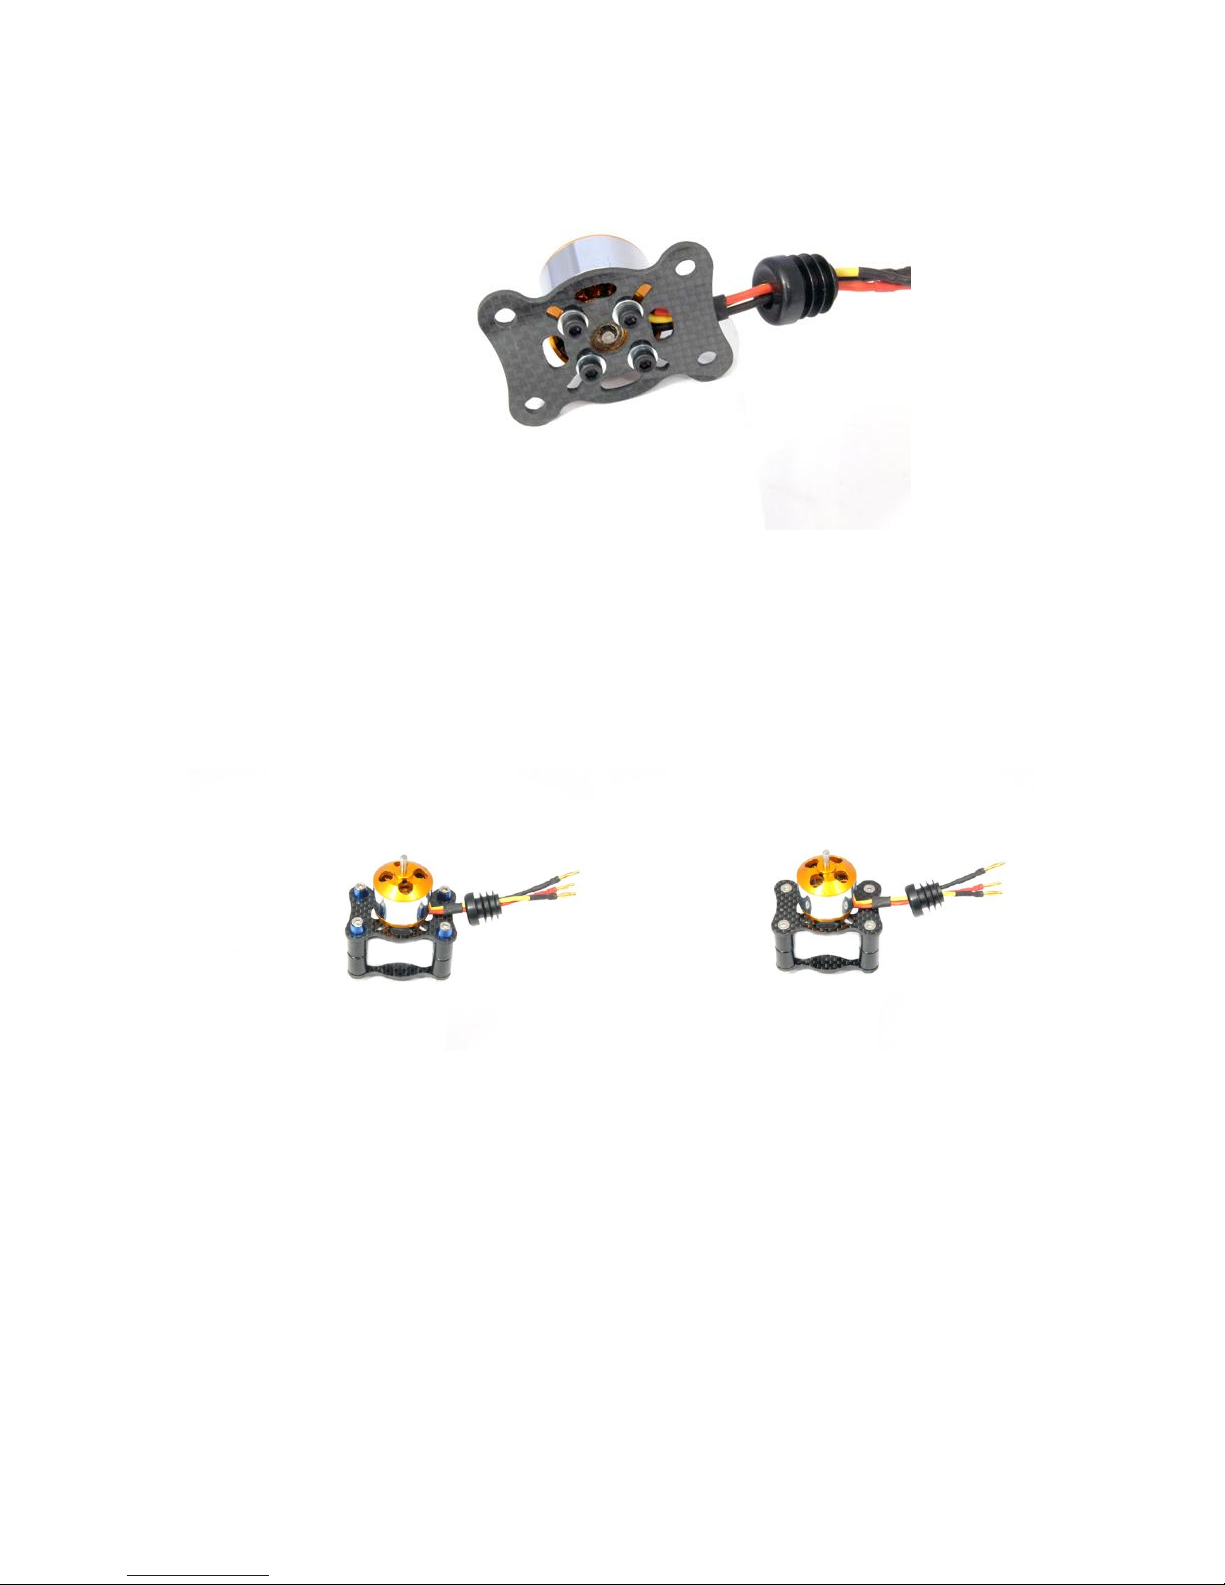
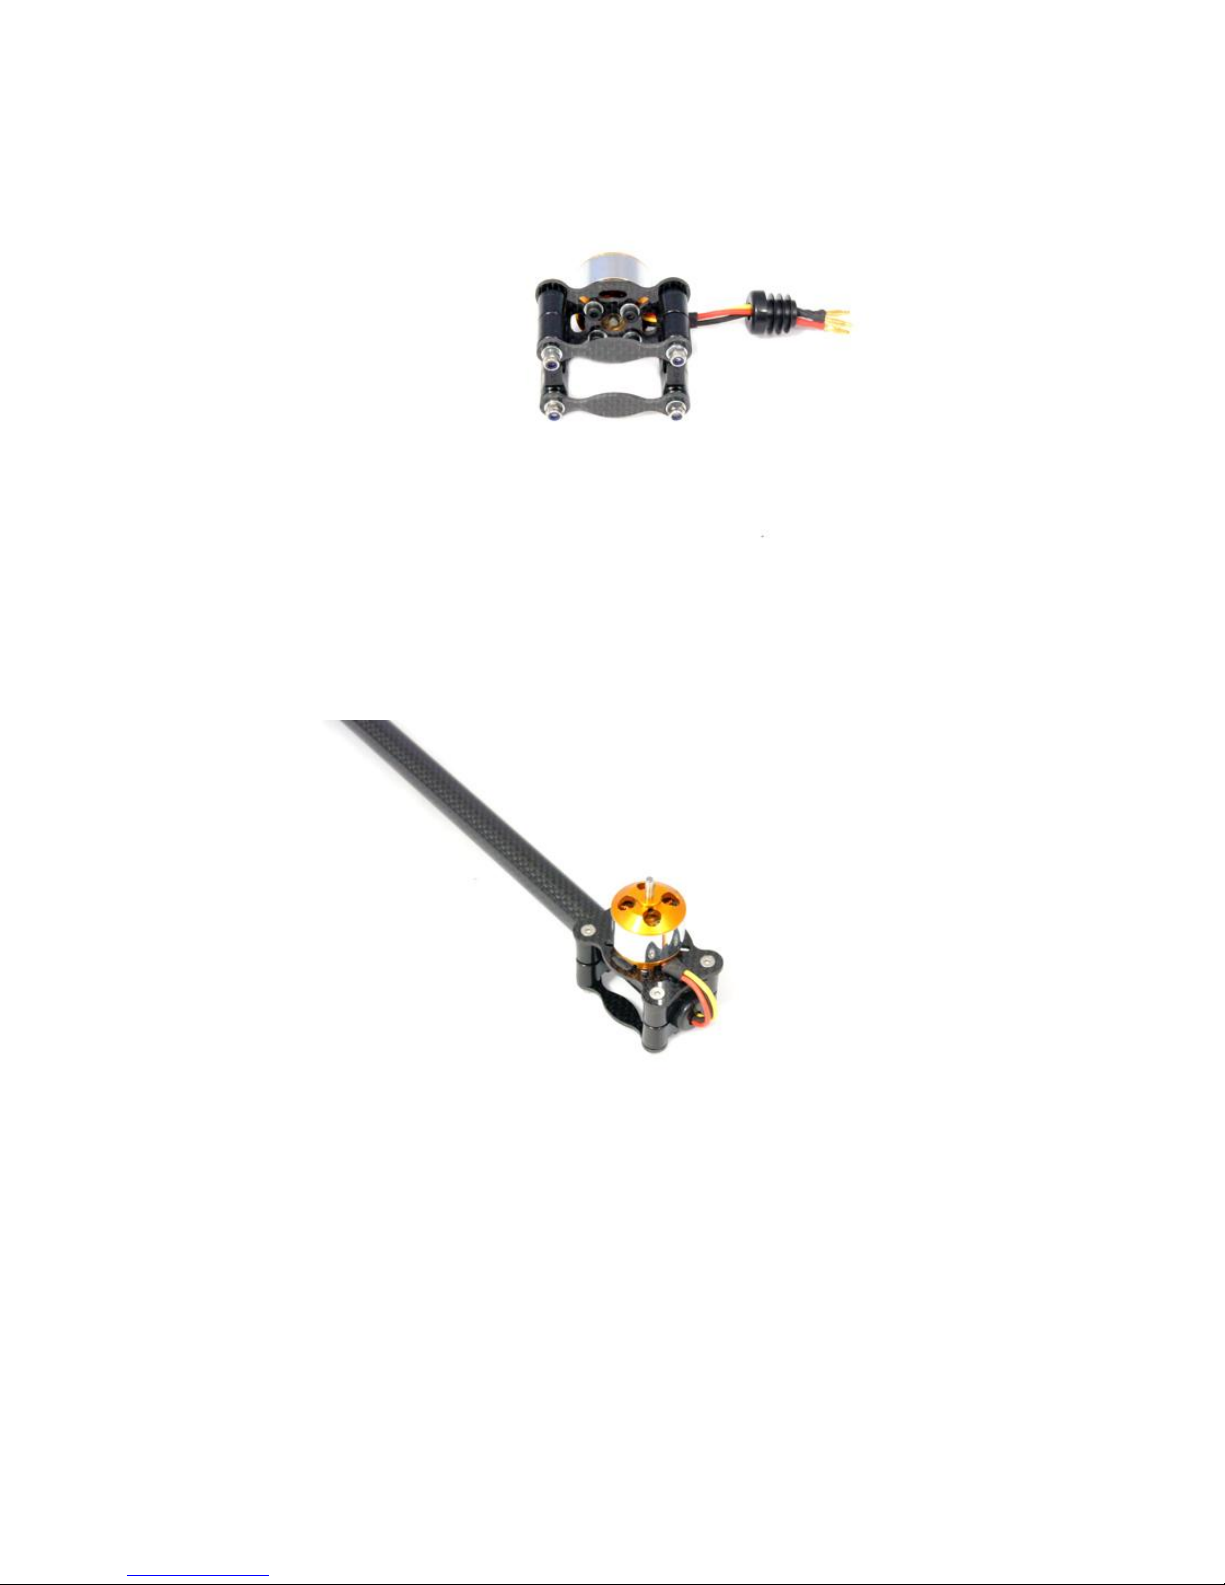
The frame is made of carbon fiber,
It is the owner’s responsibility to ensure this model is assembled correctly and
safely, Ensure that your model is capable of safely and reliably lifting the
payload you are asking it to. This model is dangerous if used in incorrect manner.
Ensure you seek assistance from an experienced flyer if you are unsure. Do not fly
near people, property or highways. Do not fly over people, property or highways.
There may be laws and regulations governing the use of this model in your area,
seek advice from your authourities if you are unsure.
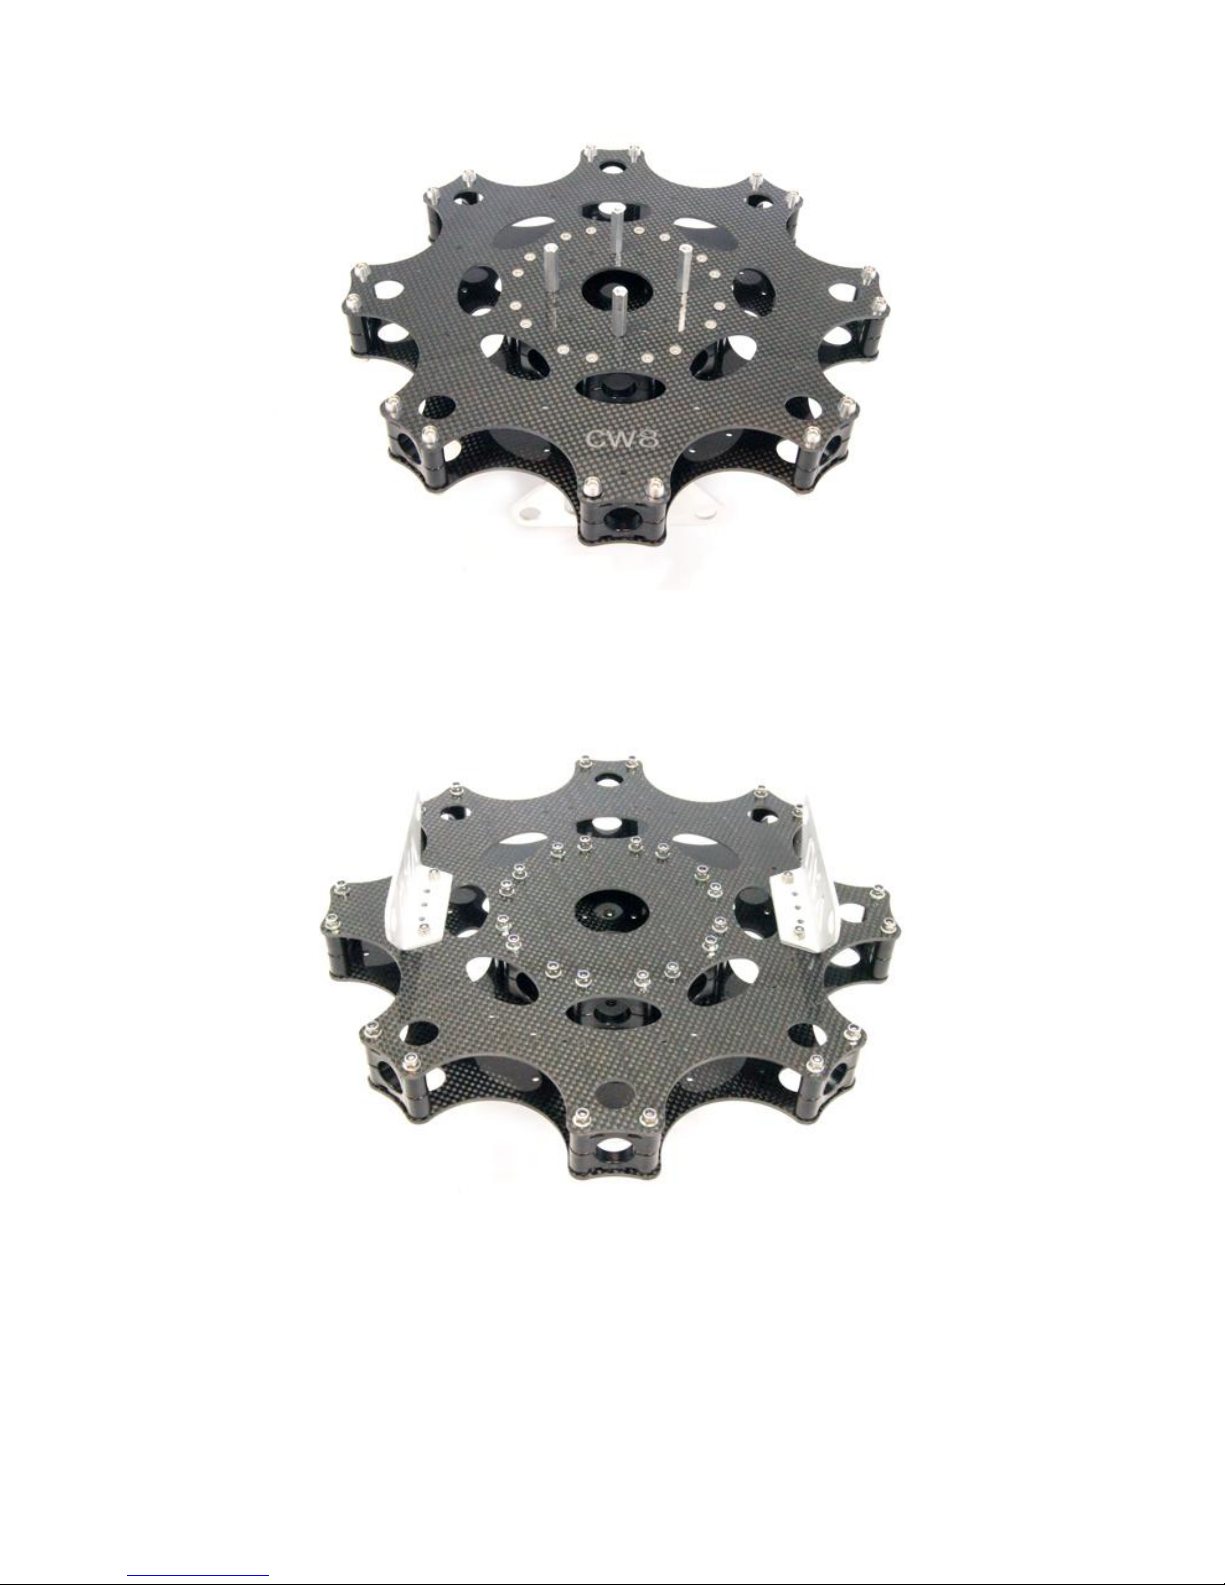
Planning your build and installation is key to building a safe and reliable
multirotor. Make sure all wiring is of the correct gauge, properly connected, neat
and protected from wear/tear and radio/electrical interference. Make sure all
the components you use are suitable for the size and weight of your multirotor.
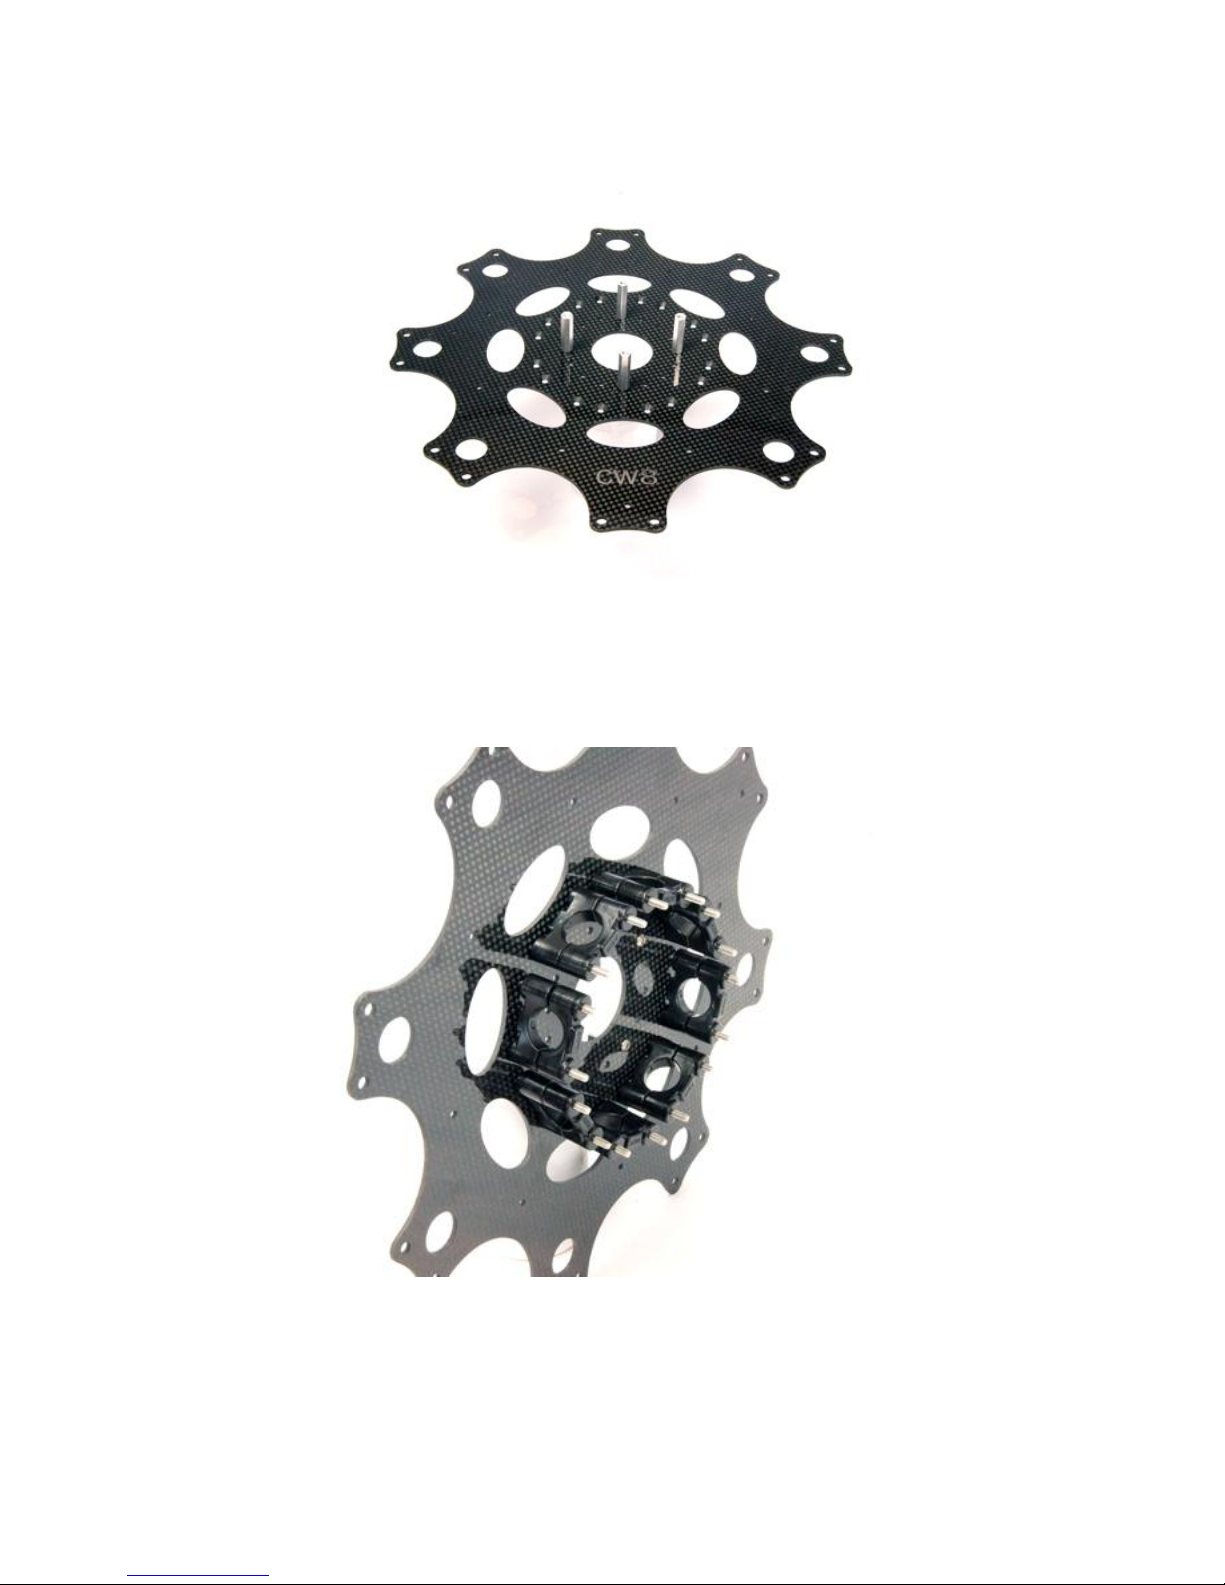
Do not over tighten screws, boomclamps can break
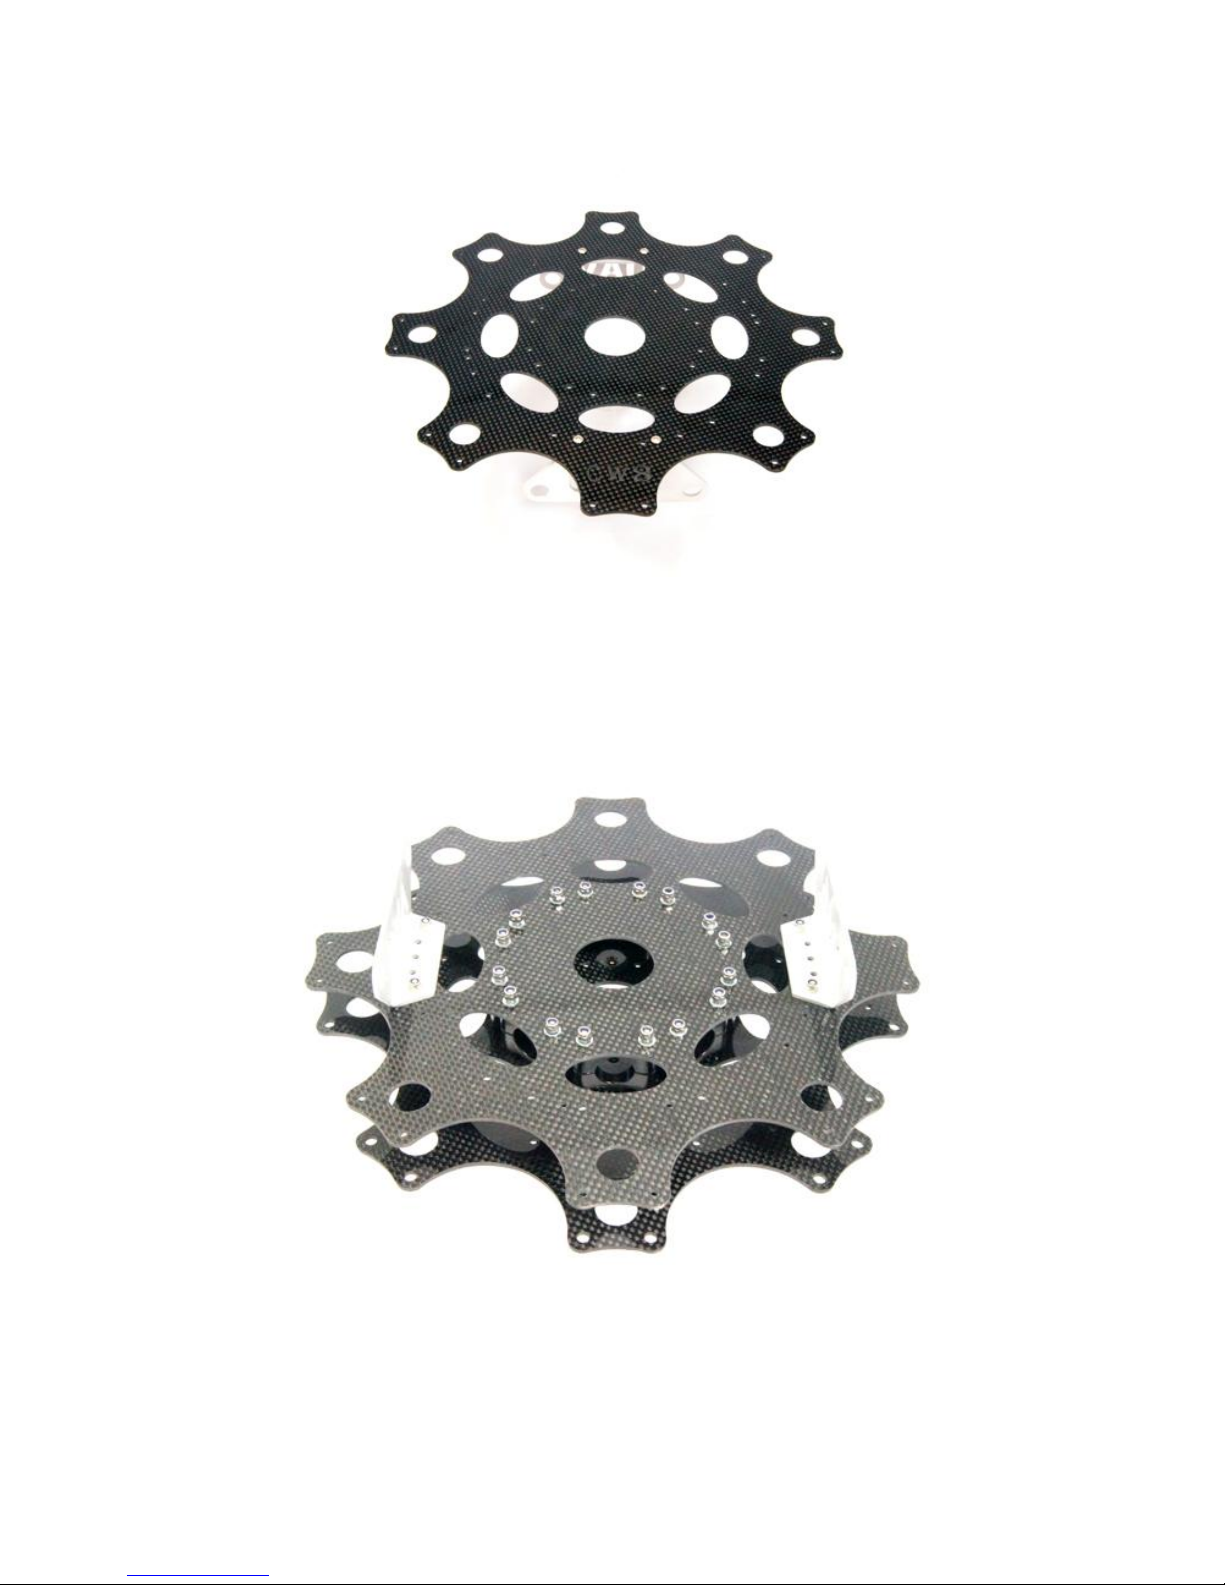
Check this product for damaged hardware, loose joints, missing parts or sharp
edges before and after assembly and frequently during use. Do not use unless all
components are correctly fitted and adjusted. Do not use if any parts are missing,
damaged or broken.
Assembly is required. Take care when unpacking and assembling. Kit contains small
parts and can have sharp edges
For replacement parts, ask your supplier of this frame or contact us.
Contact details :
Email : info@uavframe.com
Website : www.uavframe.com

Kit contents :
(basic frame without upgrades)
QTY
Item
1
Upper centerplate
1
Lower centerplate
8
Motormounting plates
16
Motorclamp position plates
8
Carbon fiber tubes
8
Endcaps for tubes
16
Aluminum caps
32
Boomclamps (pairs)
48
Countersunk m3 x 35 bolts
16
M3 x 35 allen cap bolts
32
M3 x 6 allen cap bolts
96
M3 washers
64
M3 lock nuts
First check if all are in the kit, if parts are missing please contact us.
When you have choosen upgrades like aluminum caps for motormounting plates, we will replace 32
countersunk bolts m3 x 35 with 32 allen cap bolts m3 x 35 + 32 aluminum caps
When you bought other upgrades, or accesoires like : mounting plates, protection plates, landing gear,
wiredampersystems or other, all mounting parts are in that kit.

Take the upper centerplate (you can recognize this plate with the countersunk holes). Let the logo
(cw8) point upwards.
Mount the 4 spacers of your mounting plate (big or small) when bought/upgraded or in the kit
Put all 16 countersunk bolts m3 x 35 in the holes
Put 8 pairs of boomclamps over the countersunk bolts

Mount the aluminum brackets/ wiredampersystem (if bought
separately) to the bottom centerplate, you can let the logo “cw8”
point up or downwards, choose here to fly in + or x mode, the holes
are for both modes already pre- drilled as well for bigger and
smaller landing gears
At this point you put the lower centerplate over the countersunk
bolts .make sure the logo’s of both plates are above eachother
(aligned) you can mount the washers and the lock nuts on the 16
countersunk bolts, just tighten them a few turns, so they will not
come off.

Now you can take the allen cap bolts m3 x 35 and the aluminum caps, 8
pairs of boomclamps, 16 locknuts and 16 m3 washers mount them as
picture above and below
All bolts and locknuts are still only hand tightened

Now it’s time for mounting your 8 motors. Use the m3 x 6 allen cap
bolts, and the m3 washers. Use as well some locktite.
Make sure the cables of your motor are pointing to right side.
Take the endcap and drill the holes (1 big or 3 small) for you cables
and put the cables through
On the left you see the motorplates with the aluminum caps, with
allen cap bolts m3 x 35,(this is an upgrade)
on the right you see the motorplates with the countersunk bolts
m3 x 35, (standard kit)

Use for each motor plate 2 pairs of clamps, 4 m3 washers, 2 motorplate
position plates, 4 m3 x 35 bolts and 4 m3 locknuts, just tighten them
with your hands
Now you can mount the motor plates to the tube, and put the endcap
in the tube, just like on the picture, make sure your cables are
connected inside the tubes correctly or make sure the cables are
long enough to reach your esc. At this point you can tighten the
bolts. Do not overtighten the clamps can break when you over
tighten them a lot. Make sure the clamps are closed to eachother
left and right the same.

Now you put all arms into the centerunit. And lock the bolts and
nuts. Make sure all motors are leveled correctly in line of the
centerunit.
Further assembly is about some upgrades or
other parts
On the picture is the “mounting plate small” shown, make sure you
position it for + or x mode (picture is x mode)

The “WKM protection plate”
In combination with “mounting plate small”
The “mounting plate big for the cw8”is shown on the picture.
Underneath the plate you can easily mount the esc. On top of it your
flightcontroller.

Here you see the “mounting plate big for CW8”
in combination with the “wkm protection plate”
for further questions, just contact us by mail.
Good luck with the maiden