UCL SWIFT KR12A User manual

Optical Fiber Arc Fusion Splicer
Read this user manual carefully before running KR12A
SWIFT KR12A
WWW.UCLSWIFT.COM USER MANUAL

This device complies with Part 15 of the FCC Rules. Operation is subject to the following
two conditions: (1) This device may not cause harmful interference, and (2) this device must
accept any interference received, including interference that may cause undesired
operation.
Telephone 042 671 5607~8
Homepage www.uclswift.com
E-mail saleskorea@uclswift.com
Device Type Notification
A Class Device
(Broadcasting and
communication
device, commercial
use) Users need to understand that this device(A Class) has
obtained EMI(Electromagnetic compatibility) and been
designed to be used in places other than home.

1
TABLE OF CONTENTS
I. FOR YOUR SAFETY 5
II. SPECIFICATIONS 10
2.1 General specifications 10
2.2 Components 11
III. PRODUCT DESCRIPTION 13
3.1 Function Buttons 13
3.2 Part name of Swift KR12A 14
IV. OPERATION 28
4.1 Supplying power to the Swift KR12A 28
4.2 Turn on the Swift KR12A 32
4.3 Installing the sleeve loader / cooling tray 32
4.4 Cleaning the fiber 34
4.5 Inserting the fiber into the sleeve 34
4.6 Placing the fiber into the holder and stripping 35
4.7 Cleaving the fiber 36
4.8 Load the fiber to the Swift KR12A 37
4.9 Splice 38

2
4.10 Removing thespliced fiber 40
4.11 Heating the sleeve 40
V. MAINTENANCE 41
5.1 Cleaning and examination prior to splicing 41
5.2 Regular maintenance and cleaning 43
VI. MENU 48
6.1 Splice 56
6.2 Heat 64
6.3 Auto Stripper menu 68
6.4 Histor 71
6.5 Option 72
6.6 Calibration 76
6.7 Electrode 79
6.8 Setting 82
6.9 Information 85
VII. ERROR MESSAGE 88
7.1 Too Dirty Fiber 88
7.2 Replace The Fiber In The Correct Position 88
7.3 Too Long Fiber 89
7.4 Fiber Over Angle 89
7.5 Fiber Is Not Placed In V-Groove. 90

3
7.6 The Variation Of The Optical Fiber Core. 90
7.7 Mismatch Fiber Number 91
7.8 Core Bubble Error 91
7.9 Gap Limit Over 92
VIII.HOW TO DEAL WITH SPLICING PROBLEMS 93
8.1 When the splice loss is too high 93
8.2 Abnormal operation of arc fusion splicer 94
IX. Q & A 95
9.1 Power 95
9.2 Splice 96
9.3 Sleeve heater 97
9.4 The others 98
X. WARRANTY PERIOD AND SERVICE 99
10.1 Information required for repair 99
10.2Transport 100
10.3Repair 100

4

5
I. For your safety
The Swift KR12A is designed to satisfy the user’s convenience for both outdoor and
indoor use, allowing the operation easy and simple. Still, we strongly recommend
our customers to read this user manual carefully prior to running the Swift KR12A in
order to prevent any accident and breakdown because improper handling may cause
danger. This user manual providesall the necessary information to ensure splicing
safely.UCLSWIFT Co., Ltd is not liable for any personal injury, any physical loss and damage
to device caused by inappropriate use or unauthorized modification of the
equipment.Please, turn off the Swift KR12Aand disconnect the AC power cord from the
AC adapter inlet or the wall socket immediately and contact UCLSWIFT Co.,
Ltd. If any of following incidents occurs while operating.
oFumes, odor, noise or overheating.
oLiquid or foreign substances fall into the device.
oThe splicer is dropped or damaged.
Use the supplied power cord with the Swift KR12Aonly. Using an improper
AC power cord may cause fire, electric shock or personal injury.
DO NOT touch the electrode when the Swift KR12Ais on. The high voltage
and temperature generated by electrode may cause electric shock or burn.
Warnings
Keep this User manual with the device at all times.

6
Connect the supplied AC power cord to the battery. Check to ensure no dust
or foreign substance on the AC plugs before connecting it. Unsafe
connection may cause the fumes, fire or damage to the Swift KR12Aand
result in serious personal injury or death.

7
Apply correct voltage. The correct input AC power to the adapter is AC 100-
240V and 50-60Hz. Abnormally high ACoutput voltage or irregular
frequencies are often generated by AC generator. Please measure the AC
output voltage with a circuit tester. Since abnormal high voltage and
frequencies may result in serious electric shock, injury, death or damage to
the equipment, it is important that regularly check the generator before use.
DO NOT excessively pull, amend, misuse or apply heat to the AC power cable.
Using a damaged power cable may result in fire or personal injury. Connect
3-core AC power cord. DO NOT use 2-core, cable and plug.
DO NOT touch the AC plugs, AC power cable or the Swift KR12A with wet
hands. It may cause an electric shock.
DO NOT disassemble the AC adapter, battery or the Swift KR12A. Any
modification may cause fire, electric shock or personal injury.
When using the battery, follow instructions below.
oUsing battery other than in the package or provided by UCLSWIFTCo., Ltd
may cause fumes, damage to the device, burn, serious injury or even death.
oDO NOT throw the battery into fire or an incinerator.
oDO NOT charge the battery near a flame.
oDO NOT apply excessive shock to the battery.
oIf the battery is not fully charged or the green LED is not turned on in
about two hours, stop charging immediately and contact UCLSWIFTCo.,
Ltd. DO NOT put anything on the AC adapter while charging.
Use the supplied AC adapter (F1-1) at all times. DO NOT use other type of AC
power cord and the battery. Excessive electric current may cause damage to
the machine and personal injury.
DO NOT run the Swift KR12Anear flammable liquid or explosive gas storage.
The electric arc of the Swift KR12A may cause fire or explosion.
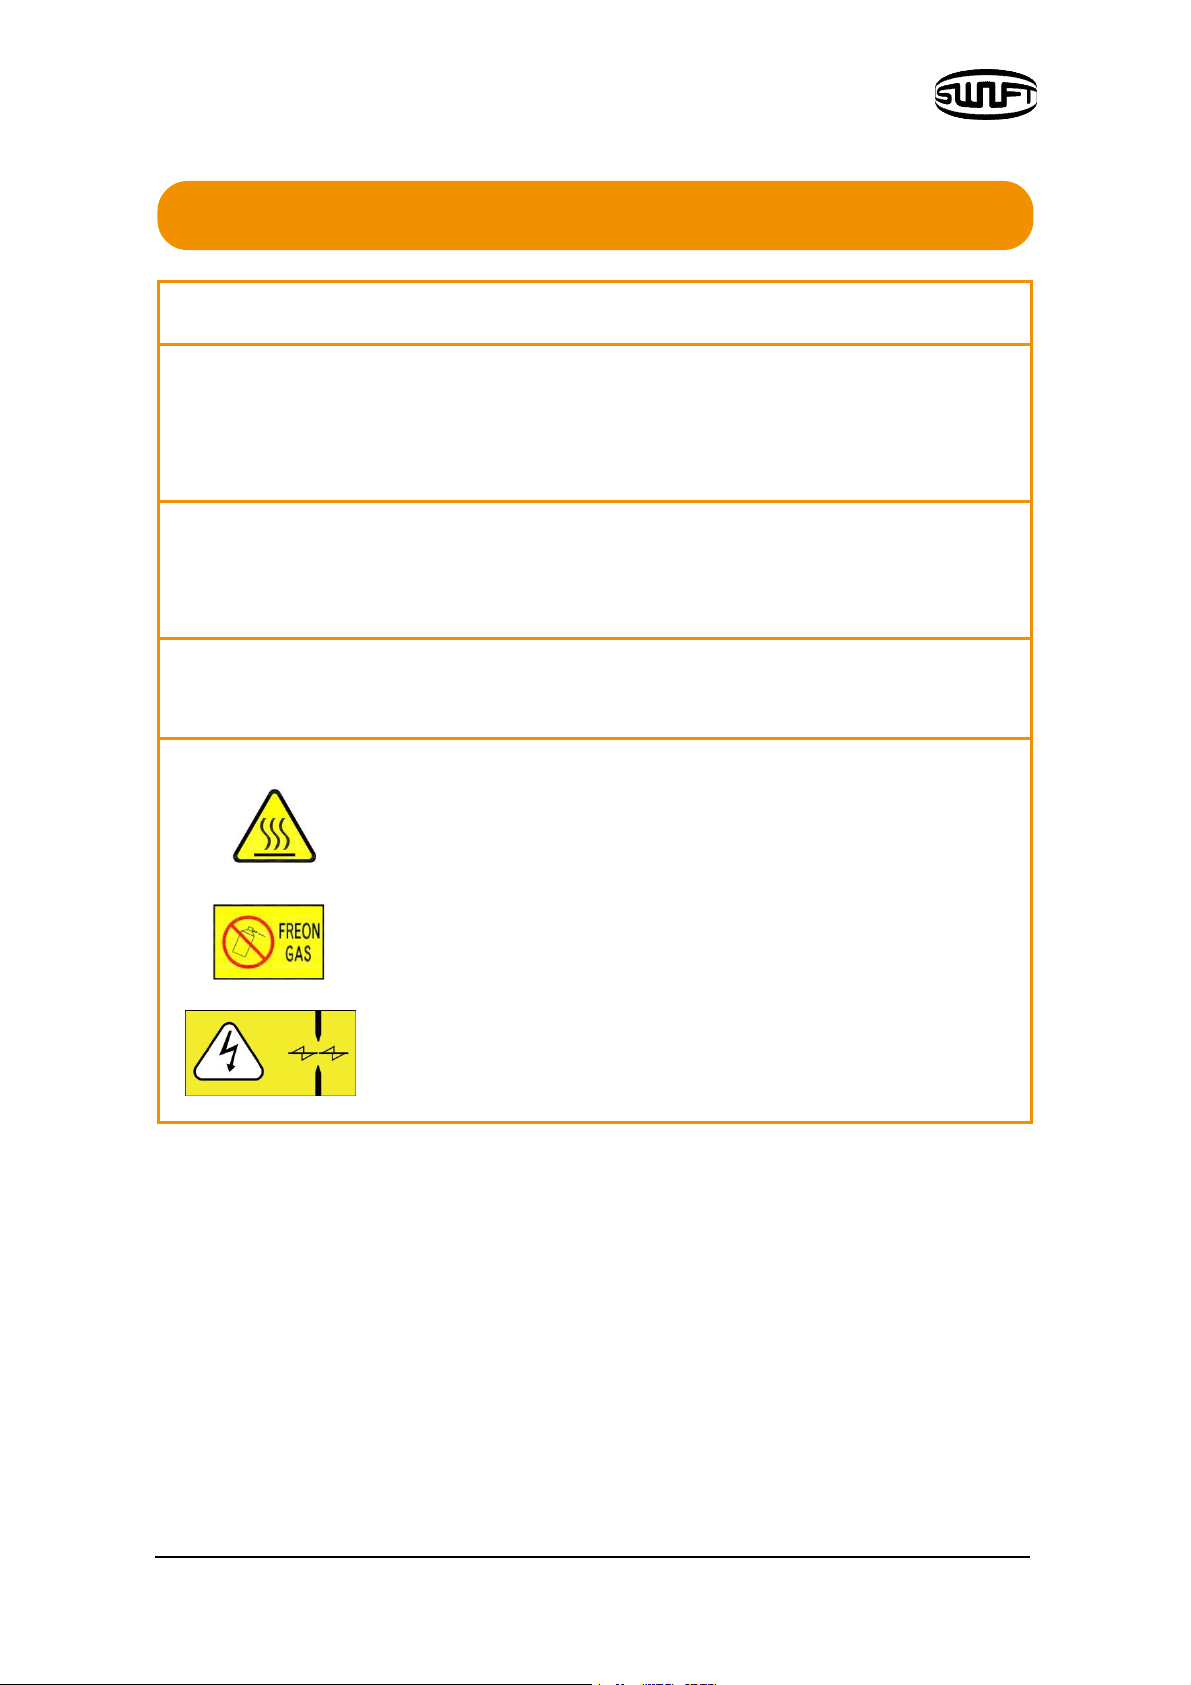
Warnings

8
DO NOT clean the Swift KR12A using compressed air or gas.
Please check the shoulder belt before transporting. Transporting the case
with a damaged shoulder belt, it may cause the damage of the Swift KR12A
and the personal injury.
Make sure to wear protective glasses while performing splicing works. If the
fiber fragments come into contact with the eye or skin, it can be extremely
dangerous.
DO NOT operate the Swift KR12Aat a high temperature or near heat,
otherwise personal injury or damage to the device may occur.
: EXTREMELY HOT
: DO NOT SPRAY FREON GAS
: CAUTION HIGH VOLTAGE
Warnings

9
DO NOT touch the sleeve heater or the sleeve during or immediately after
heating them. The hot surface may cause skin burn.
DO NOT place the Swift KR12A in an unstable or unbalanced position. The
machine may fall, causing injury or damage to the Swift KR12A.
The Swift KR12A is precisely adjusted and aligned. DO NOT allow the unit to
receive a strong impact. Use supplied carrying case for its transportation
and storage. The carrying case protects the Swift KR12A from damage,
moisture, shake and shock during storage and transportation.
Replace the electrodes in a timely manner and maintain them as instructed
below;oUse only a specified electrode.
oPlace a new electrode in the correct.
oReplace the electrodes as a pair.
Incompliance with above instructions may cause abnormal arc discharge,
resulting in damage to the machine or degradation in splicing performance.
Use no chemicals other than ethyl-alcohol (96% or greater) to clean the
objective lenses, V-groove, V-block, LCD monitor and body of the Swift
KR12A. Otherwise, blurring, discoloration, damage or performance
deterioration may occur. The Swift KR12A requires no lubrication. Oil or
grease may degrade its performance and damage the equipment.
DO NOT store the Swift KR12A in a place where temperature or humidity is
high. Damage to the machine may occur.
Cautions

10
II. Specifications
2.1 General specifications
Subject Description
Fiber alignmentRibbon
Applicable fibersSM(G.652), MM(G.651), DS(G.653), NZDS(G.655),
SM(G.657)
Fiber countSingle fiber, 2~12 Ribbon fiber
Applicable fiber
dimensionsSingle: Cladding diameter 125μm, Coating diameter
250μm, 900μm
Ribbon: Cladding diameter 125μm, Ribbon fiber
thickness 0.25 to 0.40mm
Fiber cleave length10mm
Splicing modesSplicing: 300, Heat: 100, Strip: 50
Average splice LossSM: 0.05dB, MM: 0.02dB, DS: 0.08dB, NZDS: 0.08dB
Return loss> 60dB
Splicing timeTypical 20 sec with standard SM (ITU-T G.652)
Splice loss estimateAvailable
Sleeve heating time1~2 core 20 sec
4~12 core 50 sec
Applicable protection
sleeve 40mm, 60mm (Fiber)
Storage of splice
result The last 10,000 results to be stored in the internal
memory. (Image 10,000 results)
Tension test2N / 4.4N (Option)

11
Operating conditionsAltitude: 0~3,660m above sea level,
Temperature: -10℃~50℃, Humidity: 0~95%,
Wind: 15m/s, Non-condensing, Dust proof, Water
proof, Shock proof
Storage conditionsTemperature: -40℃~80℃, Humidity: 0~95%
Dimensions136(W) x 215(L) x 132(H)mm (Excluding bumper)
Weight 2.3kg (Including battery)
Viewing method and
display Two CMOS cameras and 5.0-inch color LCD monitor
with Electrostatic touch screen
Fiber view and
magnification20X, Max 60X
Power supply100~240V AC
Battery life with
heat-shrinkTypical 170 cycles (6000mAh)
Electrode lifeUp to 3,000 splices
Terminals USB, External power(DC 12V available for car cigar
jack)
Cleaver CM-03RT
Cleaver blade lifeUp to 2,000 times for 12 fibers
2.2Components
2.2.1 Standard items
No Description Model No. Quantity
1Arc Fusion SplicerSWIFT KR12A 1

12
2User guideDownload from UCL
Swift website
3Spare electrodeEI-28 1 pair
4 Cooling Tray- 1
5Transporting CaseHard Case 1
6 Battery K3360(6000mAh) 1
7 AC Adapter100-240V 1
8 Fiber HolderH7-Series 1 pair
9 Tool box - 1
10 USB Cable- 1
11Upgrade Cable- 1
2.2.2 Optional items
No Description Model No.
1Battery K3360(6000mAh)
2 Cleaver Blade BI-07
3 Electrode EI-28
4 External Power DC 12V available for car cigar jack
5 Sleeve R-F40 (40mm)
6 Sleeve Clamp -
7 Sleeve Loader (2ea)-
8 Optical Fiber HolderH7-4-10, H7-8-10, H7-12-10, H7-
250-10, H7-900-10, H7-2.5-10, H7-
IN-10, H7-2-10, H7-6-10, H7-10-10,
MPO-10, KR7-12
9 Wifi Card -
10Ribbonizing Holder Kit-
11 Ribbon SeparatorIRS-01
12 WiFi Card WBM-01

13
III. Product Description
3.1 Function Buttons
Button Description
To turn the power on/off-press button for about 1.0
second.Press for about 1 second in POWER ON status, the
LCD monitor turns off. Turn off the power after 2~3 seconds.
To call the main menu screen.
To execute splicing command.
To return to the initial screen.
To initialize the splicing function.
To activate the sleeve heater.
To supply power to the Automatic Fiber Stripper heater.

14
3.2 Part name of Swift KR12A
3.2.1 Components
Fusion Splicer
Monitor
(Touch panel) Battery
Sleeve
Cleaner Automatic Fiber StripperCleaver

15
Powerswitch
Power lampHeater keyLock LeverRemaining Battery Display Button
Remaining Battery Display
DC OUT Data Sync
Heater operation
indicator Stripper operation
indicatorStripper operation
Key Perform arc fusion
Rest and
return key

16
3.2.2 Arc fusion splicing assemblyHeater Cover
Heater

17
3.2.3 Swift KR12A Auto Stripper
Swift KR12Aautomatic fiber stripper automatically carries out an accurate
stripping of the coating of single-and multi-mode fibers. Featuring excellent
tensile force of fiber, the automatic stripper strips up to 28.0mm in length without
damaging the surface of fiber. Read the user manual sufficiently to maintain the
best performance of the unit.
Be careful not to wet the equipment.
Maintain the unit in a clean condition at all times because many of splicing
problems are caused by dust or moisture.
Keep and use the unit at room temperature as it could be deformed by heat.
Keep the equipment from being shaken or physically impacted as it could be
broken.Never use organic solvents such as acetone except alcohol to clean rubber part
of the equipment.
3.2.3.1Specifications
No Subject Description
1Applicable Fiber Diameter125μm
2Applicable Cable Diameter250μm, 900μm
3Strip Length Max 28.0 mm
4Heating Time 0 ~ 15 sec
5Heat Temp. Range
(HEATING TYPE)60 °C ~ 150 °C
6Tensile Force after Stripping4kgf

18
3.2.3.2 Configuration and name of each part
<Front View >
<Monitor> < Control Panel>
3.2.3.3 Operation Procedure (Fiber stripper)
i.Warm up the thermal stripper after applying power to the control area.
Open thermal stripper cover and slide cover for preparation.
< Monitor > <Control Panel >
<Front View>
Slide BaseSlider CoverBladeHeater Cover Heater
Table of contents
Popular Soldering Gun manuals by other brands

Virtual industries
Virtual industries SMD-VAC-HP Operating instructions and specification

Soldron
Soldron 938 instruction manual

Wetekom
Wetekom 81 40 17 instruction manual

BGS technic
BGS technic 8612 instruction manual

Pace
Pace ST35 w/PS-90 Iron Operation and maintenance manual

Bakon
Bakon 3200 instruction manual