ersa i-CON 1V User manual

Ersa GmbH
Leonhard-Karl-Str. 24 Phone +49 9342/800-0
97877 Wertheim/Germany Fax +49 9342/800-127
www.ersa.com [email protected]
Ersa i-CON 1V & i-CON 1VC
Soldering station
Quick guide

23BA00253-01 •2021-05-17 •Rev. 1 Ersa i-CON 1V & i-CON 1VC
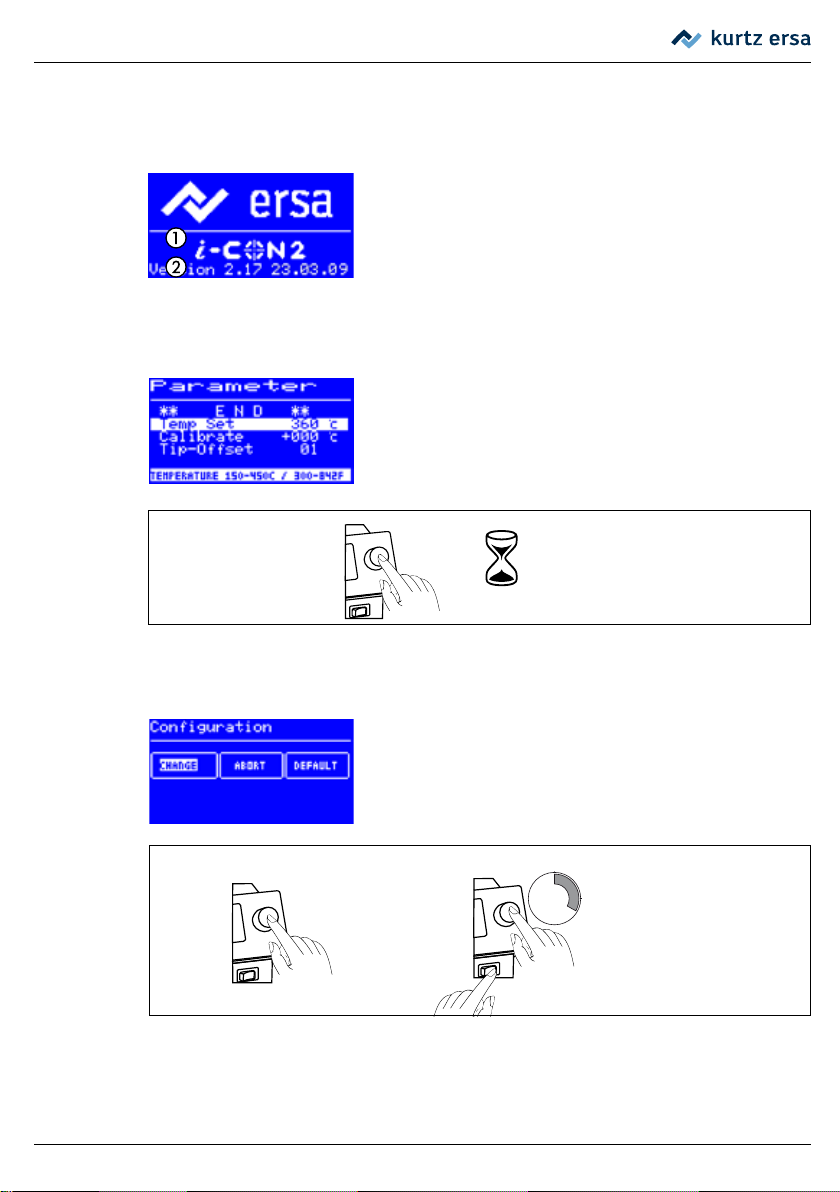
Contents
1. Introducon ............................................................................................................ 3
1.1 Explanation of symbols .......................................................................................................... 3
2. Start-up ................................................................................................................... 4
2.1 Unpacking the soldering station............................................................................................ 4
2.2 Mounting the soldering station ............................................................................................. 4
3. Functional description............................................................................................. 5
3.1 Switch-on and operation ....................................................................................................... 5
3.2 Language selection................................................................................................................. 6
3.3 Selecting a soldering tool....................................................................................................... 6
3.4 Setting the temperature ........................................................................................................ 6
3.5 Soldering ................................................................................................................................ 6
4. Operation modes .................................................................................................... 8
4.1 Working mode........................................................................................................................ 8
4.2 Parameter mode .................................................................................................................... 8
4.3 Configuration mode............................................................................................................... 8
4.4 Contrast.................................................................................................................................. 9
5. Editing parameters.................................................................................................. 9
6. Troubleshooting .................................................................................................... 10
6.1 General errors ...................................................................................................................... 10
6.2 Error messages ..................................................................................................................... 10
7. i-Tool ..................................................................................................................... 11
7.1 How to change a hot soldering tip....................................................................................... 11
7.2 How to change a cold soldering tip...................................................................................... 11
8. Warranty ............................................................................................................... 12

3
3BA00253-01 •2021-05-17 •Rev. 1
Ersa i-CON 1V & i-CON 1VC
1. Introducon
This quick guide is intended to provide you with quick reference opons when working
with i-CON 1V / 1VC. The i-CON 1VC soldering staon model is oponally available with
a serial PC interface. Control signals for acvang the Easy Arm 1 and Easy Arm 2 solder
fume extractors or the IRHP 100A heang plate are also available at this interface. A
ready signal and a standby signal can be output.
This quick guide does not replace the operang instrucons!
You should, therefore, read the instrucon manual before operang the
equipment for the rst me. Pay special aenon to the safety alerts
listed there!
Keep all instrucons in a place that can be accessed by all users at any
me!
The accompanying informaon paper “Safety Alerts” is also part of the
safety instrucons to be adhered to.
Info ESD-hazardous components!
Electronic components can be damaged by electrostac discharge. Abide
by the warnings on the packaging, or contact the manufacturer or suppli-
er. To protect these components, an ESD-safe workplace (ESD = electro-
stac discharge) will be suitable.
1.1 Explanaonofsymbols
The following symbols are used in this quick guide:
This symbol is used to highlight text passages that contain explanaons,
info or ps.
■This mark highlights
• acvies to be carried out, or
• instrucons to be strictly abided by.
Introduction

43BA00253-01 •2021-05-17 •Rev. 1 Ersa i-CON 1V & i-CON 1VC
2. Start-up
2.1 Unpackingthesolderingstaon
Please use your delivery note to check the contents of the packaging for completeness. If
the components listed therein are damaged or incomplete, please contact your supplier.
2.2 Mounngthesolderingstaon
■Mount the soldering staon in a dry place on a heat-resistant, at
surface
■Place the holder next to the soldering staon on the heat-resistant
surface.
■Place the dry cleaner in the holder.
■Before switch-on, check whether the line voltage matches the value
specied on the nameplate.
■Make sure the soldering p is properly seated.
■To switch o the soldering staon, use the on/o switch.
■ Connect the soldering tool to the staon. In doing
so, align the an-twist protecon of the plug with the
mark on the boom socket.
Insert the plug into the socket and then lock it clock-
wise with the coupling nut.
■Place the soldering tool in the holder
■Connect the supply cable to the soldering staon and
the power point.
■If the soldering staon is equipped with an addional
interface on the back of the device, connect it there:
Ersa solder fume extractor and preheang plate
IRHP 100.
■Place the soldering station and the relevant holder on a heat-
resistant, conductive ESD work surface with a connected earthing
plug, as described under ESD-hazardous components. Tipping over
must be ruled out for any equipment at all events.
Place boards on an ESD work surface only.
Start-up

5
3BA00253-01 •2021-05-17 •Rev. 1
Ersa i-CON 1V & i-CON 1VC
Functional description
3. Funconaldescripon
3.1 Switch-onandoperaon
Aenon! Burning hazard!
The connected soldering tools are heated immediately
aer switch-on!
Aenon! Flammable substances!
Risk of re from highly ammable substances! Before
switching on the soldering staon, remove all highly com-
busble objects, liquids and gases from the work area
Make sure that the soldering iron is placed in the holder.
The soldering staon is turned on/o with the on/o switch
on the front a.
The soldering staon is operated through a rotary encod-
er b with a push buon funcon (press funcon), the
i-OP. The i-OP enables the desired funcons to be selected
or the values to be changed. Turn clockwise for higher
values and counterclockwise for lower ones. Turn slowly
to edit values in steps of one. Turn quickly to edit the
selected values in steps of 10/50/100 (depending on the
parameter).
The i-OP has a push buon funcon as well. The selected
parameters and values are conrmed through this push
buon (press) funcon, thereby becoming eecve for
the staon. All seng steps and measured values are
shown in plain text in a clear display window, the “dis-
play”.
0_
ON

63BA00253-01 •2021-05-17 •Rev. 1 Ersa i-CON 1V & i-CON 1VC
3.2 Languageselecon
To select your naonal language, proceed as follows:
■switch o the soldering staon
■press and hold the i-OP
■switch back on the soldering staon
■hold the i-OP unl you hear a beep, then let go.
■Select the [Change] item by turning the i-OP.
■Select the [Language] menu item.
■Press the i-OP.
■Select the required naonal language by turning the
i - O P.
■Press the i-OP.
■Select the [** END **] menu item, then press the i-OP.
The naonal language has been changed.
3.3 Selecngasolderingtool
■Select the desired soldering tool by pressing the i-OP.
Pressing the i-OP repeatedly will enable the soldering
tool connected to the le or to the right.
3.4 Sengthetemperature
■To set the desired soldering p temperature, turn the i-OP.
■Press the i-OP to apply the seng.
♪
ON
0_
0_
5 s
3421
0
_
OFF
Functional description

7
3BA00253-01 •2021-05-17 •Rev. 1
Ersa i-CON 1V & i-CON 1VC
3.5 Soldering
■Perform some soldering trials.
If you are not sased with the result, you can adapt the parameters to
your requirements. As to this, read the following secons
Functional description

83BA00253-01 •2021-05-17 •Rev. 1 Ersa i-CON 1V & i-CON 1VC
4. Operaonmodes
4.1 Working mode
Aer switching on the staon, the switch-on dialog ap-
pears for approx. 2 seconds. This shows the staon name
① and soware version ② of the i-CON 1V. The staon
will then automacally switch to working mode.
4.2 Parameter mode
The parameter mode for the soldering tool is acvated by
pressing and holding the i-OP for approx. 2 seconds.
4.3 Conguraonmode
You can access the conguraon mode by pressing and
holding the i-OP for 5 seconds when switching on the
i-CON 1V.
By turning the i-OP and pressing it accordingly, the staon can be congured or rewrien
with the factory sengs.
0_
2 s
2
0_
1
0_
1
0_
0
2 s
1
0_
♪!
2
♪!
0
2s
0
0,5 s
3
0_
2
0_
Operation modes

9
3BA00253-01 •2021-05-17 •Rev. 1
Ersa i-CON 1V & i-CON 1VC
4.4 Contrast
To adjust the contrast on the display to the single working
environments, proceed as follows:
■Switch on the staon and immediately turn the i-OP.
This will enable the contrast mode:
The buzzer signals with a beep sound that the contrast mode is acve.
■Set the desired contrast by turning the i-OP.
■Conrm your entry by pressing the i-OP.
5. Edingparameters
To edit the value of a parameter, proceed as follows:
■Activate the soldering tool whose parameters are to
be edited by pressing the i-OP.
■Press the i-OP and hold it for approx. 2 seconds.
■Select the desired parameter by turning the i-OP.
■Activate the cursor by pressing the i-OP; pressing it
again will switch the cursor back off.
When the cursor is acvated, the value of the parameter can be changed accordingly by
turning the i-OP.
2
0_
1
0_
1
0_
0
2 s
1
0_
♪!
2
♪!
0
2s
0
0,5 s
3
0_
2
0_
Editing parameters

10 3BA00253-01 •2021-05-17 •Rev. 1 Ersa i-CON 1V & i-CON 1VC
6. Troubleshoong
6.1 General errors
If the soldering staon is not working as expected, please check the following points:
• Is line voltage available? Properly connect the power cord to the
equipment and the power point.
• Is the fuse defecve? The fuse is located on the back of the equip-
ment in the mains connecon socket.
• Please observe that a defecve fuse may also indicate a deeper
cause of failure. Simply changing the fuse is, therefore, generally not
sucient.
• Is the soldering tool properly connected to the supply unit?
6.2 Error messages
The i-CON 1V carries out fault diagnoses independently.
The result of a diagnosis is output as an error code: In this
case, the triangular pictogram ①appears in the display
of the soldering staon. The error code ②is shown as a
number between 2 and 99.
An info note ❸ is also displayed in the boom line. For error codes, please refer to the
error code table in the operang instrucons. Error messages must be acknowledged
through the i-OP. The connected soldering tool will be heated again only aer the error
has been acknowledged and eliminated.
Troubleshooting

11
3BA00253-01 •2021-05-17 •Rev. 1
Ersa i-CON 1V & i-CON 1VC
7. i-Tool
7.1 Howtochangeahotsolderingp
①②③
④⑤⑥
7.2 Howtochangeacoldsolderingp
①②③
④⑤⑥
40°C72°F
OFF
40°C72°F
_
0_
ON
i-Tool

12 3BA00253-01 •2021-05-17 •Rev. 1 Ersa i-CON 1V & i-CON 1VC
8. Warranty
© 4/2021, Ersa GmbH, 3BA00253-01
Heang elements and soldering or desoldering ps are wearing parts that are not cov-
ered by the warranty. Material- or producon-related defects must be reported through
nocaon by subming the purchase receipt before the return of the goods, which
must be acknowledged; the purchase receipt is then to be enclosed with the return of
the goods.
Ersa drew up this instrucon manual with uer care. However, no guarantee can be
granted for its contents, completeness and the quality of the informaon provided there-
in. The contents have been carefully updated and adapted to current condions.
All data as well as any product and process informaon published in this instrucon man-
ual were ascertained by us to the best of our knowledge, using the most cung-edge
technical tools. This informaon is nonbinding and does not relieve the user of the
responsibility to check themselves the equipment before using it. We shall not be held
liable for any infringement of third-party property rights due to applicaons and proce-
dures without prior express wrien conrmaon. We reserve the right to make technical
changes as part of a product improvement.
As far as legally possible, liability shall be precluded in cases of any direct, consequenal
and third-party damage resulng from the purchase of this product.
All rights reserved. This user guide may not be reproduced, changed, transferred or
translated into another language, in whole or in part, without the wrien approval of
Ersa GmbH.
Warranty

13
3BA00253-01 •2021-05-17 •Rev. 1
Ersa i-CON 1V & i-CON 1VC

Producon plants/
subsidiaries
Local agents
Other presence
America
Ersa North America
Pilgrim Road Plymouth,
WI 53073 USA
Tel. 800-363-3772
Fax +1 920-893-3322
info-ena@kurtzersa.com
www.ersa.com
Asia
Ersa Asia Pacic
Flat A, 12/F
Max Share Centre,
373 King‘s Road
North Point, Hong Kong China
Tel. +852 2331 2232
Fax +852 2758 7749
[email protected]om.hk
www.ersa.com
China
Ersa Shanghai
Room 720,
Tian Xiang Building.
No. 1068 Mao Tai Rd.
Shanghai 200336 China
Tel. +86 213126 0818
Fax +86 215239 2001
www.ersa.com
Ersa France
Division de
Kurtz France S.A.R.L.
8, rue des Moulissards
F-21240 Talant, France
Tel. +33 3 80 56 66 10
Fax +33 3 80 56 66 16
info@ersa-electronics.fr
www.ersa-electronics.fr
Ersa GmbH
Leonhard-Karl-Str. 24
97877 Wertheim/Germany
Tel. +49 9342/800-0
Fax +49 9342 800-1 27
info@kurtzersa.de
www.ersa.com
Electronics Production Equipment
Other manuals for i-CON 1V
1
This manual suits for next models
1
Table of contents
Other ersa Soldering Gun manuals

ersa
ersa i-CON NANO MK2 User manual

ersa
ersa RDS 80 User manual

ersa
ersa i-CON 1 User manual

ersa
ersa RA 4500 D User manual

ersa
ersa i-CON NANO MK2 User manual

ersa
ersa i-CON 1V User manual

ersa
ersa DIGITAL 2000 A User manual

ersa
ersa DIGITAL 2000 A User manual

ersa
ersa Solder Smart User manual

ersa
ersa i-CON PICO User manual