> Please note that there are some countries that by law disallow the rider to set the
helmet communicator to a volume that prevents you from perceiving the
surrounding.
> Please note that in some countries the use of both speakers simultaneously is
authorized only out of public traffic conditions.
> Please check with the relevant authorities for local safety legislation before using
the helmet communicator on the road.
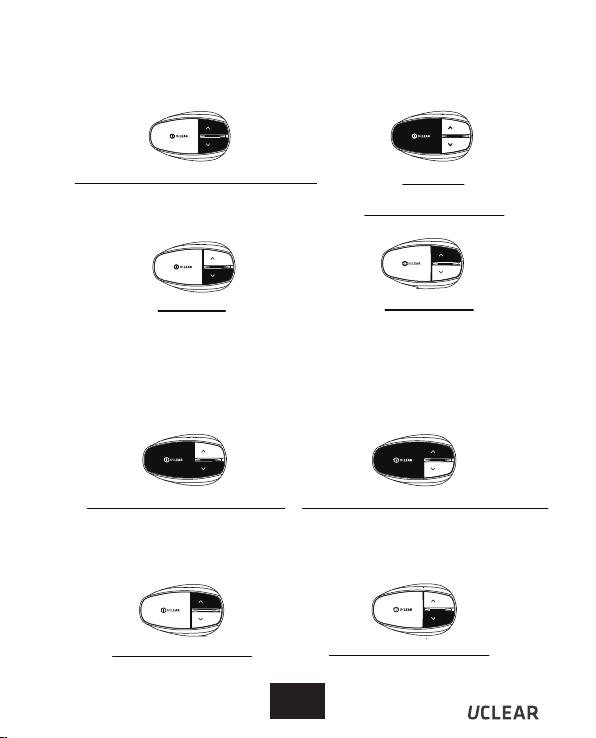
> Please learn how to use the buttons by looking into the mirror before using the
helmet communicator on the road.
EN 8
Warnings and Safety Instructions
> Prolonged exposure to loud sounds may lead to permanent hearing damage.
> Speaker volume is greater than 90 dB may lead to permanent hearing damage.
> Do not attempt to place an outgoing call through the mobile phone while riding on
the motorcycle at any point of time.
> Please do not use the helmet communicator in anyway that may distract
you or hinder your judgment while on the move. Never ever compromise your safety
and the safety of others.
> Charging and handling rechargeable battery products incorrectly may cause them
to overheat, catch fire or explode. To prevent this please follow the instructions below:
i) Never change the batteries yourself, always bring the device to an authorised
dealer to perform the replacement for you.
ii) When charging, use ONLY the charging cable provided or a replacement cable
from the dealer. Using similar, compatible or any other cables may lead
to permanent product damage and will void the product warranty.
> Never make any modifications to any part of the helmet communicator in
any way as it may cause the system to malfunction causing hurt to you.
> Do not modify your helmet to use with this system - it is not necessary to do so.
Attention