C
o
m
b
u
s
t
i
o
n
A
n
a
l
y
z
e
r
C165+
C
O
C
O
2
T
E
M
P
P
R
S
Status
LINK
v3
Aux
O2/Eff CO/CO2 Temp
Exch Test
ROOM CO
BEFORE TESTING
Remove the rubber boot and red
drain plug. Allow the water to
drain out. Re-insert the rubber
plug and replace boot cover.
Remove protective rubber boot.
Remove water trap from analyzer.
Remove particle filter from water
trap and replace with new one.
Reattach trap and boot.
CHECKLIST
oClean particle filter
oWater trap and probe line are
free of condensate
oAll hose and thermocouple
connections are properly
secured
oWater trap is fitted correctly
oPower on and zero
oFlue gas probe is sampling
ambient FRESH air
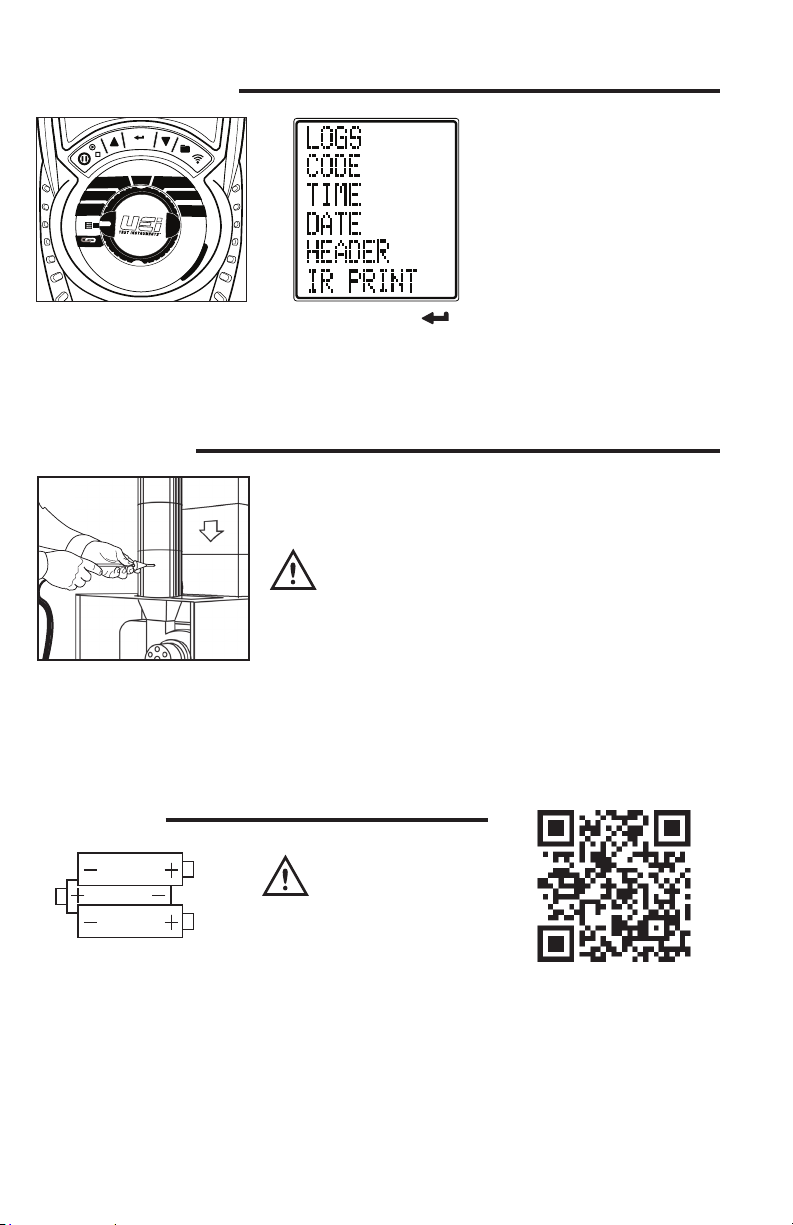
AUXILIARY SCREEN
The AUX screen allows you
to assign any of the following
parameters on any display line.
CO2, CO, NO (if fitted), NOx
(if fitted), O2, TF, Ti, Ta, Delta
T, Loss, EFg, Xair, Ra (CO/CO2
Ratio), PI, Fuel Type, PRS or
Blank.
To customize the settings
displayed on screen.
Rotate dial to .
Scroll or to SCREEN.
Press .
Scroll or to AUX.
Press .
Scroll or to select
the line to change.
Press .
Highlighted line shows
current selection.
Scroll or to change
parameters.
Press to select.
Scroll or to select
another line to customize
and repeat.
When finished, scroll or
to BACK.
Press .
When performing a
combustion Test.
Rotate function rotary dial to
AUX to Test while viewing
custom parameters that you
selected.
C
o
m
b
u
s
t
i
o
n
A
n
a
l
y
z
e
r
C165+
C
O
C
O
2
T
E
M
P
P
R
S
Status
LINK
v3
Aux
O2/Eff CO/CO2 Temp
Exch Test
ROOM CO