Step 4: Install (#7-A) Right Door.
Note:
Step 5: Install (#7-A3) Key Rod.
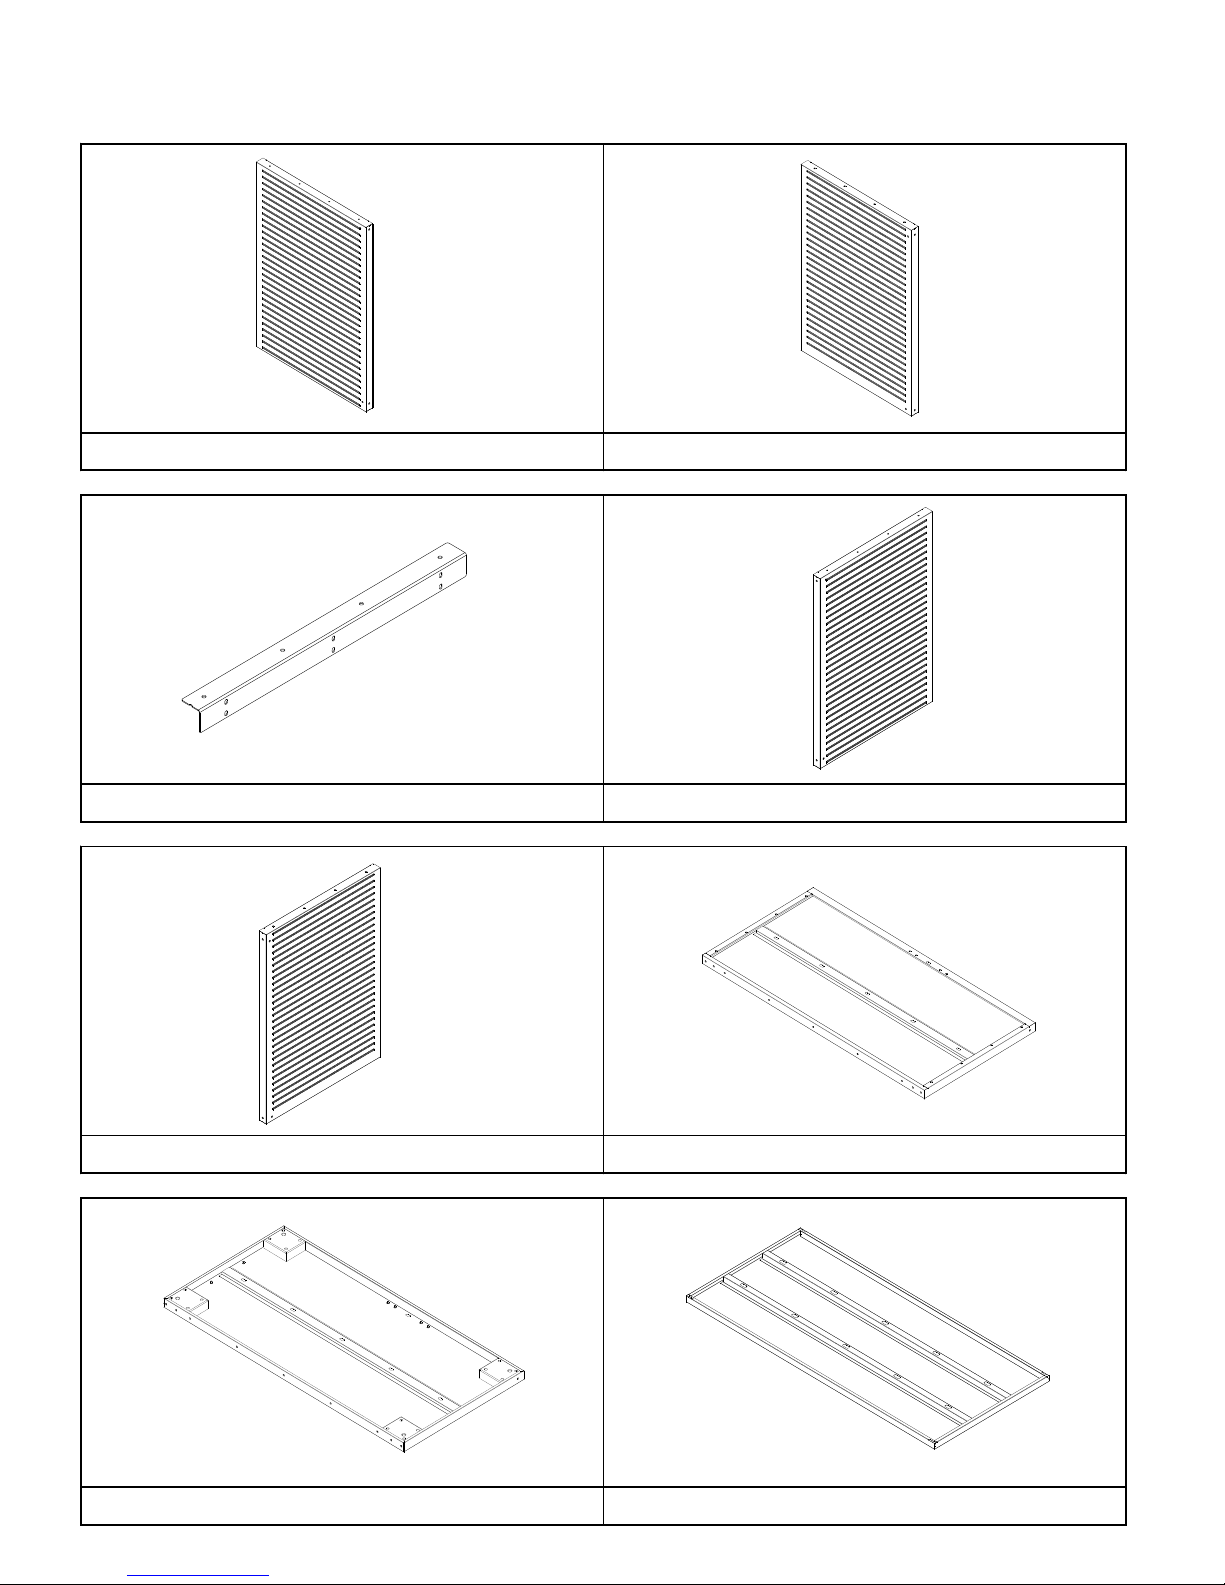
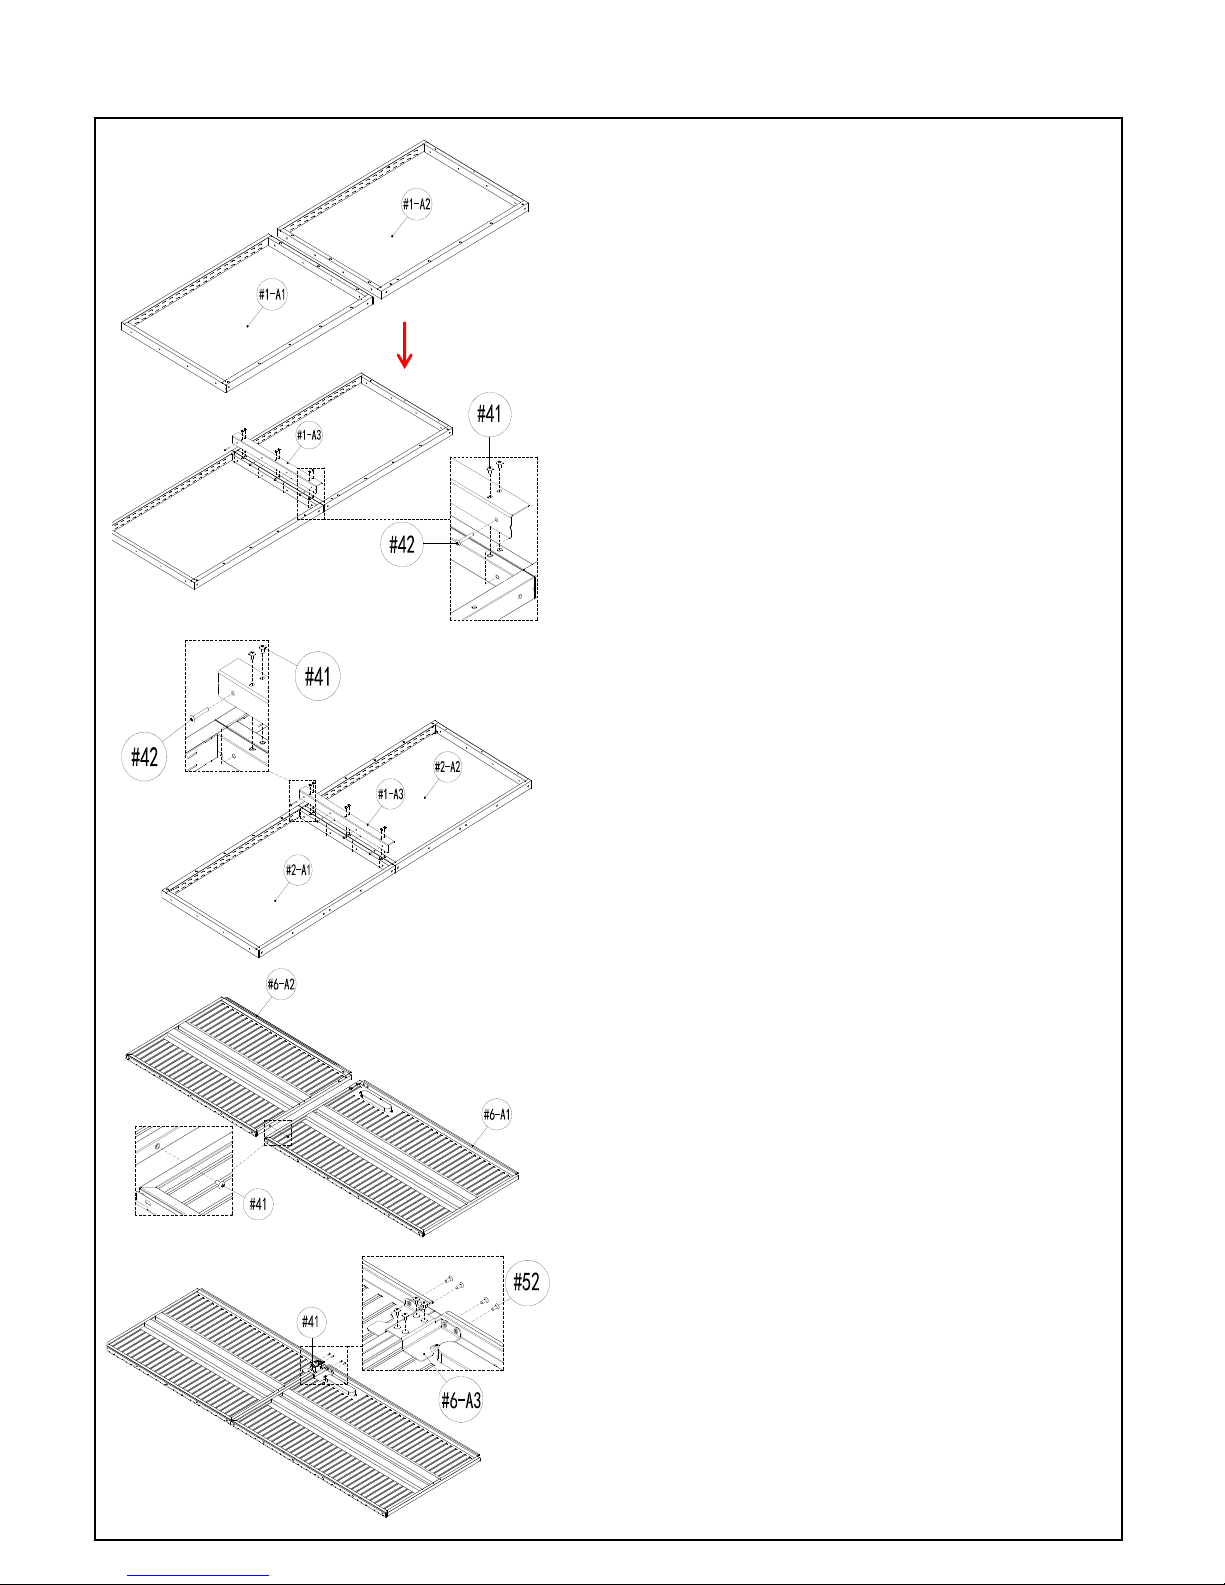
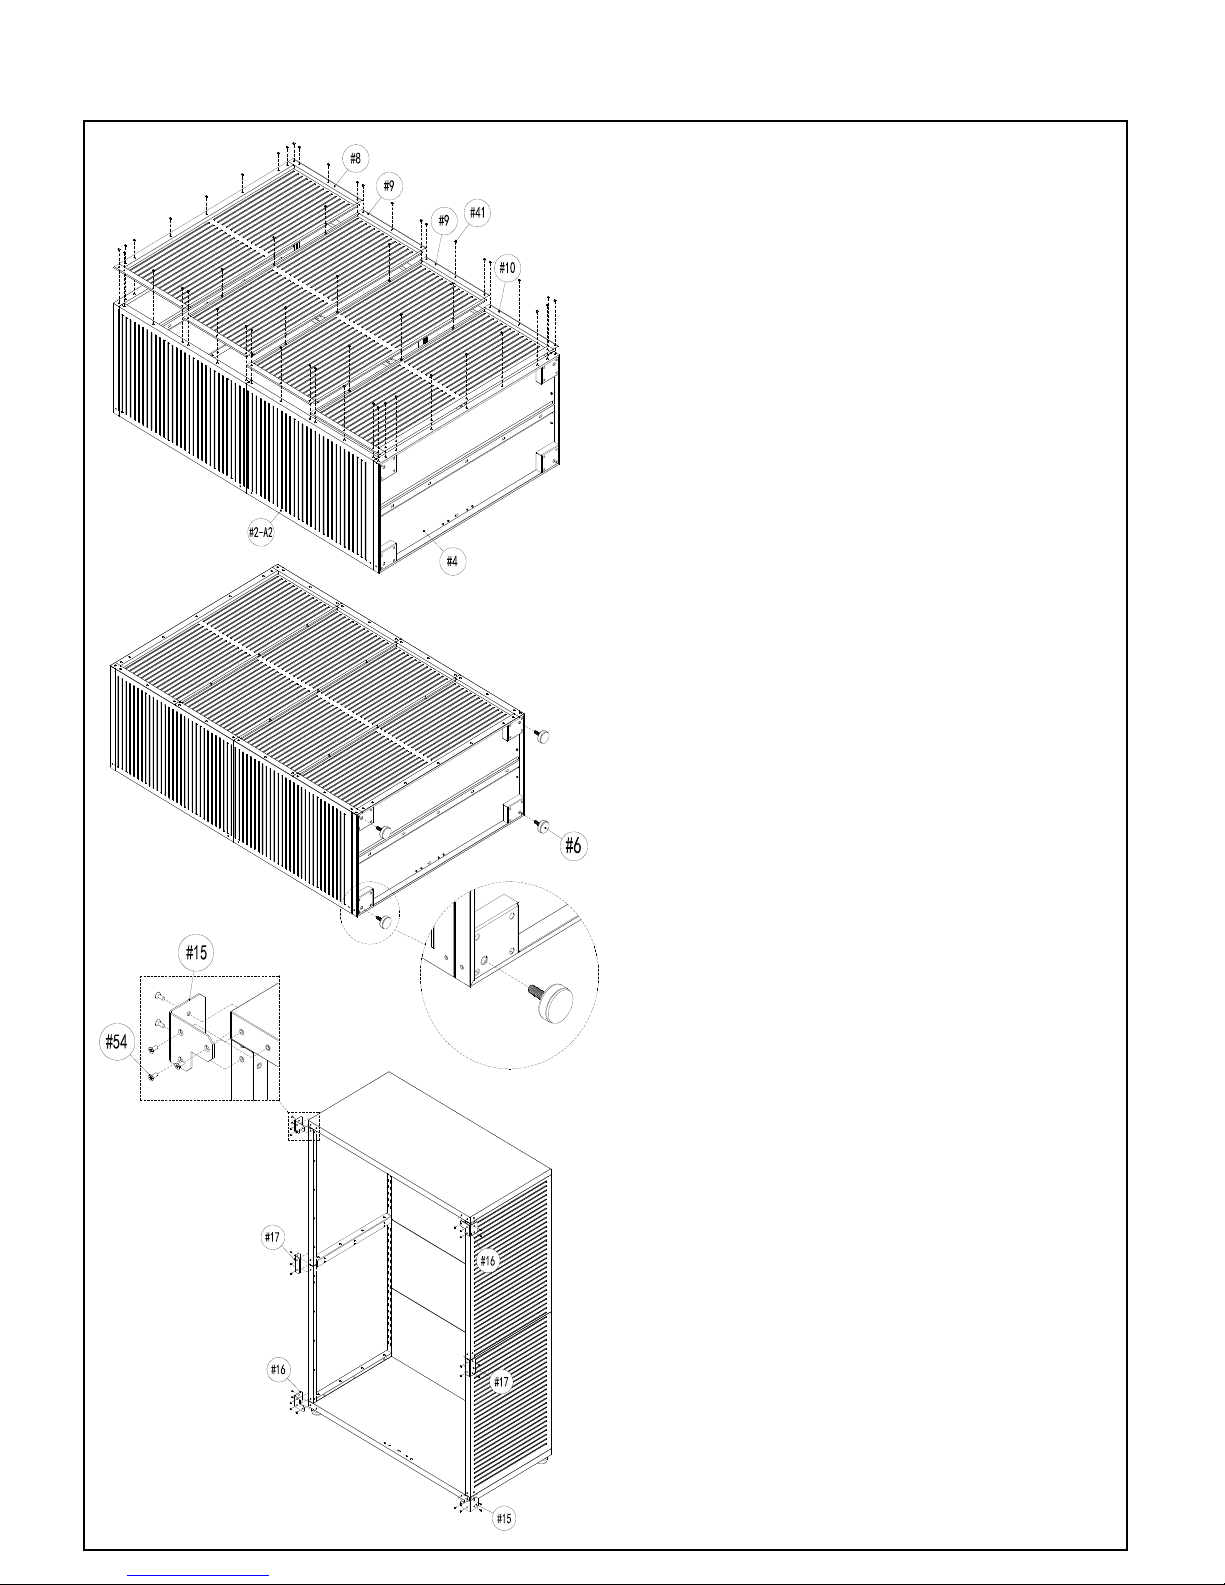
Step 6: Install (#3) Top Panel to (#1-A1) Left Side Upper
Panel and (#2-A1) Right Side Upper Panel.
Note:
Step 7: Install (#4) Bottom Panel to (#1-A2) Left Side Bottom
Panel and (#2-A2) Right Side Bottom Panel.
Note:
Attach (#4) Bottom Panel to (#1-A2) Left Side Bottom
Panel and (#2-A2) Right Side Bottom Panel, line up
screw holes, use 8pcs (#42) Screw G to tighten.
Before tightening screws, make sure the bottom
corners of (#1-A2, #2-A2) Left Side Bottom Panel and
Right Side Bottom Panels are completely flushed with
the back and front corners of (#4) Bottom Panel.
ASSEMBLY INSTRUCTIONS (pg 8 of 11)
UltraHD Storage Cabinet (Model No. 16238)
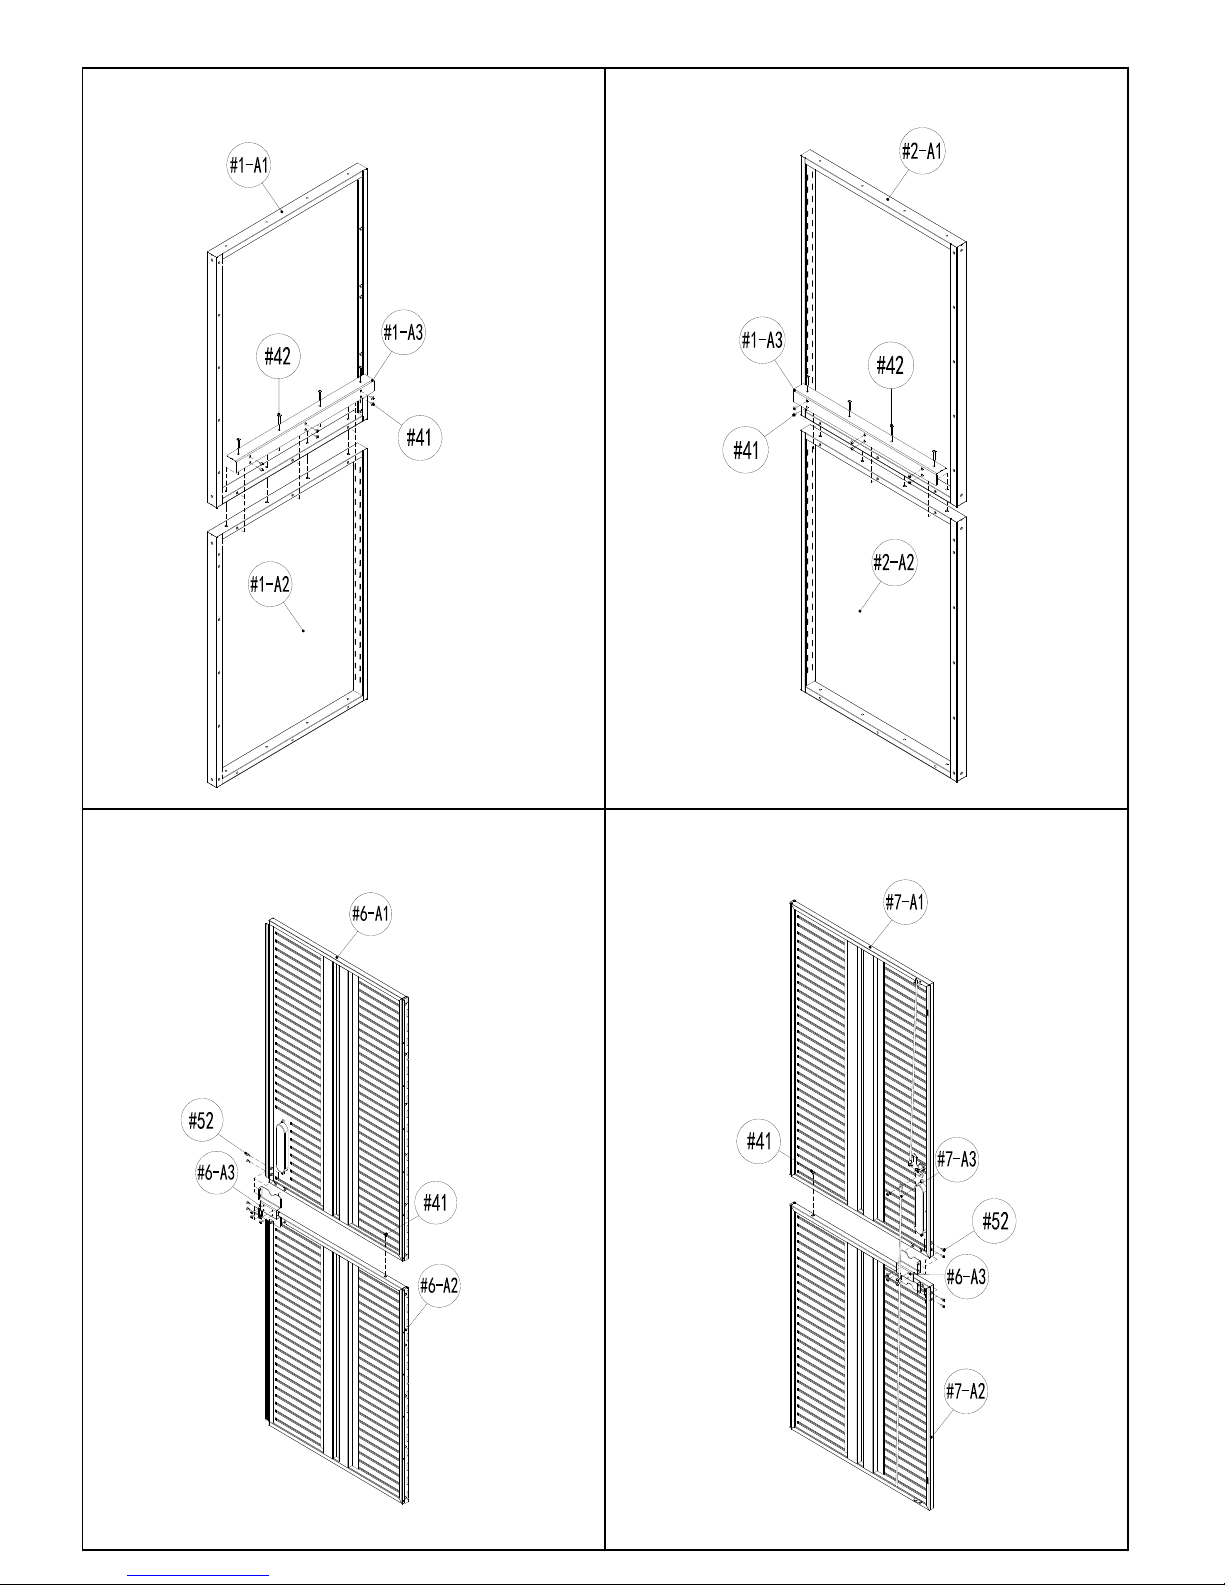
Before tightening screws, make sure the bottom
corners of (#1-A1, #2-A1) Left Side Bottom Panel and
Right Side Bottom Panels are completely flushed with
the back and front corners of (#3) Top Panel.
Attach (#3) Top Panel to (#1-A1) Left Side Upper Panel
and (#2-A1) Right Side Upper Panel. Make sure the
front of the panel faces downward. Line up screw holes,
use 8pcs (#41) Screw F to tighten.
Repeat Step 3, use (#7-A1) Right Door - Upper Panel,
(#7-A2) Right Door - Bottom Panel, (#6-A3) Door Panel
Connection Part, use 1pc (#41) Screw F to tighten the
touching sides, use 4pcs (#41) Screw F to tighten from
the top touching side, and 4pcs (#52) Screw K to tighten
from outside edge.
Make sure the (#7-A1) Right Door - Upper Panel is
flushed with (#7-A2) Right Door - Bottom Panel.
Attach and insert (#7-A3) Key Rod into the bottom tab
hole of (#7-A2) Right Door - Bottom Panel, twist out the
Pre-assembled (#53) Screw L on the key rod linkage
plate, attach (#7-A3) Key Rod by lining up the screw
hole and tightening back in the (#53) Screw L.
Front
Back
Front
Back
Front
Back
Front
Back
 User manual")