PLEASE READ BEFORE INSTALLATION.
•When installed in accordance with these instructions, the front protection bar does not affect the
operation of the vehicles SRS airbags.
•This product must be installed exactly as per these instructions using only hardware supplied.
•Take a few moments to read instructions thoroughly before beginning work.
•In the event of damage to any bar component please contact Uneek 4x4 in regards to
repair/replacement of components.
•Do not use this product for any vehicle make or model other than that specified on these
instructions.
•Do not remove labels from this product.
•This product and its fixings must not be modified in any way unless stated in these fitting
instructions.
•The installation of this product is recommended for trained personnel.
•These instructions are correct at time of publication. Uneek 4x4 cannot be held responsible for the
impact of any changes subsequently made by the vehicle manufacturer.
•During installation it is the duty of the installer to check correct operation/clearances of all
components.
•Supplied tow points are designed as tow points only. Use in a recovery operation will be at
operator’s risk.
•Installation time: 4-5 hours.
•Vehicle specific notes: A flip up license plate kit may be required. Optional Narva 90862 license
plate light.
FASTENER TORQUE SETTINGS:
M6 –9Nm (4lb ft)
M8 –22Nm (16lb ft)
M10 –44Nm (32lb ft)
M12 –77Nm (57lb ft)
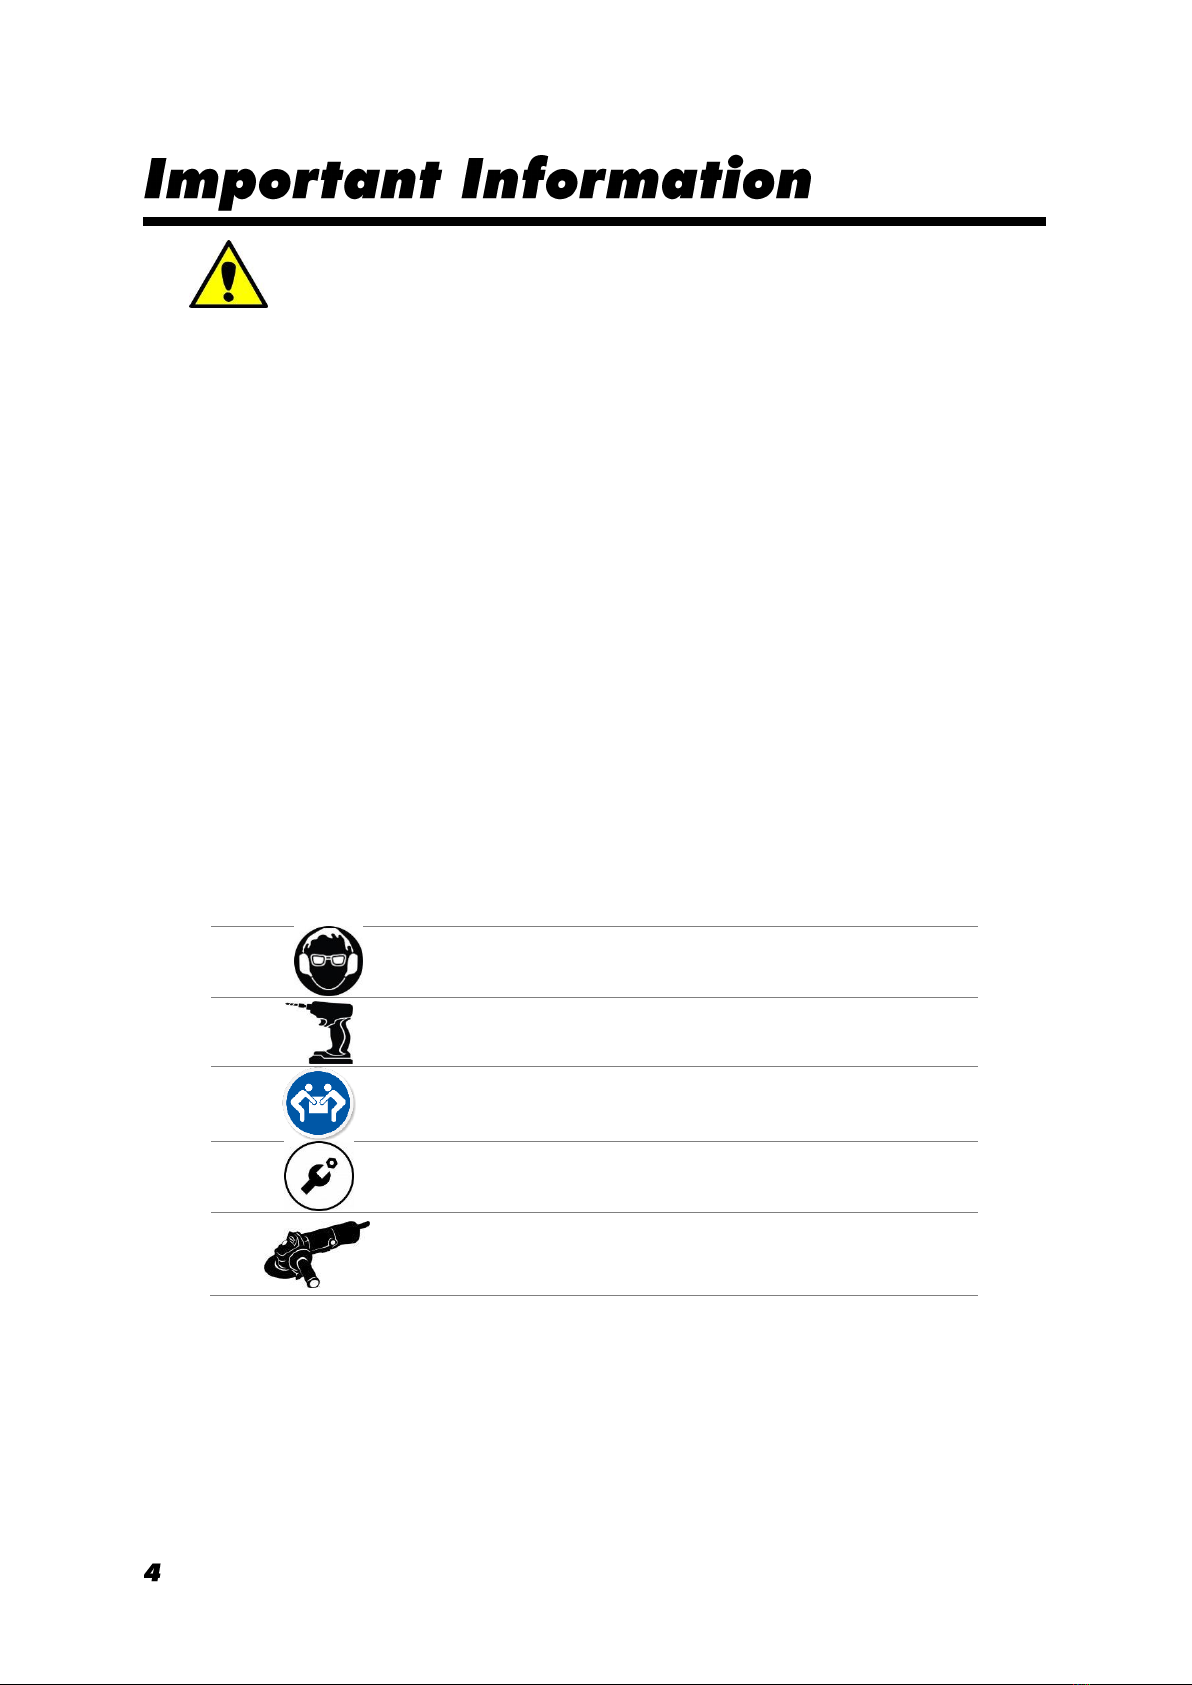
TOOLS REQUIRED:
BASIC TOOL KIT: Soldering iron or electrical in-line connectors.
Male and female spade terminals.
Drill and drill bits up to 12mm.