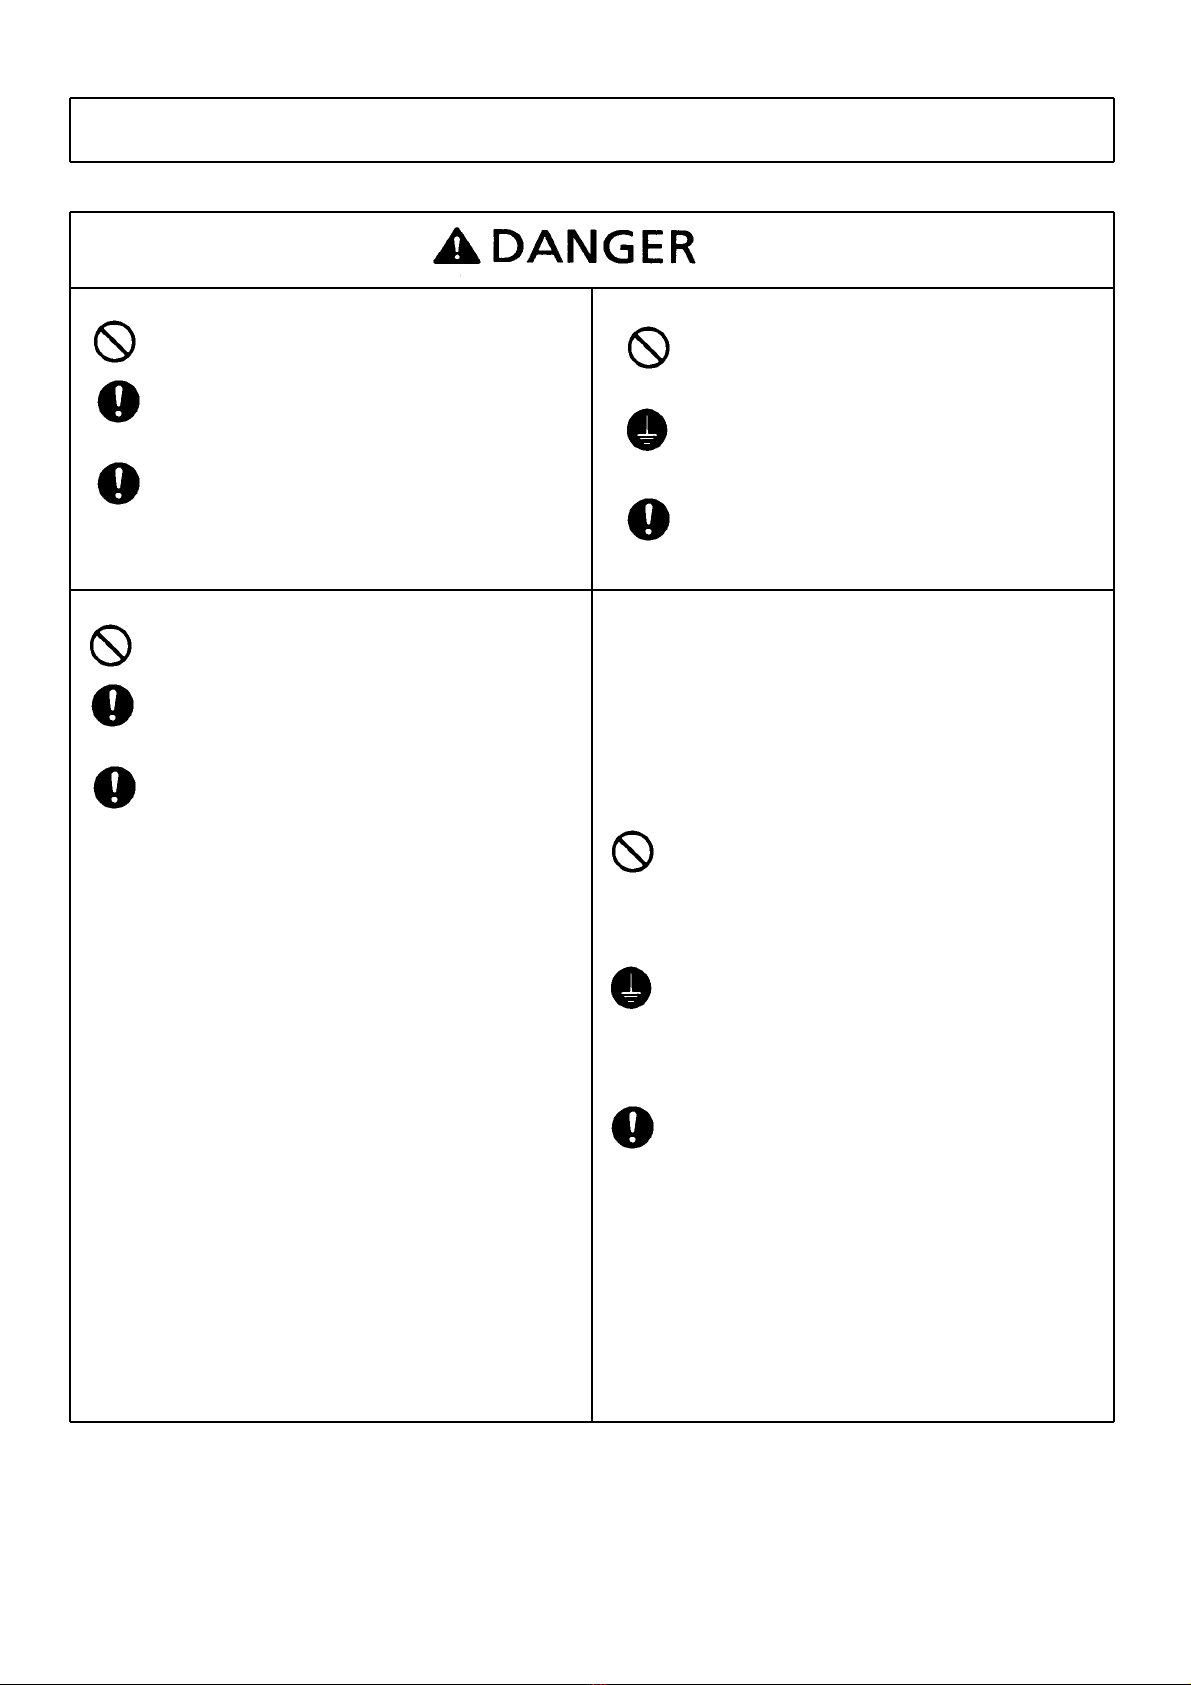
Unicorn LT2-H650 User manual

LT2-H650
/
LT2-H6500
UNI SON LOCK STITCH SEWING MACHINE
/ WITH THREAD TRIMMER
총합송 본봉 재봉기
/ 자동사절 재봉기
OPERATION MANUAL
사 용 설 명 서
PART BOOK
부 품 명 세 서

- 1 -
ꍽ

- 2 -
This instruction manual and the indications and symbols that are used on the machine itself are
provided in order to ensure safe operation of this machine and to prevent accidents and injury
to yourself or other people. the meanings of these indications are given below.
Indications
Symbols
----------- This symbol (△) indicates something that you should be careful of.
The picture inside the triangle indicates the nature of the caution that
must be taken.
(For example, the symbol at left means"beware of injury")
----------- This symbol ( ) indicates something that you must not do.
----------- This symbol (●) indicates something that you must do.
The picture inside the circle indicates the nature of the thing that must
be done.
( For example, the symbol at left means"you must mak e the ground
connection". )
★ Thank you very much for buying a UNICORN sewing machine. Before using your new
machine, please read there safety instructions together with the separate instruction manual
for the machine.
With industrial sewing machines, it is normal to carry out work while positioned directly in front
of moving parts such as the needle and thread take-up lever, and consequently there is always
a danger of injury that can be caused by these parts. Follow the instructions from training
personnel and instructions regarding safe and correct operation before operating the machine
so that you will know how to use it correctly
★ Please keep this manual within easy reach for quick reference.
ꍽ Safety indications and their meanings
The instructions which follow this term indicate situations w here f ailure
to follow the instructions will almost certainly result in deat h or s evere
injury.
The instructions w hich follow this term indicate situations where failure
to follow the instructions could cause injury when using the machine or
physical damage to equipment and surroundings.

★사용후최소한 5분 대기후 전원을 of f 시켜 콘센트로부터 전원코드를 분리시켜 놓으세요.
그렇지 않으면 화재 시 높은 전압에 의한 심한 상해를 초래할 수 있습니다.
설 치 시
★ 기계 설치 시 반드시 숙련된 기술자가
설치하도록 하십시오.
★ 전기 작동 부 조작 필요시 자사의 A/S
센터로 연락 주시거나, 숙련된 기술자가
조작을 하셔야 합니다.
★ 본 기계는 44㎏ 이상의 무게를 가지고
있으므로 2사람 이상이 옮겨야 안전합니다.
★ 테이블의 상판은 기계중량과 진동에 의한
충격에 견디기 위해 40㎜이상의 두께로
구성되어야 합니다.
★ 설치가 완전히 끝날 때 까지 전원 코드를
연결하지 마십시오. 오작동에 의한 폐달
작동 시 상해의 원인이 됩니다.
★ 접지가 설치되어 있는지 확인하십시오.
만약 접지설치가 확실치 않을시 전기충격
발생시 치명적인 상해의 원인이 됩니다.
★ 모터를 설치 또는 사용 시에는 사용설명서를
반드시 숙지하신 후 작업을 시작 하십시오.
★ 모든 코드는 작동부로부터 25㎜ 떨어져
있어야 합니다. 과도한 코드의 굽힘 또는
지나친 매듭은 화재나 전기 충격을 발생
시킬 수 있는 위험 요소가 됩니다.
★ 벨트 커버는 반드시 기계 상부와 모터에
설치하신 후 사용하십시오.
★ 급유장치에 기름 또는 구리스 취급 시
반드시 보호안경과 보호 장갑을 착용하십
시오. 기름 또는 구리스가 당신의 눈과
피부에 접촉되어 감염되는 것을 막을 수
있습니다.
기름 또는 구리스를 절대 먹지 말 것이며,
만일 상황 발생시에는 구토를 하거나
가까운 병원을 방문하여 응급조치를 받으
십시오.
★ 장비 설치 시 기계주위에는 강력한 전기적
잡음을 일으키는 장비를 설치하지 마십시오
.
예를 들어 높은 주파수를 발생시키는 용접
장치 설치 시 오작동을 일으킬 수 있는
원인이 됩니다.
사 용 시
★ 본 제품은 반드시 숙련된 기술자가 사용해
야
되며, 본 제품을 다루기전 반드시 안전
교육을 실시하십시오.
★ 본 제품은 재봉기 본 용도 이외에는 어떤
용도로도 사용할 수 없습니다.
★ 본 제품을 작동하기 전 반드시 모든 안전
장치를 부착하십시오. 만약, 안전장치를
설치하지 않고 작동 시 상해의 원인이
됩니다.
★ 다음과 같은 상황시에는 반드시 전원을
끄십시오.
① 바늘에 실을 끼울 때
② 보빈이나 바늘 교체 시
③ 기계를 사용하지 않거나, 장시간 자리를
비울
시
★ 재봉 시 작동부 또는 압력장치를 건들지
마십시오
. 그렇지 않으면 기계에 무리를
주거나 상해의 원인이 됩니다.
★ 자동 노루발 장치 사용 시 솔레노이드부에
접촉을 피하십시오. 작동 시 열 발생으로
인한 화상상해의 원인이 됩니다.
★ 기계 작동 시 오작동 발생, 비정상적 잡음,
타는 냄새 발생시 즉시 전원을 OFF후
가까운 자사의 A/S 센터로 연락 주시기
바랍니다.
★본 제품에 문제 발생시 자사의 가까운 A/S
센터 및 직원에게 연락 주시기 바랍니다.
- 3 -
ꍾ 안전 주의

Installation
★ Machine installation should only be
carried out by a qualified technician.
★ Contact your Unicorn dealer or a
qualified electrician for any electrical
work that may need to be done.
★ The sewing machine weighs more than
44kg.
The installation should be carried out by
two or more people.
★ The top of the table should be 40 mm
in thickness and should be stron
g
enough to hold the weight and
withstand the vibration of the sewin
g
machine.
★ Do not connect the power cord until
installation is complete. otherwise the
machine may operate if the treadle is
depressed by mistake, which could
result in injury
★ Be sure to connect the ground. If the
ground connection is not secure,
y
ou
run the risk of receiving a serious
electric shock.
★ Refer to the instruction manual for the
motor for details on installing and
using the motor.
★ All cords should be secured at least 25
mm away from any moving
p
arts.
Furthermore. do not excessively bend the
cable or secure it too firmly sta
p
les
,
otherwise shocks could occur
★ install the belt covers to the machine
head and motor.
★ Be sure to wear protective goggles and
gloves when handling the lubricating oil
and grease, so that they do not
g
et
into your eyes or onto your skin
,
otherwise inflammation can result.
Furthermore, do not drink the oil or eat
the grease under any circumstances
,
as they can cause vomiting and
diarrhoea.
Keep the oil out of the reach of
children.
★ Avoid setting up sewing machine near
sources o strong electrical noise such
as high-frequency welding equipment.
If this precaution is not taken, incorrect
machine operation may result.
Sewing
★This sewing machine should only be
used by operators who have received
the n ecessary training in safe use
before hand.
★The sewing machine should not be used
for any applications other than sewing.
★ Do not touch any of the moving
p
arts
or press any objects against the
machine while sewing. as this ma
y
result in
p ersonal injury or dama ge to
the machine.
- 4 -
★ Wait at least 5 minutes after turning off the power switch and disconnecting the power
cord from the wall outlet before opening the face plate of the control box. Touchin
g
areas where high voltages art present can result in severe injury.
ꍾ Notes on safety

★ Attach all safety devices before using
the sewing machine. If the machine is
used without these devices attached
,
injury may result.
★ Turn off the power switch at the
following times, otherwise the machine
may operate if the treadle is
depressed by mistake, which could
result in injury.
․when threading the needle
․when replacing the bobbin and needle
․when not using the machine and when
leaving the machine unattended.
★ For machines with automatic
p
resser
lifter, do not touch the solenoid
section. because if becomes hot
during operation and may cause
severe burns when touched.
★ If an error occurs in machine operation,
or if abnormal noises or smells are
noticed, immediately turn off the power
switch. then contact your nearest
Unicorn dealer or a qualified technician.
★ If the machine develops a
p
roblem
,
contact your nearest Unicorn dealer or
a qualified technician.
청 소 시
★ 청소 작업시 전원을 OFF 시킨 후 작업을
진행 하십시오. 그렇지 않으면 폐달
오작동으로 인한 상해의 원인이 됩니다.
※클러치 모터 사용 시 전원을 OFF시켜도
모터의 내부는 회전을 하고 있으므로
반드시 기다렸다가 정지 확인 후 청소
작업을 하십시오.
★급유장치에 기름 또는 구리스 취급 시
반드시 보호 안경과 보호 장갑을 착용
하십시오. 기름 또는 구리스가 당신의
눈과 피부에 접촉되어 감염되는 것을
막을 수 있습니다. 또한 기름 또는 구리
스를 어떤 상황에서도 절대 먹지 말 것
이며, 만일 상황발생시는 구토를 하거나
응급조치를 받으십시오.
유 지 및 점 검 시
★ 유지 및 점검 작업 시 반드시 숙련된
기술자에 의해 수행 되어야 합니다.
★ 전기 장치의 유지 및 점검시에는 자사의
A/S센터 또는 숙련된 기술자에 의해 수행
하여야 합니다.
★ 다음과 같은 상황에서는 반드시 전원을 OFF
시키십시오. 그렇지 않으면 실수로 폐달
작동시 상해의 원인이 됩니다.
① 바늘에 실을 끼울 때
② 보빈이나 바늘 교체 시
③ 기계를 사용하지 않거나, 장시간 자리를
비울시
★ 전원장치 조절이 필요할 때 많은 주의를
필요로 하며, 안전사고를 예방할 수
있습니다.
★ 소모품 교체 시 자사의 제품과 가장
유사한 Unicorn 부품을 사용 하십시오.
★ 만약, 필요에 의해 안전장치를 제거
했을 경우 반드시 제거 했던 위치에
재결합해야 되며 확인 후 올바르게
사용해야 합니다.
★ 검증 되지 않은 기계 변경에 의한 문제
발생시 자사로부터 보증을 받을 수 없습
니다.
- 5 -

Cleaning
★Turn off the power switch before
starting any cleaning work otherwise
the machine may operate if the
treadle is depressed by mistake, which
could result in injury.
※When using a clutch motor, the motor
will keep turning eve after the power is
switched off as a result of the motor's
inertia. Wait until the motor stops fully
before starting work
★Be sure to wear protective
g
o
gg
les
and gloves when handling the
lubricating oil nd grease, so that the
y
do not get into your eyes or onto
your skin, otherwise inflammation can
result.
Furthermore, do not drink the oil or
eat the grease under an
y
circumstances, as they can cause
vomiting and diarrhoea.
Keep the oil out of the reach of children.
Maintenance and inspection
★Maintenance and inspection of the
sewing machine should only be carried
out by a qualified technician.
★Ask your Unicorn dealer or a
qualified electrician to carry out an
y
maintenance and
inspection of the electrical system.
★Turn off the power switch and
disconnect the power cord from the wall
outlet at the following times, otherwise
the machine may operate if the treadle
is depressed by mistake, which could
result in injury.
․When carrying out ins
p
ection
,
adjustment and maintenance.
․When replacing consumable parts such
as the rotary hook and knife.
※When using a clutch motor, the motor
will keep turning even after the
p
ower
is switched off as a result of the
motor's inertia.
Wait until the motor stops fully before
starting work.
★ If the power switch needs to be left
on when carrying out some
adjustment, be extremely careful to
observe all safety precautions.
★ Use only the proper replacement parts
as specified by Unicorn.
★ If any safety devices have been
removed, be absolutely sure to
re-install them to their ori
g
inal
positions and check that the
y
operate correctly before usi ng the
machine.
★ Any problems in operation which
result from unauthorized
modifications to the machine will
not be covered by the warranty.
- 6 -

★ 다음과 같은 라벨을 본 제품으로부터 보실 수 있습니다.
라벨의 지침에 따라 본 제품을 사용해 주십시오. 라벨이 제거 또는 이해하기 어려우신 경우 가까운
UNICORN A/S 센터로 연락 주시기 바랍니다.
※ 라벨의 위치는 미싱 또는 모터의 모델에 따라 상이할 수도 있습니다.
1.
2. 반드시 접지를 연결하십시오. 접지가 설치되지 않을 경우 전기 충격 발생시 상해의 원인이 됩니다.
3. 회전방향
- 7 -
ꍿ 경고 라벨
※ 안전장치
① 손가락 보호대
② 천평 커버
③ 벨트 커버
②
①
3
2
③
1

- 8 -
사양 / SPECIFICATIONS
모 델 / MODEL LT2-H650 LT2-H6500
용 도 / APPLICATION
후물 ~ 극후물 / FOR HEAVY TO EXTRA HEAVY
최 대 속 도 / M AX. SE WIN G S PEED 2000 S PM
최 대 땀 수 / M AX. ST IT CH LE NGTH 0~9m m
침 봉 운 동 량 / NEEDLE BAR S TROKE 36mm
톱 니 높 이 / F E ED DO G H EIG HT 1. 2mm
노루발 높이 /
PRESSER FOOT
HEIGHT
올림대 사용할 때 / USING HAND
8mm
무릎 사용할 때 / USING KNEE
16mm
사 용 바 늘 / NEEDL E TYPE DP × 17 #20 ~#23
땀 수 조 절 / STITCH ADJUSTMENT DIAL
급 유 방 식 / LUBRICATION SYSTEM 자동 / AUTOMATIC
두 부 치 수 / BE D DIME NSIO N S 517 × 178 ㎜
테이블 치수 / THE TABLE SIZE

- 9 -
설치 / INSTALLATION
★기계 설치 시 반드시 숙련된 기술자가 설치
하도록 하십시오.
★전기 작동 부 조작 필요시 자사의 A/S 센터로
연락 주시거나, 숙력된 기술자가 조작을 하셔야
합니다.
★본 기계는 44kg 이상의 무게를 가지고 있으므
로 2사람 이상이 옮겨야 안전합니다.
★설치가 완전히 끝날 때까지 전원 코드를 연결
하지 마십시오. 그렇지 않으면 폐달 오작동으로
인한 상해의 원인이 됩니다.
★접지가 설치되어 있는지 확인하십시오. 만약
접지 설치가 확실치 않을시 전기 충격 발생시
치명적인 상해의 원인이 됩니다.
★벨트 커버는 반드시 기계 상부와 모터에 설치
하신 후 사용하십시오.
★The sew ing mac hine s houl d only be installed
by a qualified technician.
★Ask your Brother dealer or a qualified
electrician for any electrical work that may
need to be done.
★The sewing machine weights more than 44kg
The installation should be carried out by two
or more people.
★Do not connect the power cord until
installation is complete, otherwise the
machine will operate if the treadle is
pressed by mistake, which could result in
injury.
★Be sure to connect the ground. if the
ground connect is not secure, you run
a high risk of receiving a serious electric
shock, and problems with correct operation
may also occur.
★Install the belt cover to the machine head.

- 10 -
작동전 준비사항 /
PREPARATION BEFORE STARTING OPERATION
1. 무릎올림 장치 부착 / INSTALLING THE KNEE LIFTER
☞ 유수판의 무릎올림횡축에 조인트①를 고정하고
무릎올림레버②를 조인트에 연결하여 주십시오.
☞ Set the joint① to the knee lifting shaft of the
oil pan, and then install the knee lifting
lever② to the joint.
2. 힌지 고무 부착 /
INSTALLING THE RUBBER HINGE AND CUSHIONS
☞ 두부힌지고무①를 테이블에 부착하여 주십시오.
☞
쿠숀고무②를 유수판의 네 모서리에 끼워 주십시오.
☞ 유수판을 테이블의 흠에 정확하게 고정시켜
주십시오.
☞ Set the rubber hinges① at the table.
☞ Set the cushions② at the four corners of the
oil pan.
☞ Set the oil pan at the table exactly.
3. V벨트 설치 / INSTALLING THE "V" BELT
☞ 그림과 같이 미싱의 회전 방향은 시계 반대 방향이고,
벨트의 장력은 손가락으로 눌러서 약 15~20㎜(약1㎏)
굽혀질 정도로 너트①를 돌려서 조절하여 주십시오.
☞ THE ROTATIONAL DIRECTION OF THE MACHINE
IS COUNTER-CLOCKWISE AS SHOWN IN FIG. TO
ADJUST THE BELT TENSION, CHANGE THE
MOTOR HEIGHT BY TURNING THE TENSION
ADJUSTING NUT① SO THAT THE BELT SINKS
ABOUT 1 5㎜~20㎜ ( ABOUT 1㎏) WHEN DEPRESSED
BY FINGER AT THE CORNER OF THE BELT SPAN.

- 11 -
4. 사권기 부착 / INSTA LLING THE BOBBIN WINDER
☞ 그림과 같이 두개의 나사②로 사권기①를 테이블에 부착
하십시오.
☞ ATTACH THE BOBBIN WINDER① ON THE TABLE
WITH TWO-SCREWS②.
4. 사립대 부착 / INSTA LLING SPOOL STAND ASSEMBLY
☞ 그림과 같이 테이블의 오른쪽 코너에 너트②를 사용하여
실패꽂이①를 부착시켜 주십시오.
☞
ATTACH THE THREAD SPOOL STAND ASSEMBLY①
AT THE RIGHT REAR CORNER OF THE TABLE
WITH THE NUT②.

- 12 -
기름공급 / LUBRICATION
☞ 사용중에 기름량이 Ⓑ선 이하로 내려갔을 때는
Ⓐ선까지 급유하여 주십시오.
☞ The o il level is below position Ⓑ,
replenish the oil supply up to the position Ⓐ.
☞ 기계가 작동하는 동안 기름의 상태는 유량계
창을 통해 확인 할 수 있습니다.
☞ While operating the machine it is necessary
to check the condition of oiling through
the oil check window.
☞ 가마의 기름량 조절은 나사Ⓐ로 조절하십시오.
∙ 시계 방향 : 기름량 증가
∙ 반 시계 방향 : 기름량 감소
☞ Adjustment of the hook oil lubrication is made by
turning the screwⒶ.
∙ Clockwise : Max.
∙ Counterclockwise : Min.
Ⓐ

★사용하기 전 바늘 설치 시 반드시 전원을 OF F 시켜 주십시오.
그렇지 않으면 폐달 오작동으로 인한 상해의 원인이 죕니다.
★Turn off the power switch before installing the n ee dle, otherwise t he mach in e
may operate if treadle is pressed by mistake, which could result in injury.
- 13 -
올바른 사용법 / HOW TO USE THE MACHINE
1. 바늘 끼우는 법 / HOW TO ATTA CH THE NEEDLE
2. 밑실 감는 법 / HOW TO WIND THE LOWER THREAD
☞ 실토리①를 사권기 축②에 끼워 주십시오.
☞ 실토리 누름쇠③를 눌러 주십시오.
☞ 실토리에 실을 화살표 방향으로 몇 번 감아서
미싱을 운전시켜 주십시오.
☞ 평행으로 감기지 않을 때는 실안내 죔나사④를
풀고 실안내⑤를 좌우로 움직여 조절하여
주십시오.
☞ 실토리의 실을 보다 많이 감으려고 할 때는
나사⑥를 조여 조절하십시오.
∙공 운전시 반드시 노루발을 올려 주십시오.
☞ Ins er t the bo bbi n① o nto the bobbin wi nder s haft②.
☞ Push the bobbin winder stop latch③ all the way
downward.
☞ Wind the th read around th e bobb in① a few tim es(in the d irection of the arrow), and then operate
the machine.
☞ If the thread cannot be wound evenly, loosen the thread guide screw④, and move the thread guide⑤
to the right or left.
☞ To wind more the thread onto t he b obbin, make adjustment b y t ighte ning the sc rew⑥.
∙ In case of rotating the machine without sewing, keep the presser foot raised.
☞ 나사①를 풀고 바늘②를 잡고 바늘이 맞닿는데
까지 꽂으며, 긴 홈을 서로 안쪽으로 마주 보게 하여
나사를 조여 주십시오.
☞ Lo osen the scr ew s①, and ho ld ing the
needles② with their long groove facing inward,
inser t th em allth e way into the needle b a rs ,
and re-tighten the screws.
①
②

- 14 -
3. 윗실 끼우는 법 / HOW TO ROUTE THE UPPER THREAD
☞ 실채기를 최고의 위치에 올려놓고 그림과 같이 윗실을 끼워 주십시오.
☞ 실끝을 약 5 0㎜ 정도 잡아 당겨 주십시오.
☞ R aise the thr ea d ta ke-up lever to the highe st po sitio n and ro ute the thr ea d a s sho wn in F IG.
☞ P u ll out the end of the thread about 50㎜ th rough the needle eye.
4. 밑실 끼우는 법 / HOW TO ROUTE THE LOWER THREAD
☞ 그림과 같이 보빈 케이스의 홈으로 실의 끝을 통과시켜 주십시오. < 그림1>
☞ 장력 스프링① 아래로 실을 통과시켜 주십시오. <그림2 >
☞ 가마와 보빈 케이스오프너 사이로 실을 통과시켜 주십시오. < 그림3>
☞ Pass the end of the thread through the bobbin case slot. <IN FIG 1>
☞ Pa ss the thr ea d und er the tension sp ri ng①. <IN F IG 2>
☞ Pa ss the l ower thread betw een the ro ta ry ho ok the bobbin cas e opener. <IN FIG3>

- 15 -
5. 땀의 조절과 역전 / HOW TO ADJU ST THE STITCH LENGTH AND R EVER SE SEWING
6
. 밑실 뽑아 올리는 법 / HOW TO PU LL OUT THE LOWER THREAD
☞ 왼손으로 윗실을 당기고 오른손으로 풀리를
반 시계 방향으로 천천히 회전시키면 밑실이
올라옵니다.
☞ 노루발 밑으로 밑실을 잡아 침판 뒷면에 밑실을
놓아두십시오.
☞ P u ll out the end of th e up p er threa d b y left
hand and rotate the pulley slowly to the
counterclockwise by the other hand.
☞ Holding the lower thread from the underneath
of the presser foot and place the lower thread
in the back side of needle plate.
☞ 기계를 정지시키고 이송역전레버를 누르고
원하시는 만큼 조절 다이얼①를 돌려주십시오.
☞
이송역전레버②를 누르고 있는 동안 후진 재봉이
되고, 레버를 놓으면 다시 전진 재봉이 됩니다.
☞ Stop the machine and push the reverse lever
downward and then turn the dial① to the
desired stitch.
☞ The material will be fed backward when the
feed reverse lever② pressed down, and forward
again when it is released.

- 16 -
7
. 전․후진 땀수 편차 조정법
HOW TO ADJUST THE STITCH LENGTH FORWARD AND BAC KWARD SEWING
☞ 측판을 열어 주십시오.
☞ 역전기에 고정된 나사①를 풀고,
전,후진 조절편심핀②을 원하시는 만큼
돌려가면서 조절하십시오.
∙시계 방향 : 전진증가, 후진 감소
∙반시계 방향 : 전진 감소, 후진증가
☞ 조정후 고정 나사를 조여 주시고, 측판을
닫아 주십시오.
☞ Open the rear cover.
☞ Loosen the fixed screws① located on the reverse lever, adjust th e e ccentric pin② to the des ired
direction.
∙Clockwise : Increase the stitch length in forward, decrease the stitch length in back sew ing.
∙C ou nt erclockwise : De crease the stitch len g th in forward increase th e stitch length in back sewin g.
☞ After ad j usting, tighten the screws , an d clo se the si d e co ver .

- 17 -
8
. 윗실 장력 조절법 / HOW TO ADJUST THE U PPER THREAD T ENSION
☞ 윗실의 장력은 밑실의 장력을 기준으로 하여 조절합니다. 그림과 같이 실조절 너트①를 사용하여 실의
장력을 조절합니다
(너트를 시계 방향으로 돌리면 실의 장력이 강해지고 반시계 방향으로 돌리면 실의 장력이 약해집니다.)
☞ 밑실의 장력을 조절한 후 정확한 봉목을 얻기 위하여 윗실의 장력을 다시 조정하십시오.
☞ The thread tension can be adjusted according to the lower thread tension. The upper thread tension
can be adjusted by the thread tension adjusting nut① as shown in FIG.
∙ Clockwise : The tension is strengthen.
∙ Counterclockwise : The tension is weaken.
☞ After ad j usting th e tension of th e lower th read , re-ad j ust the tension of the upper thread to obtain a
good even stitch.
9
. 실채기 스프링의 조절법 / H OW TO ADJUST THE THREAD T AKE-UP SPRING
☞ 실채기 스프링의 표준운동량은 7 ~10 ㎜정도입니다. 실채기 스프링①의 운동량조절은 그림과 같이
나사②를 푼 후, 실채기 스톱퍼③로 조절할 수 있습니다.
☞ 실채기 스프링의 표준장력은 20 ~40그램 정도입니다. 실채기 스프링의 장력 조절은 나사④를 푼 후
조절축⑤를 좌우로 돌려 조절하십시오.
(조절축을 시계방향으로 돌리면 장력은 약해지고 반 시계방향으로 돌리면 장력은 강해집니다.)
☞ The standard operating range of the thread take-up spring① is 7~10㎜. The operating range of the
thread take-up spring can be adjusted by the thread take-up stopper③ after loosening the screw②.
☞ The s tandard tension of the thread t ake- up spring is 20~ 40 g rams. The tension of the thread
take-up spring can be adjusted by loosening the screw④ and tur n ing the adj usting sh aft ⑤ t o the
right or left.
∙ Clockwise :The tension is weaken.
∙ Counterclockwise : The tension is strengthen.

- 18 -
10
. 밑실 장력 조절법 / HOW TO ADJUST LOWER THREAD TENSION
☞ 밑실의 장력은 사용하는 천과 실의 종류에 따라
조절하고 밑실 장력 조절나사①로 조절하십시오,
∙시계 방향 : 장력 증가
∙반 시계 방향 : 장력 감소
☞ The tension of the lower thread varies with
the kind of cloth and thread and can be
adjusted by turning the lower thread tension
adjusting screw ①.
∙Clockwise : The tension is strengthen.
∙Counterclockwise : The tension is weaken.
11
. 노루발 압력 조절 / HOW TO ADJUST TH E PRESSER FOOT PRESSURE
☞ 노루발의 압력 조절은 압력 조절 나사①로 조절
하십시오
∙시계 방향 : 압력 증가
∙반 시계 방향 : 압력 감소
☞ The presser foot pressure can be adjusted by
turning the presser foot adjusting screw①.
∙Clo ckwise : Th e pressure is strengthen.
∙Counterclockwise : The pressure is weaken.

- 19 -
12. 가마 에 실토 리 끼는 법, 빼는 법
HOW TO ATTACH AND REMOVE THE BOBBIN INT O THE ROTARY HOOK
☞ 실토리 끼는 법
(1 ) 바늘을 최고점으로 올려 주십시오.
(2 ) 그림과 같이 실토리①를 가마②에 끼워
주십시오.
(3 ) 가마 손잡이③를 눌러 주십시오.
(4 ) 가마 안의 홈을 통해 실의 끝을 통과시켜
주십시오.
(5 ) 장력 스프링④ 아래로 실을 통과시켜
주십시오.
(6 ) 가마②와 오프너⑤ 사이의 틈으로 실을
통과시켜 주십시오.
(7 ) 밑실을 침판에서 약50 mm 정도 나오도록
잡아당겨 주십시오.
☞ How to attach the bo bbin
(1) Raise the needle to the highest position.
(2) Place the bobbin① into the rotary hook②.
(3 ) Pu sh the latch③ o f the rotary h ook fla t.
(4) Pass the end of the thread through a groove of inside the rotary hook.
(5) Pass the thread under the tension spring④.
(6) Pass the thread through the clearance between the rotary hook and the bobbin case opener⑤.
(7) Pull out the end of the lower thread up on the needle Plate un til ab ou t 50m m of it's o u t.
☞ 실토리 빼는 법
( 1) 바늘①을 최고점으로 올려 주시고
미끄럼판②을 열어 주십시오.
( 2) 가마손잡이③를 위쪽으로 올려놓고,
실토리④를 빼내 주십시오.
☞ How to remove the bobbin
(1) Raise the needle① to the highest position,
and open the slide plste②.
(2) Pull out the rotary hook latch③ upward,
and then remove the bobbin④.
This manual suits for next models
1
Table of contents
Other Unicorn Sewing Machine manuals

Unicorn
Unicorn LS2-H6000-D User manual

Unicorn
Unicorn LS2-H540 Installation instructions

Unicorn
Unicorn LS2-H5300-D User manual

Unicorn
Unicorn LS2-H520 User manual

Unicorn
Unicorn DB2-H515 User manual

Unicorn
Unicorn LT5-H7600-D-N Series User manual

Unicorn
Unicorn LT5-H710-1 User manual

Unicorn
Unicorn LS2-H550 User manual

Unicorn
Unicorn DB2-H515 User manual

Unicorn
Unicorn LS2-H530 User manual