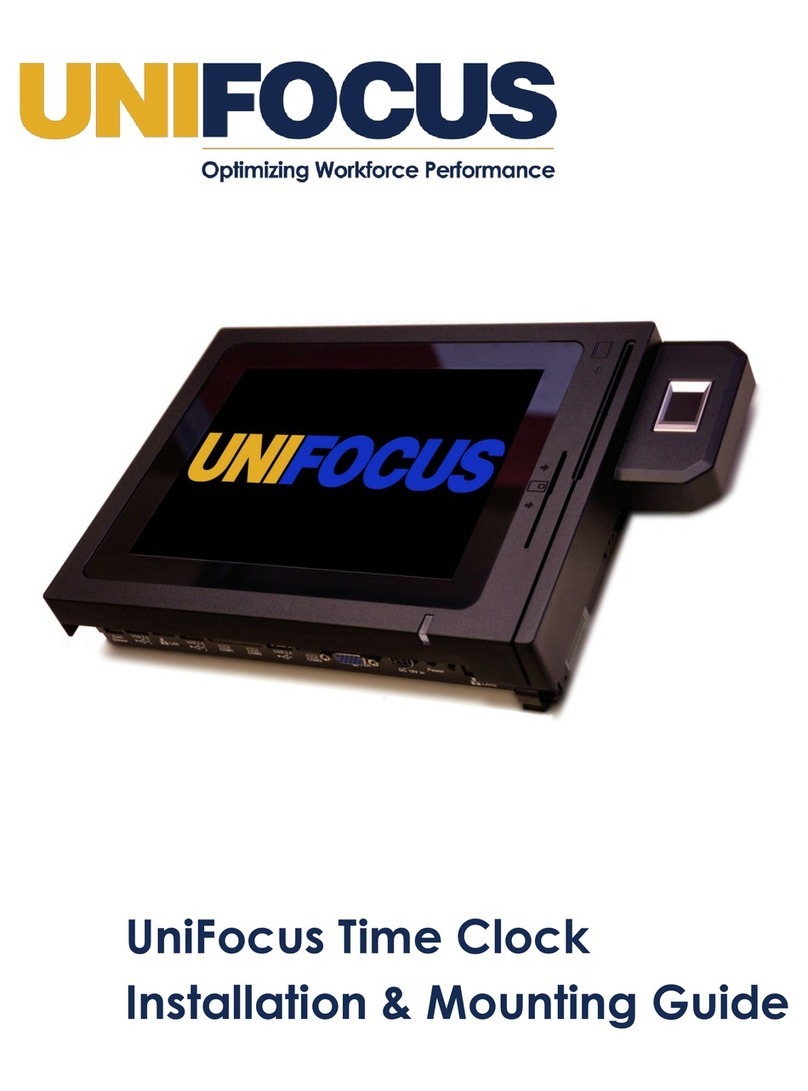
UniFocus Time Clock User manual

UniFocus
Time Clock
Employee Guide

UniFocus Time Clock Employee Guide, copyright ©2019 by UniFocus. All rights reserved.
This manual, as well as the software described in it, is furnished under license and may be used or copied only in accordance with
the terms of such license. The content of this manual is furnished for informational use only, is subject to change without notice, and
should not be construed as a commitment by UniFocus.
UniFocus assumes no responsibility or liability for any errors or inaccuracies that may appear in this documentation.
Without limiting the rights under copyright reserved above, no part of this manual may be reproduced, stored in or introduced into
a retrieval system, or transmitted, in any form, or by any means, without prior written permission from UniFocus.
Any references to company names in sample templates are for demonstration purposes only and are not intended to refer to any
actual organization.
UniFocus, 2455 McIver Lane, Carrollton, TX 75006 USA

Contents
The UniFocus Time Clock .................................................................................................................................... 1
Components.................................................................................................................................................... 1
Logging in to the Time Clock............................................................................................................................... 1
Understanding the login steps........................................................................................................................ 1
Identification............................................................................................................................................... 1
Verification.................................................................................................................................................. 1
Logging In........................................................................................................................................................ 2
Using the Time Clock........................................................................................................................................... 3
The Time Clock Welcome screen .................................................................................................................... 3
Punches: Recording hours and data ............................................................................................................... 5
Punching in.................................................................................................................................................. 5
Punching for break...................................................................................................................................... 5
Returning from break.................................................................................................................................. 5
Punching out ............................................................................................................................................... 6
Switching jobs ............................................................................................................................................. 6
Entering tips................................................................................................................................................ 6
Adding memos ............................................................................................................................................ 7
Punching for meals ..................................................................................................................................... 8
Viewing Shifts.............................................................................................................................................. 8
Fixing a punch ............................................................................................................................................. 9
Changing the language for your Time Clock account ................................................................................. 9

UniFocus Time Clock Employee Guide| 1
The UniFocus Time Clock
The UniFocus Time Clock is a real-time smart clock that interacts seamlessly with your company’s time-
tracking system. Accommodating multiple languages, Time Clock offers an easy-to-use touch screen that
allows you to quickly and accurately record your hours, breaks, and shifts.
Components
The Time Clock is a touch screen computer that can be
mounted to walls, desks, or shelves. Depending on your
company’s setup, the Time Clock can have various
attached devices, such as proximity card readers, barcode
scanners, magnetic card readers, and biometric readers.
These attached devices expedite your login experience so
that you do not have to manually enter information on the
touch screen.
Logging in to the Time Clock
Understanding the login steps
How you log in to the Time Clock depends on your company’s setup. Although your manager will explain to
you how to properly log in, generally there are two sequential steps that you should understand: 1)
Identification and 2) Verification.
Note: Depending on how your Time Clock is configured, to log in to a Time Clock, you might only need to
complete the first step of Identification.
Identification
Identification is the first step in logging in to the Time Clock. This step is always associated with either your
unique employee ID number or your employee badge number. You can identify yourself in the following
ways:
•Manual entry –Your manager will tell you whether you should enter your employee ID number or
your badge number using the touch screen keypad.
•Badge or card reader –Depending on the Time Clock setup, you might be able to:
oSlide (or “swipe”) your badge or card through a magnetic card reader slot.
oTap your badge or card against the proximity card reader.
oHold your badge or card in front of a barcode reader.
Verification
Verification of your identity is the second step in logging in to the Time Clock. Depending on your company’s
setup, you can verify your identity in the following ways:
•Manual entry –Enter a Personal Identification Number (PIN) using the touch screen keypad.
•Biometric reader –Place your “registered” finger on the scanner of the biometric reader, which is a
device that verifies your identity based on the unique contours of the pad of your finger.

UniFocus Time Clock Employee Guide| 2
When using a biometric reader, you firmly place the pad of your finger flat on the scanner.
Correct Placement
Incorrect Placement
Note: For more information, see the Understanding the Biometric Reader handout.
Logging In
Because the UniFocus Time Clock works with several different hardware components, companies can
choose from a variety of configuration options. For example, some companies might set up their Time Clocks
so that employees log in using a barcode scanner and then a biometric reader; other companies might have
their employees log in using a proximity card followed by manually entering their PINs. Although your
manager will provide you with step-by-step login instructions that match your company’s setup, the
instructions below will provide a general overview to the login process.
Depending on your company’s Time Clock setup, you might be required to:
•Have your badge (or ID card) or know your employee ID number. Your manager will tell you which
identification method the Time Clock requires.
•Know your PIN (if your company does not use biometric verification).
1. Identify yourself:
If your company requires that you:
Do the following:
Manually enter your numerical
employee ID or badge number:
1. Enter your employee ID or badge number using the
touch screen keypad.
2. Press the green arrow to continue.
Use a magnetic card reader:
Slide (or “swipe”) your employee ID or badge through the
magnetic card reader
Use a barcode scanner:
Hold your employee ID or badge to the barcode scanner.
Use a proximity card reader:
Tap your employee ID or badge to the proximity card
reader.
2. Verify your identity:

UniFocus Time Clock Employee Guide| 3
If your company requires that you:
Do the following:
Manually enter your PIN number:
1. Enter your PIN using the touch screen keypad.
2. Press the green arrow to continue.
Use a biometric reader:
1. Wait for the Time Clock to prompt you to place your
finger on the scanner.
2. Place the pad of your finger firmly on the scanner of
the biometric reader. Wait for the scanning to finish.
Note: To learn more about correct placement of the finger, see the Understanding the Biometric
Reader handout.
The Time Clock Welcome screen appears.
Using the Time Clock
The Time Clock Welcome screen
The Time Clock Welcome screen displays buttons for the various types of actions you can perform. You
enter your shift and break information by using different “punches.” Punches refer to the types of touch
screen buttons that you press. For example, if you are starting your work day or shift, you “punch in” by
pressing the In button.
The following tables describe the icons and buttons on the Welcome screen.
Note: Depending on your setup, you might not see all of the functions shown below.
Icon descriptions for the Time Clock Welcome screen
Icon
Description
This icon on the upper left hand corner of the screen indicates that the Time Clock is
online.
If the Time Clock loses connectivity, it still allows you to clock in and clock out.
This icon on the upper left hand corner of the screen indicates that the Time Clock is
offline.
This icon on the upper left hand corner of the screen indicates that the Time Clock
software is ready to be upgraded.
Button descriptions for the Time Clock Welcome screen
Button
Description
Notes
In
Press when starting work or a shift.
Break
Press when leaving for a break.

UniFocus Time Clock Employee Guide| 4
Button
Description
Notes
Back
Press when returning from a break.
Out
Press when leaving work or a shift.
Meal
Press when taking a meal.
Break & Meal
Press when taking a break followed by a meal.
Out & Meal
Press when punching out and then directly in
to a meal.
Switch Job
Press to end work (or a shift) for one job and
start work (or a shift) for another job.
Only employees authorized to have
multiple jobs can access this
button.
Enter Tips
Press to enter your tips.
Only employees who are required
to enter tips can access this button
before punching out.
Memos
Press to enter special data, such as tips or piece
pay.
Only employees who are required
to enter memos can access this
button before punching out.
My Shifts
Press to view your work schedule.
Language
Press if you wish to change the language in
which screen text is displayed for your Time
Clock account.
Not all Time Clocks will offer the
same languages.
Fix Punch
Press to correct or modify a missed or existing
punch.

UniFocus Time Clock Employee Guide| 5
Punches: Recording hours and data
This section provides instructions for the various types of punches that you can make using the Time Clock.
General login instruction appear in the Logging in to the Time Clock section. Your manager will provide
specific login instructions for the Time Clocks on your property.
Punching in
You punch In when you start work or a shift.
1. Log in to the Time Clock.
The Welcome screen appears.
2. Press In.
One of the following occurs:
•If you work only one job, a confirmation screen appears.
•If you work more than one job, a job selection screen appears.
3. Do one of the following:
•If a confirmation screen appears, press Close.
You return to the Welcome screen
•If a job selection screen appears:
a. Press the job that you want to work.
A confirmation screen appears.
b. Press Close.
You return to the Welcome screen.
Punching for break
You use the Break option when you want to take your break within the course of your shift.
1. Log in to the Time Clock.
The Welcome screen appears.
2. Press Break.
A confirmation screen appears.
3. Press Close.
You return to the Welcome screen.
Returning from break
You use the Back option when returning from your break.
1. Log in to the Time Clock.
The Welcome screen appears.

UniFocus Time Clock Employee Guide| 6
2. Press Back.
A confirmation screen appears.
3. Press Close.
You return to the Welcome screen.
Punching out
You use the Out option when you are leaving for the day or finishing your shift.
1. Log in to the Time Clock.
The Welcome screen appears.
2. Press Back.
A confirmation screen appears.
3. Press Close.
You return to the Welcome screen.
Switching jobs
If you work more than one job for your employer, the Time Clock displays a Switch Job button. You use this
button to log out of one job and in to another.
1. Log in to the Time Clock.
The Welcome screen appears.
2. Press Switch Job.
A job selection screen appears. It displays buttons for all other jobs that you work.
Note: The job selection screen does not display the job you are currently working. For example, if you
work as both a server and a bellhop and are logged in as a server, when you press Switch Job, only the
bellhop job button appears on the job selection screen.
3. Press the job you want to work.
A confirmation screen appears.
Entering tips
If your job requires that you record your tips, you use the Enter Tips button.
1. Log in to the Time Clock.
The Welcome screen appears.
2. Press Enter Tips.
The Enter Tips screen appears. A blue arrow appears in front of the type of the amount you must enter.
3. Enter your tips:
A. For the Gross Sales, enter your gross sales for your shift.

UniFocus Time Clock Employee Guide| 7
B. Press the green arrow.
The amount you entered appears next to the Gross Sales. The blue arrow moves down to the Cash
Tips.
C. For the Cash Tips, enter the amount you were tipped in cash.
D. Press the green arrow.
The amount you entered appears next to the Cash Tips. The blue arrow moves down to the Charge
Tips.
E. For the Charge Tips, enter the amount you were tipped by credit card.
F. Press the green arrow.
The amount you entered appears next to the Charge Tips. The blue arrow moves up to the Gross
Sales.
4. Optionally, if you need to edit an amount, press the red X next to the amount and reenter it using the
steps above.
5. If you are finished entering you tips, press Done.
One of the following occurs:
•If you work only one job, a confirmation screen appears.
•If you work more than one job, a job selection screen appears. Press the job to which you want to
apply your tips.
A confirmation screen appears.
Adding memos
Memos allow you to make a Time Clock entry for informational purposes only. An example of a memo is the
entry of gross sales for food and beverage (F&B) employees. F&B tipped employees are required by the
government to claim at least eight percent of their gross sales in tips. This information is tracked by having
employees enter their gross sales as memos.
Other memos might include benefit balances, manual check payments, and any other miscellaneous
tracking that does not affect an employee's paycheck.
Note: Not all Memo screens will look the same. For example, If you only configured to enter piece pay, you
only have to enter the amount for your piece pay.
1. Log in to the Time Clock.
The Welcome screen appears.
2. Press Memos.
The Memos screen appears. It lists your memo types.
3. Enter the amount using the keypad.
4. Press the green arrow.

UniFocus Time Clock Employee Guide| 8
5. A confirmation screen appears.
6. Optionally, to edit the amount you just entered, press the red X next to the memo type.
The amount resets, and you can reenter it.
7. Press Done.
A confirmation screen appears.
Punching for meals
You use the Meal option when you want to take your meal within the course of your shift.
Note: Depending on how your company has configured the Time Clock, you might see Meal buttons that
are labeled differently. For example, you might see buttons labeled Meal & Break and Meal & Out.
1. Log in to the Time Clock.
The Welcome screen appears.
2. Press Meal.
A confirmation screen appears.
3. Press Close.
You return to the Welcome screen.
Viewing Shifts
You use the My Shifts option when you want to view your current work schedule in a calendar format.
Depending on your company’s setup, this screen might also display:
•Your punches.
•Your schedules for past and future shifts.
1. Log in to the Time Clock.
The Welcome screen appears.
2. Press My Shifts.
The My Shifts screen appears. The Show Worked Shifts checkbox is selected by default.
3. Optionally, to see only the shifts that you have not yet worked, clear Show Worked Shifts.
4. When you are finished viewing your shifts, do one of the following:
•To return to the Welcome screen, press Close.
The Welcome screen appears.
•To log out of Time Clock, press Log Out.

UniFocus Time Clock Employee Guide| 9
Fixing a punch
If the Fix Punch button has been configured for your Time Clock, you can use this button to correct or
modify a missed or existing punch. For example, if you punched in at 7 a.m. and did not punch out after your
shift ended, the Fix Punch button appears at 10 p.m. When you log in the next day, you must enter your
missed Out punch.
1. Log in to the Time Clock.
The Welcome screen appears.
2. Press Fix Punch.
The Fix Punches screen appears. It lists the dates of your missing punches.
3. For the date of the punch that you want to fix, press Fix.
The next screen displays the various punches that you made on that day.
4. Press the punch you want to fix.
The keypad appears.
5. Enter the correct time.
The AM and PM buttons become available.
6. Select AM or PM.
A confirmation screen appears. It displays your original punch time and your corrected punch time.
7. Press OK.
The Fix Punches screen appears. If you need to modify another punch, repeat the procedure above for
that punch.
Changing the language for your Time Clock account
From the Time Clock Welcome screen, you can change the language in which all screen text appears. This
setting is specific to your account. When you log out, the Time Clock screen text will appear in the default
language configured for the clock.
1. Log in to the Time Clock.
The Welcome screen appears.
2. Press Language.
The Change Language screen appears.
3. Press the language in which you want all future screen text to appear.
All Time Clock text now appears in your selected language.
Other manuals for Time Clock
3
Table of contents
Other UniFocus Control Unit manuals
Popular Control Unit manuals by other brands

TRIB
TRIB airCap HR user manual

Supermicro
Supermicro SuperBlade SBI-6419P-C3N user manual

sprecher + schuh
sprecher + schuh CEP7 Series Application and Installation

Flowserve
Flowserve Valtek MaxFlo 4 User instructions

ZURN
ZURN AquaVantage ZH Series Installation, operation, maintenance and parts manual

HP
HP 7500 48p 1000BASE-T w/PoE+ SE Mod Disassembly instructions