12
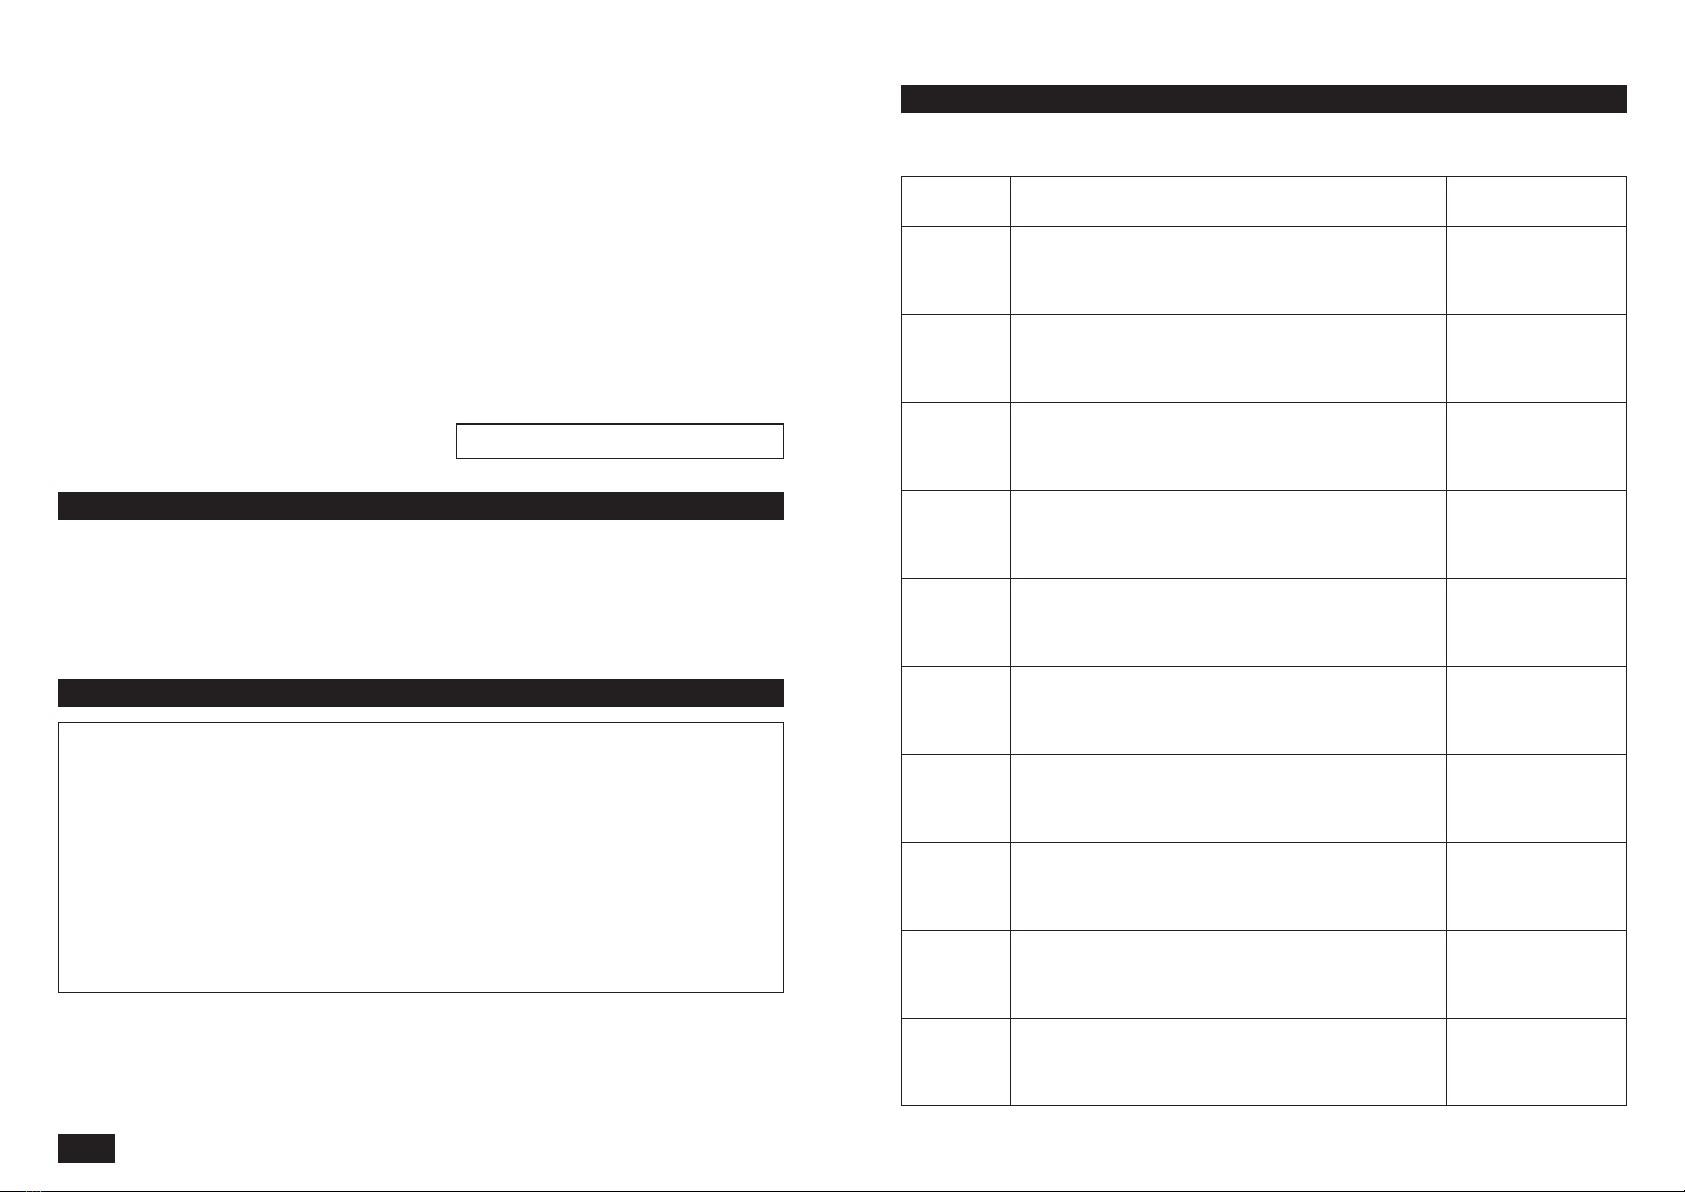
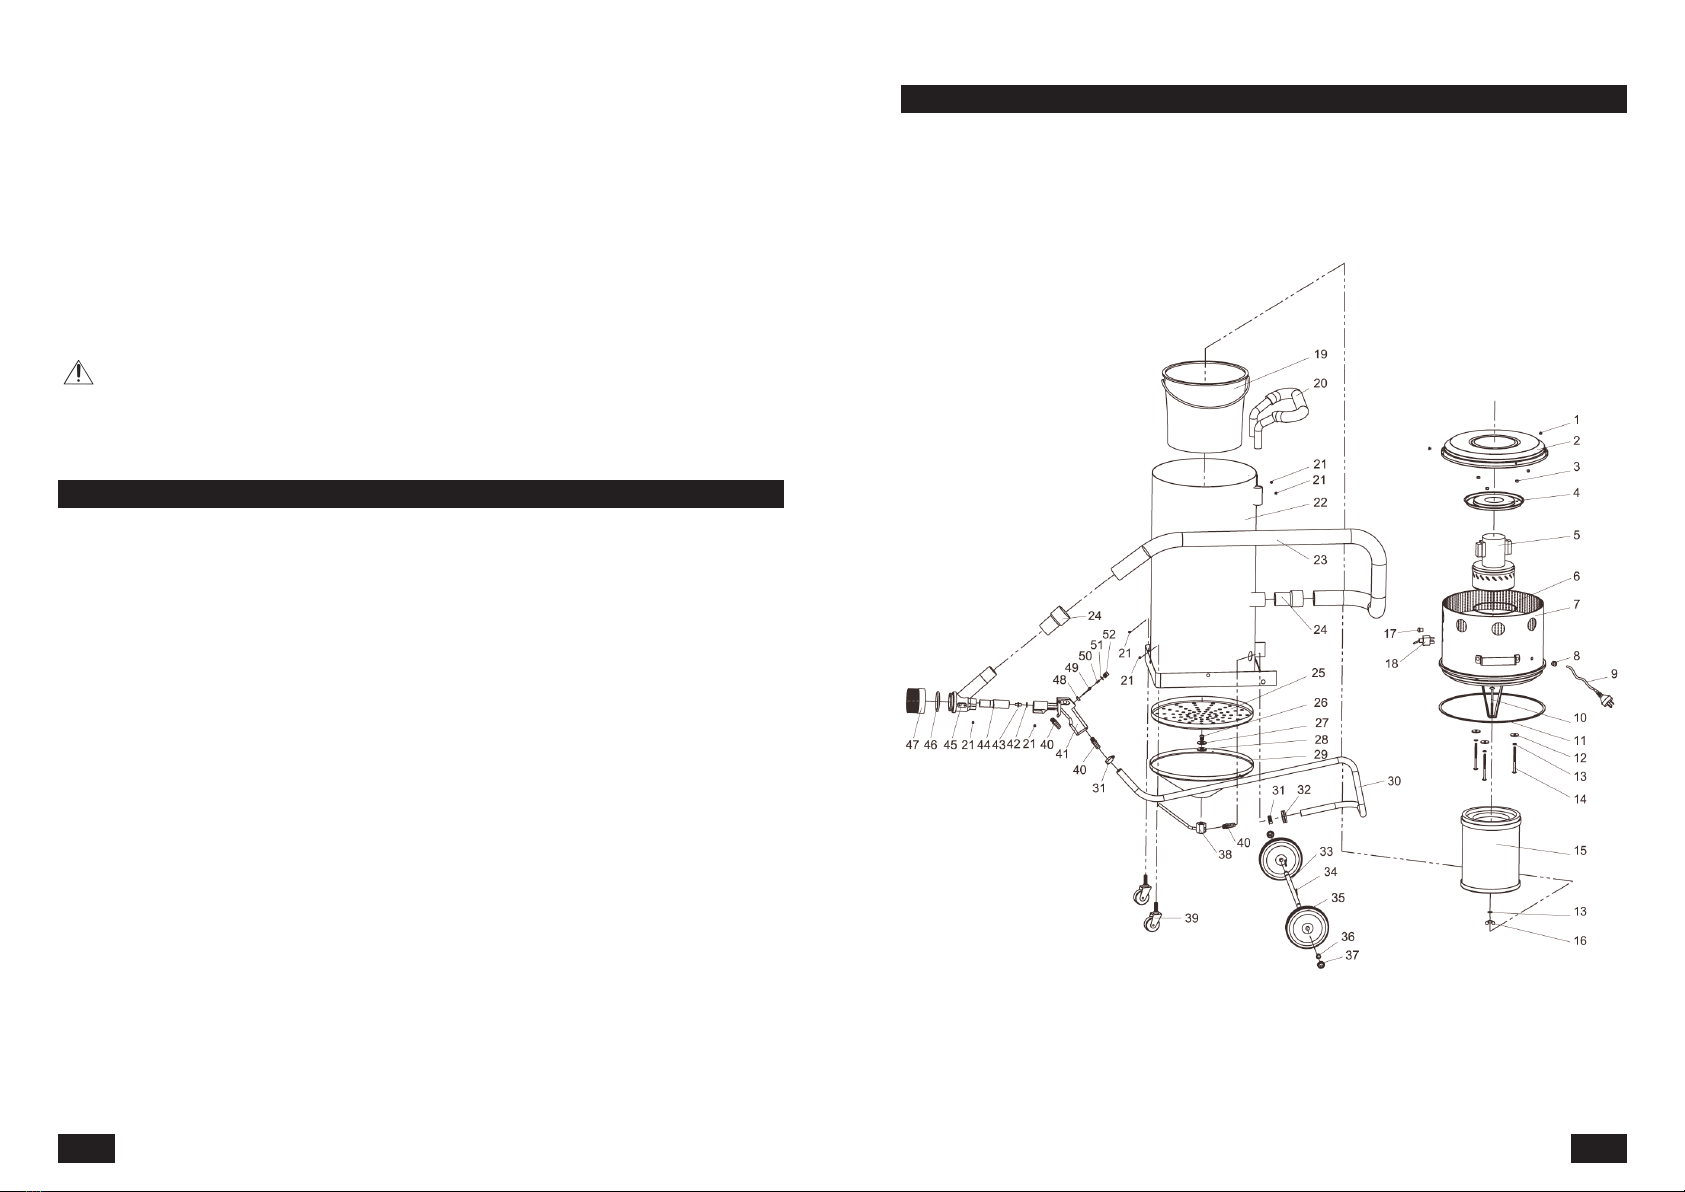
MATERIAL AND PART CHART
POSITION PART NAME NUMBER
NUMBER OF PIECES
1 Screw 3
2 Vacuum cover 1
3Nut 3
4 Engine mounting platform 1
5 Vacuum pump engine 1
6 Rubber ring 1
7 Vacuum box assembly 1
8 Cable clamp 1
9 Power cable 1
10 Driving bolt 1
11 Rubber ring 1
12 Rubber seal 3
13 Washer 4
14 Screw 3
15 Filter assembly 1
16 Wing nut 1
17 Power on control light 1
18 Power switch 1
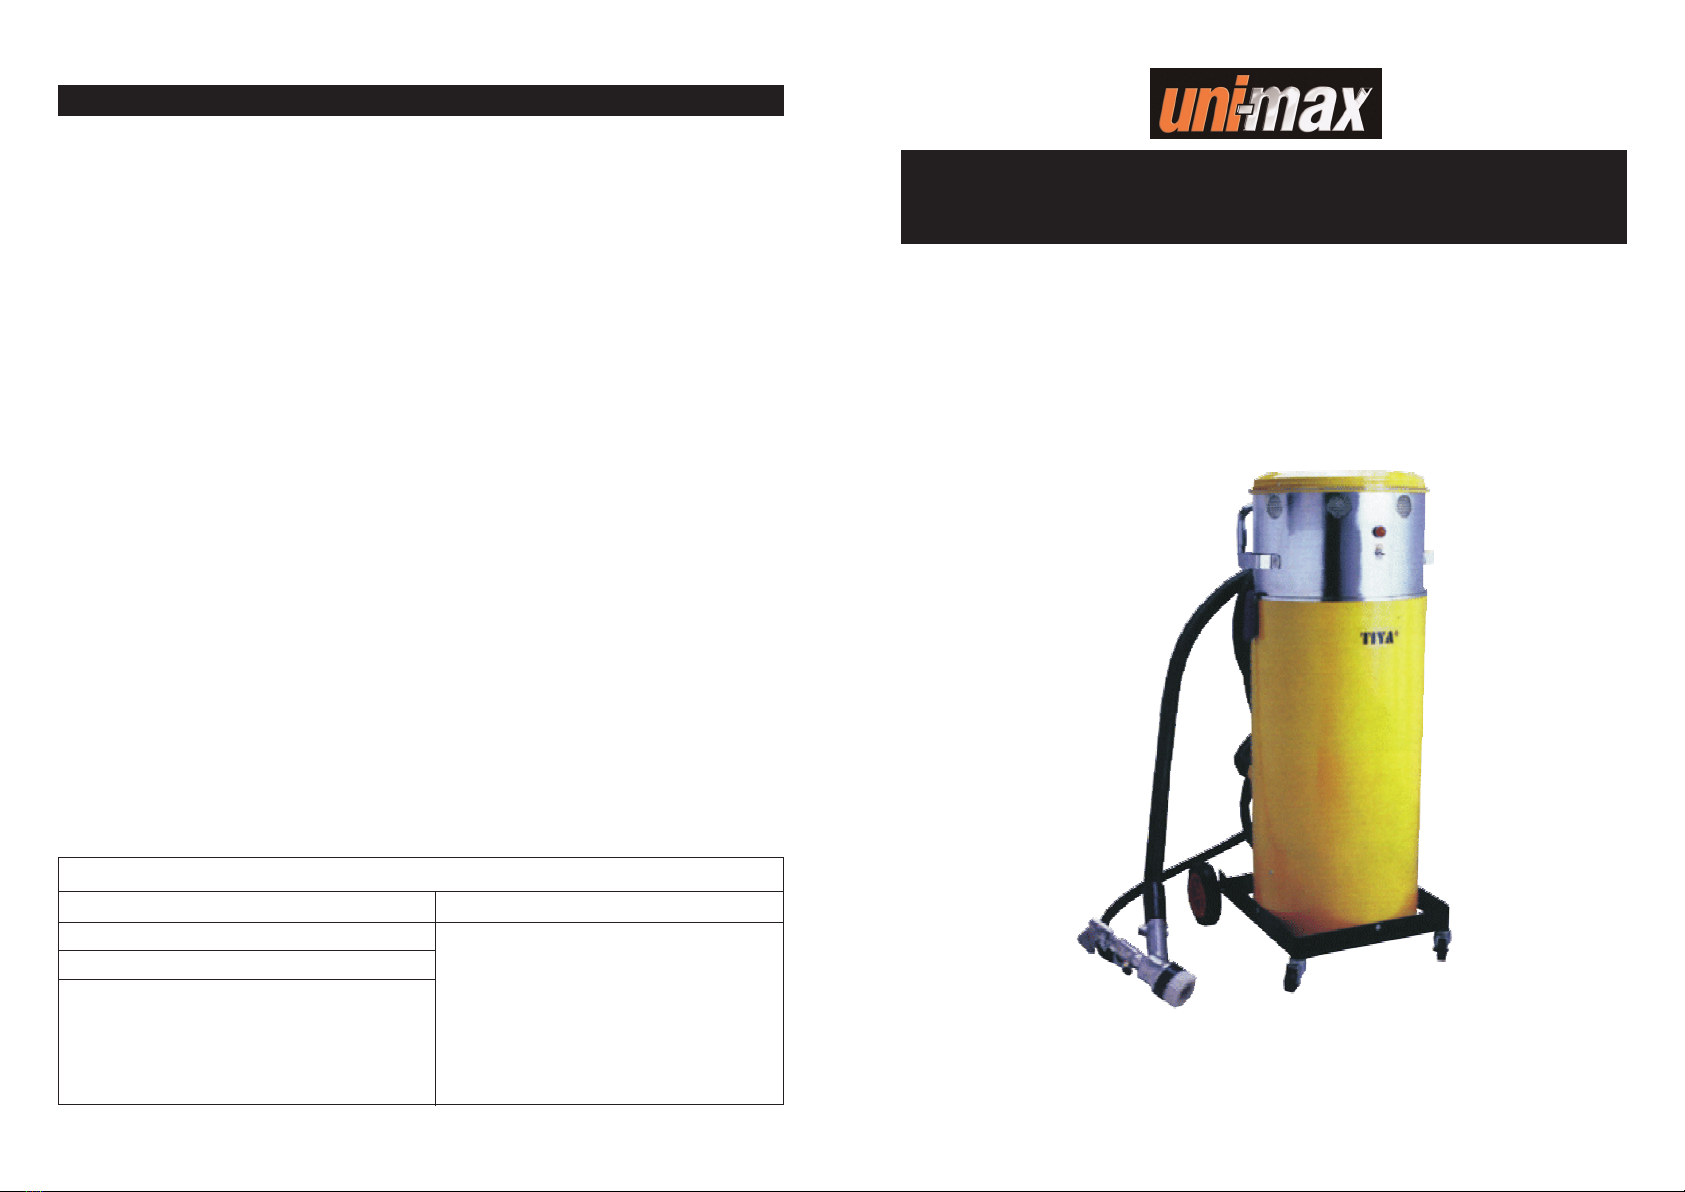
19 Dust reservoir 1
20 Handle 1
21 Adjustment screw 6
22 Abrasive substance container 1
23 Vacuum hose 1
24 Coupling 2
25 Small particle filter 1
26 Threaded plug 1
27 Spacer 1
28 Rubber seal 1
29 Funnel 1
30 Abrasive substance hose 1
POSITION PART NAME NUMBER
NUMBER OF PIECES
31 Hose clamp 2
32 Hose casing 1
33 Axis 1
34 Safety pin 2
35 Wheel 2
36 Safety ring 2
37 Wheel cover 2
38 Abrasive substance exhaust pipe 1
39 Turning wheel 2
40 Coupling 3
41 Blasting pistol body 1
42 Rubber seal 1
43 Porcelain blasting core 1
44 Coupling 1
45 Blasting head 1
46 Rubber ring 1
47 Brush head 1
48 Seal 1
49 Valve needle 1
50 Spring 1
51 Seal 1
52 Threaded plug 1
5
Assembly
•Do not use the machine unless completely assembled.
Electrical equipment
•Your machine does not need to be grounded. If your machine is equipped with three pin power plug, you
must use three pin/hole wall outlet as well. Never remove the ground pin.
•Observe all basic safety rules when using electrical equipment to prevent risk of fire, injuries by electrical
shock and other hazards. Before using this device, read this manual entirely and follow all safety instructi-
ons. Before using this device, read this manual entirely and follow all safety instructions.
•Make sure the power cable plug is plugged into the correct wall outlet. The voltage on the specification
label must be the same as the voltage in the wall outlet. Higer voltage may damage the engine and too
low voltage will not provide the machine with sufficient power.
•Before connecting the machine to the wall outet make sure that the main switch is in the "OFF" position.
When you finished your work, disconnect the power plug from the wall outlet and switch off the main switch.
•Do not use the machine if it cannot be switched on or off by using its main switch. Any machine or device
with such defect is dangerous and must be repaired immediately.
•Never carry electrical tools and appliances by their power cord. When disconnecting the plug from the
wall outlet, never pull the cable by its cord.
•Protect the power cable from high temperatures, oils, paint thinners and make sure that the cable is not
hanging over sharp edges.
•Inspect the power cable regularly. If damaged have it replaced by qualified technician. Inspect extension
cables regularly. If damaged, have it replaced.
•If you need to use an extension cable, use cable with appropriate power rating. Use only completely
unwound. Inspect cables for damages regularly. Damaged cable must be repaired or changed immediately.
•Before performing any maintenance, repair or adjustment, switch off the main switch and disconnect the
power cable from the wall outlet.
•Make sure no one may incidentally swith your machine on. Do not keep your fingers close to the main
switch, unless absolutely necessary.
•Do not use in environments where explosives are stored or used (paintshops, warehouse with flammables etc.)
•Do not use in humid environments or if wet.
•Do not use your machine in rain.
•Keep your machine away from flammables. Do not use close to flammables or explosives. Using your
machine close to these dangerous materials may cause severe injuries or death to the operating personnel.
•Do not touch grounded surfaces such as pipes, heaters, stoves and refrigerators. There is a higher risk of
electrical injury if you body is grounded.
Compressed air
•The supplied air must be dry and compressed according to the required specifications. The air flow
supply must be sufficient. Higher supply pressure decreases the life expectancy of the machine and
increases the possibility of injuries.
•The coupling that connects the machine with the supply apparatus must have the prescribed dimensions.
•Take extra caution if using the machine near water. Water may seriously damage your tools or machine.
Do not forget to drain the condensed water from the pressure container. Also completely dry out the air
supply hose.
•Make sure no dirt can enter the inside of the machine. Keep inlet and outlet openings clean.