Les touches + et - permettent de régler l’heure à laquelle le radiateur soufflant doit
s’arrêter. Comme pour la mise en marche, il faut d’abord régler l'heure. Après avoir entré
l’heure, attendez environ 3 secondes jusqu’à ce que l’affichage des minutes clignote.
Entrez alors les minutes. L’heure est réglée quand l’affichage ne clignote plus et que la
mention « OFF AUTO » apparaît.
Pour régler l’heure, appuyez brièvement sur la touche « S ». L’affichage se met alors à
clignoter, tout comme pour le réglage de l’heure de mise en marche ou d’arrêt. Les tou-
ches + et – permettent de régler l’heure. Après avoir entré l’heure, attendez environ 3
secondes jusqu’à ce que l’affichage des minutes clignote. Entrez alors les minutes. L’heu-
re est réglée quand l’affichage ne clignote plus et que la mention « OFF AUTO » apparaît.
La dernière étape consiste à mémoriser les réglages. Pour ce faire, appuyez durant 3
secondes sur la touche « S » , jusqu’à ce que le symbole « C » s’affiche.
Le radiateur chauffant dispose d’une fonction dite de „surveillance de batterie“
garantissant le démarrage sans souci de la voiture lors du fonctionnement par le circuit
d’alimentation de la voiture, car la batterie du véhicule ne peut pas se décharger.
Le radiateur soufflant dispose en outre d’un éclairage DEL . Pour l’activer, positionnez
l’interrupteur de l’éclairage DEL sur « Light ». Pour éteindre l’éclairage, positionnez
l’interrupteur sur « LED ».
Il est en outre possible de brancher tout type d’appareils 12V DC sur la prise 12V DC
incorporée.
Le radiateur soufflant ne fonctionne pas !
1. Vérifiez si les contacts dans la prise 12V DC sont propres et nettoyez-les si nécessaire.
2. Contrôlez dans la boîte à fusibles du véhicule si le fusible de la prise 12V DC utilisée
est intact. Changez-le si nécessaire.
3. Vérifiez si le coupe-circuit à broche du radiateur soufflant est intact. Changez-le si
nécessaire.
• Pour faire fonctionner l'appareil, l'allume-cigare doit être sous tension, y compris
quand l’allumage est éteint et que la clé n'est pas sur le contact. Si ce n’est pas le cas
pour votre véhicule, un garagiste peut faire dériver la connexion pour prévoir un
service continu.
• Maintenir les ouvertures du radiateur soufflant Unitec dégagées en permanence.
• Protéger le radiateur soufflant Unitec de l’humidité.
• Ne pas ouvrir le radiateur soufflant Unitec, il n’y a rien à l’intérieur qui puisse être
réparé. L'ouverture de l'appareil met un terme à la garantie.
• Toujours retirer la fiche quand l'appareil n'est pas utilisé.
• Le radiateur soufflant Unitec ne convient pas pour un montage dans l'habitacle mais
doit être installé uniquement sur le tableau de bord ou dans l'espace-pieds.
• N'actionnez pas le radiateur soufflant Unitec en conduisant mais concentrez vous sur
la route.
Avant tout nettoyage, éteindre l’appareil et retirer la fiche secteur pour éviter un
court-circuit. Essuyer l’appareil légèrement avec un chiffon, c’est tout.
À la fin de la durée de vie de ce produit, ne l‘éliminez pas avec les ordures ménagères.
Pour en savoir plus, merci de vous adresser à l’organisme de droit public compétent. N’é-
liminez pas l'accumulateur avec les ordures ménagères mais faites-le parvenir à un point
de collecte de déchets toxiques.
Réglage de l’heure de la
minuterie programmable
Mémorisation des
réglages horaires
Fonctions supplémentaires
Pannes / causes
À noter!
Nettoyage
Instructions pour l’élimination
Benvenuti!
Istruzioni di sicurezza
Dati tecnici
Preparativi per il funzionamento
a batteria
Preparativi per il
funzionamento 12 V DC
Questo termoventilatore di Unitec è costruito e prodotto con molta cura affinché operi
sempre in modo affidabile. Leggere attentamente queste istruzioni prima di installare e
utilizzare il termoventilatore di Unitec. Qui è contenuto tutto ciò che è necessario sapere
e osservare affinché il termoventilatore funzioni ottimamente per molti anni. Conservare
queste istruzioni per il futuro.
• Non sostituire mai la resistenza standard del fusibile per accendisigari mediante un
fusibile più potente non autorizzato dal produttore del veicolo.
• La durata di ricarica non deve essere oltrepassata.
• Non farlo funzionare scoperto.
• Osservare la distanza minima (almeno 20 cm) dagli altri dispositivi.
Tensione d’ingresso: 12V DC
Batteria: 12V DC 5Ah
Durata: fino a 1 ora (in caso di funzionamento 12V DC) / fino a 10 minuti (in caso di
funzionamento a batteria)
Potenza: 150 Watt
Spina per auto:
Tensione d’uscita: 12V DC
Durata di ricarica: 14-16 ore
Spina elettrica:
Tensione d’uscita: 230V ~ AC
Durata di ricarica: 6-8 ore
Per utilizzare il termoventilatore con funzionamento a batteria è necessario ricaricarlo
completamente prima dell’utilizzo. Dopo ogni utilizzo ricaricarlo immediatamente e
completamente! A tal proposito devono essere osservate le istruzioni di sicurezza.
È possibile ricaricare la batteria con 12V DC mediante il cavo di ricarica oppure con
230V~ AC mediante il trasformatore. A questo scopo l'alimentatore o il cavo di ricarica
deve essere collegato alla presa di ricarica e a una fonte di corrente. Durante la
ricarica la spia di controllo a LED rossa si accende.
Scollegare il termoventilatore dalla rete elettrica non appena la batteria è completamente
carica.
Attenzione: durante la ricarica non è possibile accendere il termoventilatore. Per metterlo
in funzione è necessario scollegare l’alimentatore.
Per utilizzare il termoventilatore con il funzionamento 12V DC collegare il
termoventilatore alla presa dell’accendisigari del proprio veicolo. A tale scopo utilizzare il
cavo di ricarica per funzionamento permanente e la presa di ricarica B 씊. L’accensione
deve essere su positivo permanente al fine di raggiungere una durata d’utilizzo fino a 1 ora.
1515
OFF
AUTO
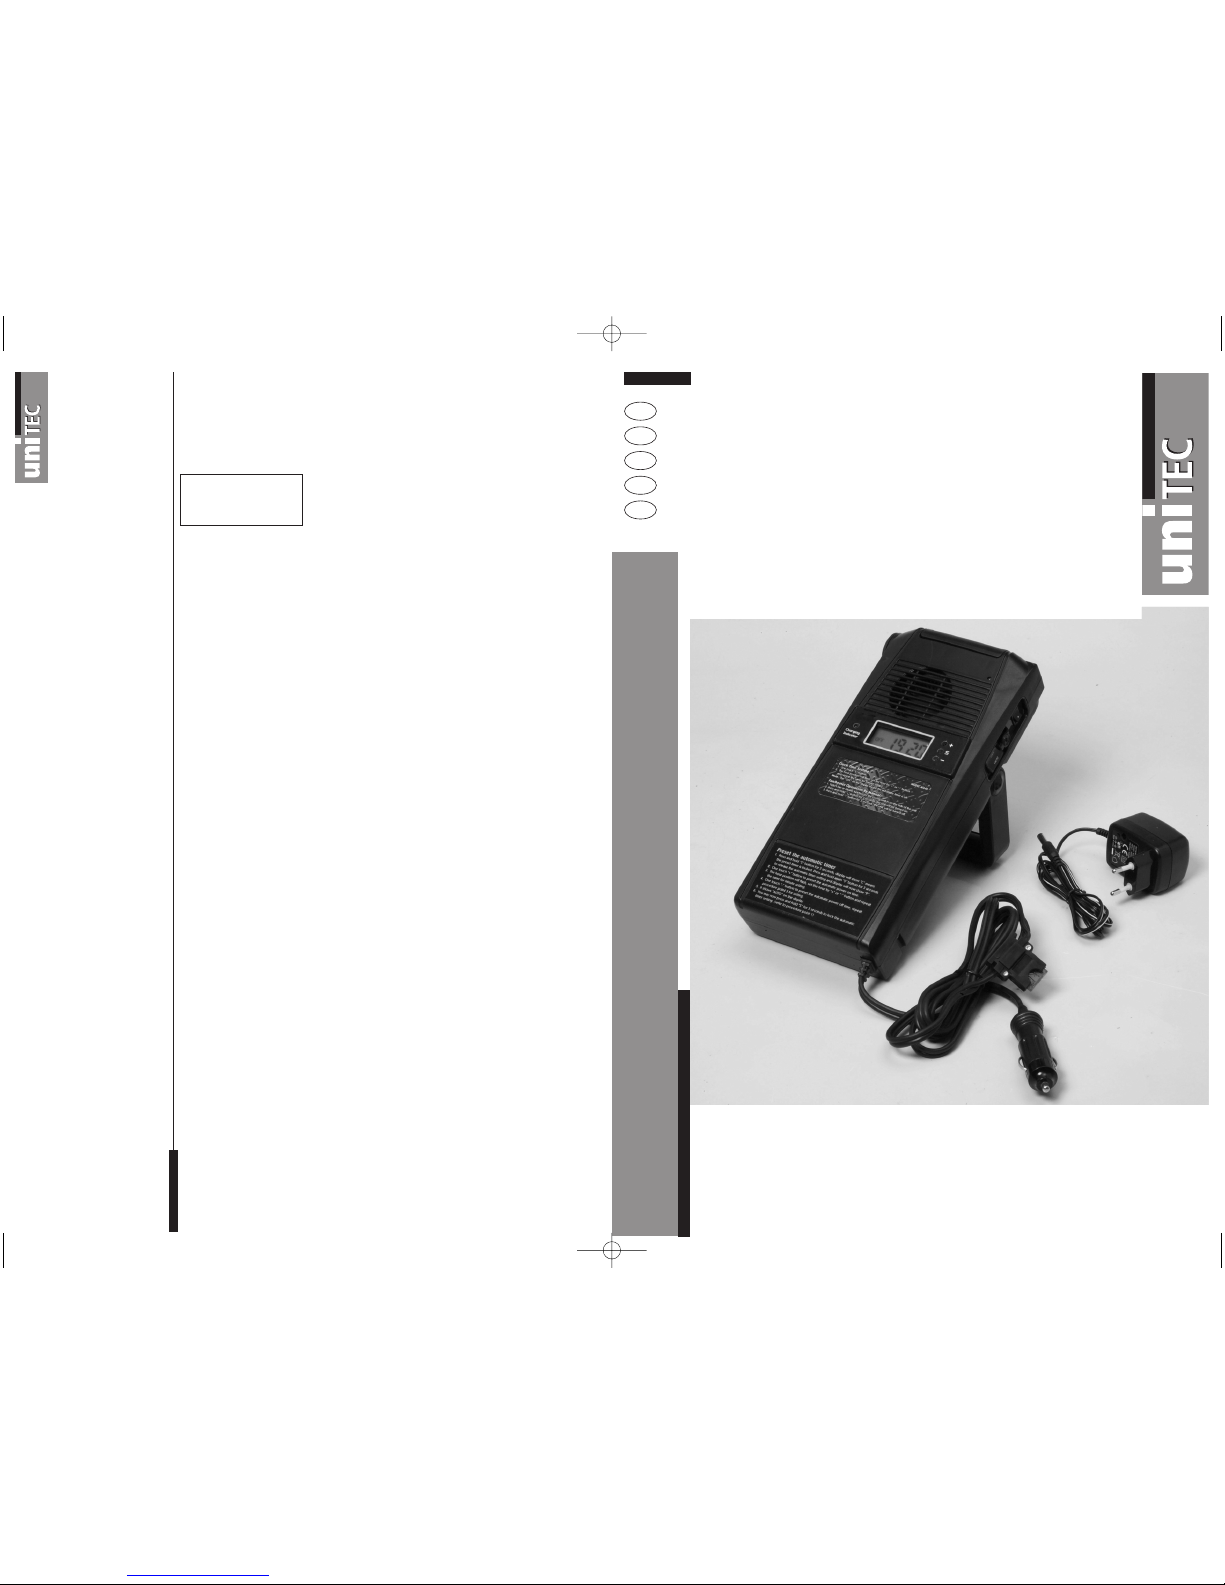
Istruzioni per l’uso
I
Spie di controllo
Display
Presa 12 V DC
Ventilazione
Spie
Tasti di comando
Interruttore spia/LED
Presa per ricarica A: per
funzionamento 12 V DC
Interruttore ON/OFF
쐅Interruttore freddo/caldo
쐈Piedino di posizionamento
쐉Alimentatore: per la ricarica
della batteria mediante
230 V~AC
씈Cavo di collegamento
(per funzionamento
permanente)
씉Cavo di ricarica: per la
ricarica della batteria
mediante 12 V DC
씊Presa di ricarica B: per
funzionamento 12 V DC