Unitek Classic Q6 User manual

Q6
Version
0910
MANUAL
Classic Q6
4 Quadrant Circular Current
Thyristor Drive

Classic Q6 x/x-x
2
Contents Page
1. Basic Information
Safety advice 3
Standards and guidelines 3
General information 4
Features 5
Technical data 6
Specification 7
Interface 7
2. Mechanical installation
Dimensions 8
3. Electrical installation
Connections 9
CE advice 11
Auxiliary voltage connection 12
Transformer power connection 13
Motor connection 14
Field option 15
Actual value connection 16
4. Adjustments
Current control loop 17
LED displays 18
5. Commissioning
19, 20
6. Guarantee
21
7. Protocol
22, 23
8. Drawings
Dimensions Q6 (15A-25A) 25
Dimensions Q6 (40-60A) 26
Connections (Q6-A015) 27
Circuit diagram (Q6-S076) 28
Content

1 Basic - Information
Q6 3
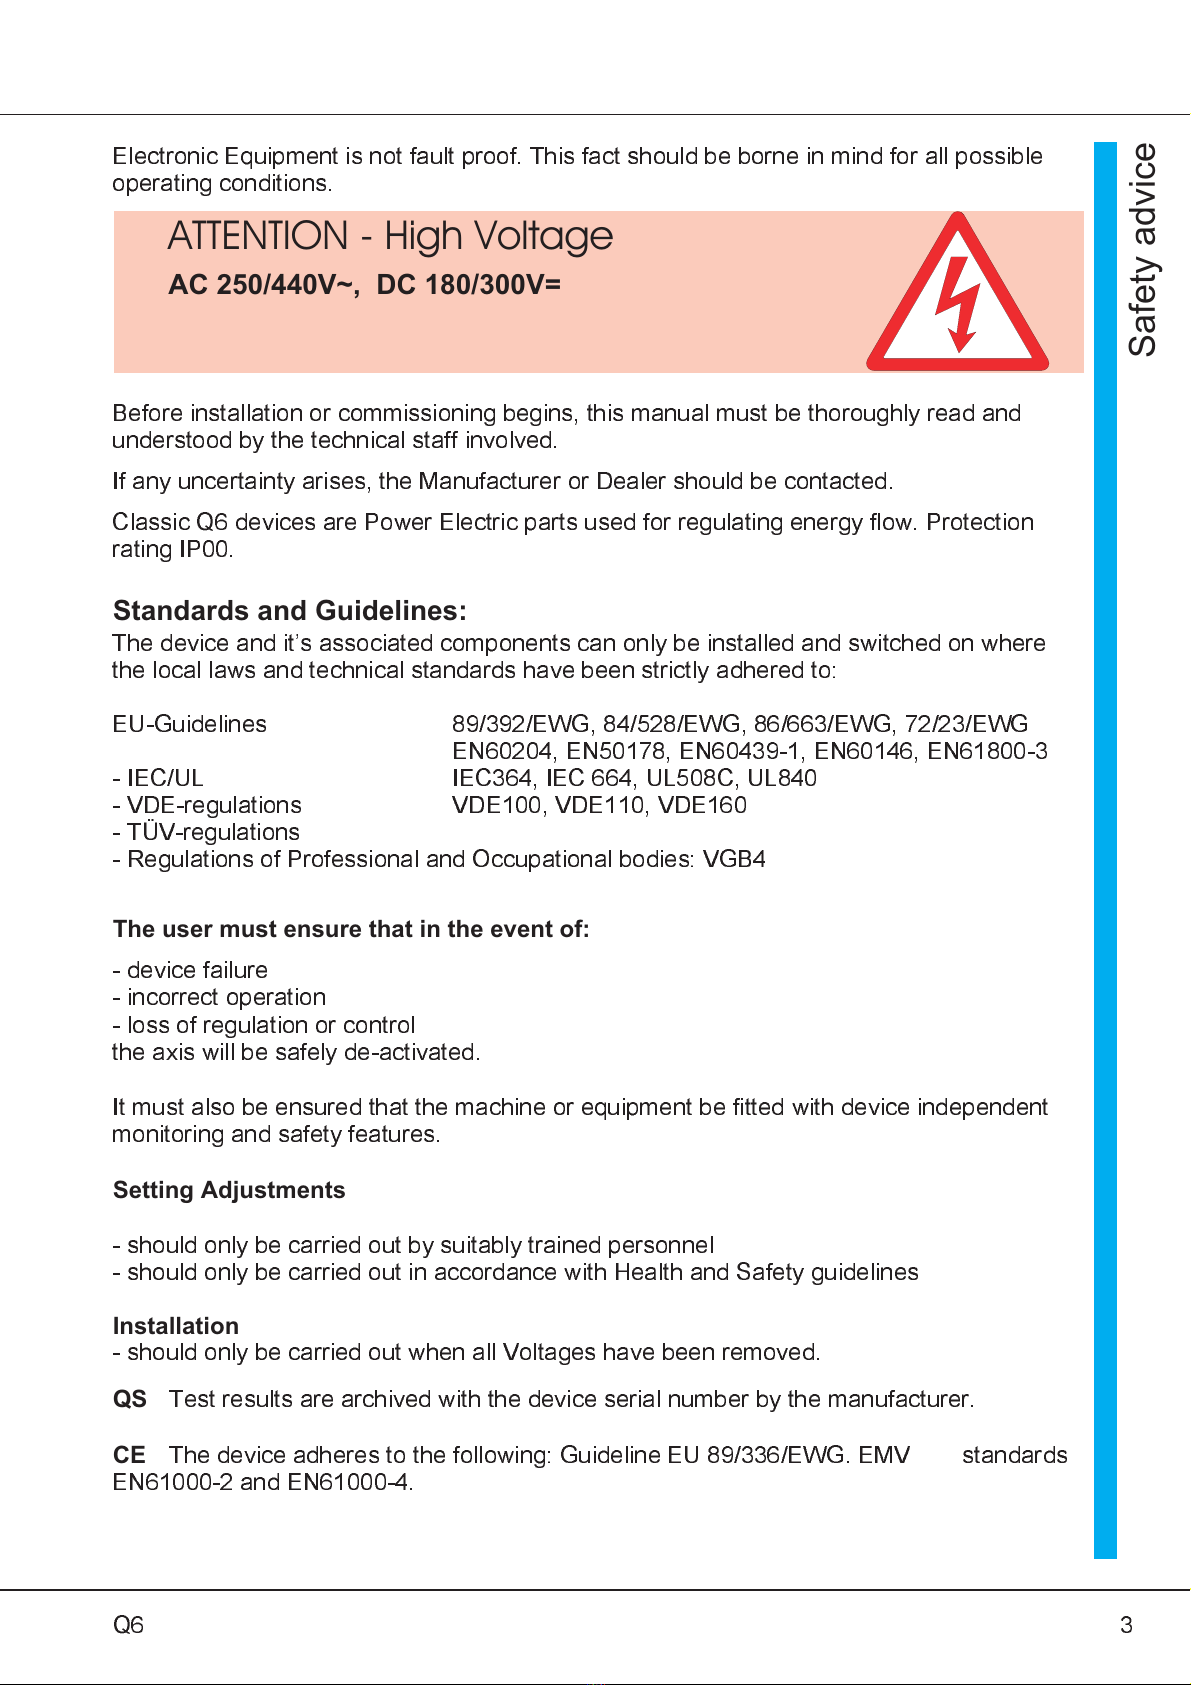
Electronic Equipment is not fault proof. This fact should be borne in mind for all possible
operating conditions.
Before installation or commissioning begins, this manual must be thoroughly read and
understood by the technical staff involved.
If any uncertainty arises, the Manufacturer or Dealer should be contacted.
Classic Q6 devices are Power Electric parts used for regulating energy flow. Protection
rating IP00.
Standards and Guidelines:
The device and its associated components can only be installed and switched on where
the local laws and technical standards have been strictly adhered to:
EU-Guidelines 89/392/EWG, 84/528/EWG, 86/663/EWG, 72/23/EWG
EN60204, EN50178, EN60439-1, EN60146, EN61800-3
- IEC/UL IEC364, IEC 664, UL508C, UL840
- VDE-regulations VDE100, VDE110, VDE160
- TÜV-regulations
- Regulations of Professional and Occupational bodies: VGB4
The user must ensure that in the event of:
- device failure
- incorrect operation
- loss of regulation or control
the axis will be safely de-activated.
It must also be ensured that the machine or equipment be fitted with device independent
monitoring and safety features.
Setting Adjustments
- should only be carried out by suitably trained personnel
- should only be carried out in accordance with Health and Safety guidelines
Installation
- should only be carried out when all Voltages have been removed.
QS
Test results are archived with the device serial number by the manufacturer.
CE
The device adheres to the following: Guideline EU 89/336/EWG. EMV standards
EN61000-2 and EN61000-4.
ATTENTION - High Voltage
AC 250/440V~, DC 180/300V=
Safety advice

Classic Q6 x/x-x
4
Attention:
This device description MANUAL Q6 refers to the power section, and
must be read in conjunction with the regulation (REG) description. The
following regulation sections for 4 quadrant control are available:
Analog Regulation REGx.
General
In conjunction with a regulation board (for example REGx) the Classic Q6 range of
thyristor Drives act as Current controllers. (Moment of inertia controllers).
A 26-pin connector, common to all boards, is used to connect the power and
regulation boards.
Using this interface it is possible for any external control arrangement including
third party equipment to drive the power section.
Q6 Drives are used to control the speed, voltage or moment of inertia of dc
motors in current circulating 4 quadrant mode.
Moment of inertia is applied continuously to the motor without interruption.
Safety advice

1 Basic - Information
Q6 5
Features
Build
- switch cabinet mounting
according to the VDE, DIN and EU regulations
- standard control electronics REG
-intrinsically safe power section with current control loop
- optional units
Galvanic isolation between
- the power section and the housing
- the power section and the control electronics
The distance of air gaps and leakage paths adhere to the VDE standards (>8mm).
Components
- fully insulated thyristor modules, comfortably over-dimensioned
- only components customary in trade and industrially standardised are used
- LED displays
- DIP switches for the P-I adjustment of the current control loop
- precision potentiometers for fine adjustments
- DIP switches for the system set-up
Characteristics
* Series Classic Q6
* Thyristor drive for dc motors
* Power range 2.7kW to 15kW
* 4-quadrant control
* Energy recovery
* intrinsically safe power section
* Fast analogue current control
* 26-pin interface
* Features of the control electronics:
see Manual REGx or third-party product documentation
* Optional units

Classic Q6 x/x-x
6
Features
Q6 160/180-x
Power connection
6x 140 ... 180V~
Auxiliary voltage conn.
360 ... 440V~ od. 200 ... 250V~
Output Voltage max. ±180V=
Cooling self cooling
Drive Q6 160/180- 15 25 40 60
Input current phase A~ 6.12 10.2 16.32 24.48
Output current Peak A= 30 50 80 120
Contin. A= 15 25 40 60
El. power kW 2.7 4.5 7.2 10.8
Input fuses (fast acting) A 10 16 35 50
Mains transformer (UID std.) Type 150 A 180 B 180 C 210 C
Circulating current chokes Type EI 120A-16 EI 120A-24 EI 135B-40 EI 170B-60
mH 10 8 3,1 3
Dimensions WxHxD
Weight mm
kg 102x102x130
4.3 115x130x145 140x162x200
8.2 12.5
Q6 230/250-x
Power connection 6x 180 ... 260V~
Auxiliary voltage conn. 360 ... 440V~ od. 200 ... 250V~
Output voltage max. ±250V=
Cooling self cooling
Drive Q6 230/250- 15 25 40 60
Input current phase A~ 6,12 10,2 16,32 24,48
Output current Peak A= 30 50 80 120
Contin. A= 15 25 50 60
El. power kW 3,75 6,25 12,5 15
Input fuses (fast blow) A 10 16 35 50
Mains transformer (UID std.) Type 150 A 180 B 180 C 210 C
Circulating current chokes Type EI 120A-16 EI 120A-24 EI 150B-40 EI 170B-60
mH 18 8 6 3
Dimensions WxHxD
Weight mm
kg 102x102x130
4.3
128x132x185 140x162x200
10.6 12.5

1 Basic - Information
Q6 7
Technical Data
Specification
Mains frequency 50 or 60Hz ±5%
Protection rating IP 00
Format VDE 0100 group C,
VDE 0160
Humidity rating class F acc. to DIN 40040
Site of installation < 1000m above sea level
Operating temperature range 0 ... 45
°
C
Extended operating temp. range up to 60
°
C reduced by
2%/
°
C
Storage temperature range -30
°
C to + 80
°
C
Amplification
- input signal 0 to ±10V=
- output 0 to ±200% type current
Enable
+10V
Current control loop circuit
- control precision ±2%
- control range 1:50
Speed control loop circuit with REG
- control precision (
without actual value error)
±0.1%
- control range 1:1000
Interface control electronics X3
Function Connector no.
+ 24V
±
10% X3: 1 and 2
+ 15V
±
2% X3: 3 and 4
- 24V
±
10% X3: 5 and 6
- 15V ±2% X3: 7 and 8
Device GND 0 X3: 9, 10, 11, 12, 13, 14
I command value (GND) 0 X3: 15
I command value (signal)
±
10V= X3: 16
Current controller enable +10V= X3: 17
Drive disable1 +10V= X3: 18
Drive disable 2 +10V= X3: 19
N (speed) actual +10V= X3: 20
I (current) actual +10V= X3: 21
Over-current power section n/a X3: 22
Trigger angle1 +10V= X3: 23
Trigger angle 2 +10V= X3: 24
Drive ready BTB +10V= X3: 25
Free n/a X3: 26

Classic Q6 x/x-x
8
Dimensions Drawing
Classic Q6 X/X
Q6 15/25A Q6 40/60A

3 Electrical Installation
Q6 9
Connection Advice
Connecting Conductors
Continuous Current
A
15 25 40 60
Power connection
cross section, minimum mm² 1.5 1.5 2.5 4
Motor connection
cross section, minimum mm² 1.5 1.5 4 10
Control voltage connection
cross section, minimum mm² 0.5 0.5 0.5 0.5
Attention:
T
he order of the connections to the connector numbers or screw terminals is obligatory.
All further advice is non-obligatory.
The input and output conductors may be altered or supplemented in accordance with the
electrical standards.
Note:
- Connection and operating instructions
- Local regulations
- EU guideline 89/392/EWG, 84/528/EWG, 86/663/EWG
- VDE and TÜV regulations and Trade body guidelines
- CE and EMC advice
Connection

Classic Q6 x/x-x
10
Free

3 Electrical Installation
Q6 11
CE Advice
The devices adhere to the EU guidelines 89/336/EWG and the technical standards
EN 61000-2 and 61000-4 provided that the following conditions are observed:
- The device, the transformer, and filter capacitors are mounted on
a 500x500x2 mm mounting plate.
- The mounting plate must be connected to ground using a 10mm² wire.
- The motor housing must be connected to ground using a 10mm² wire.
- The device ground X1:8 must be connected to the mounting plate
using a 2.5mm² wire.
- Device PE screw must be connected to the mounting plate using a 4mm² wire,
l = 50mm.
Three-phase connection:
Transformer type: see technical details
Filter capacitors: 3x1
m
F(x) + 0.5x1
m
F (y)
Conductor length between the device and the power choke <250mm
Motor connection:
Motor conductors l = 1.5m, shielded
Tacho and all control lines l = 1.5m, shielded
Shielding connected to PE

Classic Q6 x/x-x
12
Mains Connection
The connection advice is a general information and it is non-obligatory.
Adhere to:
- connection and operating instructions
- local regulations
- EU guideline 89/392/EWG
- VDE and TÜV regulations and Trade body guidelines
Switch on
the auxiliary voltage and the supply voltage simultaneously.
Switch off
the supply voltage after the auxiliary voltage
.
Input filter
see CE advice, page 11
Short conductor length to be used between the input filter and the device
Auxiliary voltage connection
Connection terminal X5:23, X5:24
Power supply 230V~ or 400V~ (observe the type plate)
Input current 0.1A'
Phase position
regardless
Internal fuses 0.8AT
60Hz mains supply
In order to operate the thyristor drive via a 60Hz mains supply, the contacts 1 and 2 of
the switch S3 must be in position ON.

3 Electrical Installation
Q6 13
Transformer power connection
A special Q6 transformer is used. The primary side uses a Delta connection, the
secondary side is arranged as a 6-phase centre-tap circuit.
L1, L2, L3 clockwise rotating field
A= beginning of the winding E= winding end
Transformer rating
PTr = secondary voltage x continuous current (I) x 1.4
To allow for the dc current loading, the transformer must be over-dimensioned by a
factor 1.4.
Transformer fuse
Slow acting
Input fuses
Super fast acting (e1... e6)
These fuses are internally monitored for drop out.
Attention:
If the secondary voltages produced by the transformer are inferior to those
specified in the technical data, please indicate these voltages on order, as 6
internal resistors must then be adapted.
Mains Connection
EE E
AA
A
AAA
E
E
E

Classic Q6 x/x-x
14
Motor connection
Connection
Motor - terminal X5:10
Motor + terminal X5:12
Motor terminal 16
(across the transformer)
Armature choke
Inductance L [mH]=(UA/IA)x0.8
Switching in the armature circuit
- dc circuit current-free
- disable inactive
Warning
:
Switching off under current will create arcing across the switch contacts.
Switching on while the drive is enabled will cause the fuse to fail.
Power supply failure - brake resistors
Break contact of the mains contactor K1
The resistors are to be connected in parallel directly to the motor armature
without isolating the motor from the control unit.
Attention:
The power lines are to be shielded and routed separately
from control lines!
For electro-magnetic interferences please refer to the advice, page 11.
Motor Connection
M1 M2
On the trafo
When the command value is positive,
M1 is positive and M2 (16) is negative.

3 Electrical Installation
Q6 15
Field connection (option)
Connection
Terminal connector
Input X5:23, X5:25
Field negative X5:27
Field positive X5:26
Field voltage
Power supply Field supply
230V~210V=
400V~360V=
400V~with N 210V=
Field current max. 1.5A
Fuses 2.5Af
Watchdog if the fuse fails, the device switches off
Field Connection

Classic Q6 x/x-x
16
Actual value Connection
Tacho
Feedback device options
- dc- Tacho generator (standard)
- ac- Tacho generator with shaft angle detection (optional extra)
- incremental encoder with direction dependant (optional extra)
Connection
Regulation section (see the REG manual)
In the case of a positive command value
·
Tacho plus X 1:8b
·
Tacho minus X 1:9
·
Shield X 1:8
Armature Voltage
The armature Voltage may be used as the actual value. In this case the control
resolution will be greatly reduced (1:50).
Limiting the actual value voltage
- Fusing 2x 0.1A/500V directly in the armature circuit!
- For armature voltage >180V= additional resistors are required
Connecting the Command Value
Motor M1 positiv
Motor M2 negativ

4 Adjustments
Q6 17
Current controller
The PI characteristics of the controller are adjusted by means of DIP switches.
Switch Controller
S1 >>> RVI-1
S2 >>> RVI-2
Circular current
The circular current is adjusted by means of P1. It is increased by turning the
potentiometer anti-clockwise.
Measurement:
The circular current can be measured across the choke circuit when the motor is
stationary.
Please observe:
The device circular current corresponds to the circular current plus motor
current. Thus, the motor current is reduced if the adjusted circular current
value is too high.
Optimization of the current controller
- Connect an oscilloscope across the current actual value X3:21
- Current command value step-change 1V X3:16
- Increase the current command value by 1V steps to 10V
- Alter the P-amplification by means of the DIP switches S2:1 and S1:1, S1:2 and
S2:2
- Optimal adjustment see fig. 1
- Not permissible adjustment see fig. 2
- Alter the integral part by means of the DIP switches S2:3 and S1:3,
S2:4 and S12:4
Oscilloscope - Current adjustment
Fig. 1 Fig. 2 Fig.3
Optimal adjustment P-amplification too high P-amplification too low
Adjustments

Classic Q6 x/x-x
18
Indicators
Displays
Some important functions are indicated by LEDs:
green LEDs indicate the active state
Display LED designation
ready for operation BTB
Auxiliary voltage watchdog +15V, -15V
Enable current controller enable
Enable triggering enable triggering
Current command value direction RVI-1 or RVI-2
BTB signal - Drive ready
BTB signal X3:25 >+10V
Error X3:25 <+2V
Errors:
- auxiliary voltage supply: +24V, +15V, -15V
- power supply connection: fuse failure, under-voltage
In case of errors or failure the power section is immediately internally
disabled without delay.
Measurement advice
Measuring instruments: multimeters for current and voltage
Measuring faults: mean value > actual value
acc. to the form factor
approx. 1 to 5%
Measured values
with a positive command value
Voltage: positive between the choke centre point (A) and the
transformer (16) , max 1.15 x power supply
Current: ammeter in the motor circuit
Measured values REG
Speed X2:109
±
5V or
±
10V for
±
100%speed
Current X2:111
±
5V or
±
10V for
±
200% current
GND X2:104

5 Commissioning
Q6 19
Commissioning
1. Connection advice
Connect the drive in accordance with the Q6 manual and the control electronics manual
(e.g. REG).
Please observe in particular:
- Check the power supply voltage with that specified on the type plate.
- Insert the fuses according to the technical data (page 6).
- Check the field voltage connection and the motor and tacho connections!
2. Commissioning
Basic connections:
Mains supply, field, tacho, or armature feedback, drive enable, command value.
For armature voltage control the tacho watchdog must be switched off.
2.1 Drive enable switch
open or drive enable voltage 0V
Command value 0V
Switch S9 adjust to tacho voltage
for armature voltage control adjust to 0
Switch S4 position 2
Switch S5 position 6
Potentiometer I
max1
, I
max2
adjust to approx. 10% of full scale
Potentiometer X
P
adjust to 50%
Potentiometer I
D
= 100%
Potentiometer IxR = left full scale
Potentiometer n
max
= left full scale
Potentiometer INT = left full scale
Switch tacho control
ON
: DS1 K:1, DS2 K:3 and 4
OFF:
DS3 K:4, DS4 K:2
Bridges R13 and R14 soldered-in
Switch armature voltage control
ON:
DS1 K:1, DS2 K:3 and 4, DS3 K:4,
DS4 K:2 and 4
Bridges R13 and R14 open!
2.2 Apply the voltage
The LEDs L3 (BTB) and L7 (stationary) must light.
All other LEDs are off.
2.3 Close the switch ‘drive enable’ or apply a drive enable voltage of 10V
The LEDs L1 and L2 must also light
The drive must be at a standstill or turn slowly (offset).
If the drive accelerates in the correct direction, the polarity of the tacho voltage and the
armature voltage feedback must be changed.
If the drive accelerates in the wrong direction, the polarity of the armature or the field
must be changed.
2.4 Increase the command value voltage to approx. 10%
The drive must accelerate to approx. 10% of the speed.
If the rotation direction is wrong, change the polarity of the tacho and
the field
or
the polarity of the tacho and the armature.

Classic Q6 X/X-X
20
Commissioning
2.5 Current controller amplification
(Switch S1, S2 on the power section)
The current amplification is adjusted to a low armature circuit inductance
(all switches On)
High inductance values can lead to motor oscillation which cannot be influenced by
means of the speed controller. In this case, first set switch S1-2 then switch S2-2 to
Off.
If the drive still does not run smoothly, set the switches S1-1 and S2-1 to Off.
The current response can be measured by means of an oscilloscope across the test
point X4:20 (see page 17).
2.6 Speed controller amplification
Adjust on the REG board.
Adjust the P-term to the lowest possible setting from 1 to 5 (switch S4).
Adjust the I-term to match the axis momentum (switch S5):
large axis momentum - high adjusted value
small axis momentum - low adjusted value
With the command value set to 10% speed, increase the amplification by turning the
potentiometer Xp clockwise. When the drive begins to oscillate, reduce the amplification
by turning the potentiometer anti-clockwise by approximately 10%.
For the fine adjustment of the amplification the control response should be measured by
means of an oscilloscope across the test point X4:15
(see page 17).
2.7 Further adjustments
such as speed, peak current, continuous current, etc.
(rf. to the manual REG and Q6)
2.8 Switching Off
If the switch drive enable is opened, or the drive enable voltage is switched to 0V, the
LED L1 will extinguish and the drive will brake until standstill. After approx. 2s the LED
L2 will extinguish and the drive is disabled. After approx. 5 more seconds, the thyristor
triggering circuit is disabled.
2.9 Commissioning adjustments
The adjustments should be documented in the protocol and the adjustment
potentiometers should be sealed with a suitable lacquer.
Table of contents
Other Unitek DC Drive manuals

Unitek
Unitek Classic P3 Series User manual

Unitek
Unitek Bamobil D3.2 User manual

Unitek
Unitek Classic Q3 15-150A 4 Quadrant User manual

Unitek
Unitek Classic P3 Series User manual

Unitek
Unitek Classic Q3 Series User manual

Unitek
Unitek Classic Q3x/x-240-840A Series User manual

Unitek
Unitek TVD6.2-RS User manual
Popular DC Drive manuals by other brands

YASKAWA
YASKAWA HV600 Technical reference

ABB
ABB ACS355 series Quick installation and start-up guide

Allen-Bradley
Allen-Bradley PowerFlex 70 Quick start quide

Automationdirect.com
Automationdirect.com DURApulse GS10 quick start guide

Honeywell
Honeywell SmartVFD COMPACT user manual

HELVAR
HELVAR LL60/2-E-DA-iC manual