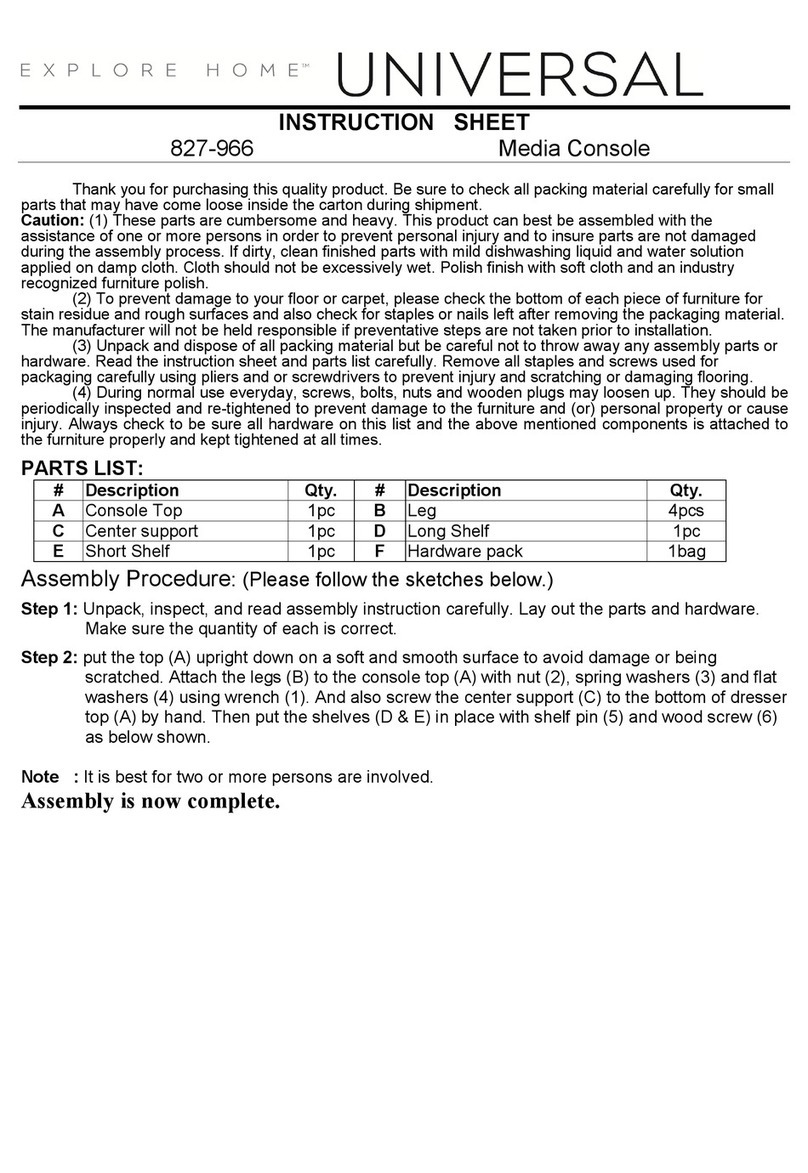
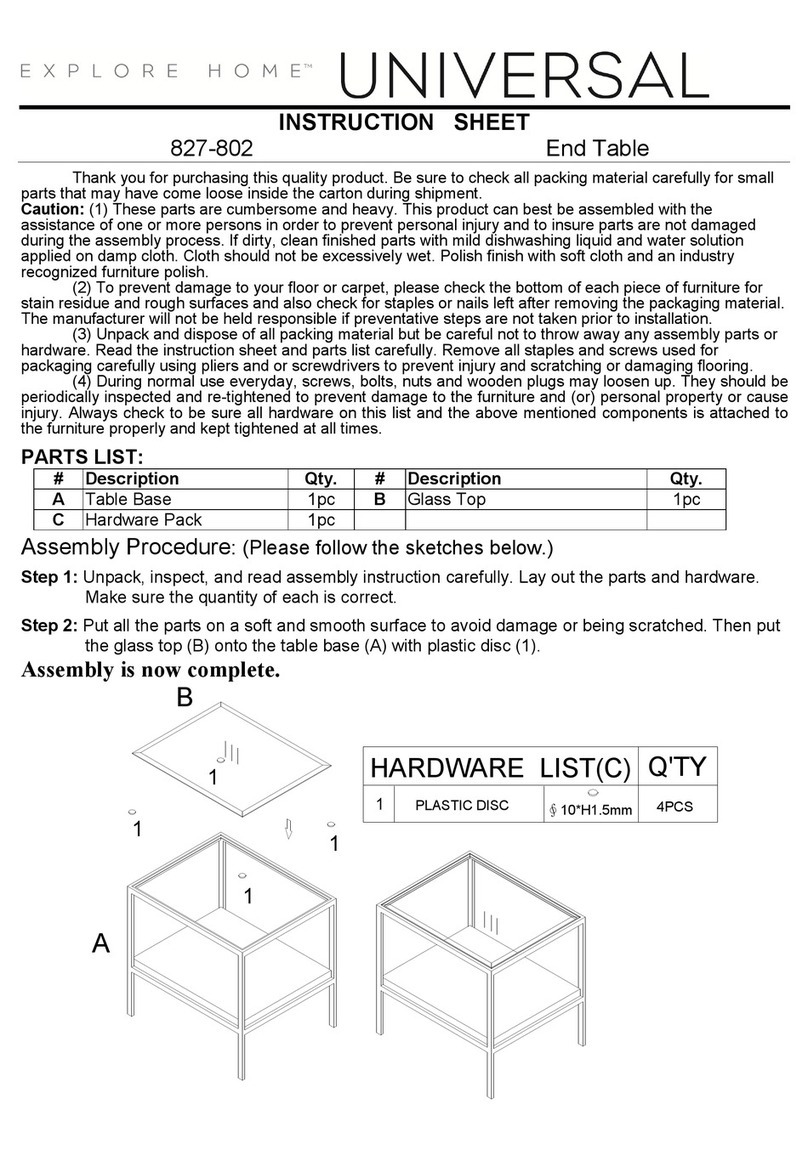
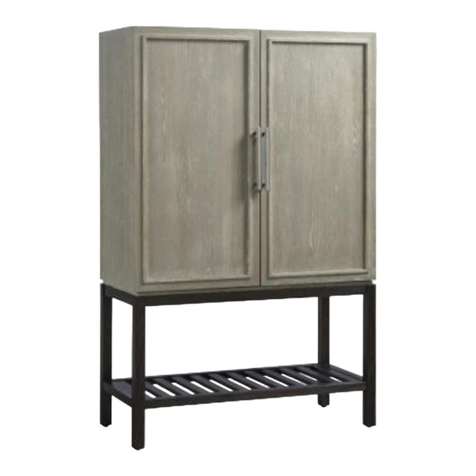
Universal Explore Home PARADOX 827636-RTA User manual
Other Universal Indoor Furnishing manuals
Universal
Universal EXPLORE HOME King 66 U011220 User manual

Universal
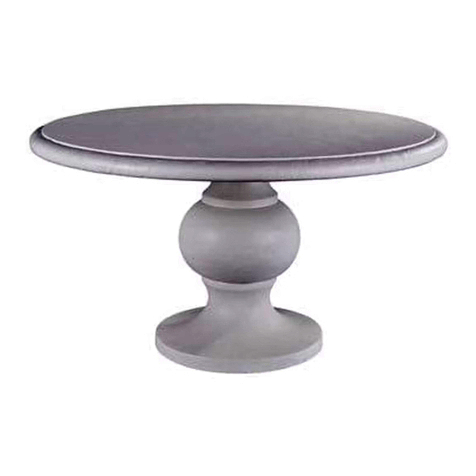
Universal EXPLORE HOME Love Joy Bliss 956A627-RTA User manual
Universal
Universal EXPLORE HOME HONOLUA U012750 User manual

Universal
Universal EXPLORE HOME Malibu 956260 User manual

Universal
Universal EXPLORE HOME Getaway U033-655 User manual

Universal
Universal Oxford Street 572-655 User manual
Universal
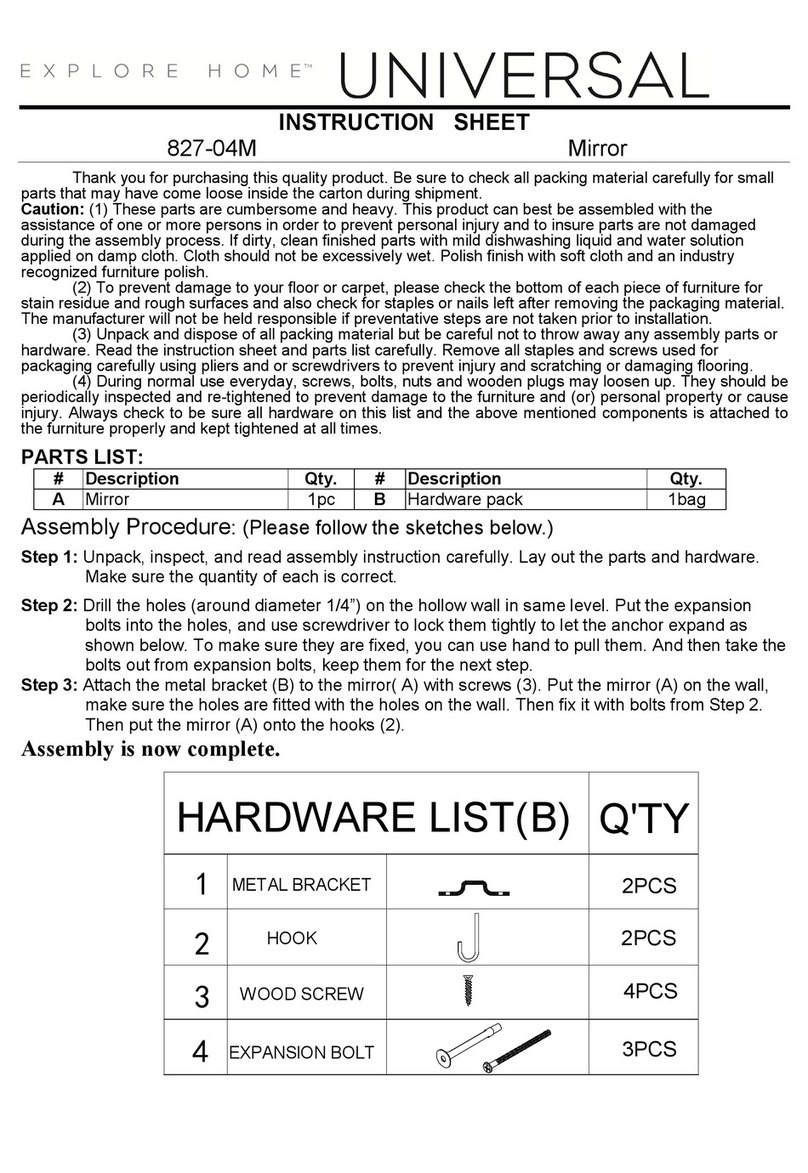
Universal Explore Home 827-04M User manual
Universal
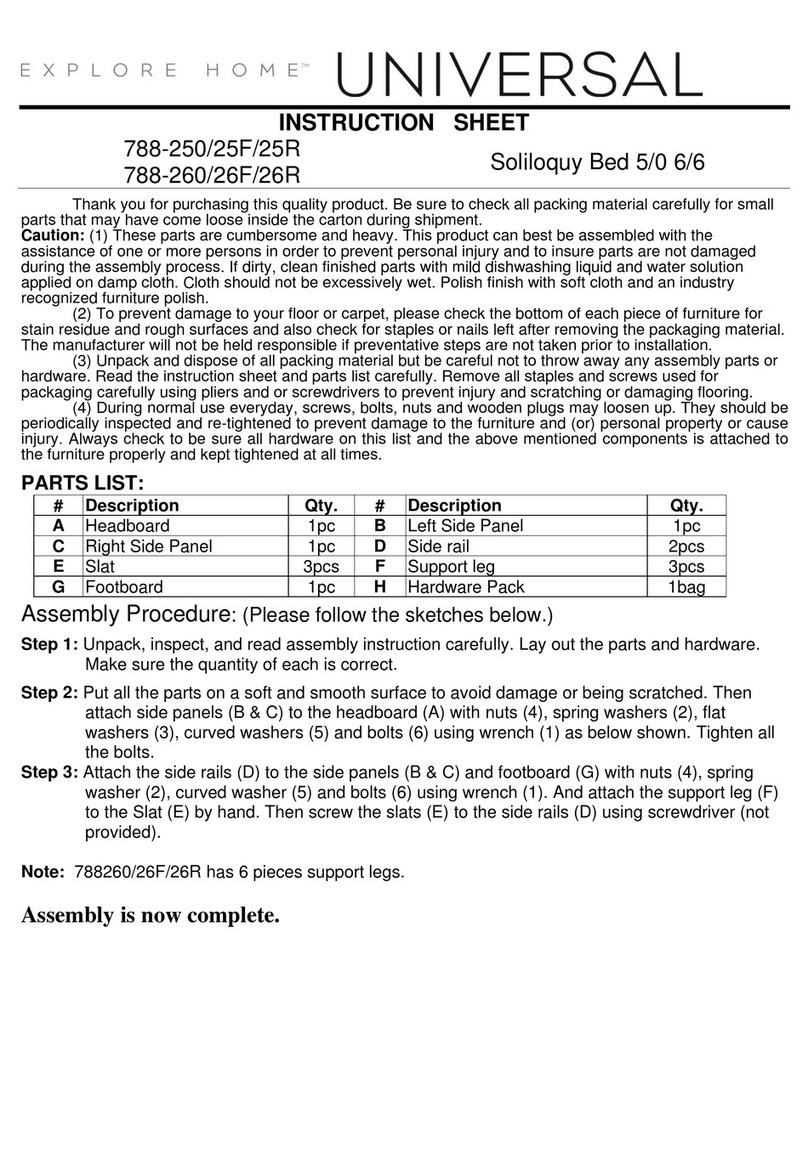
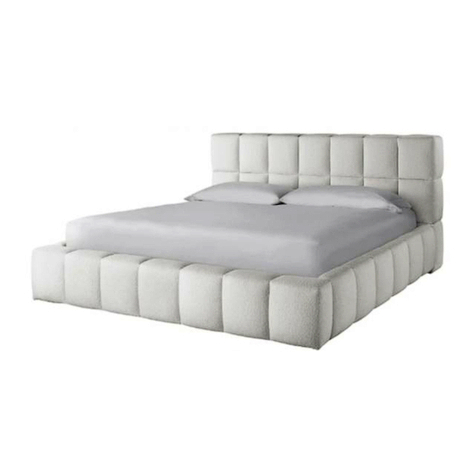
Universal EXPLORE HOME 788-250/25F/25R User manual
Universal
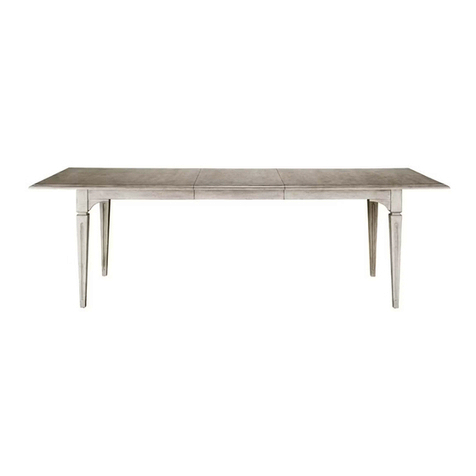
Universal Explore Home COLINA U181230 User manual
Universal
Universal Explore Home U178653 User manual

Universal
Universal EXPLORE HOME SOUTH BEACH U012749 User manual

Universal
Universal Explore Home Santa Cruz U012756 User manual
Universal
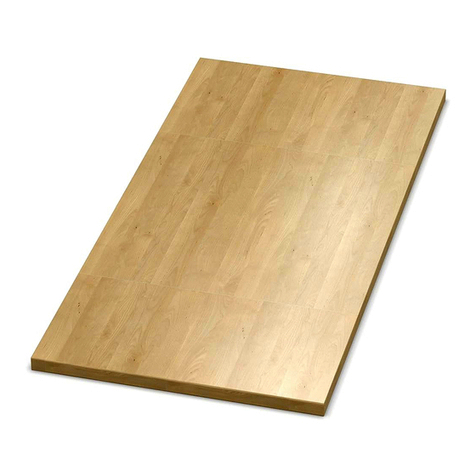
Universal Tischplatte 120 User manual

Universal
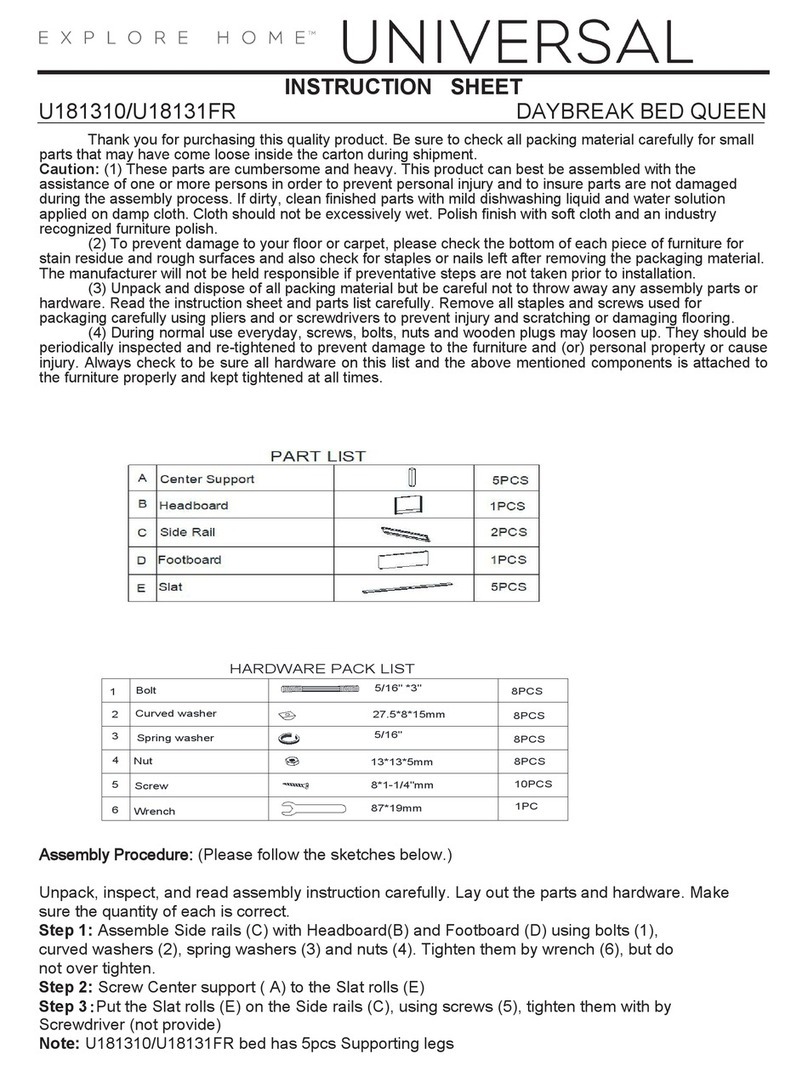
Universal Explore Home DAYBREAK U8181320 User manual
Universal
Universal Explore Home DAYBREAK 8181310 User manual
Universal
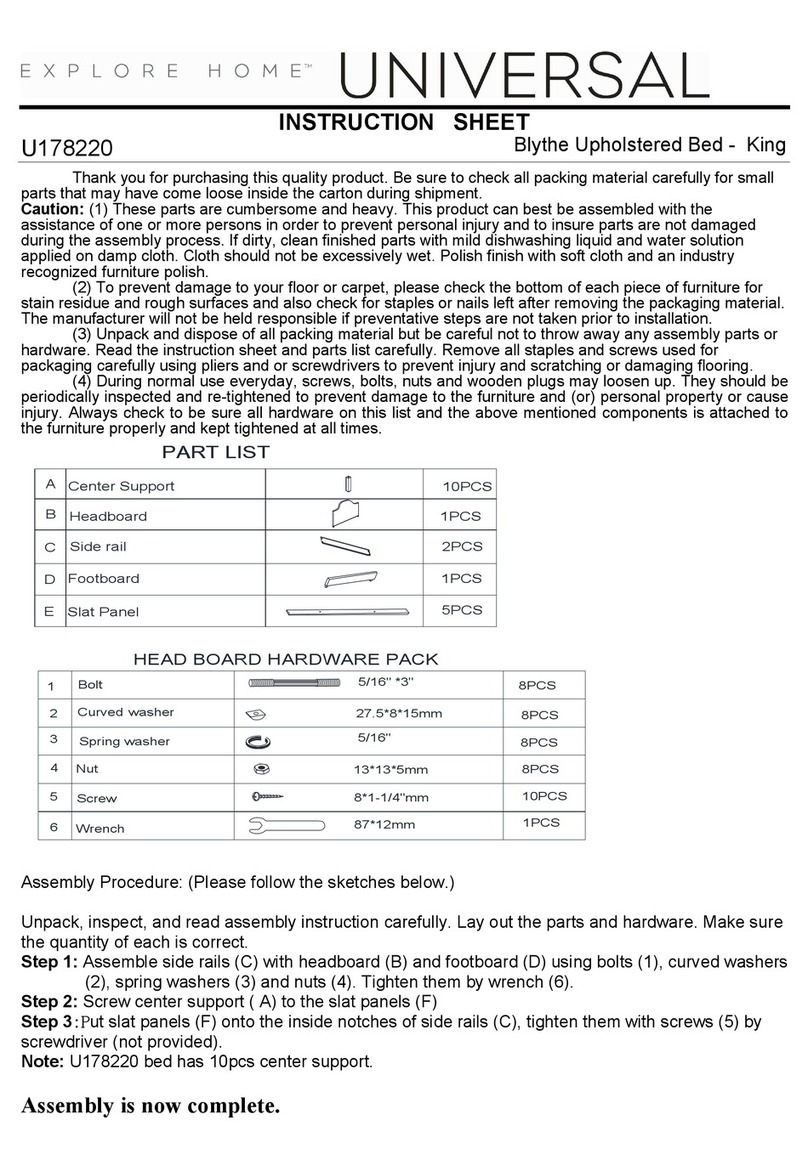
Universal Explore Home Blythe U178220 User manual

Universal
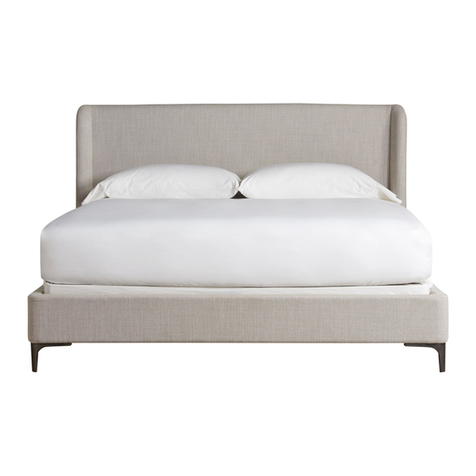
Universal EXPLORE HOME Ambrose 788-657 User manual
Universal
Universal EXPLORE HOME 941320 User manual

Universal
Universal EXPLORE HOME Love Joy Bliss 956A626-RTA User manual
Universal
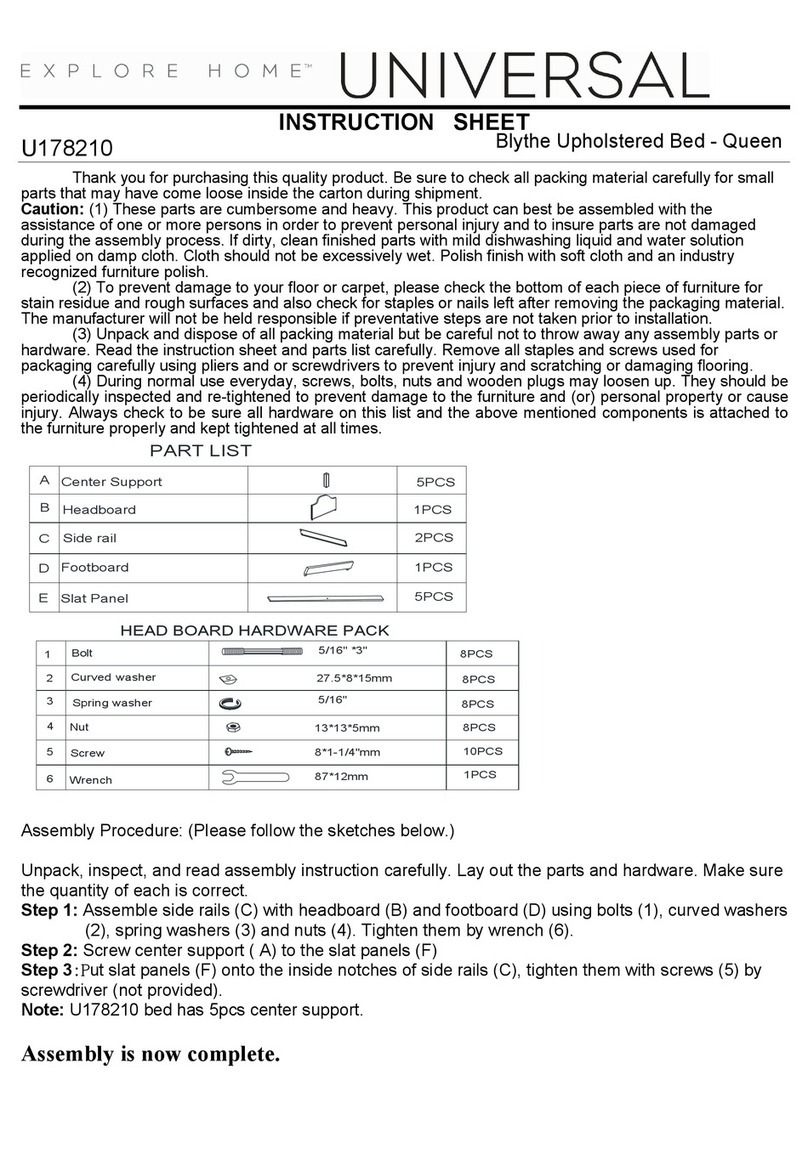
Universal Explore Home Blythe U178210 User manual
Popular Indoor Furnishing manuals by other brands

Regency
Regency LWMS3015 Assembly instructions

Furniture of America
Furniture of America CM7751C Assembly instructions

Safavieh Furniture
Safavieh Furniture Estella CNS5731 manual

PLACES OF STYLE
PLACES OF STYLE Ovalfuss Assembly instruction

Trasman
Trasman 1138 Bo1 Assembly manual

Costway
Costway JV10856 manual
