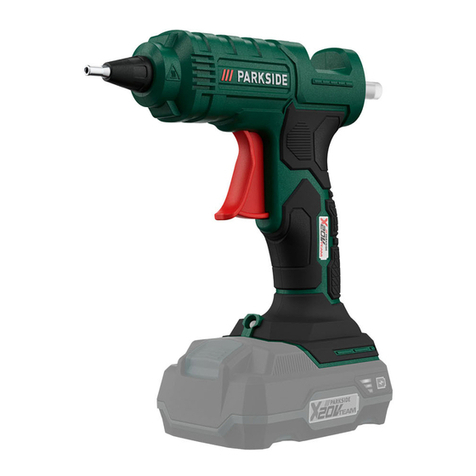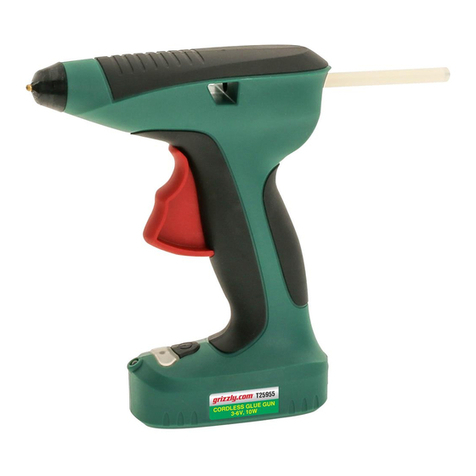
G1 & G2 ADHESIVE
APPLICATOR
OPERATION
MANUAL
Before you use your UREKA
UREKA G1
UREKA G2
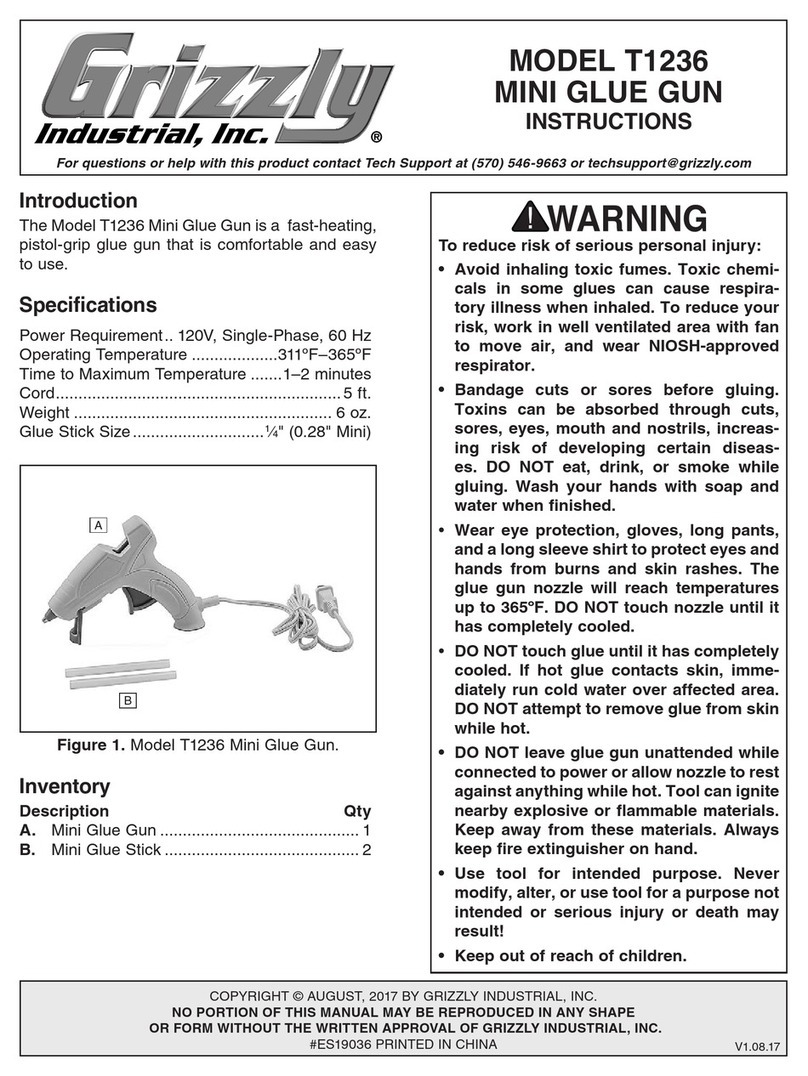
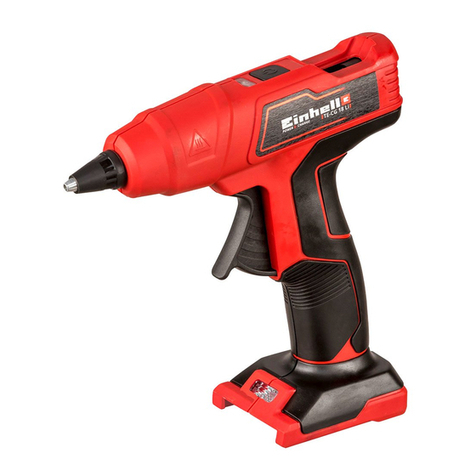
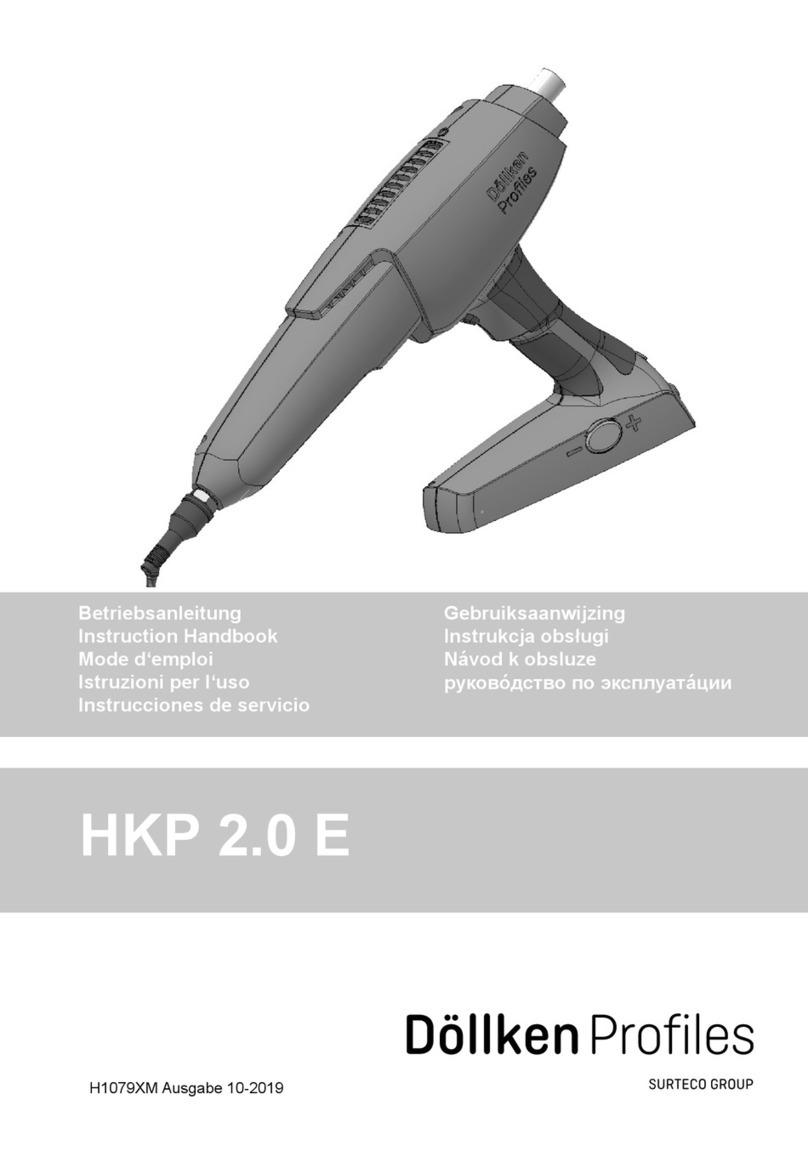
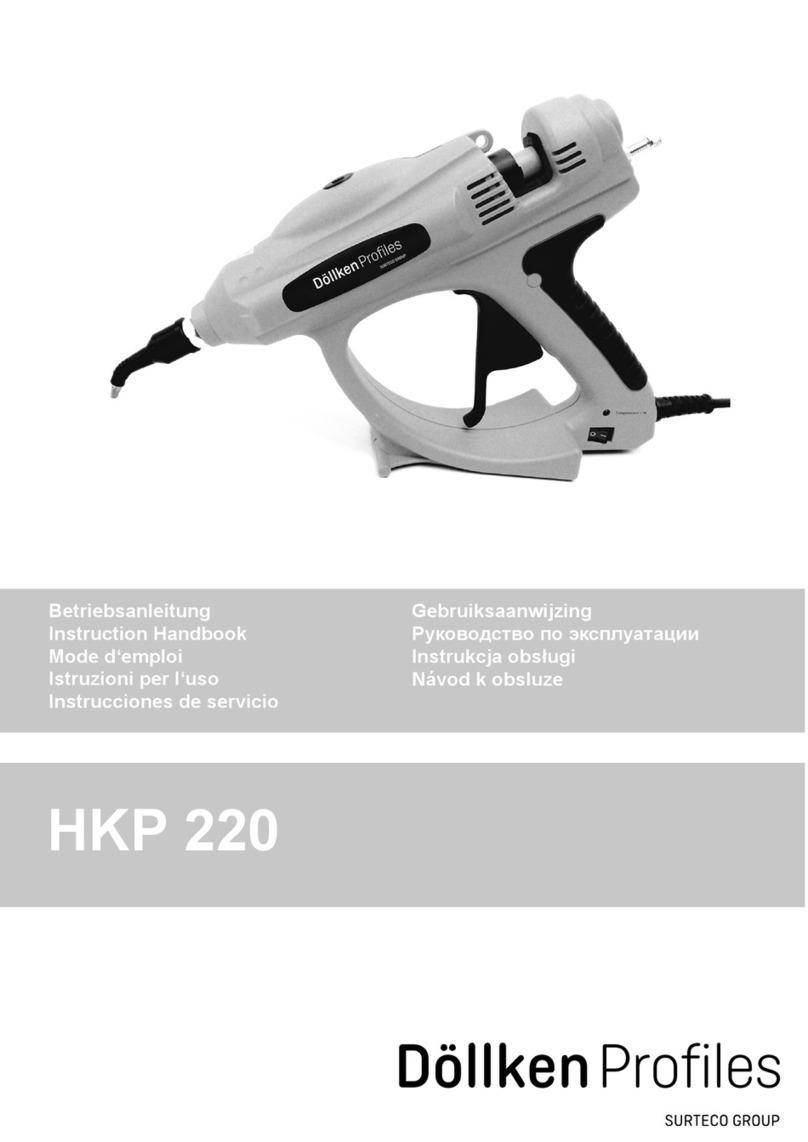
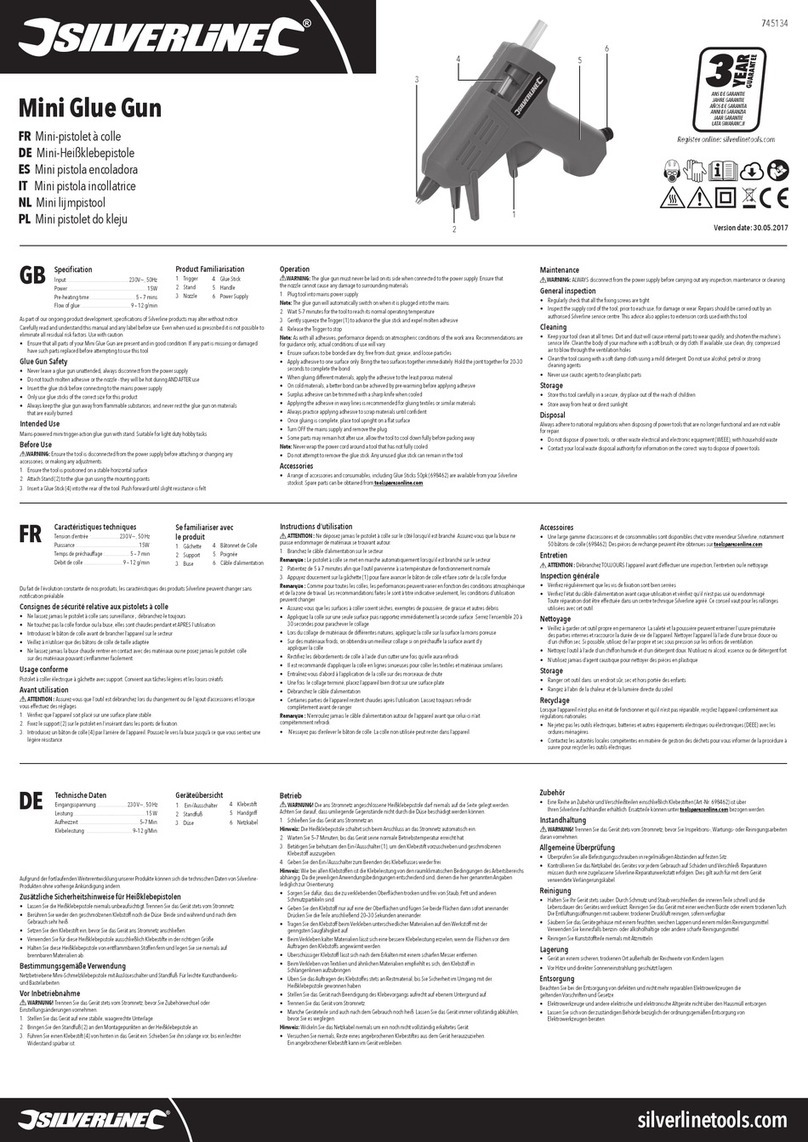
Your kit includes:
1 x Applicator
1 x Dispenser Head (size requested at time of ordering
1 x Battery Charger, 60min 220V
1 x Rechargeable NiMH Battery
(Optional Extras, according to your order)
Charging/recharging your battery pack
1
2
3
4
5
Red LED flashes when power is
on
Only use the battery charger provided and ensure
power supply is suitable for charger
Do not use if red LED stays
on
Green LED stays on when
fully charged
Green LED flashes during charging
GENERAL TOOL SAFETY
Failure to follow all instructions listed below may result in electric shock,fire and/or serious personal injury.
Read before operating equipment and keep these
instructions to hand.
Work area
Keep your work area clean and well lit. Dark or cluttered areas invite accidents. Do not operate power tools in
explosive atmospheres,such as in the presence of flammable liquids, gases, or dust. Power tools create
sparks which may ignite the dust or fumes. Keep children, bystanders and visitors away while operating a
power tool.Distractions can cause you to lose control.
Electrical safety
DO NOT expose power tools to rain or wet conditions. Water entering a power tool will increase the risk of
electric shock.
Personal safety
Stay alert, watch what you are doing,and use common sense when operating a power tool. Do not use a
power tool while tired or under the influence of drugs, alcohol, or
medication. A moment of inattention while operating power tools may result in serious personal injury. Use
safety equipment.Always wear eye protection. Dust mask, non-skid safety shoes, hard hat, or hearing
protection must be used for appropriate conditions. Avoid accidental starting. Be sure the switch is in the
locked or OFF position before inserting the battery pack. Carrying tools with your finger on the switch or
inserting the battery pack into a tool with the switch on invites accidents. Do not overreach.Keep proper
footing and balance at all times.Proper footing and balance enable better control of the tool in unexpected
situations. Dress properly. Do not wear loose clothing or jewellery. contain long hair. Keep your hair, clothing,
and gloves away from moving parts. Loose clothes, jewellery,or long hair can
be caught in moving parts. If devices are provided for the connection of dust extraction and collection
facilities, ensure these are connected and used properly. Use of these devices can reduce dust related
hazards.
Power tools
Use the power tool,accessories and tool bits, etc., in accordance with these instructions and in the manner
intended for the particular type of power tool, taking into account the working conditions and the work to be
performed. Use of the power tool for operations dierent from those intended could result in a hazardous
situation.
Power tool use and care
Do not force the power tool. Use the correct power tool for your application. Do not use the power tool if the
switch does not turn it on and o.Any power tool that cannot be controlled with the switch is dangerous and
needs repair. Disconnect the battery pack from the power tool before making any adjustments,changing
accessories or storing the tool. Such safety measures reduce the risk of starting the tool by accident. Store
idle power tools out of the reach of children. Do not allow persons unfamiliar with power tools or a tool’s
instructions to operate power tools. Power tools are dangerous in the hands of those unfamiliar with them.
Maintain power tools.Check for misalignment or binding of moving parts, breakage of parts and any other
condition that may aect the operation of the power tool. If damaged, have the power tool repaired before
use. Many accidents are caused by poor maintenance of power tools.
Battery tool use and care
Make sure the switch is in the OFF position before inserting the battery pack. Inserting the battery pack into
power tools that have the switch on invites accidents. Recharge the power tools only with the charger
specified by the manufacturer. A charger that is suitable for one type of battery pack may create a risk of fire
when used with another battery pack. Use power tools only with specifically designated battery packs. A risk
of injury and fire may result from the use of any other battery packs. Keep battery packs that are not in use
away from other metal objects like paper clips, coins, keys, nails or other small metal objects that can make a
connection from one terminal to another. Burns or fire may result from shorting the battery terminals
together.
Avoid contact with any liquid that may be ejected from the battery under abusive conditions.If accidental
contact occurs, flush with water. If liquid contacts eyes, also seek medical help. Irritation or burns may result
from liquid ejected from the battery.
Servicing
Have your power tools serviced only by qualified repair persons.Only use identical replacement parts.This
will ensure the safety of the power tool is maintained
SAFETY RULES FOR ADHESIVE TOOLS
Always wear safety glasses.
Keep hands out of the plunger and plunger rod area of the adhesive tool to avoid injury.
Always work in areas that are properly ventilated.If necessary,wear appropriate respiratory
protection.Fumes from some caulk and adhesives can be noxious.
Turn power unit o and disconnect battery pack before installing and removing accessories, before
adjusting or when making repairs. an accidental startup can cause injury.
Use only accessories that are recommended by the manufacturer. the use of improper accessories
may cause injury.
Avoid inadvertent release of material by locking trigger in the OFF position when not in use.
Take care not to get caulk or adhesive on battery contact points.
Always read and follow all manufacturer’s instructions regarding caulk or adhesive. Failure to do so
may result in personal injury.
When not in use, place tool on its side on a stable surface where it will not cause a tripping or falling
hazard. Some tools with large battery packs will stand upright on the battery pack but may be
easily knocked over.
WARRANTY
This product has a warranty of 12 months from the date of purchase against any defect in materials or
workmanship appearing under normal conditions of use.This does not include problems with the product
arising from any other circumstances, including (without limitation):
- Abuse, mishandling, accident or failure to follow operating instructions
- Leaking batteries,exposure to liquid, or infiltration of foreign particles
- Servicing or modification of the product by someone other than Gekko Industries LTD or their authorised
service agents
- The use with the product of unauthorised attachments or unsuitable materials
Proof of purchase and product serial number must be presented to claim under warranty. Contact Gekko
Industries Ltd using the contact details in this manual.
THE NAME THAT STICKS
T: +44 (0) 117 971 1364
thenamethatsticks.com
UREKA Global Ltd.
7 Flowers Hill, Bristol, BS4 5JJ
