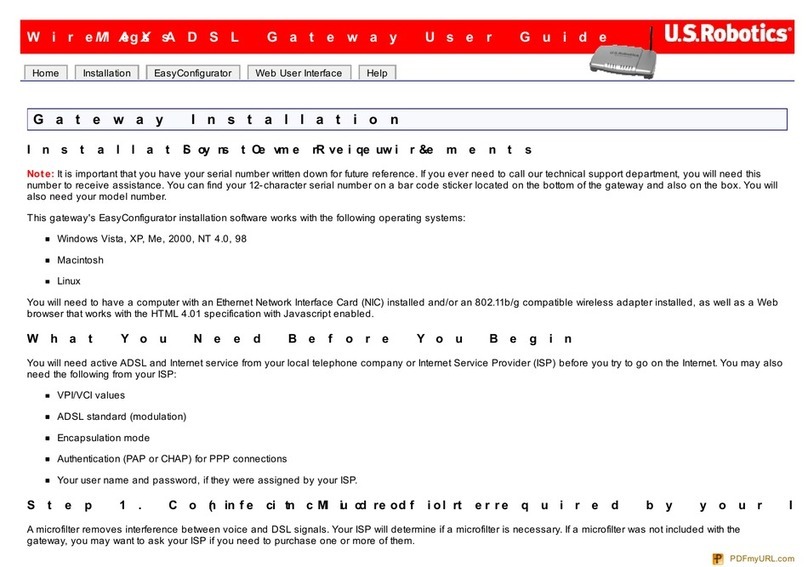
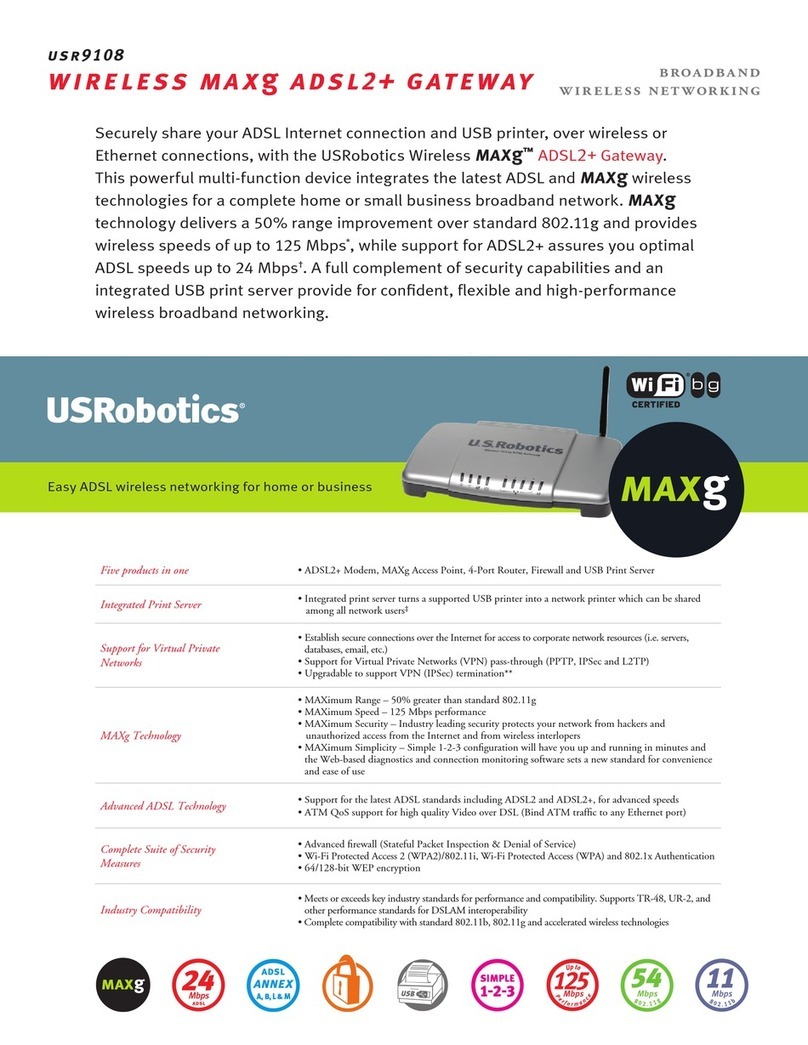
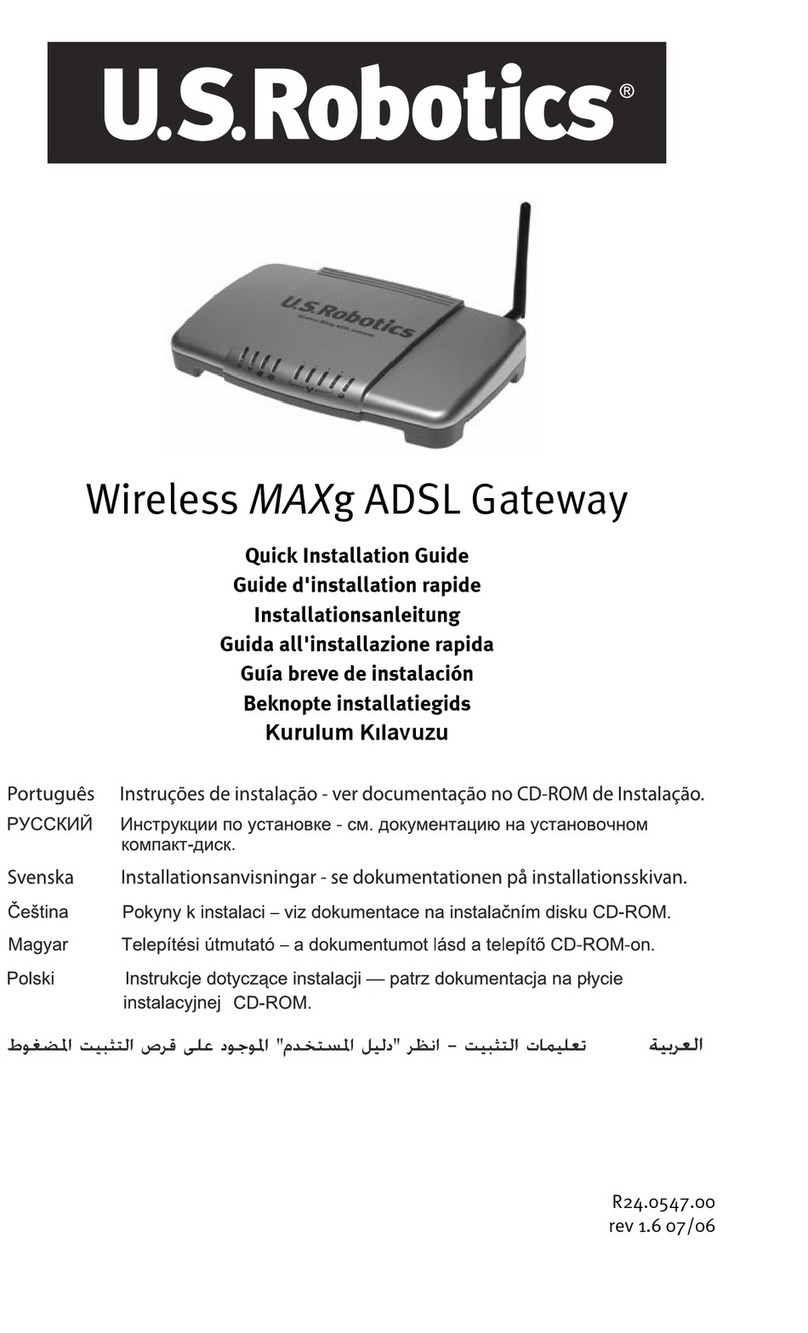
US Robotics Wireless Ndx ADSL2+ Gateway User manual

Wireless
N
dx ADSL2+
Gateway
Quick Installation Guide
Guide d'installation rapide
Installationsanleitung
Guida per l'installazione rapida
Guía breve de instalación
Beknopte installatiegids
HõzlõKurulum Kõlavuzu
Οδηγός γρήγορης εγκατάστασης
R24.0691.00
rev 2.1 3/07


Contents
English . . . . . . . . . . . . . . . . . . . . . . . . . . . . . . . . . . . . . . 1
Installation ............................................................................1
Additional Configuration ......................................................... 7
Troubleshooting .................................................................... 11
Additional Information ...........................................................14
Français . . . . . . . . . . . . . . . . . . . . . . . . . . . . . . . . . . . . 15
Installation ..........................................................................15
Configuration supplémentaire .................................................21
Dépannage .......................................................................... 26
Informations complémentaires ............................................... 28
Deutsch . . . . . . . . . . . . . . . . . . . . . . . . . . . . . . . . . . . .29
Installation ......................................................................... 29
Weitere Konfiguration ........................................................... 35
Fehlerbehebung ................................................................... 40
Weitere Informationen .......................................................... 43
Italiano . . . . . . . . . . . . . . . . . . . . . . . . . . . . . . . . . . . . 45
Installazione ....................................................................... 45
Configurazione aggiuntiva ......................................................51
Risoluzione di problemi ........................................................ 56
Informazioni aggiuntive ........................................................ 58
Español . . . . . . . . . . . . . . . . . . . . . . . . . . . . . . . . . . . . 59
Instalación .......................................................................... 59
Configuración adicional ........................................................ 65
Solución de problemas.......................................................... 70
Información adicional ........................................................... 72
Nederlands . . . . . . . . . . . . . . . . . . . . . . . . . . . . . . . . . . 73
Installatie ........................................................................... 73
Aanvullende configuratiegegevens ......................................... 79
Problemen oplossen ............................................................. 84
Aanvullende informatie ......................................................... 86
Türkçe . . . . . . . . . . . . . . . . . . . . . . . . . . . . . . . . . . . . . 87
Kurulum .............................................................................. 87
Ek Konfigürasyon ................................................................. 93
Sorun Giderme ..................................................................... 97
Ek Bilgiler .......................................................................... 100
Ελληνικά . . . . . . . . . . . . . . . . . . . . . . . . . . . . . . .101
Εγκατάσταση .................................................................. 101
Πρόσθετη διαμόρφωση..................................................... 107
Αντιμετώπιση προβλημάτων ............................................. 111
Πρόσθετες πληροφορίες ................................................... 114
Support / Assistance / Servizio assistenza / Asistencia téc-
nica / Ondersteuning / Destek / Υποστήριξη . . . . . . . . 117
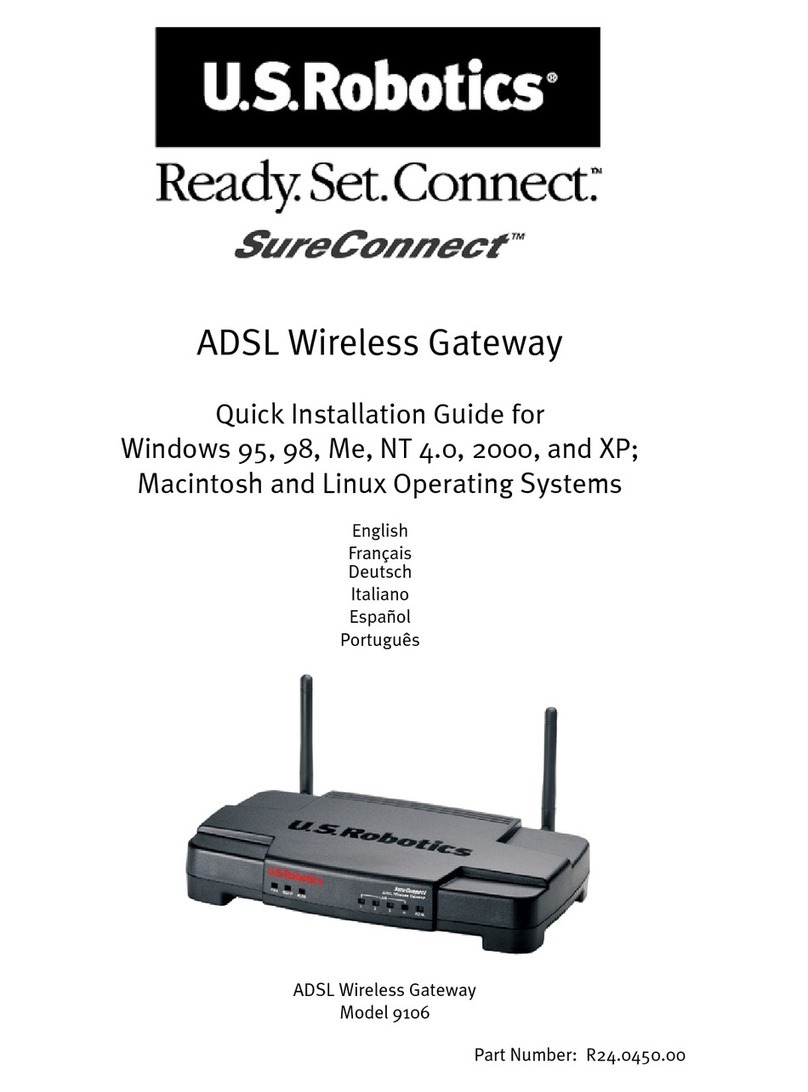
English
1
English
Installation
Package Contents
Physical Features
Front
The gateway has the following status LEDs:
!USRobotics Wireless
N
dx ADSL2+ Gateway
!15V DC Power supply !Detachable Antennas
!Ethernet cable !Installation CD-ROM
!Telephone cable !Quick Installation Guide
Symbol Name State Condition
Power
Off Not receiving power.
Solid Receiving power.
WLAN
(Wireless Net-
work)
Off Wireless connection is disabled.
Solid Wireless connection is enabled.
Flashing Sending and receiving data.
SecureEasySetup Off SecureEasySetup mode is not ready
on the gateway.
Solid SecureEasySetup mode is ready.
Blinking Communicating with
SecureEasySetup devices.
WAN
(Internet)
Off No Internet connection established
or the gateway is in bridge mode.
Flashing Sending and receiving data.
Solid Internet connection is established.
ADSL Off No ADSL connection.
Solid ADSL link is achieved.
Flashing ADSL link is being established.
1234

2
English
Back
LAN
(1 to 4)
Off No LAN connection.
Solid LAN link is achieved.
Flashing Sending and receiving data.
Printer
Off No printer connection is detected.
Solid Printer connection is detected.
Flashing Sending data to printer.
Item Function
ADSL
Connects your gateway to your ADSL line.
LAN 1 to 4
Connects additional devices to your gateway.
USB
Connects your gateway to a USB printer.
Reset
Reboots your gateway or restores your gateway to the
factory default settings.
• To reboot your gateway without changing your cur-
rent settings, press and hold the
Reset
button for 1 full
second.
• To restore your access point to the factory default-
settings, press and hold the
Reset
button for at least 7
seconds.
15VDC
Connects the power adapter to your gateway.
SecureEasySetup
Enables SecureEasySetup on your gateway.
• To enable SecureEasySetup on your gateway, press
and hold the
SecureEasySetup
button for 1 full second.
• To reset your wireless security settings to the fac-
tory default (no security enabled), press and hold the
SecureEasySetup
button for 7 seconds.
Connects an antenna to the gateway.
Symbol Name State Condition
ADSL 1234
15VDC
Reset
USB
Secure
Easy
Setup

English
3
Default Values
The Wireless
N
dx ADSL2+ Gateway has the following default values:
!IP Address: 192.168.1.1
System Requirements
!ADSL line installed by your Internet Service Provider
!A computer with an Ethernet adapter installed
!An HTML 4.01-compliant Web browser with JavaScript enabled
Installation Instructions
Step One: Connect Microfilter(s) (if included or required by your ISP)
A microfilter removes interference between voice and ADSL signals. If a micro-
filter was not included with the gateway, ask your ISP if microfilters are necessary
for your telephony devices.
1. Plug each telephony device cable (telephone, fax machine, etc.) into a micro-
filter.
2. Connect the microfilter into the telephone wall jack.
Note:Do not install a microfilter on the cable that will connect your gateway
to the telephone jack unless you have a dual connection microfilter
with a connection for both the gateway and the telephone.

4
English
Step Two: Connect Your Gateway
1. Connect your gateway to your ADSL line:
A. Connect the provided antennas to the back of the gateway.
B. Connect one end of the included phone cable to the ADSL port on the
gateway.
C. Connect the other end of the phone cable to your wall telephone jack.
2. Connect the gateway to your computer:
A. Power off your computer.
B. Connect one end of the supplied Ethernet cable to your computer’s
Ethernet adapter.
C. Connect the other end to one of the gateway’s LAN ports.
3. Power up the network:
A. Connect the supplied power adapter to the 15VDC port on the gateway.
Note:The USB port on the gateway is for connecting a USB printer
only. For instructions on connecting a USB printer to your
gateway, see “Install a USB Printer” on page 8.
Note:UK Users: With the power adapter unplugged, connect the
appropriate power plug for your country on to the power adapter.
Apply enough pressure to cause a click and firmly seat the plug
before connecting the power adapter to your gateway.
WAN
123415VDC
Reset
USB
Secure
Easy
Setup
WAN
123415VDC
Reset
USB
Secure
Easy
Setup

English
5
B. Plug the power adapter into a standard power outlet.
C. Turn on your computer.
Step Three: Configure Your Gateway Using EasyConfigruator
You will need active ADSL and Internet service from your local telephone com-
pany or Internet Service Provider (ISP) before you try to go on the Internet. You
may need some of the following information from your ISP:
"VPI/VCI values
"ADSL standard (modulation)
"Encapsulation mode
"Protocol type
"Authentication (PAP or CHAP) for PPP connections
"IP address, user name and password (if they were assigned by your ISP)
"Subnet mask, gateway, and DNS server information
1. Insert the USRobotics Installation CD-ROM into your computer’s CD or
DVD ROM drive and do one of the following:
"Windows:
A. If the CD doesn’t start automatically, start it manually as follows:
i) Windows Vista: Click Windows Start > Computer.
Windows XP: Click Windows Start > My Computer.
Windows 2000: On the desktop, double-click My Computer.
ii) Double-click the CD drive.
B. Select your preferred language, then read the license agreement and
click OK.
C. Click Setup. It can take up to one minute for EasyConfigurator to
start.
"Macintosh OS X: Open the CD-ROM and double-click USRobotics Easy-
Configurator. It can take up to one minute for EasyConfigurator to start.
"Linux: Open the CD-ROM and double-click EasyConfigurator linux-script.
It can take up to one minute for EasyConfigurator to start.
WAN
123415VDC
Reset
USB
Secure
Easy
Setup

6
English
4. Select your country and your Internet Service Provider (ISP) from the drop-
down lists on the Internet page. If your country or ISP does not appear in the
list, select Other for the country and manually enter the settings provided by
your ISP.
You may need to enter the user name and password for your ADSL connec-
tion after making your selections.
5. Click Save.
6. You will be directed to the Status tab. There will be a message at the top of
the page that indicates if your ADSL connection has been established. If the
message indicates that there is no ADSL connection, see “Troubleshooting”
on page 11 of this guide.
7. Click the Login tab, enter a password for the admin account and click Save.
8. Close EasyConfigurator.
For expanded EasyConfigurator details, see the User Guide on the USRobotics
Installation CD-ROM.
Step Four: Configure Your Wirless Security Settings
1. To configure your wireless security settings, press the SecureEasySetup
button on the back of the gateway for one full second. This will set WPA2
and WPA (PSK) wireless security and configure a pass phrase/network key
for your wireless network.
2. If you will be connecting this computer to your network via a wireless con-
nection, you can unplug the Ethernet cable from the gateway and your com-
puter, install your wireless adapter, then connect your computer to your
gateway using a wireless connection. For instructions on installing your wire-
less adapter, see your wireless adapter’s documentation.
Note:The user name admin and the password you enter will be used in
the future when you log in to the gateway.
Caution: If you have do not enable a wireless security method on the
gateway, your wireless network will be insecure. Unautho-
rised wireless devices may be able to connect to your net-
work, use your Internet connection, and access computers on
the network.

English
7
Back Up Your Configuration Settings
Having a backup reduces the effort required to reapply your configuration set-
tings should you ever restore your gateway to its factory default settings. USRo-
botics recommends that you back up your settings now.
1. On your computer, start a Web browser.
2. In the location or address line type 192.168.1.1 and press ENTER to
access the gateway configuration pages. When prompted, enter the user name
and password for the gateway.
3. Select Back Up Settings from the Device menu.
4. Click Back Up.
5. Your system will prompt you to save or open the file. Select Save.
Congratulations. You have successfully completed the installation proce-
dure. You can verify your Internet connection by registering your Wireless
N
dx
ADSL2+ Gateway at
www.usr.com/productreg/
.
Additional Configuration
Connect Installed Wireless Clients
You can use the SecureEasySetup™ button to connect Wireless
N
dx and other
certified SecureEasySetup wireless devices to your gateway.1If you still need to
install any wireless adapters, refer to the wireless device’s documentation for
installation instructions.
If your wireless client has SecureEasySetup, you should see one of the following
logos on the device or within the client utility:
If your wireless device does not support SecureEasySetup, you can still manually
enter the wireless security settings.
1 BROADCOM, SecureEasySetup, and the SecureEasySetup logo are trademarks or registered
trademarks of Broadcom Corporation in the United States and/or other countries.

8
English
Connect a SecureEasySetup Device to Your Wireless Gateway2
1. Press the SecureEasySetup button on the back of your gateway for 1 second.
The SecureEasySetup LED on the front of your gateway will start blinking.
2. Initiate SecureEasySetup in the client utility for your wireless adapter.
3. The gateway and the wireless adapter will synchronise wireless security set-
tings, and the device will be securely connected to the gateway.
Manually Connect a Device to Your Wireless Gateway
For instruction in changing your adapter’s mode or wireless security settings, see
your wireless adapter’s documentation.
1. Ensure that the wireless adapter in the device is set to infrastructure mode.
2. Set the Network name or SSID in the wireless adapter’s settings to the Net-
work name that is used in the gateway.
3. If you set wireless security on the gateway, ensure that the wireless security
settings for the wireless adapter match those that you set on the gateway.
To view the wireless security settings of your gateway:
1. Start a Web browser on your computer, and in the location or address
line type 192.168.1.1 and press ENTER.
2. Enter the user name and the password for your gateway and click OK.
3. On the gateway configuration pages, go to the Security menu and select
Wireless to view your wireless security settings.
Install a USB Printer
A USB printer can be connected to the Wireless
N
dx ADSL2+ Gateway and
used as a network printer if both your operating system and your printer support
the Internet Printing Protocol (IPP). Windows Server®2003, and Windows®
Vista, XP, and 2000 have built-in support for this function. Contact your printer
manufacturer to determine whether your printer supports IPP.
2 For SecureEasySetup to be ready on your gateway, it must be set with WPA2 and WPA (PSK)
wireless security with TKIP and AES encryption, and a WPA pre-shared key (which is also com-
monly called a Network key, WPA key, or pass phrase). You can configure the settings manually, or
press the SecureEasySetup button to configure your wireless settings.
Note:When used with multi-function printers that scan and copy, the
Wireless
N
dx ADSL2+ Gateway only supports printing. For bi-direc-
tional communication features such as scanning, connect the multi-
function printer directly to the computer. Notifications, such as low
ink or add paper, will not be transmitted from the Wireless
N
dx
ADSL2+ Gateway to your computer.

English
9
For instructions on printer installation for Windows Me and 98SE, Mac, and
Linux, see the User Guide on the USRobotics Installation CD-ROM.
Step One: Local Printer Installation
You need to install the drivers provided by the printer manufacturer on each
computer that will use the printer before connecting your printer to the Wireless
N
dx ADSL2+ Gateway.
1. Plug your USB printer into one of the USB ports on the computer.
2. Install the printer by following the installation instructions included with your
printer.
3. Print a test page to ensure that the printer is working properly.
4. Power off the printer.
Step Two: Get Your Print Server Information
1. Disconnect the printer from your computer and plug the thin rectangular end
of the USB cable into the USB port on the Wireless
N
dx ADSL2+ Gateway.
2. Turn your printer on.
3. On your computer, start a Web browser.
4. In the location or address line type 192.168.1.1 and press ENTER to
access the gateway configuration pages.
5. Enter the user name and the password for your gateway and click OK.
6. From the Device menu, select Printer Server.
7. Enter the Printer name and a Comment for the printer.
8. Write down the printer location address (example: http://192.168.1.1:1631/print-
ers/My_Printer). You need the address to set up the printer on computers that
you want to have access to the printer.
Note:If the printer has already been installed on every computer that will use
it on the network, skip to “Step Two: Get Your Print Server Informa-
tion” .
ADSL 1234
15VDC
Reset
USB
Secure
Easy
Setup

10
English
Step Three: Connect Computers to the Wireless USB Print Server
Windows Vista:
1. Click Windows Start > Control Panel > Hardware and Sound > Printers.
2. Click Add a Printer. The Add Printer Wizard will start.
3. Choose the radio button labeled Add a network, wireless or Bluetooth printer.
Click Next
4. Click The Printer That I Want Isn’t Listed.
5. Choose Select a shared printer by name, and in the URL field, enter the printer
location address recorded during Step Two. Click Next.
6. If prompted, select the manufacturer and model of your printer and follow
the on-screen instructions.
7. Enter a name for the printer and click Next. You can choose to print a test
page to verify the printer's connectivity.
8. Click Finish to complete the setup process.
Windows XP and 2000:
1. Do one of the following:
"Windows XP: Click Windows Start >Printers and Faxes.
"Windows 2000: Click Windows Start > Settings > Printers.
2. Click Add a Printer. The Add Printer Wizard will start.
3. Click Next.
4. Select the radio button labeled A network printer, or a printer attached to another
computer. Click Next.
5. Select Connect to a printer on the Internet or on a home or office network. In the URL
field, enter the Printer location address you copied from the gateway configura-
tion pages. Click Next.
Note:You must perform this procedure on each computer on your network
to allow printing using the print server on the Wireless
N
dx ADSL2+
Gateway.
Note:The URL information is case-sensitive and must be entered exactly as
it is listed on the Printer location section on the gateway's Status page.
Note:The URL information is case-sensitive and must be entered exactly as
it is listed on the Printer location section on the gateway's Status page.

English
11
6. Select the manufacturer and model of your printer. Click OK.
7. When prompted, select Yes to set this printer as your default printer.
8. Click Finish.
Step Four: Verify the Printer's Connectivity
1. Do one of the following:
"Windows Vista: Click Windows Start > Control Panel > Hardware and
Sound > Printers.
"Windows XP: Click Windows Start >Printers and Faxes.
"Windows 2000: Click Windows Start > Settings > Printers.
2. Right-click on your printer and select Properties.
3. Click Print Test Page. The test page should print successfully.
Troubleshooting
This basic procedure addresses a number of symptoms that you might experi-
ence with your gateway:
1. Verify the power cord and all the Ethernet cables are connected correctly.
This includes the cables connecting the gateway and all the computers in the
network. See the Installation illustrations on page 4.
2. Ensure that the power outlet to which the gateway is connected is a live out-
let.
3. Refer to the LED descriptions in this guide and then check the LEDs on the
gateway to make sure you are receiving power and all ports are functioning.
See the LED descriptions on page 1.
4. For wireless connections only: Low link quality or range can be caused by
environmental interference, such as lead-based paint and concrete walls, or
some electronic items, such as 2.4GHz phones. Try to move the antenna of
the gateway or reposition the wireless clients to improve the link quality.
5. For wireless connections only: Verify that each device connecting to the gate-
way is set to Infrastructure mode. Set the Network name or SSID in the wire-
less adapter’s settings to the Network name that is used in the gateway, and
verify that you are using the same wireless security type. Refer to your wire-
less adapter’s documentation to determine how to change these settings.
Note:If your printer is not in the list, your printer drivers were not installed
correctly. Repeat “Step One: Local Printer Installation” on page 9.
Note:If the test page fails to print, see “Troubleshooting” in the User Guide
on the USRobotics Installation CD-ROM for additional information.

12
English
If you still have trouble using the gateway, see the “Troubleshooting” section of
the User Guide on the USRobotics Installation CD-ROM.
EasyConfigurator was unable to detect my Internet connection.
Solution:
1. Go the the Internet page in EasyConfigurator.
Select your country and service provider. If your service provider is not
listed, select Other for your country and manually enter your connection
information. You may need some of the following information from your
ISP:
"VPI/VCI values
"ADSL standard (modulation)
"Encapsulation mode
"Protocol type
"Authentication (PAP or CHAP) for PPP connections
"IP address, your user name and password (if assigned by your ISP)
"Subnet mask, gateway, and DNS server information
2. If you are unsure about any required connection information, contact your
ISP.
3. Click Save.
I am no longer able to access the Internet.
Solution:
1. Press the Reset button on the back of your gateway for 1 second to reboot
your gateway. Wait for the gateway to completely reboot.
2. Reboot your computer. Wait for the computer to completely reboot and try
to access the Internet.
3. If you still cannot access the Internet, see the “Troubleshooting”section of
the User Guide on the USRobotics Installation CD-ROM for extended trou-
bleshooting on this issue.
SecureEasySetup could not configure my wireless client.
Solution:
Press the SecureEasySetup button on the back of the gateway for one full sec-
ond, then verify that the SecureEasySetup LED on the front of the gateway
starts blinking before initiating SecureEasySetup in the client utility for your
wireless adapter.
Note:Pressing and holding the Reset button for 7 seconds will restore your
gateway to the factory default settings.

English
13
My gateway’s configuration pages are not responding, but I can
still access the Internet.
Solution:
Press the Reset button on the gateway for 1 second to reboot the gateway. If you
are still unable to communicate with the gateway configuration pages, press in
and hold the Reset button for 7 seconds. This will reset the gateway to the factory
default settings. If you made any personal configuration settings, you will need to
make the changes again or restore your settings if you created a backup file.
How do I configure my gateway if I am connecting a gaming
console or VoIP device?
Solution:
If you want to connect a device to your gateway such as a gaming console or
VoIP device, you will have to open up access to specific ports so the devices can
communicate with the Internet. This is done from the Security menu on the gate-
way configuration pages, using Port Triggering. For detailed information on Port
Triggering, see the “Configuration” and “Tutorials” sections of the User Guide on
the USRobotics Installation CD-ROM.
How do I configure the firewall on my gateway?
Solution:
You can access the gateway’s firewall settings from the Internet menu on the gate-
way configuration pages, using WAN Setup. For detailed information on firewall
settings, see the “Configuration” and “Tutorials” sections of the User Guide on
the USRobotics Installation CD-ROM.

14
English
Additional Information
For regulatory and warranty information, see the User Guide on the
USRobotics Installation CD-ROM.
For operation and configuration information, see the User Guide on the
USRobotics Installation CD-ROM. The User Guide contains detailed informa-
tion on the use and configuration of your Wireless
N
dx ADSL2+ Gateway.
For expanded troubleshooting and additional information:
1. See the User Guide on the USRobotics Installation CD-ROM.
2. Go to the Support section of the USRobotics Web site at
www.usr.com/support/.
Many of the most common difficulties that customers experience have been
addressed in the FAQ and Troubleshooting Web pages for your Wireless
N
dx ADSL2+ Gateway. The Support pages also contain information on the
latest firmware and may contain documentation updates.
3. Submit your technical support question using an online form, or contact
USRobotics customer support.
4. See the Support contact information on the last page of this guide.

Français
15
Français
Installation
Contenu de la boîte
Caractéristiques matérielles
Face avant
La passerelle comporte les voyants de statut suivants :
!USRobotics Wireless
N
dx ADSL2+ Gateway
!Alimentation 15 VCC !Antennes amovibles
!Câble Ethernet !CD-ROM d'installation
!Un câble téléphonique !Guide d'installation rapide
Symbole Nom Etat Condition
Alimentation
Eteint Hors tension.
Continu Sous tension.
WLAN
(réseau sans fil) Eteint La connexion sans fil est désactivée.
Continu La connexion sans fil est activée.
Clignotant Envoi ou réception de données.
SecureEasySetup Eteint Le mode SecureEasySetup n'est pas
activé sur la passerelle.
Continu Le mode SecureEasySetup est activé.
Clignotant Communication en cours avec des
périphériques SecureEasySetup.
WAN
(Internet)
Eteint Aucune connexion Internet établie,
ou la passerelle est en mode pont.
Clignotant Envoi ou réception de données.
Continu Connexion Internet établie.
ADSL Eteint Pas de connexion ADSL.
Continu La connexion ADSL a été établie.
Clignotant L'établissement de la connexion
ADSL est en cours.
1234

16
Français
Face arrière
LAN
(1 à 4)
Eteint Pas de connexion LAN.
Continu Connexion LAN établie.
Clignotant Envoi ou réception de données.
Imprimante
Eteint Pas de connexion imprimante
détectée.
Continu Connexion imprimante détectée.
Clignotant Envoi de données à l'imprimante.
Elément Fonction
ADSL
Connecte votre passerelle à votre ligne ADSL.
LAN 1 à 4
Connecte des périphériques supplémentaires à votre
passerelle.
USB
Connecte votre passerelle à une imprimante USB.
Reset (Réinitialiser)
Redémarre votre passerelle ou rétablit les réglages
d'usine par défaut de votre passerelle.
• Pour redémarrer votre passerelle sans modifier
vos paramètres actuels, appuyez sur le bouton
Reset
(Réinitialiser) et maintenez-le enfoncé pendant
1seconde.
• Pour rétablir les réglages d’usine par défaut
de votre passerelle, appuyez sur le bouton de
Reset
(Réinitialiser) pendant au moins 7 secondes.
15VDC (15 VCC)
Connecte l'adaptateur secteur à votre passerelle.
SecureEasySetup
Active SecureEasySetup sur votre passerelle.
• Pour activer SecureEasySetup sur votre passerelle,
maintenez le bouton
SecureEasySetup
enfoncé pendant
1 seconde.
• Pour rétablir la valeur par défaut de vos paramètres
de sécurité sans fil (aucune sécurité activée),
maintenez le bouton
SecureEasySetup
enfoncé pendant
7 secondes.
Connecte une antenne à la passerelle.
Symbole Nom Etat Condition
ADSL 1234
15VDC
Reset
USB
Secure
Easy
Setup
Table of contents
Languages:
Other US Robotics Gateway manuals

US Robotics
US Robotics 9108 User manual

US Robotics
US Robotics USR3520 User manual

US Robotics
US Robotics USR3520 User manual

US Robotics
US Robotics 9108 User manual

US Robotics
US Robotics USR9108 - U.S. Robotics Wireless MAXg User manual

US Robotics
US Robotics sureconnect User manual

US Robotics
US Robotics USR9108 - U.S. Robotics Wireless MAXg User manual

US Robotics
US Robotics USR9108 - U.S. Robotics Wireless MAXg User manual