Uscom BP+ User manual

BP+ User’s Manual
Central Blood Pressure Measuring Device

© Copyright Uscom Limited 2009-2017. All rights reserved.
No part of this document may be reproduced or transmitted in any form or by any
means, electronic, mechanical, photocopying, recording, or otherwise, without the
prior written permission of Uscom Limited.Product specifications may change
without prior notice.
CardioScope, Pulsecor and BP+ are trademarks of Uscom Limited.
Disclaimers and Limitations of Liability
The information contained in this document, including but not limited to any product
specifications, is subject to change without notice. Uscom makes no representations
or warranties of any kind concerning the contents of this document. Under no
circumstances will Uscom be held liable for any loss or other damages pertaining to
the use of this document.
Uscom Limited
Level 8, 66 Clarence St
Sydney 2000 NSW
Australia
T: +61 2 92474144
F: +61 2 92478157
W: www.uscom.com.au
Emergo Europe
Prinsessegracht 20
2514 AP The Hague
The Netherlands
W: www.emergogroup.com
BP+ User Manual (R7)
Part Number: 0760024-00
Pertains To: BP+ (BPPLUS-R7)
Version: 7.0
0123
Page 2 of 31 BP+ User Manual (R7)

Table of Contents
How to Use this Manual ...............................................................................................4
Glossary .......................................................................................................................5
Symbols .......................................................................................................................6
Safety Information ........................................................................................................8
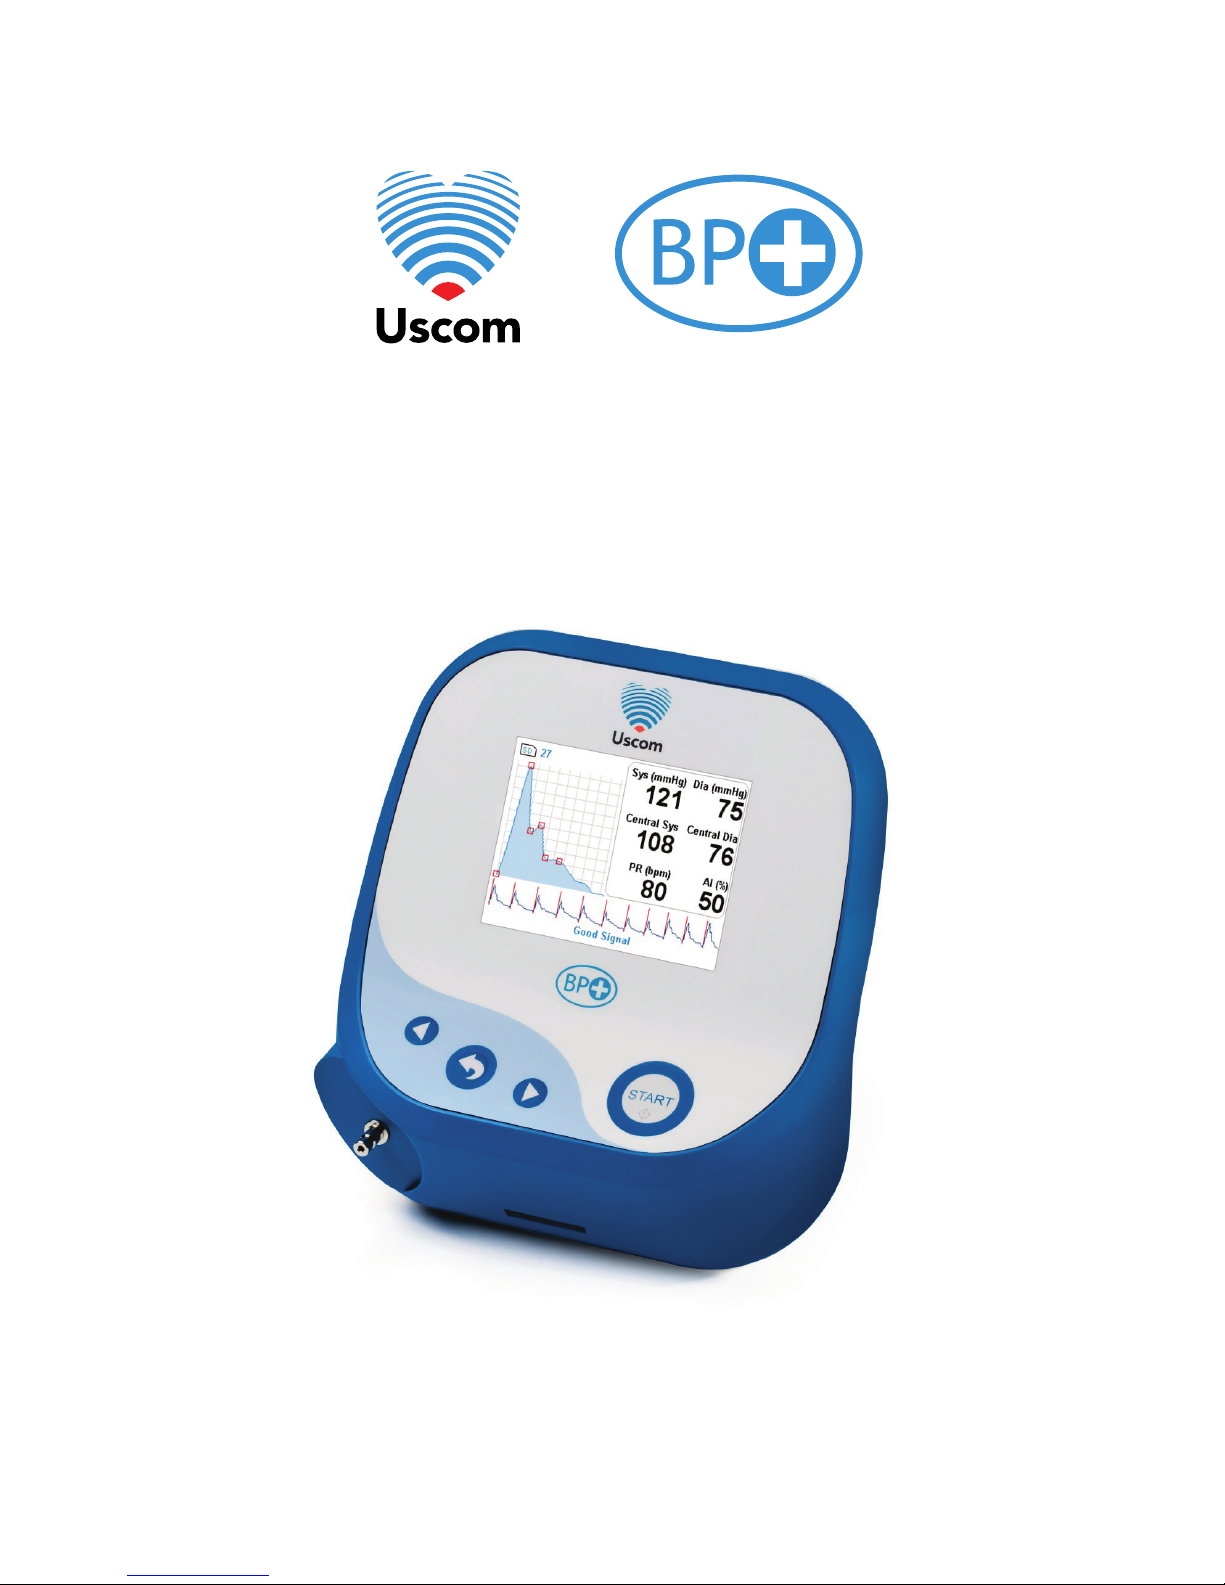
1Product Overview................................................................................................10
1.1 Intended Use ..............................................................................................10
1.2 Contraindications........................................................................................10
1.3 Setting Up...................................................................................................10
1.4 Supplying Power ........................................................................................10
1.4.1 Turning Device On..................................................................................11
1.4.2 Turning Device Off..................................................................................11
1.4.3Power On Self-Tests ..............................................................................11
1.5 Connecting a Cuff to BP+...........................................................................12
1.6 Saving Measurements................................................................................12
2Common Procedures ..........................................................................................13
2.1 Preparing for a measurement.....................................................................13
2.2 Placing the cuff...........................................................................................13
2.3 Taking a measurement...............................................................................13
2.4 Displaying the Result..................................................................................15
2.5 Cancelling the measurement......................................................................15
2.6 Interpreting Signal Quality ..........................................................................15
2.7 Displaying Pulse Wave Analysis ................................................................16
2.8 Settings Menu ............................................................................................16
2.9 Setting Inflation Target ...............................................................................17
2.10 Setting Date and Time................................................................................18
2.11 Selecting Language....................................................................................18
2.12 Reviewing saved measurements................................................................19
3Theory of Operation ............................................................................................21
3.1 Physiology of wave reflection .....................................................................21
3.2 Blood Pressure Measurement....................................................................21
3.3 Display of Pulse Waveform and Rhythm strip ............................................22
3.4 Central Blood Pressure ..............................................................................22
3.5Pulse Wave Parameters Calculations ........................................................23
4Maintenance and Troubleshooting......................................................................24
4.1 Servicing.....................................................................................................24
4.2 Routine Maintenance .................................................................................24
4.3 Cleaning .....................................................................................................24
4.4 Disposal......................................................................................................24
4.5 Frequently Asked Questions ......................................................................24
4.6 Error Message............................................................................................26
4.6.1 Main Screen Message............................................................................26
4.6.2 Memory Mode Message .........................................................................28
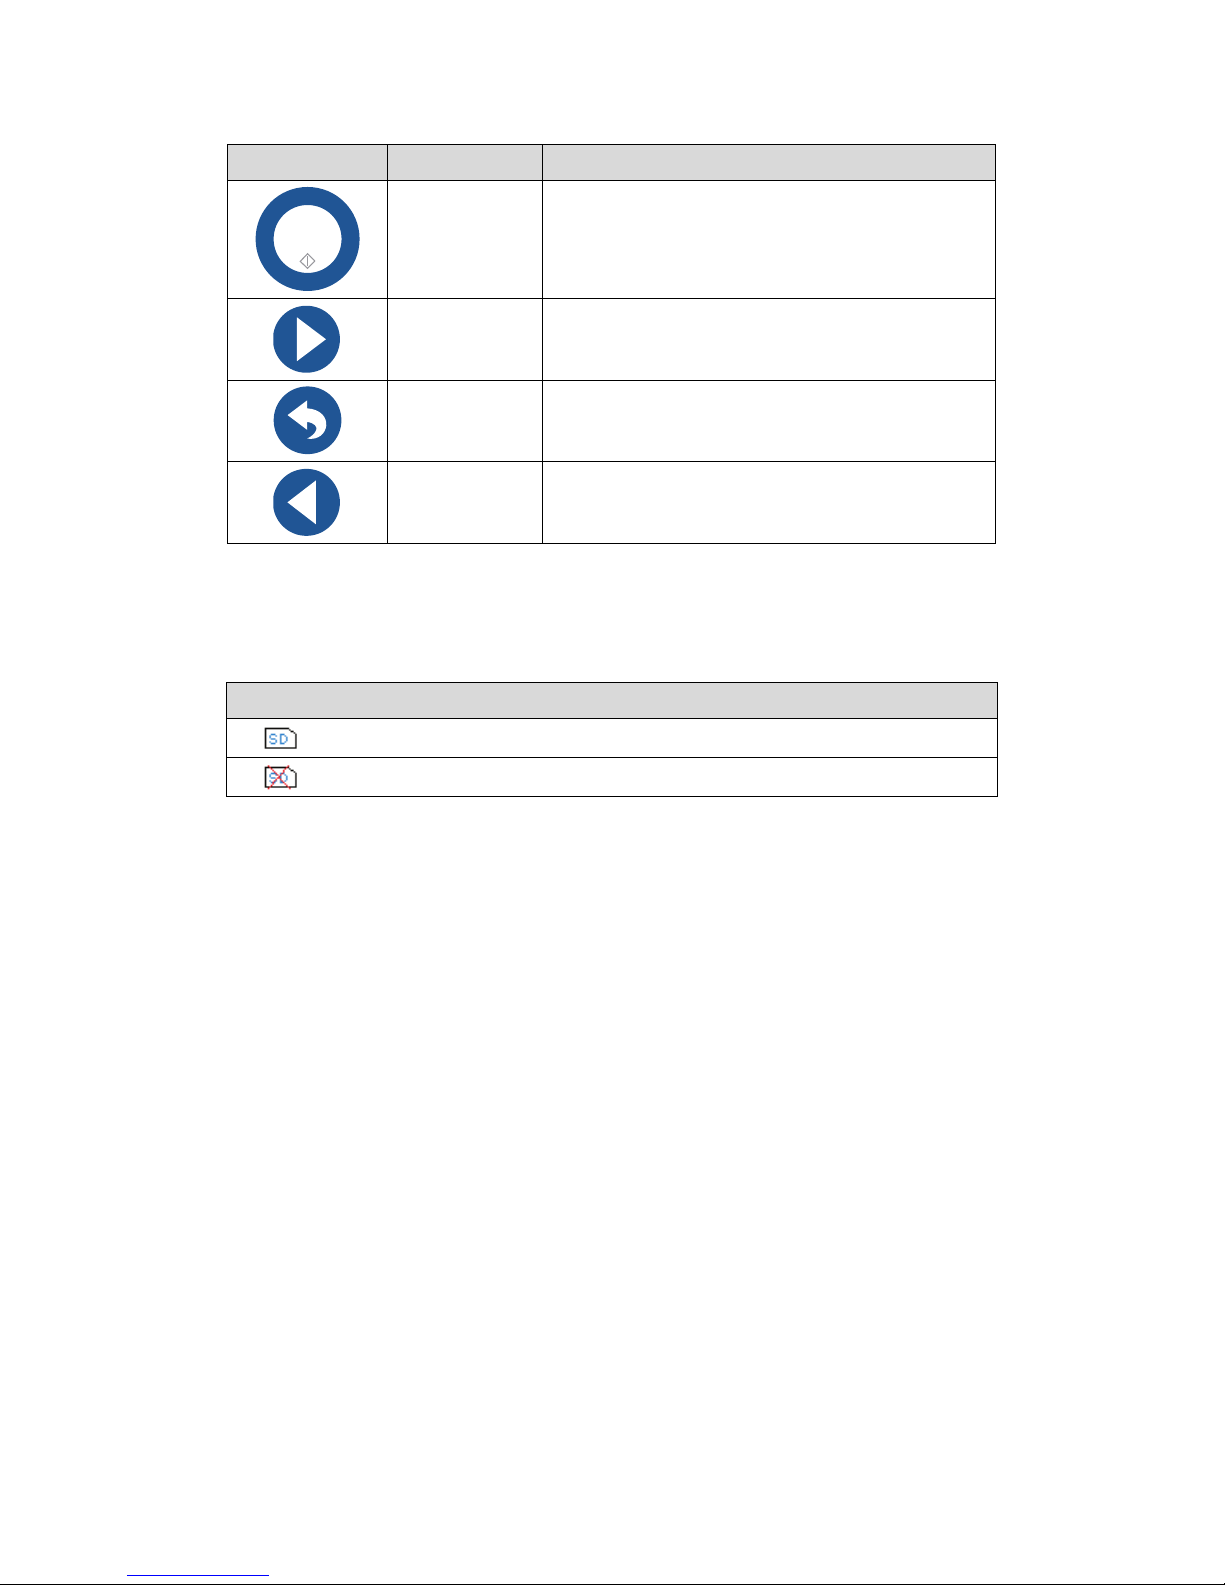
4.6.3 SD Card Icon Message ..........................................................................28
5Specifications......................................................................................................29
5.1 Electromagnetic Compatibility ....................................................................30
6Accessories and Spare Parts..............................................................................31
Page 3 of 31 BP+ User Manual (R7)

How to Use this Manual
This manual uses some conventions intended to make it easier to understand.
Warning statements convey safety information to mitigate against the potential
for death or injury and are displayed in a red box with a warning symbol to the
left.
Caution statements convey information about the potential to damage
equipment, produce inaccurate data or invalidate a procedure and are displayed
in a dashed box with a caution symbol to the left.
Statements conveying helpful hints and notes are displayed with an information
symbol to the left.
Individual instructions are displayed in blue italics with accompanying text.
Text displayed on the device screen is drawn enclosed in a box.
Page 4 of 31 BP+ User Manual (R7)

Glossary
The following terms and abbreviations are used in this manual.
Term
Description
SYS BP
Systolic Blood Pressure
DIA BP
Diastolic Blood Pressure
Central SYS BP
Central Systolic Blood Pressure
Central DIA BP
Central Diastolic Blood Pressure
AI
Augmentation Index
PR
Pulse Rate
Incident wave
A wave propagating directly from the heart
NIBP
Non-invasive blood pressure
PC
Personal computer
POST
Power On Self-Test
Reflected wave
A wave propagating from a reflection site
SD
Secure Data, type of non-volatile removable storage card
Slot
A place to store a single measurement
Pulse wave
Pertaining to something above systolic, for example a signal
recorded at a cuff pressure above systolic pressure
Page 5 of 31 BP+ User Manual (R7)

Symbols
The following symbols appear on the BP+ device and in accompanying labelling
and documentation.
Symbol
Description
Class II equipment (IEC 60601-1)
Type BF applied part (IEC 60601-1) - Blood Pressure Cuff
Direct current
Warning, consult safety information
Consult instructions for use
Information
Caution
Serial interface
USB interface
Do not dispose of the BP+ as unsorted municipal waste
Manufacturer
Date of manufacture
Device serial number
Device model number
Indicates the temperature range
Indicates the humidity range
Table 1: Symbols on BP+
Page 6 of 31 BP+ User Manual (R7)

The following symbols when used in this manual refer to hardware buttons on the
device.
Symbol Button Name Functions
Start Start measurement
Cancel measurement in progress
Right Move to the next item
Cancel measurement in progress
Menu / OK Show the menu or OK
Cancel measurement in progress
Left Move to the previous item
Cancel measurement in progress
Table 2: Buttons on BP+
The following symbols when used in this manual refer to icons that appear on the
device LCD Screen.
Symbol Description
Secure Data (SD) Card inserted and ready
Secure Data (SD) Card inserted but BP+ cannot use the card
Table 3: BP+ screen icons
START
Page 7 of 31 BP+ User Manual (R7)

Safety Information
Electric Shock Hazards:
•The BP+ may be isolated from the mains supply by disconnecting the power
supply from the mains supply outlet or by disconnecting the power supply
from the monitor.
•Do not open the enclosure of the BP+ or power supply unit, especially while
they are connected to an AC supply outlet.
•Disconnect the BP+ and power supply unit from the AC supply outlet before
cleaning. Do not use liquid or spray detergents.
•Avoid ingress of liquid into any part of the BP+ or power supply unit. Do not
submerge any component in liquid. This may cause fire or electrical shock.
Explosion Hazard: Do not use the BP+ in a flammable atmosphere or where
concentrations of flammable anaesthetics may occur.
Power Supply:
•Ensure the AC supply voltage is correct and the correct mains power adaptor
is securely fitted in place before connecting the BP+ and mains power supply
to the AC supply outlet.
•Use only the mains power adapter supplied with the BP+ or a genuine
replacement part (GlobTek Inc, model GTM41060-2512).
•This product is intended for indoor use only.
•Protect from excessive force or shock.
•Do not pull output plug with excessive force.
Accessories and Equipment:Use of accessories or equipment not approved
by Uscom, or not complying with safety standards equivalent to those met by the
BP+, may lead to a reduced level of safety of the resulting system or failure of
the BP+ to operate correctly.
Connection to Personal Computer:Equipment connected to the serial or USB
port of the BP+ must be certified to applicable IEC standards (IEC 60950 for data
processing equipment and IEC 60601-1 for medical electrical equipment). All
configurations must comply with the medical electrical equipment standard IEC
60601-1 Clause 16. Anyone who connects equipment to the BP+ configures a
medical system, and is responsible for ensuring that the system complies with
the requirements of the medical electrical equipment standard IEC 60601-1
Clause 16.
Device Modification: No modification of the BP+ is allowed.
Page 8 of 31 BP+ User Manual (R7)

Removal from Use:If any of the following situations occur, stop using the BP+:
•The AC supply cable or attachment plug is damaged.
•The device has been exposed to excessive moisture.
•The device has been dropped and damaged or shows obvious signs of
breakage.
•The device display remains blank when turned on.
Contact with Patient:Do not touch any exposed metal parts on the BP+ (in
particular interface connectors) while simultaneously touching a patient.
Too frequent measurements can cause injury to the patient due to blood flow
interference.
Measurement in an arm where intravascular access or therapy or an arterio-
venous shunt is present could result in injury to the patient.
Pressure applied during measurement may cause discomfort or injury where the
patient has had a mastectomy on the side the cuff is applied.
Operator Attendance: The operator must be in continual attendance while using
the BP+.
The operator should check, by observation that operation of the BP+ does not
result in prolonged impairment of the circulation of the blood of the patient.
Other Equipment: Pressurisation of the cuff can temporarily cause loss of
function of simultaneously used monitoring equipment on the same limb.
Caution:Do not clean the BP+ with concentrated bleach, corrosive chemicals or
abrasive cleaning compounds.
Electromagnetic Compatibility:The BP+ complies with the electromagnetic
compatibility requirements of IEC 60601-1-2. Operation of the device may affect,
or be affected by, nearby equipment due to the effects of electromagnetic
interference. If this happens:
•Increase the separation between the BP+ and the other device.
•Connect the devices to AC supply outlets on separate circuit branches.
•Refer to section 5.1 for further compliance information and advice relating to
electromagnetic interference.
The use of a mains power adapter not approved by Uscom may result in
increased electromagnetic emissions or decreased electromagnetic immunity of
the BP+.
Page 9 of 31 BP+ User Manual (R7)

1 Product Overview
Congratulations on your acquisition of the Uscom BP+. Designed for ease of
use, accuracy and repeatability, the BP+ will easily integrate into many different
clinical and research environments. The BP+ measures brachial and central
blood pressure, and other cardiac and arterial parameters, using the cuff
oscillometric method.
BP+ central blood pressure measurements have been validated on patients who
are eighteen (18) and older.
1.1 Intended Use
BP+ is a non-invasive, compact standalone measurement device that
automatically measures systolic and diastolic pressure, and pulse rate in adult
and paediatric patients. BP+ also provides non-invasive central (aortic) systolic
and diastolic blood pressure, augmentation index, pulse waveform and other
parameters intended for use in adult patients.
BP+ performs measurements using a conventional oscillometric method via a
brachial cuff on the upper arm.
The device is intended to be used under supervision by qualified healthcare
personnel. The device is not intended for operating theatre, intensive care, or
continuous patient monitoring use.
1.2 Contraindications
This device is not intended for use on neonates, infants, or children under the
age of 3 years.
The device is not intended for operating theatre, intensive care, or continuous
patient monitoring use.
The device is not intended for measurement of blood pressure in subjects who
are pregnant.
Caution: BP+ should not be used on neonatal subjects. A paediatric subject
age is 3 years or greater, an infant is considered to be less than 3 years of age.
Caution: Federal (USA) law restricts this device to sale by or on order of a
physician.
1.3 Setting Up
To start using the device you will need to supply power, connect an inflatable
cuff, and insert an SD Card if you wish to save the measurement data.
1.4 Supplying Power
The BP+ requires DC power input to the device.The mains power adapter
provided with the monitor can provide the required DC power from most
international mains power outlets from 100 to 240 VAC and 50 to 60 Hz mains
input.
The mains power adapter is supplied with interchangeable blades. Attach the
blades that match your wall sockets.
Insert the plug at the end of the cable attached to the AC wall adapter into the
device in the socket indicated as the External DC input socket labelled .
Page 10 of 31 BP+ User Manual (R7)

Use only the mains power adapter supplied with the BP+ or a genuine
replacement part (GlobTek Inc, model GTM41060-2512).
1.4.1 Turning Device On
The device will turn on automatically when the AC power is attached.
1.4.2 Turning Device Off
To turn off the device, remove the AC power.
Turning the device off will release pressure in the cuff. A more effective way to
quickly release pressure from a subject’s arm is to remove the cuff from their
arm.
1.4.3 Power On Self-Tests
Once the device is turned on, the device will load the BP+ application into the
device internal memory. During this time it will display the following screen.
Figure 1: Boot up screen
BP+ will begin execution once loaded. The BP+ initial screen will start a power
on self-test (POST). An example initial screen is shown in Figure 2.
Figure 2: Start-up POST Screen
Once the POST is complete, the device will clear the display and present the
Device Ready screen as shown in Figure 3.
Page 11 of 31 BP+ User Manual (R7)

Figure 3: Ready Screen
1.5 Connecting a Cuff to BP+
In order to take a measurement, you will need to connect an inflatable blood
pressure cuff using the hose supplied with the cuff.
To connect the cuff hose push the air fittings together until you hear and feel a
positive “click”.
To disconnect the cuff hose, pull gently on the metal hose fitting to release the
internal lock, and remove hose from device.
The BP+ has been developed using specific cuff designs. Using alternate cuff
designs may significantly alter the accuracy of measurement.
Avoid compression or kinking the air hoses connecting the device to the cuff.
Such actions, particularly during a measurement, may result in prolonged
inflation of the cuff which cannot be resolved by the device’s built-in safeguards.
Prolonged over-inflation of a cuff may result in harm to the patient.
The operator should ensure that application of the cuff does not result in
prolonged impairment of the circulation of blood.
Do not connect cuffs with luer lock connectors to Intravenous System (IV).
1.6 Saving Measurements
The BP+ can store measurements if an SD Card is inserted. The BP+ supports
full size SD Cards with a storage capacity up to 32GB with FAT or FAT32 format.
Insert the SD Card with the logo facing up to the user.
Note: Measurements will not be stored if a compatible SD Card is not inserted
into the BP+. Look for the SD Card icon on the top left of the screen. If the icon
is not present, then no SD Card is inserted. If the icon has a red cross through it,
then the BP+ does not recognise the SD Card.
or
Do not remove the SD card while a measurement is being performed or until the
measurement is finished saving. Removing the SD card whilst a measurement is
being saved can cause corruption of the SD card file system. If the SD card is
accidently removed during a save operation its integrity should be checked using
a PC.
Page 12 of 31 BP+ User Manual (R7)

2 Common Procedures
The BP+ is designed for simple operation through the four buttons on the front of
the device. These buttons are described in Table 2.
2.1 Preparing for a measurement
The entire measurement procedure usually takes less than 90 seconds.
However, it is recommended that preparations for taking a measurement follow
similar good practice procedures to those for taking non-invasive blood pressure.
Ensure the subject is sitting comfortably upright with adequate back support.
The subject’s legs should be uncrossed and feet should be flat on the floor.
Instruct the subject to relax, remain still, breathe normally, cease talking and
avoid any movement during measurement. It is recommended that the subject is
at rest for at least five minutes before the first measurement and to repeat the
measurement at least three times, recording the median of the measurements.
2.2 Placing the cuff
Apply the deflated cuff to the subject’s left upper arm. Choose a cuff of the
correct size, as indicated by the range markings on the cuff. The cuff should be
wrapped around the arm firmly, but not tightly. The artery marker on the cuff
where the hose enters the cuff should be placed over the brachial artery. Avoid
placing the cuff over thick clothing. Avoid bunching up clothing above the cuff,
which may partially occlude the artery.
To reduce the risk of cross-infection and further abrasion, do not apply the cuff to
broken skin.
Support the subject’s forearm on a stable, horizontal surface such as a table top,
at a height such that the cuff is at the approximate level of the subject’s heart and
held away from the subject’s torso. Generally, a palm-down position is found to
be more comfortable. If the recommend instructions are not followed, any
reading can be affected by the measurement site, the position of the patient,
exercise, or the patient’s physiologic condition.
2.3 Taking a measurement
When performing a measurement, the operator should be in a position to
observe the patients’ arm/cuff and the BP+ display.
Press Start button while the main screen is displayed as in Figure 4:
Figure 4: Main measurement screen
Page 13 of 31 BP+ User Manual (R7)

There may be a short pause while the device performs a pre-measurement
check. The device will then begin inflating the cuff. During this time the status
area will display Measuring Blood Pressure and the current cuff pressure will be
displayed.
Figure 5: Measuring screen
If your model of BP+ supports “Measurement on Inflation”, the device will attempt
to determine the systolic, mean and diastolic pressures and pulse rate as the cuff
is inflated. If the model does not support measurement on inflation, or the device
is unable to determine the blood pressure during inflation, once the pre-set target
pressure is reached, the device will gradually deflate the cuff at a controlled rate
of approximately 3 mmHg/s. During this time, the device will attempt to
determine the systolic, mean and diastolic pressures, as well as pulse rate as the
cuff is deflated. If the initial inflation pressure is less than the systolic pressure,
the device will re-inflate the cuff to a higher pressure before the controlled
deflation. If the BP+ does not successfully measure the subject’s blood pressure,
selecting a higher or lower inflation target may help.
If your model of BP+ supports “Measurement on Inflation”, and it successfully
determines the blood pressure during inflation, the device will directly inflate the
cuff to the suprasystolic pulse wave pressure. Otherwise, once the blood
pressure and pulse rate has been determined by deflating the cuff, the device will
re-inflate the cuff to the suprasystolic pressure (approximately 30 mmHg above
the measured systolic pressure). This suprasystolic pulse wave pressure will be
maintained for around 12 seconds. During this time, the status area will display
Measuring Pulse Wave. After the pulse wave measurement is finished, the cuff
pressure will be completely released. This marks the completion of the entire
measurement cycle. The BP+ will then process the acquired data and display
the result on the screen.
Page 14 of 31 BP+ User Manual (R7)

2.4 Displaying the Result
Once the measurement is completed, the monitor will display all results under
the respective labels as follows:
Figure 6: BP Result Screen
10 seconds of the pulse wave signal are displayed along the bottom of the
display. Vertical red lines indicate the start of each pulse. This display can
provide a visual indication of any arrhythmias and inter-beat variability (such as
that caused by respiratory load).
Measurement results may not be accurate in the presence of arrhythmias.
Arrhythmias may be apparent on the rhythm strip.
The main screen will also display the average pulse wave pulse.
2.5 Cancelling the measurement
Press any button during a measurement to cancel the measurement and deflate
the cuff.
Note: While the device is calculating results it will not respond to button presses.
2.6 Interpreting Signal Quality
The signal quality of the pulse wave measurements will be measured by the
device and expressed as a Signal-to-Noise Ratio (SNR) on a logarithmic scale
(dB). An increase in the SNR by 3 indicates a tenfold increase in the signal
quality. The SNR acceptability is indicated on the results screen as a text status
message and can vary from Invalid, Poor, Acceptable, Good, through to
Excellent as shown in Table 4: Signal quality classification.The numeric value of
SNR is displayed on the Pulse Wave Analysis screen as shown in Figure 7.
Measurements with a SNR below 6 (Poor or Invalid) should be discarded. The
device will not display the augmentation index and central pressures in these
circumstances. It is recommended to repeat the measurement and to confirm
the patient is remaining still and not talking during the measurement. (Patients
often move when talking.)
Signal-to-Noise Ratio (dB) Signal Quality
Classification
Colour on
Results screen
SNR < 0 Invalid Red
0 ≤SNR < 6 Poor Red
Page 15 of 31 BP+ User Manual (R7)

Signal-to-Noise Ratio (dB) Signal Quality
Classification
Colour on
Results screen
6 ≤SNR < 9 Acceptable Yellow
9 ≤SNR < 12 Good Green
12 ≤SNR Excellent Green
Table 4: Signal quality classification
2.7 Displaying Pulse Wave Analysis
Press button from the main screen. The monitor will display the Pulse
Wave Analysis screen as follows:
Figure 7: Pulse Wave Analysis Screen
2.8 Settings Menu
The BP+ provides a Settings menu for configuring different functions of the
monitor. The setting options include: Inflation Target, Select Language* and Set
Date and Time.
Figure 8: Settings Menu Screen
Changing some setting options require a device reset as indicated by an asterisk
(*). Whenever a change is made to an asterisk (*) setting option, the first option
Page 16 of 31 BP+ User Manual (R7)

– Exit on the Settings menu will be changed to Restart. To exit and reset select
Restart and then press to reset the monitor.
Figure 9: Settings Menu Screen – Restart
2.9 Setting Inflation Target
By default, the BP+ will initially inflate the cuff to 180 mmHg. If the actual systolic
pressure is higher than this, then the device may automatically re-inflate
additional times to measure the systolic pressure. If you have an estimate of the
systolic pressure then you may wish to set the initial inflation target to avoid
these additional inflation cycles.
Press the Settings menu will be displayed. Select the Inflation Target option
and press . The Inflation Target menu will be displayed with the current
inflation target highlighted. Press to confirm your selection or use the arrow
keys to select another value. You will be returned to the Settings screen. Note
that the Inflation Target will default to 180 mmHg if the BP+ is restarted.
Figure 10: Inflation Target Setup Screen
Note -If the subject’s actual systolic pressure is significantly lower than 180
mmHg you may reduce measurement time and discomfort by reducing the initial
inflation target.
Page 17 of 31 BP+ User Manual (R7)

2.10 Setting Date and Time
The BP+ provides a Set Date and Time menu for setting the date and time
values on the monitor.
Press The Settings menu will be displayed. Select the Set Date and Time
option and press . The date time setting menu will be displayed.
Figure 11: Date Time Setting Screen
Press to highlight a different date time element and use to select it.Then
use and to change the value of the highlighted date time element.
When finished press . The monitor will automatically store the changed value
and does not require any reset of the monitor. To return to the main screen,
select Save and Exit and press .
2.11 Selecting Language
By default, the language displayed on the monitor is English. The BP+ monitor
may support different language displays for some countries.
Press The Settings menu will be displayed. Then go to select the Select
Language option and press . The Select Language menu will be displayed
with the current language highlighted.
Figure 12: Select Language Screen
Page 18 of 31 BP+ User Manual (R7)

Use the arrow keys to select the desired language. Press to return to the
Settings menu screen. You will be returned to the Settings menu screen and a
reset is required - refer to 2.8 Settings Menu for device reset.
Some versions of monitor might only provide one language option for some
countries. Please contact Uscom for more information using the contact
information at the front of this manual.
2.12 Reviewing saved measurements
Measurements saved to the SD Card (if used) can be accessed through the
menu for review.
Press the Settings menu will be displayed. Select the Select Measurement
option and the Select Measurement menu will be displayed. If no SD Card is
inserted, then the device will prompt you to insert one.
The Select Measurement screen will display a list of measures. The most recent
measurement is at the top of the list, indicated by the Start of List entry. Use
and to highlight the measurement to review.
The screen can display up to 7 measurements. The current selection is
displayed in a different colour.
Figure 13: Selecting Saved Measurement
When more than 7 measurements are present on the SD Card, moving past the
last displayed measurement will scroll to the next page of measures. When the
end of the list is reached End of List will be displayed as the last entry.
Page 19 of 31 BP+ User Manual (R7)

Figure 14: Saved Measurement Navigation
Press to confirm your selection. The BP+ will begin to reprocess the
measurement after which it will be displayed on the main screen. If you do not
wish to open a measurement for review select Start of List or End of List and
Press .
Figure 15: Calculating Measurement
Figure 16: BP Result Screen
Page 20 of 31 BP+ User Manual (R7)
Table of contents