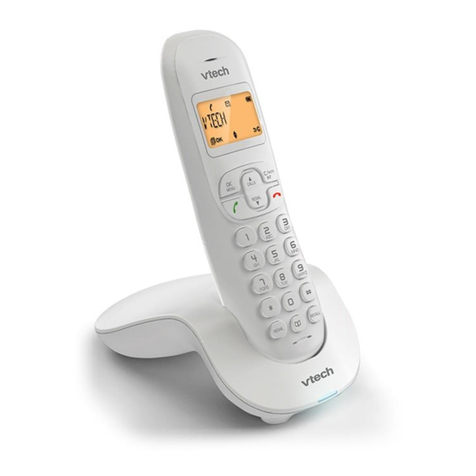
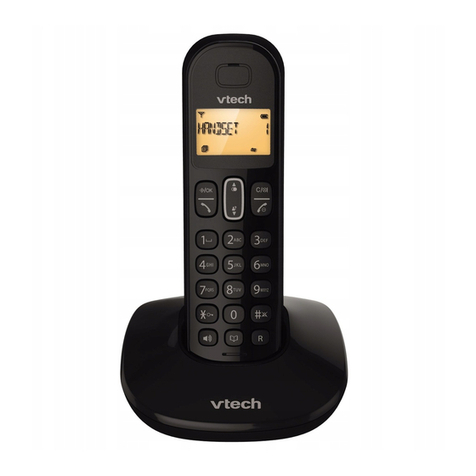
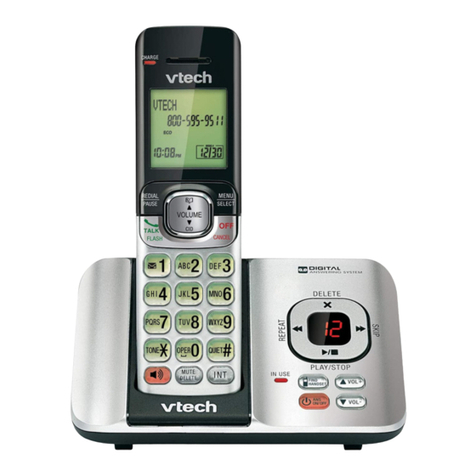
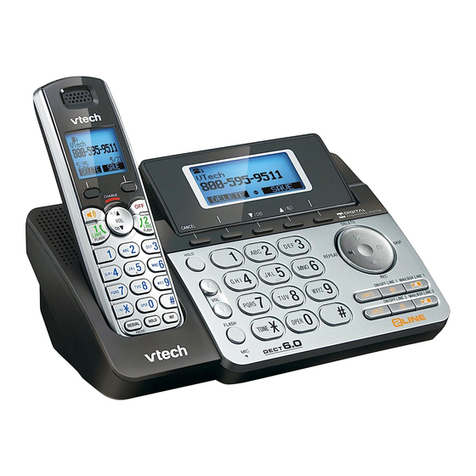
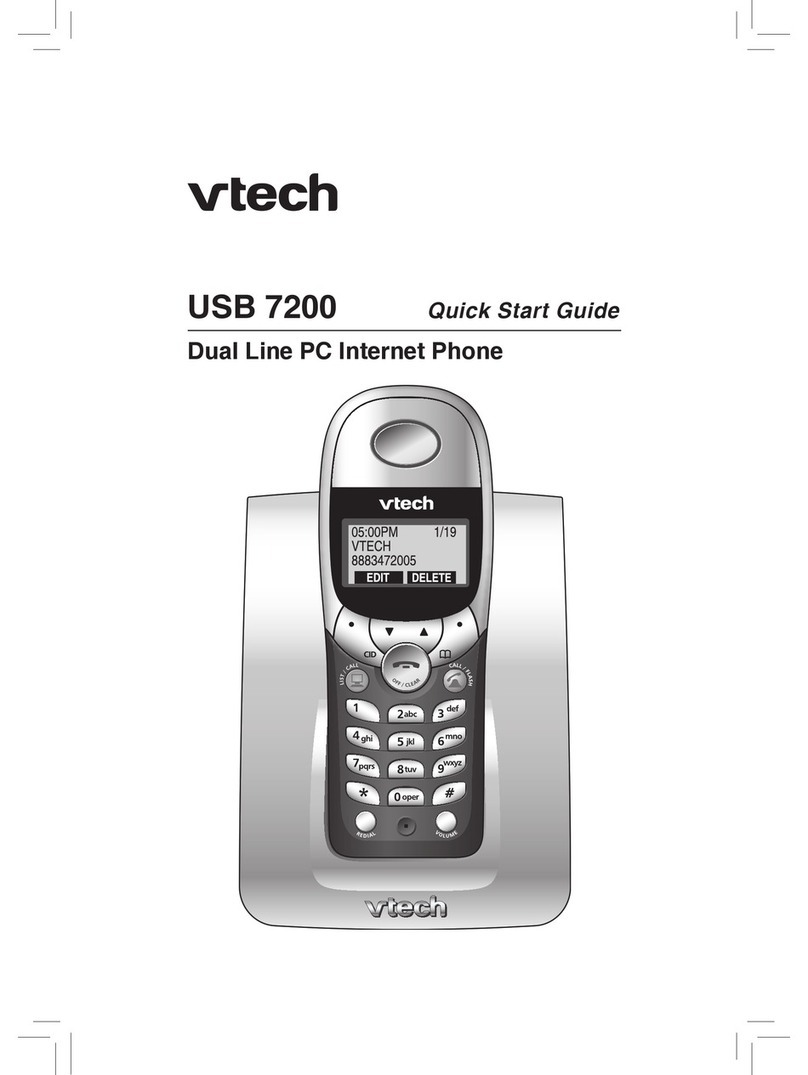
V-tech ev2625 - Cordless Phone - Operation User manual

1
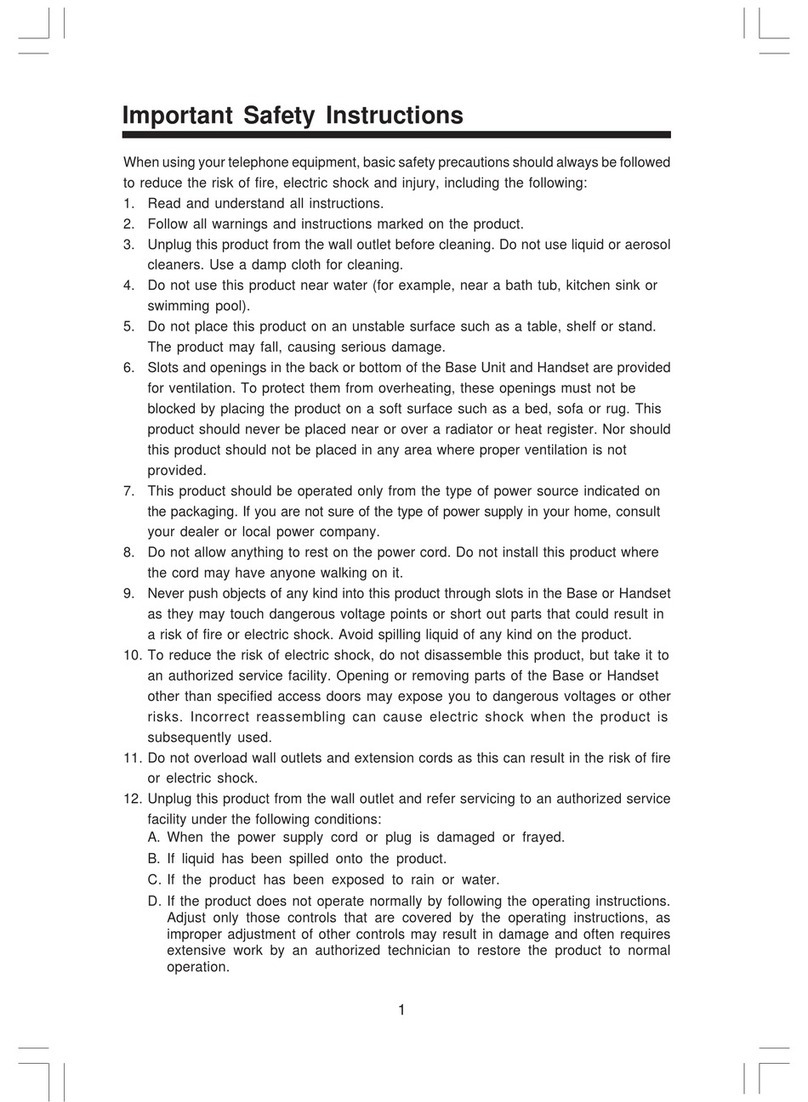
When using your telephone equipment, basic safety precautions should always be
followed to reduce the risk of fire, electric shock and injury, including the following:
1. Readandunderstandallinstructions.
2. Follow all warnings and instructions marked on the product.
3. Unplugthisproductfromthewalloutletbeforecleaning.Donotuseliquidcleaners
or aerosol cleaners. Use a dampcloth forcleaning.
4. Do not use this product near water (for example, near a bath tub, kitchen sink, or
swimmingpool).
5. Donotplacethisproductonanunstablecart,stand,ortable.Theproductmayfall,
causingseriousdamage to the product.
6. Slotsandopeningsinthecabinet andthe backor bottomare providedfor ventilation.
Toprotect it from overheating, these openingsmust not be blocked by placingthe
producton the bed,sofa,rug, or othersimilarsurface. This product shouldneverbe
placednear or over a radiator or heat register. This productshouldnotbeplacedin
abuilt-ininstallation where proper ventilation is not provided.
7. This product should be operated only from the type of power source indicated on
the marking label. If you are not sure of the type of power supply to your home,
consult your dealer or local power company.
8. Do not allow anything to rest on the power cord. Do not locate this product where
the cord will be abused by persons walking on it.
9. Neverpushobjects of any kind into thisproduct through cabinet slots as theymay
touchdangerous voltage points or short out parts that could result in a risk of fire or
electric shock. Never spill liquid of any kind on the product.
10. To reduce the risk of electric shock, do not disassemble this product, but take it to
anauthorizedservice facility.Openingorremovingcabinetpartsother thanspecified
access doors may expose you to dangerous voltages or other risks. Incorrect
assembling can cause electric shock when the appliance is subsequently used.
11. Do not overload wall outlets and extension cords as this can result in the risk of fire
or electric shock.
12 Unplugthis product from thewalloutletand refer servicing to an authorizedservice
facility under the following conditions:
A. When the power supply cord or plug is damaged or frayed.
B. Ifliquid has been spilled into the product.
C. If the product has been exposed to rain or water.
D. If the product does not operate normally by following the operatinginstructions.
Adjustonlythose controlsthat arecovered bytheoperatinginstructions,because
improperadjustmentofothercontrolsmayresultindamageandwilloften require
extensive work to restore the product to normal operation.
E. Iftheproduct has been dropped and the cabinet has beendamaged.
F. If the product exhibits a distinct change in performance.
13. Avoid using a telephone (other than a cordless type) during an electrical storm.
Theremay be a remote risk of electric shockfromlightning.
14. Do not use this or any cordless telephone to report a gas leak in the vicinity of the
leak.
Important Safety Instructions

2
VTECHCOMMUNICATIONSINC.
CUSTOMERSERVICE: 1-800-595-9511. In Canada, call VTechTelecommunications
CanadaLtd. at 1-800-267-7377.
BEFOREUSINGYOURev2625SYSTEM,CAREFULLYPEELOFFTHEPROTECTIVE
FILMCOVERINGTHEDISPLAYS.
Important Safety Instructions
3
This is an advanced cordless telephone, capable of supporting two Handsets.
This manual is designed to familiarize you with this cordless telephone. We strongly
recommendyoureadthemanualbeforeusingyourphone.
Introduction

4
1. BaseUnit
2. Handsets
3. HandsetCharger
4. Base AC Power Adapter
Parts Check List
5. TelephoneLineCord
6. BeltClips
7. User’sManual
8. BatteryCells
To purchase replacement batteries, visit us on the web at www.vtechphones.com or
call VTech Communications, Inc. at 1-800-595-9511. In Canada, call VTech
TelecommunicationsCanada Ltd.at 1-800-267-7377.
Note :Use only VTechbatteries(part number 80-5380-00-00) orequivalentAAA NiMH
rechargeable batteries.
Base Unit
Handset x2
Handset Charger
Base AC Power Adapter
Telephone Line Cord
Belt Clip x2 Users Manual Battery Cells x6

5
1. Antenna
2. VolumeControl
3. SpeakerphoneLED
4. CID(ScrollDown)
5. Select(Menu)
6. On(Flash)
7. DialingKeys (0-9, ,#)
8. Redial(Pause)
Handset Layout
9. Mute(Delete)
10. Speakerphone
11. LCDDisplay
12. Headsetjack(2.5mm)
13. Phonebook(ScrollUp)
14. Off (Clear)
15. Intercom
16. Microphone
1
2
4
6
7
8
9
10
11
12
13
14
1
3
16

6
DC 9V
MODEL: 2625
VTECH TELECOMMUNICATIONS LTD.
MANUFACTURED IN CHINA
CORDLESS TELEPHONE
VTECH TELECOMMUNICATIONS LTD.
DC 9V 400mA
CLASS 2 POWER SOURCE ONLY
COMPLIES WITH 47 CFR PART 68
RE ISTRATION NO.: US: EW7WI01B80-531200
RIN ER EQUIVALENCE: 0.1B USOC JACK: RJ11C
THIS DEVICE COMPLIES WITH PART 15 OF THE FCC RULES.
OPERATION IS SUBJECT TO THE FOLLOWIN TWO CONDITIONS:
1) THIS DEVICE MAY NOT CAUSE HARMFUL INTERFERENCE;
AND 2) THIS DEVICE MUST ACCEPT ANY INTERFERENCE
RECEIVED,INCLUDIN INTERFERENCE THAT MAY CAUSE
UNDESIRED OPERATION PRIVACY OF COMMUNICATIONS
MAY NOT BE ENSURED WHEN USIN THIS PHONE
TEL. LINE
HAC
FCC ID: EW780-5312-00
VTech Customer Service 1-800-595-9511
www.vtechphones.com
To AC outlet
Connecting Power to Base Unit/Handset Charger
1. Plug the AC power adapter into an electrical outlet, and the DC connector into the
bottomof the Base Unit.
1. InUseLED
2. ChargingLED
3. MessageWaitingLED
4. Pagekey
Base Unit Layout
2
41
3
Setup
Getting Started

7
CORDLESS TELEPHONE
VTECH TELECOMMUNICATIONS LTD.
DC 9V 150mA
CLASS 2 POWER SOURCE ONLY
To AC outlet
Setup
Getting Started
Installation and Charge of Battery Cells in Handset
Follow the steps below:
1. Place the new battery cells in the
Handset with the positive and
negative poles aligned in the battery
compartment.
2. Replacethebattery coverbysliding it
upwards
3. Ifthenewbatterycellsarenotalready
charged, place the Handset in its
Charger or Base Unit, and allow it to
charge for 10-12 hours. After initial
charge, a maintenance charge of 8
hours should be sufficient.
WARNING: Alkaline batteries must NOT be used in your ev 2625 cordless
telephone. Use only the batteries that came with your phone, or contact
our Customer Support Center (contact information on page 2) to order
additional batteries.
2. Choose the location for your Handset Charger, and plug its power supply into an
electricaloutlet.
Charging of the Handset Battery Cells
The Handset of your cordless telephone is powered by rechargeable battery cells. It
charges automatically whenever the Handset is in its charger or Base Unit.
You should charge the battery cells for at least 12 hours when you first
receive your phone. You’ll know the battery cells needs charging when:
• Thelow battery messageandtheicon are
displayed.
• TheHandset seems completelydead,the
LCD is completely clear and does not
activate when you press the keys.
LOW BATTERY
NOTE:WheninLOWBATTERYmode,thekeypadsounds,backlightingandspeakerphone
features will not work. When your battery has been charged, your features will return
totheir normal function.

8
IMPORTANT:
1. Do not dispose of battery cell in a fire, the cell may explode.
2. Donotopen ormutilate the batterycell. Toxic substancesmay bereleased,causing
harm to eyes or skin.
3. Exercisecarein handling battery cell inorder to prevent an accidentalshort of the
chargecontacts, potentially causing the batterypack to overheat.
4. Do not dispose of this battery cell into household garbage. Please refer to the
informationconcerning proper battery recycling.
5. Do not charge the battery cell with other electrical device.
Check Battery Indicator
Ifyou receive a check battery warning it indicates one of
thefollowing:
1. There are no battery cells in your Handset. You’ll
need to install battery cells into your Handset (see
InstallationandChargeofBatteryCellsin Handset section on the previous page.)
2. Youhaveaccidentallyinstalled alkalinebatteriesintotheHandset. (Alkalinebatteries
must NEVER be used in this phone. See the warning on the previous page for
additionalinformation about batteries for this telephone.)
3. Therechargeablebatteriesin your Handset need to be replaced by newbatteries.
4. Thebatterieshave been installed incorrectly. Please reinstall(see Installation of
Battery Cells in Handset) and/or the diagram in the battery compartment on the
Handset.
Connecting to Phone Line
Plugoneendof thetelephonelinecordinto thejackonthebottom oftheBase Unit.Plug
the other end of this cord into the wall jack.
Checking for Dial Tone
Afterthebattery is charged, press ON on the Handset. The LCD displaysPHONE and
shows a call timer, and you will hear dial tone. If not, see In Case of Difficulty.
Tone/Pulse selection
Your phone is preset for tone dialing. See Handset Settings for details.
CAUTION: Use only the VTech power supply vided with your telephone.
Setup
Getting Started
IMPORTANT:
FOR MAXIMUM PERFORMANCE OF YOUR
CORDLESSTELEPHONESYSTEM:
1. Choose a central location for your Base Unit.
2. Install your Base Unit and Extension Handsets
away from electronic equipment, such as
personal computers, television sets, wireless
equipment and microwave ovens.
3. In locations where there are multiple cordless
telephones, separate Base Units as much as
possible.
4. Install your telephone equipment away from heat
sources and sunlight.
5. Avoid excessive moisture, dust or extreme cold.
warning
check battery!

9
HandsetIcons
Icon Description
Basic Operation
Handset and Base Indicators
MUTE
• Turnson when the Handset is in speakerphonemode.
• Turnson when the microphone is muted.
• Turns on when there are new call log enteries.
• Turns on when the ringer is muted.
• Low battery indicator or charging indicator.
NEW
HandsetLEDs
LED Description
•LEDisonwhen in speakerphone mode.
SPEAKERPHONE
BaseLEDs
LED Description
CHARGING • On when the Handset is charging in the cradle.
• On when the phone is off hook.
• Flashes when an extension phone is off hook.
• Flashes when the visual message waiting signal has been
detected. Service must be subscribed through your local
telephonecompany.
IN USE

10
Making Calls
• PressON(or,SPEAKERPHONEtousethe
HandsetSpeakerphone feature). Dial the
phonenumber. -OR-
Dial the phone number first; then press
ON (or SPEAKERPHONE).
• Press OFF toendyourcall.
Answering Calls
• PressON,SPEAKERPHONEoranydialing
keys.
• Press OFF toendyourcall.
Adjust the Handset Volume
(Also applies to the Handset Speakerphone
andHeadset).
• The volume control is on the left edge of
the Handset. During a call, press or
key to adjust the listening volume to a
comfortable level. When you reach the
maximumorminimumsetting,adouble-beep
willsound.
NOTE: The procedure is the same for the
Handsetearpiece,SpeakerphoneandHeadset.
Flash Function
• You can use your ev 2625 with services
suchas Call Waiting. When you receive a
call-waiting signal, simply press the ON/
FLASH key to connect to the new call.
Press ON/FLASH again to return to the
originalcall.
NOTE:UseON/FLASH toaccessotherphone
company subscriber services, as
described by your provider.
Redial Function
• Press REDIAL• PAUSEtodisplaythelast
telephone number dialed from the
Handset. Use or to scroll through
the5previouslydialednumbers(upto32
digitseach).Whenyoureachthebeginning
or the ending of the redial list, a double-
beepwill sound.PressingOFF willexitthe
redial review list.
Handset Operation
Basic Operation
REDIAL
595-9511

11
NOTE:Whentheredialmemoryisempty,
and REDIAL is pressed, a double-beep
will sound.
• Whenyou reachthedesired number,
pressONorSPEAKERPHONEtodial.
• When the desired entry displays,
press MUTE.DEL to delete it. A
confirmationtone will sound.
Mute Function
• During an active call, pressing
MUTE.DEL key will disable the
microphone. Thescreenwill display
MICROPHONEMUTEDbriefly:
• Press MUTE.DEL again to return to
normal 2-way conversation. The
screenwilldisplayMICROPHONEON
briefly.
Intercom Call
• From the idle (OFF) mode, press
INTERCOM.TheHandsetwilldisplay:
• Theother Handset will be ringed and
the screen will display:
• Press ON, SPEAKERPHONE,
INTERCOM or any dialing keys to
answer the intercom call. The
screens will display:
• Toend the call, press INTERCOM or
OFF.
NOTE:IftheotherHandsetisoutofrange,
oron an externalcall,whenyou intercom
it, the display of the first handset will
show the following:
Call Forward and Call Transfer
An external call can be forwarded or
transferredfromoneHandset tothe other
Handset. The difference between
forwarding and transfering depends on
ifthesending Handset needs to talk with
thereceivingHandset beforetheexternal
callisactually sent to the other Handset.
INTERCOM
UNABLE TO CALL
TRY AGAIN
INTERCOM ENDED
CALLING
OTHER HANDSET
OTHER HANDSET
IS CALLING
Handset Operation
Basic Operation
PHONE 00:00:15
MICROPHONE MUTED
MUTEMUTE
MUTEMUTE
MUTE

12
Call Forward
• A Handset (HS1), on an external call
can forward it to the other Handset
(HS2), by pressing and holding the
INTERCOM key. The display of HS1
will initially show:
• HS2 can Press ON, SPEAKERPHONE
or any dialing keys to answer the call.
NOTE: If HS2 does not respond in about
30 seconds, the external call will be
returned to HS1 and the display will
show CALL BACK:
If the returned call is not answered
within 30 seconds, the external call will
end automatically.
CALL BACK
CALL FORWARDED
CallTransfer
• A Handset (HS1), on an external call can transfer it to the other Handset (HS2),
by pressing the INTERCOM key.
NOTE: The external call is put on hold automatically.
• HS2 will ring, showing an intercom call.
• HS2 can answer the intercom call by pressing ON.
These two handsets (HS1 and HS2) can discuss the external call.
• When HS1 presses OFF, the external call is then transferred to HS2. CALL
TRANSFERRED will briefly display on HS1.
NOTE: If there is no answer on HS2, then HS1 can be reconnected to the held
call by pressing ON to reconnect to the external call.
ConferenceCall
It is possible to establish a conference
between two Handsets and the exter-
nal line.
If a Handset already has a connec-
tion to the external line, and the other
Handset presses ON or SPEAKER-
PHONE, a conference is immediately
established. BothHandsets will show:
CONF. 00:00:25
Handset Operation
Basic Operation

13
Page
FromtheBaseUnit,youcanuse thePAGE
keytolocatetheHandsetsfor60seconds.
• When the Handset is in idle, press
PAGEonBaseUnit.TheHandsetswill
display:
• To end the page at the Base, press
PAGEagain.
• Toend thepagefrom eitherHandset,
press any dialing keys ON or
SPEAKERPHONE.
Base Operation
Basic Operation
BASE IS
PAGING

14
>STORE
REVIEW
PHONE BOOK
IS FULL
ENTER NUMBER
595-9511_
ENTER NAME
_
Phonebook Operation
Yourev2625canstoreup to50numberswith namesin memory.Eachmemorylocation
canhold up to 32 digits for the number and up to 16 characters for the name.
NOTE:The Handsets share a commonphonebook,whichis stored in the base station.
Thismeans that entriesinsertedbyone Handset areavailablefor both Handsets, andif
onedeletes a phonebook entry, it willdisappear from both Handsets.
Whenone Handset is accessing the phonebook, the other Handset cannotaccessitat
thesame time. If this isattempted, NOT AVAILABLE AT THIS TIME willdisplayonthe
secondHandset.
Basic Operation
Storing a New Entry
• PressSEL.
• With Phonebook selected, press
SELagain.
• Press to select STORE. Press
SEL.
• You will be prompted to ENTER
NUMBER. Use the dialing keys to
enter the number you wish to store
in the phonebook. Press the MUTE.
DEL key to backspace and make
corrections. Press SEL.
• YouwillthenbepromptedtoENTER
NAME. Use the dialing keys to spell
thename. PressSEL.
• Youwillheara confirmationtone, and
thenew phonebook entry will display
briefly.
NOTES:
• If the phonebook is full, the Handset
willdisplayPHONEBOOKISFULL.
• YoucanalsopressREDIAL.PAUSE,
then or toscroll tothe previously
dialed number from the redial list
which you want to store in the
phonebook.PressSEL.
• While entering numbers, press and
holdREDIAL.PAUSEtoaddpausesif
necessary.

15
• If there is a duplicate number in the
phonebook, the display will show: NUMBER ALREADY
IN PHONE BOOK
Phonebook Operation
Basic Operation
Characters by number of key presses
Key
123456789
space 1
ABC2abc
DEF3def
GH I 4gh i
JKL5 j k l
MNO6mn o
PQRS7pq r s
TUV8 t uv
WXYZ 9w x y z
0?!/()
#',-.&
1
2
3
4
5
6
7
8
9
0
#
Eachpress of a particular key causes characters to bedisplayedinthefollowing order:

16
Reviewing/Dialing from the
Phonebook
A number can be reviewed and dialed
fromthephonebook by:
• Press SEL. With Phonebook in the
first line, press SEL again. With the
REVIEW in the first line, press SEL
again.
- OR -
With the Handset idle, press and
the Handset jumps directly into the
phonebook review mode. The first
phonebookentrywill be displayed.
• Scrollthrough the phonebook entries
using or keys or enter first
characterof thenameto besearched
(usingthedialdigit keys)andcontinue
navigatingusing the or asscroll
keys, until you reach the entry to be
dialed.
NOTE: When reviewing the phone
book, the second line of the display
will display phone number up to 16
digits.Fornumberlargerthan16digits,
only the first 13 digits will be shown,
you may press or #to scroll the
phone number to see the additional
digits.
• PressONorSPEAKERPHONE,todial
thenumber.
NOTE: If there are no entries in the
phonebook, when it is accessed,
PHONEBOOKISEMPTYwilldisplay
Editing a Phonebook Entry
• Follow the two steps in Reviewing/
Dialing from the phonebook to
reach the entry to be edited.
VTech com
800-595-9511
VTech
595-9511
PHONE 00:00:10
John Smith
Phonebook Operation
Basic Operation
VTech
595-9511

17
• PressSELtoenternumbereditmode.
• Press DEL to backspace then press
thedigitforthe correctnumber. Press
and hold REDIAL/PAUSE to add
pauses if necessary.
Youcanalsopress REDIAL/PAUSE,
then or toscrolltothepreviously
dialed number from redial list which
you want to store in the phonebook.
PressSEL.
• PressSEL toconfirmthenumberand
enternameeditmode.
• PressDEL keytobackspaceanduse
the digit keys to enter the correct
name.
• Press SEL to confirm the change. A
confirmationtone will sound.
Delete a Phonebook Entry
• Follow the two steps in Reviewing/
Dialing from the Phone Book (see
page 16) to reach the entry to be
deleted.
• PressDEL key to delete the entry.
A confirmation tone will sound.
• The Handset will then move to the
next entry, if any.
EDIT NUMBER
595-9511_
EDIT NAME
VTech_
VTech
595-9511
Phonebook Operation
Basic Operation
VTech
595-9511
VTech com
595-9511

18
Caller ID - Call Waiting ID
Your ev 2625 is capable of displaying the name and/or number of the party calling
beforeyouanswer the phone (Caller ID). If the number ofthe CallerIDis contained by
thephone book, the name contained in thereceived CID will be replaced by thename
in the phone book. It is also capable of displaying Caller ID information in conjunction
with a CallWaiting alert signal (CallWaiting Caller ID).With Call Waiting Caller ID, the
Caller ID data is displayed so you can decide whether to answer the incoming call, or
continue with your current conversation.Your ev 2625 can hold up to 50 CID entries.
Calls Log (Caller ID - Call Waiting)
Basic Operation
VTech
5 NEW CALLS
NEW
VTech
CALL LOG
IS EMPTY
AsnewCallerID/Call Waiting ID records
arereceived, yourHandsets'displays will
alertyou to the new Caller ID records, for
example:
After you review all new Caller ID
records, the NEW call indication will be
turned off and the screen will show:
If the call log is full, the oldest entry is
deleted to make room for the new call. If
thecall log is emptywhenyou try to enter
toCallLogreview, thefollowingmessage
isdisplayed:
Reviewing Caller ID
You can review the Caller ID record via
the menu as described below or by
pressing the key in idle (quick access
key)whereby the Handset jumps directly
tothe Caller ID review mode.
NOTES ABOUT CALLER ID & CALLWAITING CALLER ID
These are subscription services, provided by most regional telephone service
providers. You must subscribe to these services to get the benefits of these
features.Ifyoudonotsubscribe toCaller IDservices, youcanstilluseyourev2625
and the other features it offers.
Due to regional incompatibilities, Caller ID information may not be available for
every call you receive. In addition, the calling party may intentionally block
their name and/orphone number from being sent.

19
• In idle mode, press SEL to enter the
menu.
• Press key to scroll to CALL LOG
option.
• Press SEL again to confirm. Use
or to scroll through the Call Log
entries.Whenyoureachthebeginning
ortheending ofthe CallLog, adouble
beep will sound.
Storing a Caller ID
• Follow the steps in Reviewing
Caller ID to scroll to the record to be
stored.
• Toviewalternatedialingsequences,
press the # key repeatedly. The
screen will cycle through the various
dialing options (1 + area code +
number, area code + number, 1 +
number,numberonly.)PressSEL to
storethedisplayednumber.
• You will hear a happy tone then the
screen will display:
NOTE:IftheCallerIDwasnotabletodetect
aname,EDIT NAMEwillbeprompted.
If no number is detected, will be
prompted.Youmustenterthenumber.
Ifbothname andnumberaremissing,
forexample as in a private listing, the
request will be rejected with the
message:
Ifthe phone number already exists in
the phonebook, the entry will not be
stored, and the screen will show:
If the phonebook is full, the screen
will show:
Calls Log (Caller ID - Call Waiting)
EDIT NAME
JOAN_
ADDED TO
PHONE BOOK
PHONE BOOK
IS FULL
NUMBER ALREADY
IN PHONE BOOK
Basic Operation
>CALL LOG
RINGER VOLUME
VTech
595-9511
NEW
2/2311:59
AM
UNABLE TO SAVE
IN PHONE BOOK

20
Dialing from Caller ID
• Followthe stepsinReviewing Caller
ID to scroll to the entry to be dialed.
• PressONorSPEAKERPHONE todial
the number. To change how the
numberwillbedialed, (1 + area code
+ number, area code + number, 1 +
number, number only.) press #
repeatedly. The screen will cycle
throughthe dialing options.
Deleting Caller ID
• Followthe stepsinReviewing Caller
ID toscrolltothe recordto bedeleted.
• Press DEL key to delete the desired
record. A confirmation tone will
sound.
• To delete all the Caller ID records,
press and hold the DEL key. The
screen will ask you DELETE ALL
CALLS? PressSEL forconfirmation.
Thescreen willdisplayCALLLOG IS
EMPTY briefly. And a confirmation
tone will sound. Or, press OFF to
return to the CID record previously
displayed.
Calls Log (Caller ID - Call Waiting)
Basic Operation
DELETE ALL
CALLS?
VTech
595-9511
NEW 2/2311:59
AM
VTech
595-9511
NEW 2/2311:59
AM
This manual suits for next models
1
Table of contents
Other V-tech Cordless Telephone manuals

V-tech
V-tech CS6719 User manual

V-tech
V-tech IS6110 User manual

V-tech
V-tech CS6124 User manual

V-tech
V-tech ev 2650 User manual

V-tech
V-tech VT 9122 User manual

V-tech
V-tech Analog Contemporary Series User manual

V-tech
V-tech CS5119-17 User manual

V-tech
V-tech 2121 User manual

V-tech
V-tech CS6719 User manual

V-tech
V-tech 6042 User manual

V-tech
V-tech bs2652 User manual

V-tech
V-tech 3111-2 User manual

V-tech
V-tech qw2652 Instruction Manual

V-tech
V-tech V2675 User manual

V-tech
V-tech 6041 User manual

V-tech
V-tech IS7121 User manual

V-tech
V-tech CS6719 User manual

V-tech
V-tech CS6429-17 User manual

V-tech
V-tech vt1922 User manual

V-tech
V-tech CS6328-3 User manual