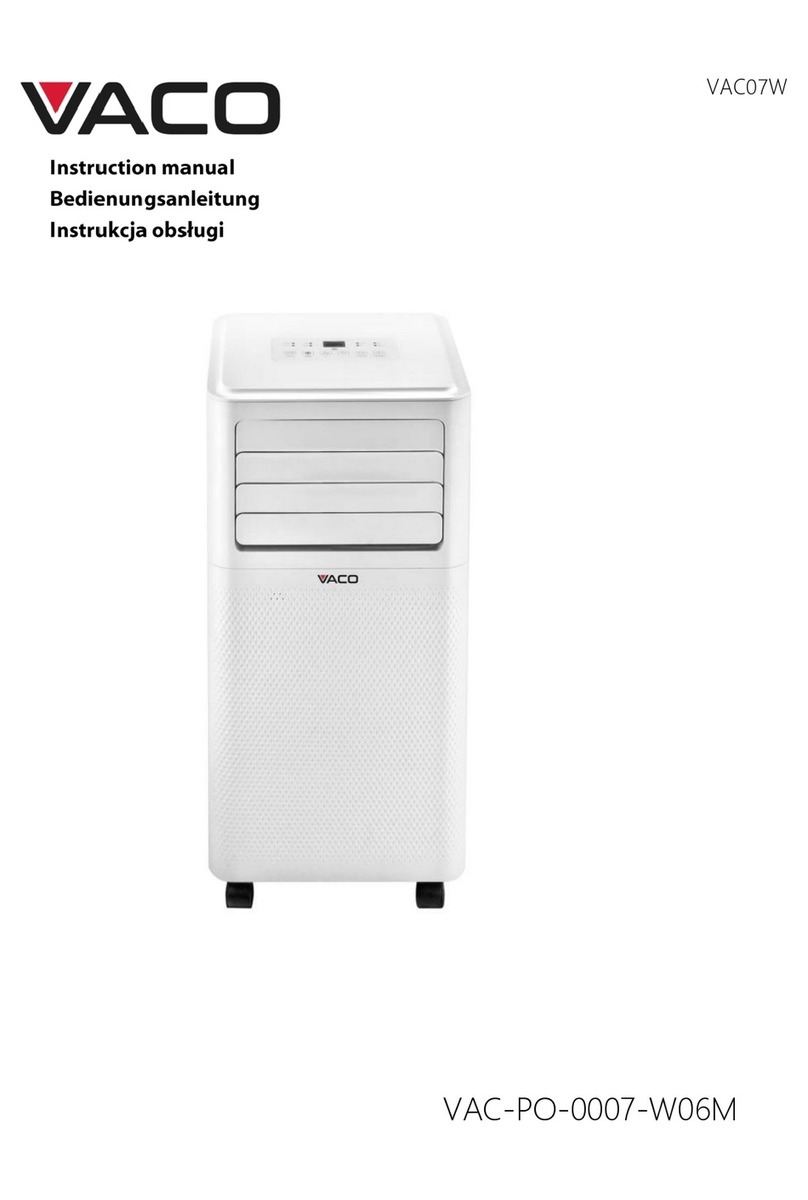
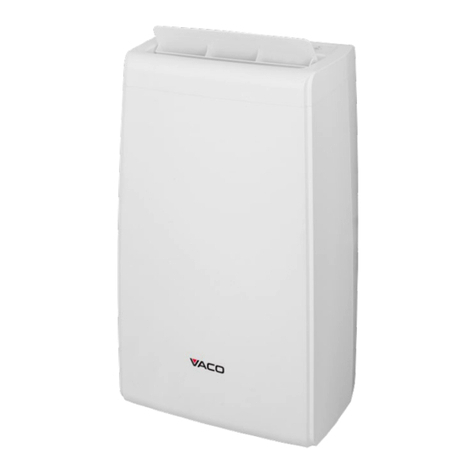
Vaco Arrifana VAC12W User manual

Instruction manual
Instrukcja obsługi
Bedienungsanleitung
VAC-PO-0012-E06W
VAC12W

2
Contents
QUICK GUIDE WI-FI CONNECTION ............................................................................................................................................4
Spis treści
SKRÓCONA INSTRUKCJA ŁĄCZENIA Z SIECIĄ WI-FI....................................................................................................30
Inhalt
KURZANLEITUNG ZUR KONFIGURATION EINER WLAN-VERBINDUNG..........................................................56

3
Portable Air conditioner
VAC12W
VAC-PO-0012-E06W
Quick guide Wi-Fi connection

4
QUICK GUIDE WI-FI CONNECTION
WELCOME
Thank you for choosing the VACO VAC12W Wi-Fi Air Conditioner.
This quick guide is to help get you connected and comfortable as fast as possible.
Full user instructions and troubleshooting is included in the owner's manual.
BEFORE YOU START:
Important:
•In offices or workspaces there can be difficulty in connecting the air conditioner to the
Wi-Fi due to firewalls and other security.
•Make sure the VACO VAC12W Air Conditioner is in the room you intend to use the air
conditioner with normal set up considerations - dedicated outlet and close to a window
for venting the hot air out through the included window kit.
•To establish a connection between your appliance and the Air conditioner, verify that
your “WLAN” (Wireless Local Area Network) is on and that the internet access is available.
Product and software update periodically, the number and app interface in this manual are
only for example. No extra notification on further changes.
Notes: Check there are no obstacles to the internet access, such as Firewall, Proxy,
authentications, etc. A “Home WLAN” shall consist at least in a wireless router with an
available internet access.

5
No.0 Download and Install APP
•IPhone
•Use your IPhone to scan the QR code, or search “Tuya Smart” or “Smart Life-Smart Living”
App in App Store to install.
•Android
•Use your Mobile phone with Android system to scan the QR code, or search “Tuya Smart”
or “Smart Life-Smart Living” APP in Google Play store to install.

6
No.1
Register/Login/Forgot password
Register
If you don't have an App account, register an account or sign in with verification code by SMS.
This page describes the registration process.
1. Tap to enter registration page.
2. The system automatically recognizes your country/area. You can also select your country
code. Enter the mobile number/E-mail and tap “Next”, as shown in the picture 2.
3. If you enter the mobile number, then enter the verification code in the message, as
shown in the picture 2, and enter the password, tap “Confirm” to finish your registration.
4. If you enter the E-mail, enter the password as shown in the picture 3, and, tap “Confirm”
to finish your registration.
Picture 1 Picture 2 Picture 3

7
Sign in with username and password
1. The system automatically recognizes your country/area. You can also select your country
code. Enter the mobile number/E-mail and tap “Next”.
2. Enter your registered mobile number or Email, and password to login.
Sign in with social media account
If you have installed Twitter in your smartphone, tap the corresponding icons and then sign in
the App after social network authentication.

8
Sign in with verification code via SMS
1. Tap “Sign in with SMS verification”, to new page.
2. The system automatically recognizes your country/area. You can also select your country
code by yourself.
3. Enter the mobile number and tap “Get” to get a message.
4. Enter the verification code in the message and tap “Login” to login the App.

9
Forgot password
To find your password back, please follow the procedures:
1. Tap “Forgot password”, as shown in the picture 1
2. The system automatically recognizes your country/area. You can also select your country
code by yourself. Enter the mobile number/E-mail and tap “Next”, as shown in the
picture 2.
3. Enter the verification code in the message/E-mail, as shown in the picture 3, and enter
the new password, tap “Confirm” to finish.
Picture 1
Picture 2
Picture 3

10
NO.2
Add device-CF mode
1. Enter the App, tap “+” in the upper right of the page to enter network connection page,
and select “Air conditioner” from device type list, as shown in the picture.
2. There are two network connection methods (CF mode and AP mode). CF mode is default.
Users could tap the upper right corner to switch the connection method to AP mode.
3. For CF mode, please make sure “CF” is displayed on the control panel of air conditioner.

11
How to display CF on control panel of air conditioner
•Push 6 times FAN Button on control panel of air conditioner (“CF” appears on the device
display).
•Tap “confirm indicator rapidly blink” on smartphone when “CF” is displayed on the air
conditioner.

12
NO.2
Add device-AP mode
1. For AP mode, please make sure “AP” is displayed on the control panel of the air
conditioner.
2. Push 6 times FAN Button on the control panel, “CF” will appear on the device display.
3. Push 6 times FAN Button on the control panel, “AP” will appear on the device display.
4. Tap ”Confirm indicator slowly blink” on smartphone when “AP” appears on the device
display.

13
No.2
Add device-Enter Wi-Fi password
Select the Wi-Fi under which device is working, enter password and tap “Confirm” to enter
network connection process, as shown in the picture below.

14
No.2
Add device-Network connection process
If you select CF mode to connect device to the network, the App goes through the processes
as shown in the picture 1. After the network connection is successfully, the App page will be
shown in the picture 2.
Picture 1
Picture 2

15
For AP mode, connect to the Wi-Fi hotspot named “SmartLife”, as shown in the picture.
Notes: Some devices might have different hotspot names.

16
After connecting with the hotspot, back to the network connection page to enter network
connection process. The App goes through as shown in the picture 1. Picture 2 shows the
App page when the network connection is successful.

17
No.2
Add device-Adding failed
If your App interface is shown as in the picture, it means that the network connection failed.
You could try by connecting again or view help.

18
No.3
Control device
After successfully configuring the devices, the smart device will be shown on the home page.
Tap to enter its control page.
Note:
1. When device is online, it supports short-cut operations.
2. When device is offline, it displays “Offline”.

19
No.4
Smart life scenario
Smart life scenario supports that devices perform corresponding actions under various
conditions. The main conditions include:
1. Temperature
2. Humidity
3. Weather
4. Air quality
5. Sunrise & sunset time
6. Device’s actions (such as turn on/off)

20
No.5
Profile
“Profile” page is where users could manage personal information. The key information is as
follows:
1. Personal information
2. Smart life scenario
3. Device Sharing: display the information of shared devices
4. Message center
5. F.A.Q
6. Entry to submit feedback
7. About
Table of contents
Languages:
Other Vaco Air Conditioner manuals
Popular Air Conditioner manuals by other brands

Kooltronic
Kooltronic KNA4C3DP21L installation instructions

Mitsubishi Electric
Mitsubishi Electric MXZ-3C30NA2 installation manual

Argo
Argo SDIAS8DC operating instructions

Rasonic
Rasonic RC-N1821E operating instructions

Panasonic
Panasonic CS-PV18RKF-5 operating instructions

Mitsubishi Electric
Mitsubishi Electric City Multi PEFY-M20VMA-A Operation manual