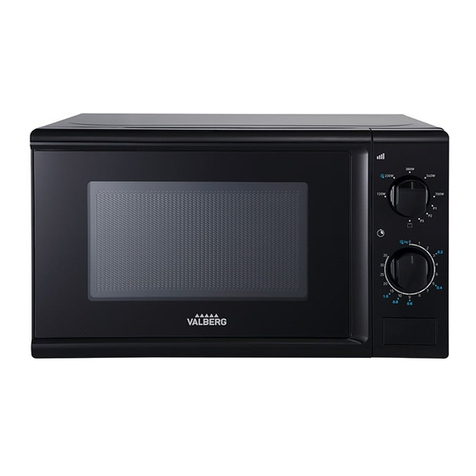
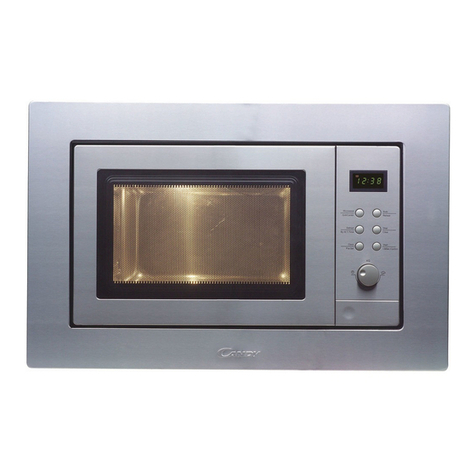
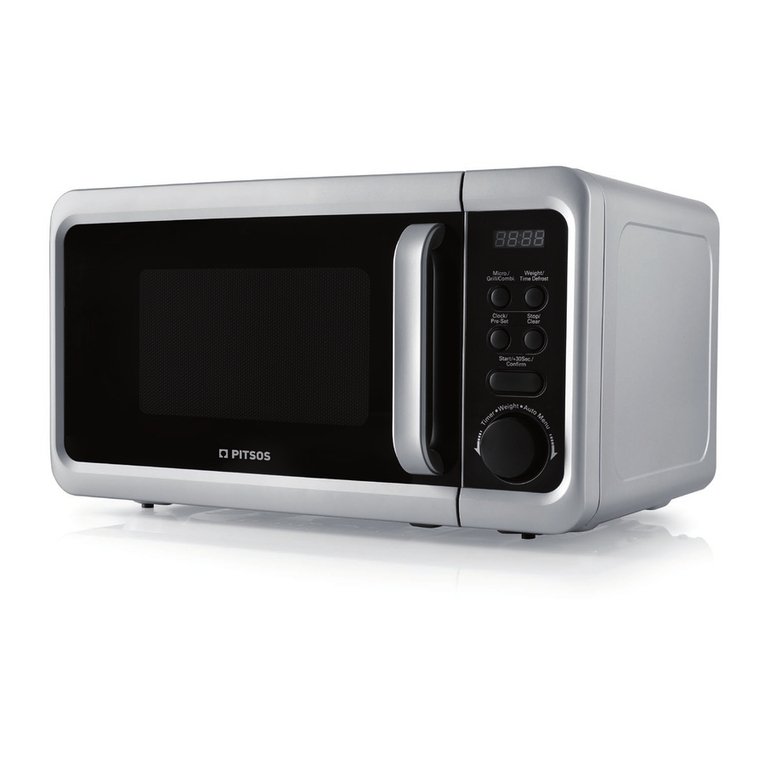
VALBERG BI MWO 20 X 343C User manual

EN
WARRANTY CONDITION
This product is guaranteed for a period of 2 years from the date of purchase* against
any failure resulting from a manufacturing or material defect. This warranty does not
cover defects or damage resulting from incorrect installation, improper use or abnormal
wear of the product.
*as shown on the sales receipt.
FR
CONDITION DE GARANTIE
Ce produit est garanti pour une période de 2 ans à partir de la date d’achat*, contre
toute défaillance résultant d’un vice de fabrication ou de matériau. Cette garantie ne
couvre pas les vices ou les dommages résultant d’une mauvaise installation, d’une
utilisation incorrecte ou de l’usure anormale du produit.
*sur présentation du ticket de caisse.
NL
GARANTIEVOORWAARDEN
Dit product wordt gegarandeerd voor een periode van 2 jaar vanaf de aankoopdatum*,
voor elke storing die het gevolg is van een fabricagefout of het materiaal. Gebreken of
schade door slechte installatie, onjuist gebruik of abnormale slijtage van het product
worden niet gedekt door deze garantie.
*op vertoon van kassabon.
ES
CONDICIONES DE GARANTÍA
El certificado de garantía de este producto tiene una duración de 2 años a partir de la
fecha de compra* que se limita a los defectos de fabricación y averías del material.
Se excluyen de la garantía deficiencias o daños originados por una mala instalación,
errores en la manipulación o por un uso inadecuado.
*previa presentación del comprobante de compra.
973330 - BI MWO 20 X 343C
ELECTRO DEPOT
1 route de Vendeville
59155 FACHES-THUMESNIL - FRANCE
INSTRUCTIONS FOR USE ....................02
CONSIGNES D'UTILISATION ....................14
GEBRUIKSAANWIJZINGEN ....................26
INSTRUCCIONES DE USO ....................38
03/2022 - V3
Single-function microwave
Micro-ondes monofonction
Enkele functie microgolfoven
Microondas monofunción
2/2
H
PN:16170000A92625

1
6
8
2
5
7
4
3
550
380
45
560
mm
mm
mm
mm
A
F
B
E
G
DC

2EN
Thanks!
Thank you for choosing this VALBERG product.
Chosen, tested and recommended by ELECTRO DEPOT,
VALBERG branded products are easy to use, reliable,
and of an impeccable standard.
With every use of this appliance, you can be sure of
complete satisfaction.
Welcome to ELECTRO DEPOT.
Visit our website: www.electrodepot.fr

3
3EN
Table of conTenTs
AOverview of the
appliance
CPractical information
BUsing the appliance Getting started
Installation
Use
Operation
Cleaning and maintenance
Repair
Earthing instructions
Cooking utensils
Bulb replacement
Appliance description
Appliance overview
Intended use

4EN
Preview of the appliance
A
Appliance description
1Control panel 5Observation window
2Turntable shafts 6Door
3Set of roller rings 7Child safety lock
4Glass tray 8Power cord with plug
Appliance overview
• Unwrap the appliance. Remove all the labels from the product. Please check that there is
nothing missing and that everything is in good condition. If the appliance is damaged or not
working properly, do not use it and return it to your dealer or their after-sales department.
• Keep all packaging out of reach of children. Accidents can occur as a result of children playing
with the packaging materials.
Intended use
• This appliance is designed to cook food using microwave energy. Do not use this appliance
for any other purpose.
• The appliance stops emitting microwaves when it is switched o, for example when the door
is opened (several security points) and microwaves are not stored in food or in containers.
• Any other use can damage the appliance or cause injury.

5EN
Using the appliance
B
Getting started
• Disconnect the appliance.
• Clean the appliance ( →Cleaning and maintenance).
Installation
CAUTION:
• Never obstruct the vents of the cupboard or appliance.
• The minimal height for integration amounts to 85 cm.
Inserting the microwave in a cupboard
ATo ensure that the appliance is sufficiently ventilated, behind the microwave oven,
the cupboard should not have a rear wall. Please note the installation dimensions.
B
C
Use mounting parts provided to install the microwave
(2 small screws, 1 large screw, 1 nut, 1 bracket)
DAttach the bracket to the cupboard shelf.
EPush the appliance into the cupboard and fix the front with a screw and bolt.
Accessories
FPlace the turntable support then place the glass tray in the appliance.
The glass tray revolves when the microwave is operating.
Never place the glass tray upside down.
Never block the glass tray.
Place the container of food on the glass tray during use.

6EN
Using the appliance
B
Use
CAUTION:
• Do not operate the appliance if the power cord is damaged.
• The power cord should not pass underneath the appliance
or over hot/sharp objects.
• The plug should be easily accessible so that you may
unplug it immediately in an emergency.
WARNING:
Use the appliance only if the tray support and glass tray are
correctly positioned.

7EN
Using the appliance
B
Operation
GConnect the electric plug.
HAdjust the power and length of cooking.
Adjust the power
Setting Output Power Description
800W 100% High
620W 77% M.High
440W 55% MED
270W 33% Defrost
140W 17% Low
Set the cooking time
• The maximum cooking time is 35 minutes.
• If the required cooking time is less than 2 minutes, turn the button to the 2 minutes position,
then turn it again to the required time.
• Once the cooking time has been set, the appliance starts to operate.
PLEASE NOTE:
You can open the door whenever you want to stop the
cooking process. Close the door to resume cooking.
• When the dened cooking time is over, there is a sound signal, indicating that cooking is complete.
• If the food is removed before the end of cooking time, replace the setting button to its initial
position to stop the appliance operating empty.

8EN
Using the appliance
B
Defrosting
Defrosting
(depending on the weight) Time
0.2 kg 3 min.
0.4 kg 6 min.
0.6 kg 9 min.
0.8 kg 10 - 15 min.
1 kg 15 min.

9EN
Useful information
C
Cleaning and maintenance
• Before cleaning, unplug the appliance.
• It should be cleaned after each use for hygiene reasons.
Remove any food residue.
CAUTION:
Do not use abrasive cleaning products or steel wool to clean
the appliance.
Parts Cleaning method
Cooking
compartment
• Wipe with a damp cloth and gentle
detergent. Clean the cooking compartment
thoroughly and leave to dry completely.
• Remove unpleasant odours from the
cooking compartment: mix the peel and
juice of one lemon with a cup of water in a
microwavable container.
• Cook the mixture in the microwave for 5
minutes. Then wipe thoroughly and dry the
cooking compartment using a dry cloth.

10 EN
Useful information
C
Parts Cleaning method
Casing Wipe with a dry, clean, soft cloth.
Door seal
(door and
door frame)
Remove any stains with a damp cloth and
gentle detergent. Then wipe thoroughly and
dry.
• Set of roller
rings
• Glass tray
Clean them with warm water and a gentle
detergent, then rinse with clear water.
Leave the accessories to dry completely
after cleaning.

11 EN
Useful information
C
Repair
Problem Cause Solution
The appliance will not start.
The plug is not correctly
inserted.
Remove the plug and insert
it again after 10 seconds.
There is a problem with the
fuse in the socket.
Have the socket checked by
a qualified technician.
The appliance does not heat
the food.
The door is not properly
closed. Close the door correctly.
The cooking time is not
correctly set.
Correctly set the cooking
time.
The glass tray makes a
noise when the appliance is
operating.
The glass tray and the
bottom of the oven are dirty.
Clean the dirty parts
( →Cleaning and care).
CAUTION:
Any repairs on the appliance must only be done by a qualied
technician.

12 EN
Useful information
C
Earthing instructions
• The power cord is tted with an earthed plug which must be connected to a correctly installed
and earthed socket.
• It is recommended to have one circuit exclusively dedicated to the oven.
High voltage is dangerous and can incur risks of re and other accidents, causing damage or injury.
WARNING:
Incorrect connection of the earthing equipment could present
a risk of electric shock.
Cooking utensils
The list below is a general guide to help you choose the appropriate utensils:
Cooking utensils Microwave oven
Heat-resistant glass Yes
Non-heat-resistant glass No
Dark-coloured crockery Yes
Microwavable plastic plates Yes
Kitchen towel Yes
Parchment paper Yes
Cling lm Yes
Aluminium foil and containers No

13 EN
Useful information
C
Replacing the lightbulb
Any replacement of the LED bulb (1.5 W) should be carried out by a professional repairer or
similarly qualied person.

14 FR
Merci !
Merci d’avoir choisi ce produit VALBERG.
Choisis, testés et recommandés par ELECTRO DEPOT,
les produits de la marque VALBERG vous assurent
une utilisation simple, une performance fiable et
une qualité irréprochable.
Grâce à cet appareil, vous savez que chaque utilisation
vous apportera satisfaction.
Bienvenue chez ELECTRO DEPOT.
Visitez notre site Internet: www.electrodepot.fr
www.electrodepot.be
VVOOTRETRE AAVISVIS CCOMPTE !OMPTE !
PARTAGEZ
VOTRE EXPERIENCE
SUR LES PRODUITS
Parce que votre satisfaction est notre priorité, nous vous proposons
de donner votre avis sur ce produit. Il sera transmis et analysé par
nos équipes afin d’améliorer continuellement le produit.
Donnez votre avis sur http://www.electrodepot.fr/avis-client

15
15 FR
Table de matières
AAperçu de l’appareil
CInformations
pratiques
BUtilisation de
l’appareil
Les notices sont aussi disponibles sur le site
http://www.electrodepot.fr/sav/notices/
http://www.electrodepot.be/fr/sav/notices
Avant la première utilisation
Installation
Utilisation
Fonctionnement
Nettoyage et entretien
Dépannage
Instructions relatives à la mise en terre
Articles culinaires
Remplacement de l’ampoule
Description de l’appareil
Aperçu de l’appareil
Utilisation prévue

16 FR
Aperçu de l’appareil
A
Description de l’appareil
1Panneau des commandes 5Hublot
2Arbre du port tournant 6Assemblage de la porte
3Ensemble de bagues de rouleau 7Verrouillage de sécurité pour enfants
4Plateau de verre 8Cordon d’alimentation avec fiche
Aperçu de l’appareil
• Déballez l’appareil. Retirer toutes les étiquettes du produit. Veuillez vérifier son exhaustivité
et s’il est en bonne condition. Si l’appareil est endommagé ou présente un dysfonctionnement,
ne l’utilisez pas et rapportez-le à votre revendeur ou service après-vente.
• Conservez tous les emballages hors de portée des enfants. Il existe un risque d’accident si
les enfants jouent avec les matériaux d’emballage.
Utilisation prévue
• Cet appareil est conçu pour cuire des aliments à l’aide de l’énergie des micro-ondes. N’utilisez
pas cet appareil à d’autres fins que celles prévues.
• L’appareil cesse d’émettre des rayons dès qu’il est éteint, par ex. au moyen de l’ouverture de
la porte (plusieurs contacts de sécurité), et les rayons ne sont stockés ni dans les aliments ni
dans les récipients.
• Toute autre utilisation peut endommager l’appareil ou provoquer des blessures.

17 FR
Utilisation de l’appareil
B
Avant la première utilisation
• Débranchez l’appareil.
• Nettoyez l’appareil ( →Nettoyage et entretien).
Installation
ATTENTION :
• Ne bloquez jamais les ouvertures d’aération du placard
ou de l’appareil.
• La hauteur minimale pour l’intégration s’élève à 85 cm.
Intégrer le micro-ondes dans un placard
AAfin que l’appareil ait suffisamment d’aération, derrière le micro-ondes, le
placard ne devrait pas avoir de paroi à l’arrière. Veuillez noter les dimensions
d’installation.
B
C
Utilisez les pièces de fixation fournies lors de l'installation du micro-ondes
(2 petites vis, 1 grande vis, 1 écrou, 1 patte)
DAttachez la patte à l’étagère du placard.
EPoussez l'appareil dans le placard et fixez l'avant avec une vis et un écrou.
Accessoires
FPlacez le support du plateau tournant puis le plateau en verre dans l’appareil.
Le plateau en verre tourne en cours d’utilisation.
Ne placez jamais le plateau en verre à l’envers.
N’entravez jamais le plateau en verre.
Placez le récipient contenant des aliments sur le plateau en verre en cours
d’utilisation.

18 FR
Utilisation de l’appareil
B
Utilisation
ATTENTION :
• Ne faites pas fonctionner l’appareil en cas de cordon
d’alimentation endommagé.
• Ne faites pas passer le cordon d’alimentation sous
l’appareil ou sur des objets chauds/tranchants.
• La fiche d’alimentation doit être facilement accessible
afin que vous puissiez la débrancher immédiatement de la
prise de courant en cas d’urgence.
AVERTISSEMENT :
Utilisez l’appareil seulement si le support du plateau et le
plateau en verre sont correctement positionnés.

19 FR
Utilisation de l’appareil
B
Fonctionnement
GBranchez la fiche électrique.
HRéglez la puissance et la durée de cuisson.
Régler la puissance
Réglage Puissance de sortie Description
800W 100 % High
620W 77 % M.High
440W 55 % Med
270W 33 % Defrost
140W 17 % Low
Régler la durée de cuisson
• La durée maximale de cuisson est 35 minutes.
• Si la durée de cuisson désirée est inférieure à 2 minutes, tournez le bouton sur la position
2minutes, puis tournez-le à nouveau vers la durée désirée.
• Une fois la durée de cuisson réglée, l’appareil commence à fonctionner.
REMARQUE :
Ouvrez la porte à n’importe quel moment pour interrompre
le processus de cuisson. Fermez la porte pour relancer la
cuisson.
• Lorsque la durée définie est échue, un signal sonore est émis, indiquant que la cuisson est
terminée.
• Si la nourriture est retirée avant que la durée de cuisson ne soit écoulée, replacez le bouton
de réglage de la durée sur sa position initiale, afin d’empêcher l’appareil de fonctionner à vide.
This manual suits for next models
1
Table of contents
Languages:
Other VALBERG Microwave Oven manuals
Popular Microwave Oven manuals by other brands

Silvercrest
Silvercrest 90090 operating instructions

Magic Chef
Magic Chef MCD1110ST1 operating instructions

Magic Chef
Magic Chef HMM770W user manual

Silvercrest
Silvercrest SMW 800 D3 Operating instructions and safety instructions

Magic Chef
Magic Chef MM1611B2 user manual

diLUSSO
diLUSSO MOV28S2M Installation and operating manual