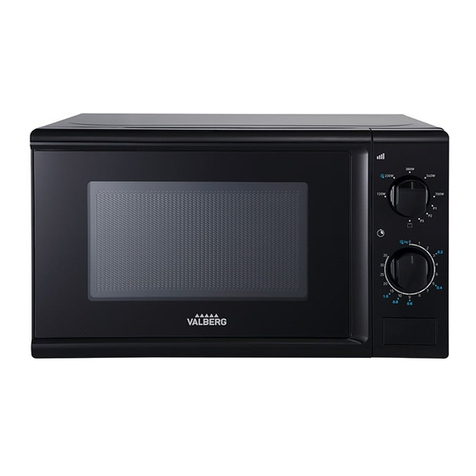
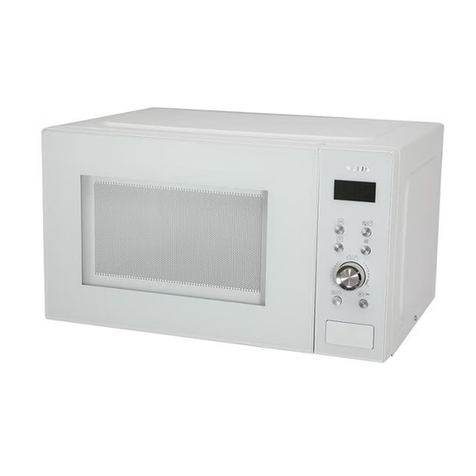
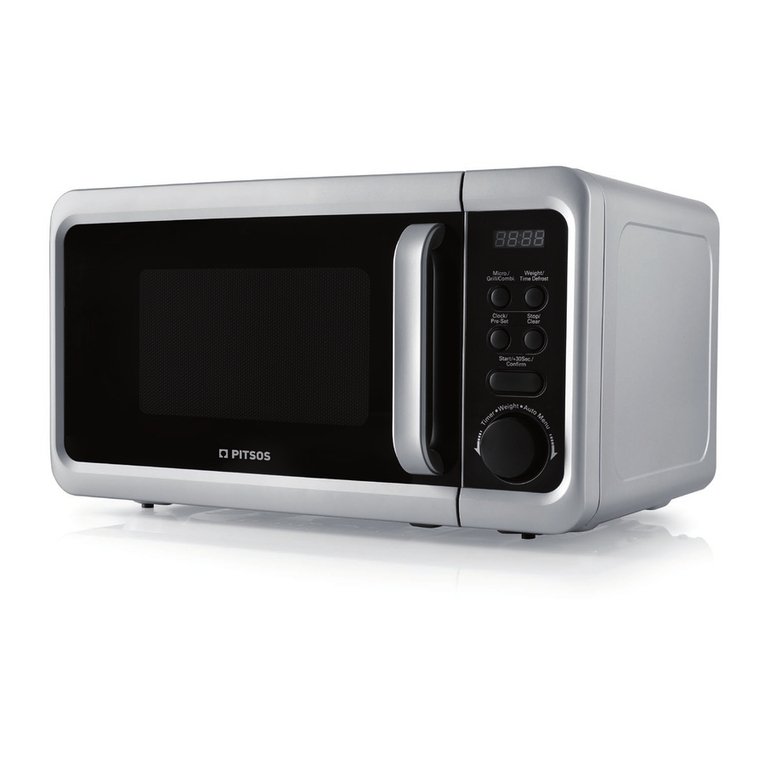
VALBERG MWO 30 E W 902C User manual


EN
WARRANTY CONDITION
This product has a 2-year warranty as of the date of purchase*, covering any fault resulting from
a manufacturing or material defect. This warranty does not cover defects or damage resulting
from incorrect installation, improper use or abnormal wear of the appliance.
*upon presentation of the sales receipt.
FR
CONDITION DE GARANTIE
Ce produit est garanti pour une période de 2 ans à partir de la date d’achat*, contre toute
défaillance résultant d’un vice de fabrication ou de matériau. Cette garantie ne couvre pas les
vices ou les dommages résultant d’une mauvaise installation, d’une utilisation incorrecte ou
de l’usure anormale du produit.
*sur présentation du ticket de caisse.
NL
GARANTIEVOORWAARDEN
Dit product wordt gegarandeerd voor een periode van 2 jaar vanaf de aankoopdatum*, voor
elke storing die het gevolg is van een fabricagefout of het materiaal. Gebreken of schade door
slechte installatie, onjuist gebruik of abnormale slijtage van het product worden niet gedekt
door deze garantie.
*op vertoon van kassabon.
ES
CONDICIONES DE GARANTÍA
El certificado de garantía de este producto tiene una duración de 2 años a partir de la fecha de
compra* que se limita a los defectos de fabricación y averías del material. Se excluyen de la
garantía deficiencias o daños originados por una mala instalación, errores en la manipulación
o por un uso inadecuado.
*previa presentación del comprobante de compra.
Made in PRC
ELECTRO DEPOT
1 route de Vendeville
59155 FACHES-THUMESNIL
FRANCE

978561 - MWO 30 E W 902C
INSTRUCTIONS FOR USE .....................02
CONSIGNES D'UTILISATION .....................18
GEBRUIKSAANWIJZINGEN .....................36
INSTRUCCIONES DE USO .....................52
03/2023-V2
Microwave oven
Four à micro-ondes
Microgolfoven
Horno microondas
2/2


1 2 3 4
5 6
7


2 FR
A
2
Thanks!
Thank you for choosing this VALBERG product.
Chosen, tested and recommended by ELECTRO DEPOT,
VALBERG branded products are easy to use, reliable,
and of an impeccable standard.
With every use of this appliance, you can be sure of
complete satisfaction.
Welcome to ELECTRO DEPOT.
Visit our website: www.electrodepot.fr
EN

3 FR
Aperçu de l’appareil
A
3
Table of contents
AOverview of the
appliance
CUseful information
BUsing the appliance Installation
Operation of control panel
Utensils guideline
Cleaning
Cooking tips
Maintenance
Correct disposal of this product
Product instruction
EN

4
AOverview of the appliance
EN
Product instruction
1Door lock
Microwave oven door must be properly closed in order for it to operate.
2Viewing window
Allow user to see the cooking status
3
Rotating axis
The glass turntable sits on the axis; the motor underneath it drives the
turntable to rotate
4
Rotating ring
The glass turntable sits on its wheels; it supports the turntable and helps it
to balance when rotating
5
Turntable
The food sits on the turntable, its rotation during operation helps to cook
food evenly
CAUTION
- Place the rotating ring first
- Fit the turntable onto the rotating axis and make
sure that it is geared in properly
6
Control panel
See below in details (the control panel is subject to change without prior
notice)
7
Outer cover
Used for wrapping and protecting the internal structural parts and electrical
components of the whole machine
8
Waveguide cover
It is inside the air fryer oven, next to the wall of control panel.
WARNING
Never remove the waveguide cover.

5
Using the appliance
B
Installation
EN
1. Take out all the packing. If there is a safe film over the oven, tear it off before use. Check
carefully for damage. If any, immediately notify dealer or send to the manufacturer’s service
center.
2. Microwave ovens must be placed under dry and non corrosiveness environments, kept away
from heat and humidity, such as gas burner or water tank.
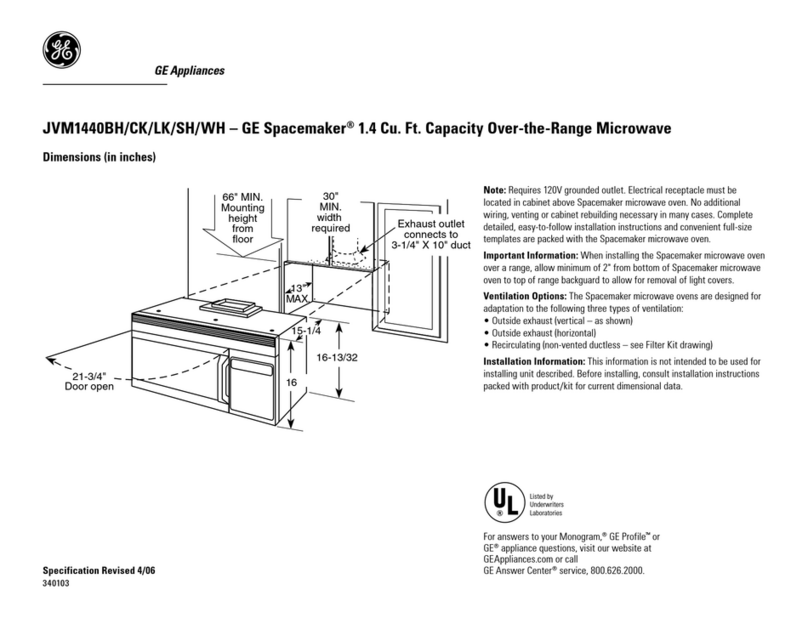
3. To ensure sufficient ventilation, the distance of the back of microwave to the wall should
be at least 10 cm, the side to the wall should be at least 5 cm, the free distance above the top
surface at least 20 cm. the distance of the microwave to the ground should be at least 85 cm.
4. The position of the oven shall be such that it is far from the TV, Radio or antenna as picture
disturbance, or noise may occur. The distance should be more than 5m.
5. The appliance must be positioned so that the plug is accessible, and must ensure a good
grounding in case leakage, ground loop can be formed to avoid electric shock.
6. The microwave oven must be operated with the door closed.
7. The microwave oven must not be placed in a cabinet. The microwave oven is intended to
be used freestanding.
8. As there is manufacturing residue or oil remained on the oven cavity or heat element, it
usually would smell the odor, even a slight smoke, It is normal case and would not occur
after several times use, keep the door or window open to ensure good ventilation. So it is
strongly recommended to place a cup of water in the cavity, setting at high power and operate
for several times.

6
BUsing the appliance
EN
Operation of control panel
Before cooking
The display lit up when plugged in power supply, then enter the standby state and display
shows 1:00.
Microwave function
There are five firepower levels, 100P, 80P, 50P, 30P and 10P, respectively. Press the “Microw.”
button continuously and select the desired microwave power. Turn the “Time. Weight” knob
to increase or decrease cooking time, the time range can be selected from 0:10 to 60:00.
After select the time, press “START/+30s” button to start work. An buzzing sound to notify
completion of the operation.

7
BUsing the appliance
EN
HIGH 100% power output (Applicable for quick and thorough cooking)
M.High 80% power output (Applicable for medium express cooking)
Med 50% power output (Applicable for steaming food)
M.Low 30% power output (Applicable for defrosting food)
LOW 10% power output (Applicable for keeping warm)
CAUTION
a. The max time which can be set is 60 minutes
b. Never operate the oven empty.
c. At the maximum microwave power, the oven will
automatically lower the power after a certain time of cooking
to lengthen the service life.
d. If you turn the food during operation, press the START/+30s
button once and the preset cooking procedure will continue.
e. If you intend to remove the food before the preset time,
you must press STOP/LOCK button once to clear the preset
procedure to avoid unintended operation of next time use.
Defrost/clock
Defrost
There are two defrost mode, dEF1 and dEF2, respectively. dEF1 for defrost by weight and
dEF2 for defrost by time. Press this button to select defrost by weight or by time, and the
display screen will display “dEF1” or “dEF2”. Turn the knob to select food weight or defrost
time. The weight range of dEF1 is from 100g to 1500g, and the optional time range of dEF2 is
from 0:10 to 60:00. After selecting the defrost weight or time, press the “START/+30s” button
start to work. An buzzing sound to notify completion of the operation. The dEF1 defrost mode
by weight will have a beeping sound to prompt the food to be turned over during defrosting.
Below is some food defrosting time advice:

8
BUsing the appliance
EN
dEF1 For defrosting, the weight range from 100g to 1500g.
dEF2 For defrosting, the time range from 0:10 to 60:00.
CAUTION
a. It is necessary to turn over the food during operation to
obtain uniform effect.
b. Usually defrosting will need longer time than that of
cooking the food.
c. If the food can be cut by knife, the defrosting process can
be considered completed.
d. Microwave penetrates around 4cm into most food
e. Defrosted food should be consumed as soon as possible,
it is not advised to put back to fridge and freeze again.
Clock (24 hour clock)
In standby mode, press “DEF ROST /CLOCK” button for more than 3 seconds to enter the clock
setting interface. At the same time, the display screen blinks in hours. The hour time can
be set by turning the knob. After setting the hour, press the “START/+30s” button for a short
time to switch to the setting minute mode. The minutes can be set by turning the knob. After
setting minutes, press the “START/+30s” button again to exit the setting mode.
Auto cooking
There are eight automatic menus A.1~A.8, Potato, Pasta, Pizza, Popcorn, Vegetable, Beverage,
Meat and Fish respectively. Press the “Menu” button continuously to select the desired
menu, then turn the “Time Weight” knob to select the weight of the menu. After selecting
the cooking weight, press “ START/START/+30s ” button to start work. An buzzing sound to
notify completion of the operation.

9
BUsing the appliance
EN
Display Kind Method
A.1 Potato The optional weight are 250g, 500g and 750g
A.2 Pasta The optional weight are 50g, 100g and 150g
A.3 Pizza The optional weight are 200g and 400g
A.4 Popcorn The optional weight is 100g
A.5 Vegetable The optional weight are 200g, 400g and 600g
A.6 Beverage The optional weight are 1 cup, 2 cups or 3 cups,
each one about 250ml.
A.7 Meat The optional weight are 200g, 400g and 600g
A.8 Fish The optional weight are 200g, 400g and 600g
CAUTION
a. The temperature of food before cooking would be 20-25°C.
Higher or lower temperature of the food before cooking
would require increase or decrease of cooking time.
b. The temperature, weight and shape of food will largely
influence the cooking effect. If any deviation has been
found to the factor noted on above menu, you can adjust
the cooking time for best result.
Reheat
Reheat function is mainly to facilitate users to heat food according to the weight of food, press
“Reheat” button continuously, select the appropriate weight of food, the optional weights are
200g, 400g, 600g, 800g and 1000g. After select the weight, press “START/+30s” button to start
work. An buzzing sound to notify completion of the operation.
Stop
In the process of cooking settings, can press “STOP” button to cancel the settings and return
to standby state. In the process of microwave oven working, can press “STOP” button to
pause. In the standby state, can press “STOP” button again to cancel the function and return
to standby state.

10
BUsing the appliance
EN
Start/ 30 s
After setting the cooking time or food weight, press the “START/+30 s” button to start the
microwave oven immediately. In working state, can press “ START/+30s ” button to increase
time, press one time to increase 30 seconds, but the menu mode and weight defrosting mode
can not adjust time. In pause state, can press “ START/+ 30s button to continue the microwave
oven before cooking mode.
Express
In standby mode, after the food is put in and the door is closed, press the “START/+30s”
button to quickly start the microwave. The default working time is 30 seconds. In the process
of working, press the “START/+30s” button once for 30 seconds. An buzzing sound to notify
completion of the operation.
Child lock function
Use this feature to lock the control panel when you are cleaning or so that children can not
use the oven unsupervi sed. All the buttons are rendered inoperable in this mode.
1) Set lock: In standby mode, press the “STOP” button for more than 3 seconds , the child lock
function is locked, and all buttons of the microwave oven can not be operated.
2) Cancel lock: In the child lock state, press the “STOP” button for more than 3 seconds to
cancel the child lock function.

11
BUsing the appliance
EN
Utensils guideline
It is strongly recommended to use the containers which are suitable and safe for microwave
cooking. Generally speaking, the containers which are made of heat-resistant ceramic, glass
or plastic are suitable for microwave cooking. Never use the metal containers for microwave
cooking and combination cooking as spark is likely to occur. You can take the reference of
below table.
Material of container Microwave Notes
Heat resistant ceramic Yes
Never use the ceramics which are decorated
with metal rim or glazed
Heat resistant plastic Yes
Can not be used for long time microwave
cooking
Heat resistant glass Yes
Grill rack No
Plastic film Yes
It should not be used when cooking meat
or chops as the over temperature may do
damage to the film

12 FR
Informations pratiques
C
12
Useful information
C
Cleaning
EN
CAUTION
The oven should be cleaned regularly and any food deposits
removed.
WARNING
a. Remove the power cord from the wall outlet before
cleaning. After cooling products. Don’t immerse the
appliance in water or other fluids when cleaning.
b. Failure to maintain the oven in a clean condition could lead
to deterioration of the surface that could adversely affect
the life of the appliance and possibly result in a hazardous
situation.
c. Never use hard detergent, gasoline, abrasive powder or
metal brush to clean any part of the appliance.
d. Do not remove the waveguide cover.
e. When the microwave oven has been used for a long
time, there may be some strange odors exist in oven,
Following 3 methods can get rid of them:
1) Place several lemon slices in a cup, then heat with high
Micro Power for 2-3 min.
2) Place a cup of red tea in oven, then heat with high micro
power.
3) Put some orange peel into oven, and then heat them with
high Micro Power for 1 minute.
f. When the product is not used, it should be placed in try
and ventilated areas as well as possible.

13 FR
Informations pratiques
C
13
CUseful information
EN
WARNING
Details how to clean surfaces in contact with food:
After use wipe the waveguide cover with a damp cloth,
followed by dry cloth to remove any food splashes and
grease. Built -up grease may overheat and begin to cause
smoke or catch fire.
Tips for cleaning
Details for cleaning door seals, cavity and adjacent parts:
Exterior:
Wipe the enclosure with a dampened soft cloth
Door:
Using a dampened soft cloth, wipe clean the door and window
Wipe the door seals and adjacent parts to remove any spill or spatter
Wipe the control panel with a slightly dampened soft cloth
Interior walls:
Wipe clean the interior surfaces with a dampened soft cloth
Wipe clean the waveguide cover to remove any food splashed
Turntable / Rotation ring / Rotation axis:
Wash with mild soap water
Rinse with clean water and allow drying thoroughly
This manual suits for next models
1
Table of contents
Languages:
Other VALBERG Microwave Oven manuals