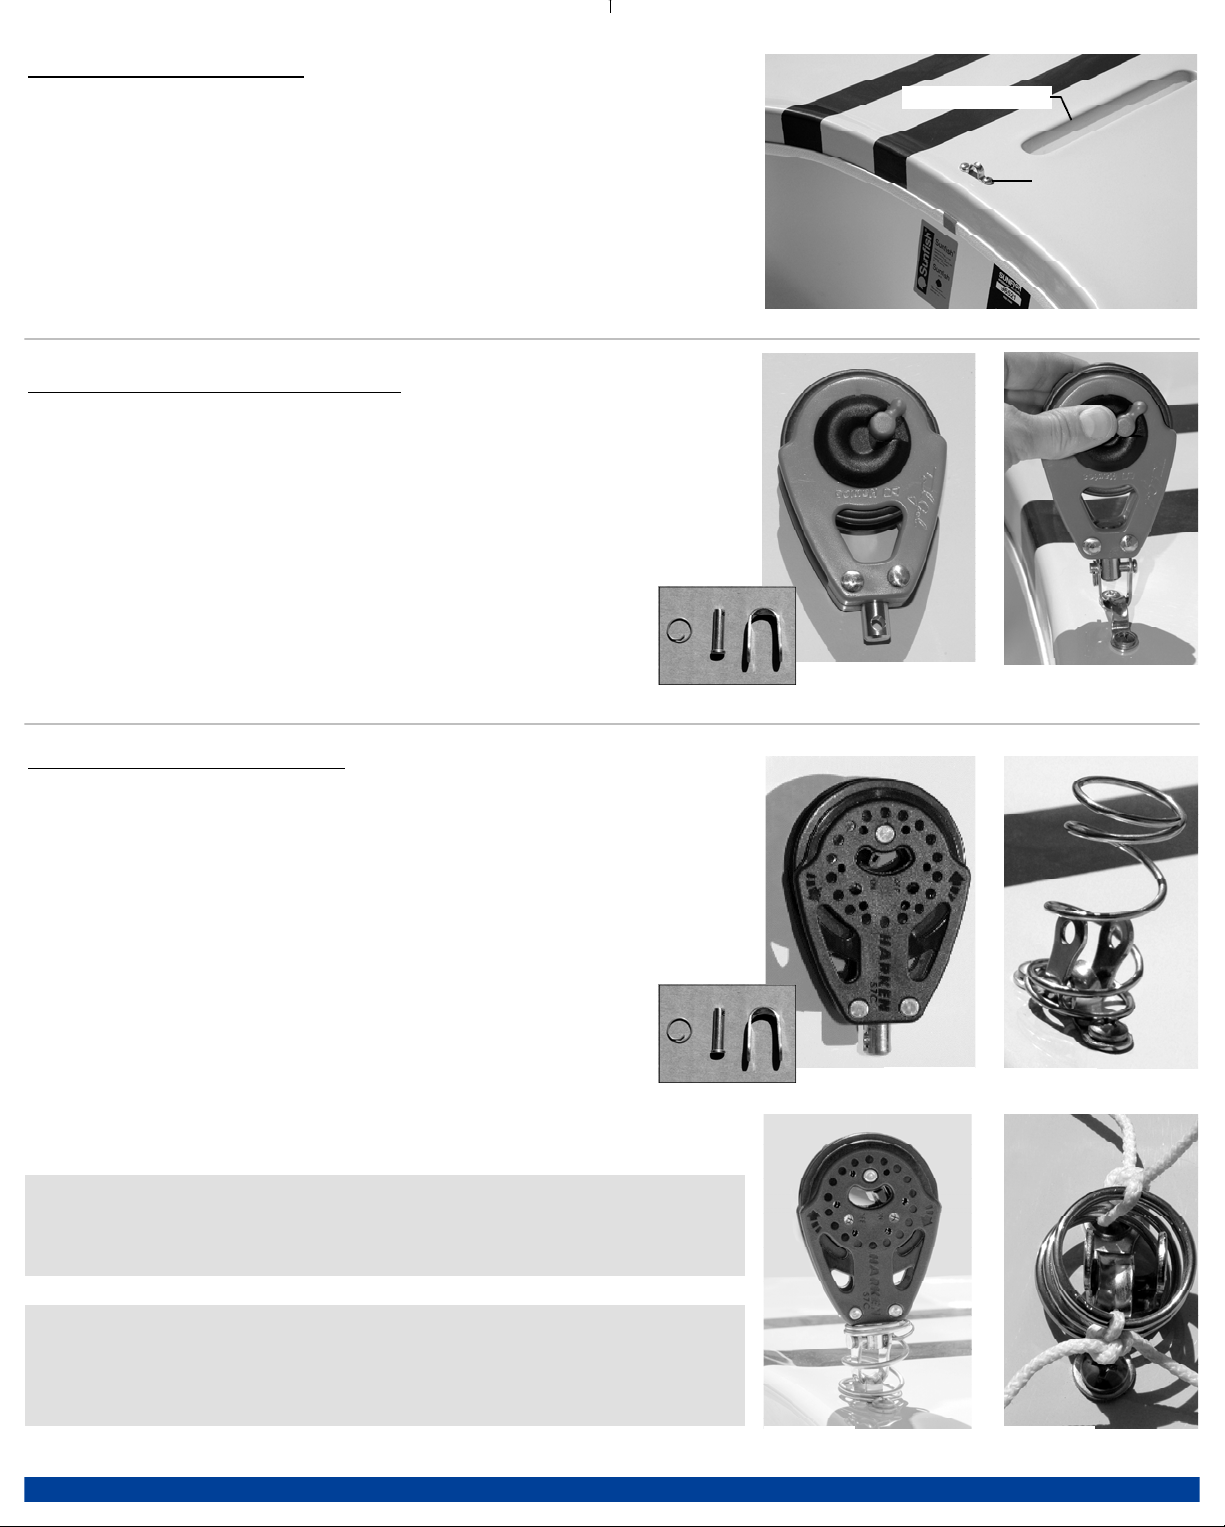
Attaching the Sail to the Booms (Pro):
Rigging the Outhaul (Pro):
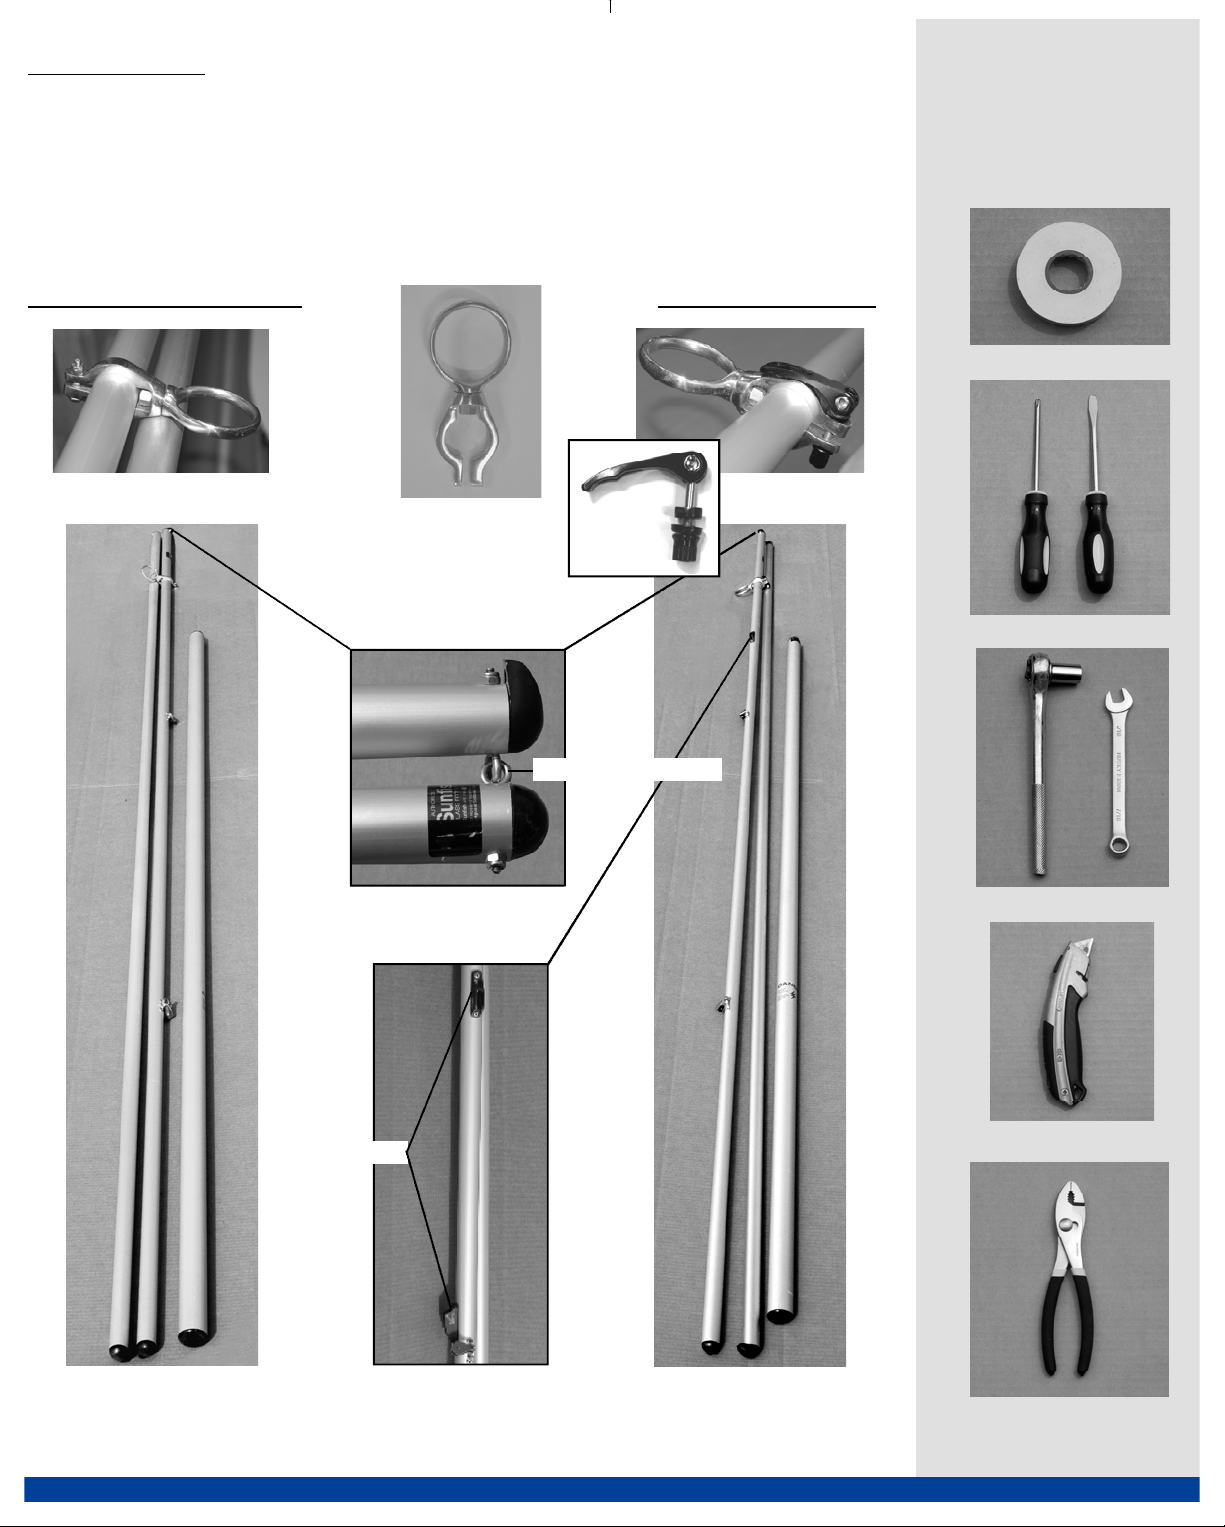
4. The two booms are attached together by interlocking eye bolts
Take the S hook and loop one end through the interlocking eye bolt
that is attached to the lower boom (Figure 34).
5. Take the free end of the S hook and place it through the grommet
in the tack of the sail. Using a pair of pliers, crimp the S hook
closed (Figure 35).
6. Starting at the tack of the sail, use two of the corner ties to
attach the sail to the booms (Figure 36). Start by wrapping one tie
around the boom and through the grommet in the sail. The tie
should be wrapped around twice before being secured with a square
knot. Tie off the head and the clew of the sail with the remaining
corner ties.
Tip: Make sure to set the tie at the head of the sail so that the sail’s
luff tension is as loose as you will want it while sailing. You will
then be able to adjust the luff tension with the cunningham line.
7. Complete attaching the sail to the booms with the remaining sail
ties. For each grommet in the sail, tie one sail tie around the boom
and through the grommet. Secure with a square knot (Figure 37).
Figure: 34 Figure: 35
Figure: 36 Figure: 37
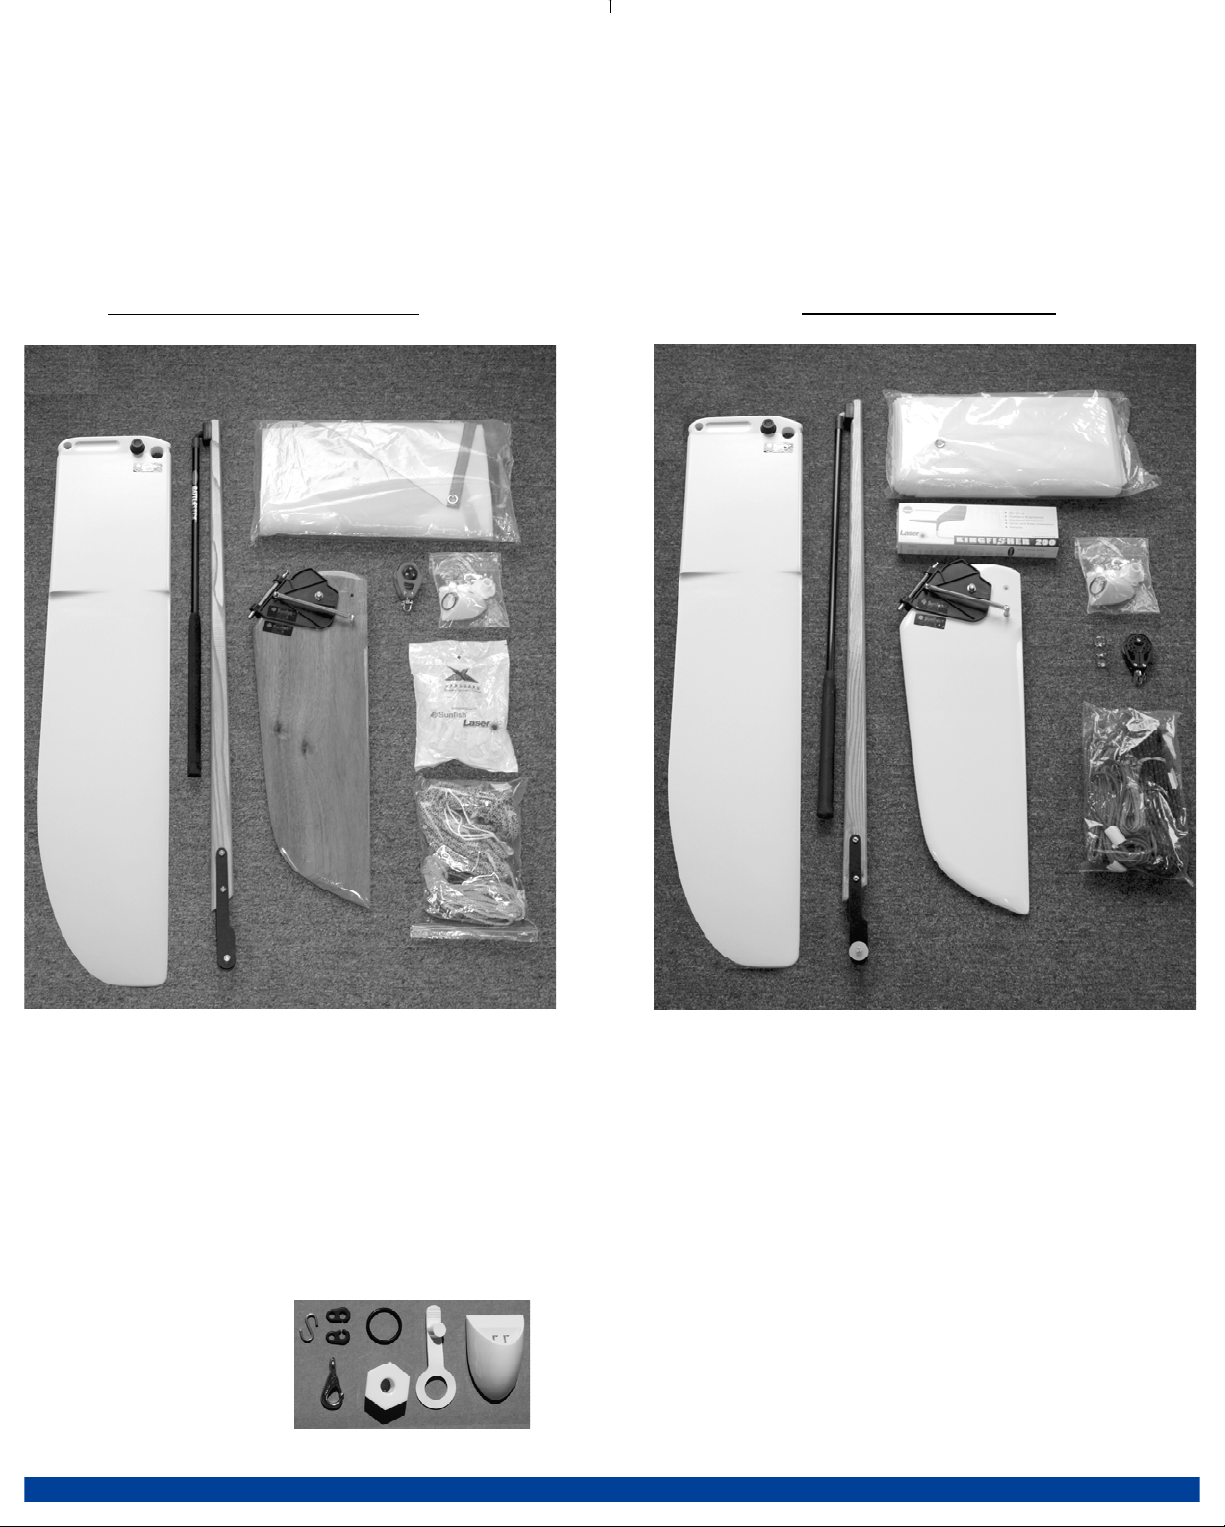
1. From the delivery kit locate the sail, upper and lower boom, S hook, and sail ties. Remove the cunningham and outhaul line from the line
bag. The white race sail is attached to the booms with sail ties as opposed to sail rings. There should be 4 sail ties that are longer than the
remaining 32 ties. These longer ties are the corner sail ties.
2. Find a flat surface free of sharp objects that you can spread your sail out on.
3. Align the lower boom along the foot of the sail and the upper boom along the luff (Refer to Figure 25). The Sunfish logo should face the
upper boom; the boom that does not have any blocks attached.
1. Using the outhaul line, tie a bowline to
the lower boom end cap (Figure 38).
2. Lead the free end of the line through
the grommet in the sail and back through
the boom end cap (Figure 39). Continue
the line forward down the boom to the aft
most boom cleat.
4. Tie an overhand knot in the outhaul
two sail ties before the boom cleat. Lead
the outhaul line through the two sail ties
and through the cleat (Figure 40).
5. Lead the line back through the
overhand knot and back forward through
the cleat. Cleat off and tie a large bowline
handle in the end (Figure 40).
Tip: Some racers use a piece of line to secure the sail to the
interlocking eye bolt as opposed to the S hook. It is suggested to
use a 10” long, 2mm piece of spectra that gets led through the tack
grommet and interlocking eye bolt. Wrap the line 2 or 3 times
around and secure with a square knot.
Figure: 40
Figure: 38 Figure: 39
1. Tie
Overhand
Knot
2. Lead line
under sail ties 3. Through cleat
4. Through
overhand knot 5. Back through cleat 6. Cleat off and tie
a bowline handle
1Vang 12/5/07 12:21 PM Page 9