manuals.online logo
Brands
  1. Home
  2. •
  3. Brands
  4. •
  5. Vanico Maronyx
  6. •
  7. Indoor Furnishing
  8. •
  9. Vanico Maronyx EVOLO User manual

Vanico Maronyx EVOLO User manual

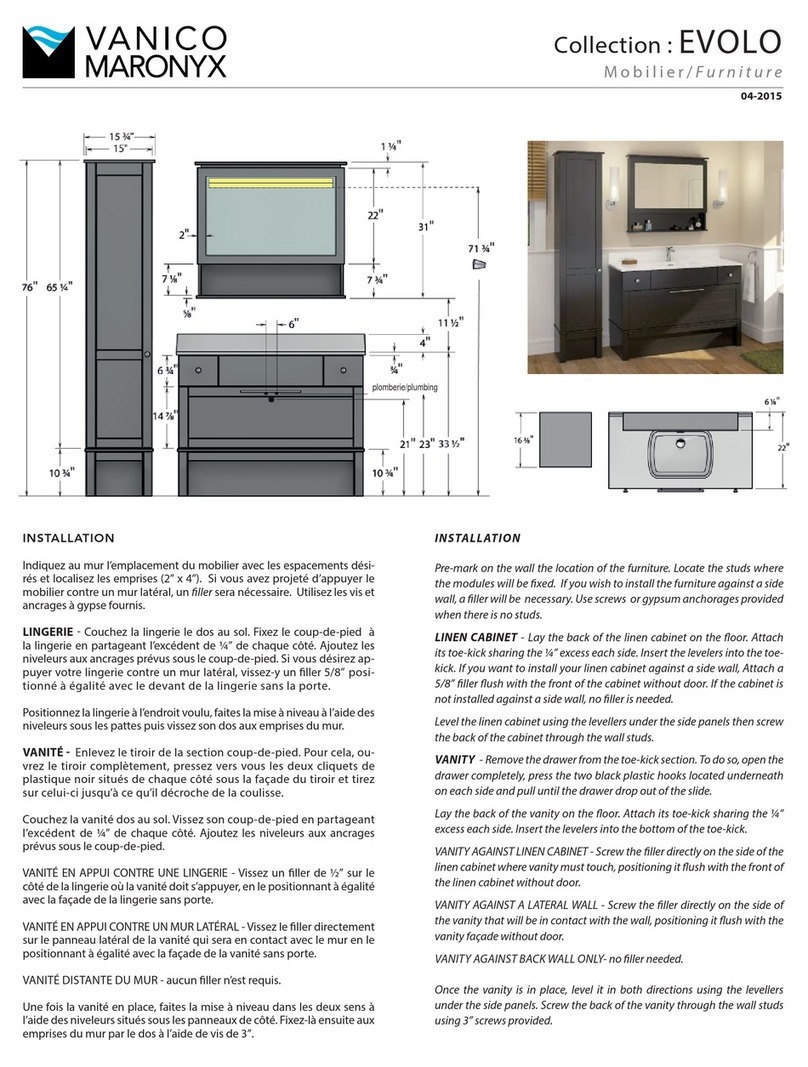
INSTALLATION
Indiquez au mur l’emplacement du mobilier avec les espacements
désirés et localisez les emprises (2" x4"). Si vous avez projeté
d’appuyer le mobilier contre un mur latéral, un filler sera
nécessaire. Utilisez les vis et ancrages à gypse fournis.
LINGERIE - Couchez la lingerie le dos au sol. Fixez le coup-de-
pied à la lingerie en partageant l’excédent de ¼" de chaque côté.
Ajoutez les niveleurs aux ancrages prévus sous le coup-de-pied.
Si vous désirez appuyer votre lingerie contre un mur latéral,
vissez-y un filler 5⁄8"positionné à égalité avec le devant de la
lingerie sans la porte.
Positionnez la lingerie à l’endroit voulu, faites la mise à niveau
à l’aide des niveleurs sous les pattes puis vissez son dos aux
emprises du mur.
VANITÉ - Enlevez le tiroir de la section coup-de-pied. Pour
cela, ouvrez le tiroir complètement, pressez vers vous les deux
cliquets de plastique noir situés de chaque côté sous la façade
du tiroir et tirez sur celui-ci jusqu’à ce qu’il décroche de la
coulisse.
Couchez la vanité dos au sol. Vissez son coup-de-pied en
partageant l’excédent de ¼" de chaque côté. Ajoutez les
niveleurs aux ancrages prévus sous le coup-de-pied.
VANITÉ EN APPUI CONTRE UNE LINGERIE - Vissez un filler de
½" sur le côté de la lingerie où la vanité doit s’appuyer, en le
positionnant à égalité avec la façade de la lingerie sans porte.
VANITÉ EN APPUI CONTRE UN MUR LATÉRAL - Vissez le filler
directement sur le panneau latéral de la vanité qui sera en contact
avec le mur en le positionnant à égalité avec la façade de la vanité
sans porte.
VANITÉ DISTANTE DU MUR - aucun filler n’est requis.
Une fois la vanité en place, faites la mise à niveau dans les deux
sens à l’aide des niveleurs situés sous les panneaux de côté. Fixez-
là ensuite aux emprises du mur par le dos à l’aide de vis de 3".
INSTALLATION
Pre-mark on the wall the location of the furniture. Locate the
studs where the modules will be fixed. If you wish to install the
furniture against a side wall, a filler will be necessary. Use screws
or gypsum anchorages provided when there is no studs.
LINEN CABINET - Lay the back of the linen cabinet on the floor.
Attach its toe-kick sharing the ¼" excess each side. Insert the
levelers into the toe-kick. If you want to install your linen cabinet
against a side wall, Attach a 5⁄8" filler flush with the front of the
cabinet without door. If the cabinet is not installed against a side
wall, no filler is needed.
Level the linen cabinet using the levellers under the side panels
then screw the back of the cabinet through the wall studs.
VANITY - Remove the drawer from the toe-kick section. To do so,
open the drawer completely, press the two black plastic hooks
located underneath on each side and pull until the drawer drop
out of the slide.
Lay the back of the vanity on the floor. Attach its toe-kick sharing
the ¼" excess each side. Insert the levelers into the bottom of
the toe-kick.
VANITY AGAINST LINEN CABINET - Screw the filler directly on
the side of the linen cabinet where vanity must touch, positioning
it flush with the front of the linen cabinet without door.
VANITY AGAINST A LATERAL WALL - Screw the filler directly
on the side of the vanity that will be in contact with the wall,
positioning it flush with the vanity façade without door.
VANITY AGAINST BACK WALL ONLY - no filler needed.
Once the vanity is in place, level it in both directions using the
levellers under the side panels. Screw the back of the vanity
through the wall studs using 3" screws provided.
plomberie/plumbing
Collection: EVOLO
Guide d’installation/Installation Guide
08-2018
INSTALLATION (suite)
PHARMACIE - Tracez une ligne horizontale à niveau à 395⁄8"
du dos de la vanité (sans comptoir) et indiquez-y le centre du
lavabo.
Retirez la barre de soutien en aluminium située derrière la
pharmacie puis indiquez son centre. Alignez le bas de cette
barre sur la ligne, centrez, puis vissez-là à une emprise du mur
ou utilisez les ancrages à gypse s’il n’y a pas d’emprise.
Accrochez la pharmacie à la barre de soutien, vérifiez son
niveau puis ajoutez une vis de 3" par l’intérieur de la pharmacie
dans une emprise.
COMPTOIR - Appliquez un cordon de silicone (silicone GE
pour salle de bains) sur le dessus du panneau arrière et sur les
2 panneaux latéraux. Déposez-y le comptoir en le glissant de
gauche à droite pour créer une succion. Un excédent de ½"
est prévu de chaque côté.
FINITION - Nettoyez toute poussière puis appliquez un
cordon de silicone (nous recommandons le silicone GE pour
salle de bains) à la jonction du comptoir et du mur.
ENTRETIEN ET GARANTIE - Voir l’onglet soutien technique
sur notre site internet : www.vanicomaronyx.com.
INSTALLATION (con’t)
MEDICINE CABINET - Draw a horizontal level line 39 5⁄8" from
the back panel of the vanity (without countertop) and indicate
on it the center of the sink.
Remove the aluminum support bracket located on the back of
the medicine cabinet. Indicate its center and align the bottom
of the bar on the line. Screw it through a wall stud or use
gypsum anchorages if there is no stud.
Hang the medicine cabinet on the support bracket, check
its level and add a 3" screw from the inside of the medicine
cabinet through a wall stud.
COUNTERTOP - Apply a bead of silicone on the top of the
side panels and on the back panel. Place the countertop on
the vanity, slide it from left to right to create suction then
center it.
FINISHING TOUCH - Clean properly all joints. Apply a bead
of silicone (GE bathroom silicone recommended) sealant into
the joint between the countertop and the wall.
MAINTENANCE AND WARRANTY - See TECHNICAL
SUPPORT on our website: www.vanicomaronyx.com.
1151 boul. de la Pinière, Terrebonne (Québec) Canada J6Y 0P3
Téléphone/Phone: (450) 471-4447 Sans frais/Toll free: 1 800 921-9508 Fax: (450) 471-4162
www.vanico-maronyx.com
PRINTED IN CANADA

Other Vanico Maronyx Indoor Furnishing manuals

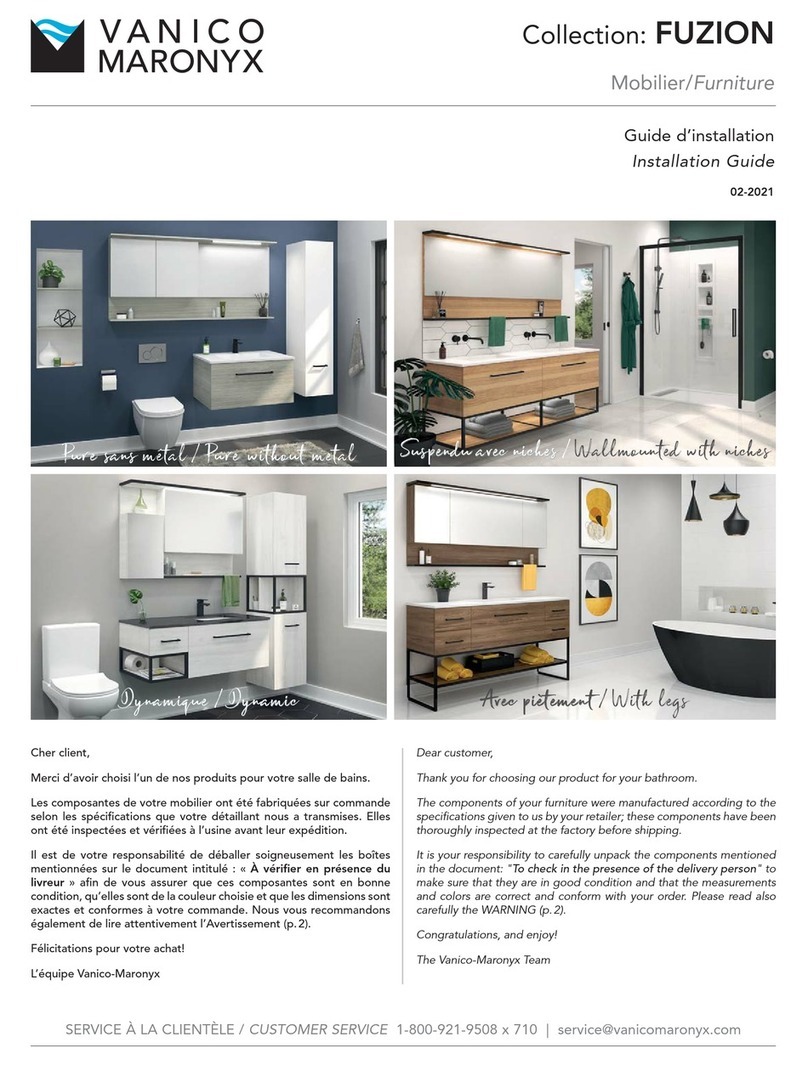
Vanico Maronyx FUZION User manual

Vanico Maronyx

Vanico Maronyx FUZION User manual

Vanico Maronyx NEO Series User manual

Vanico Maronyx

Vanico Maronyx NEO Series User manual

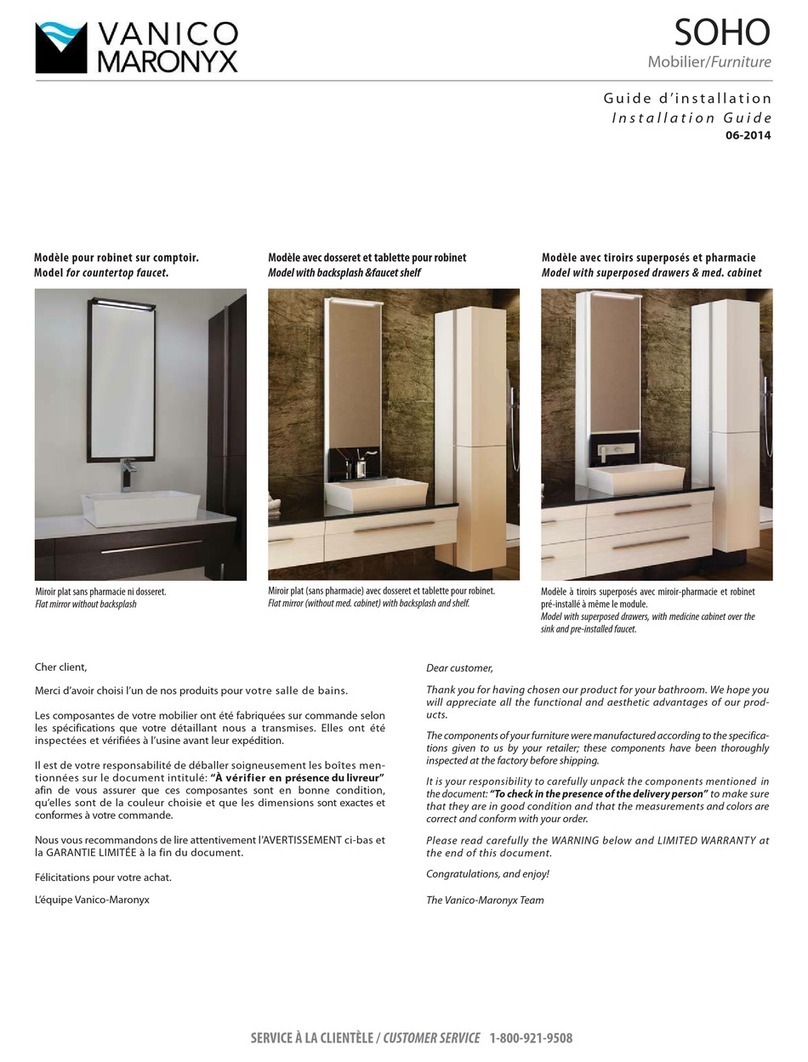
Vanico Maronyx SOHO User manual

Vanico Maronyx

Vanico Maronyx SOHO User manual

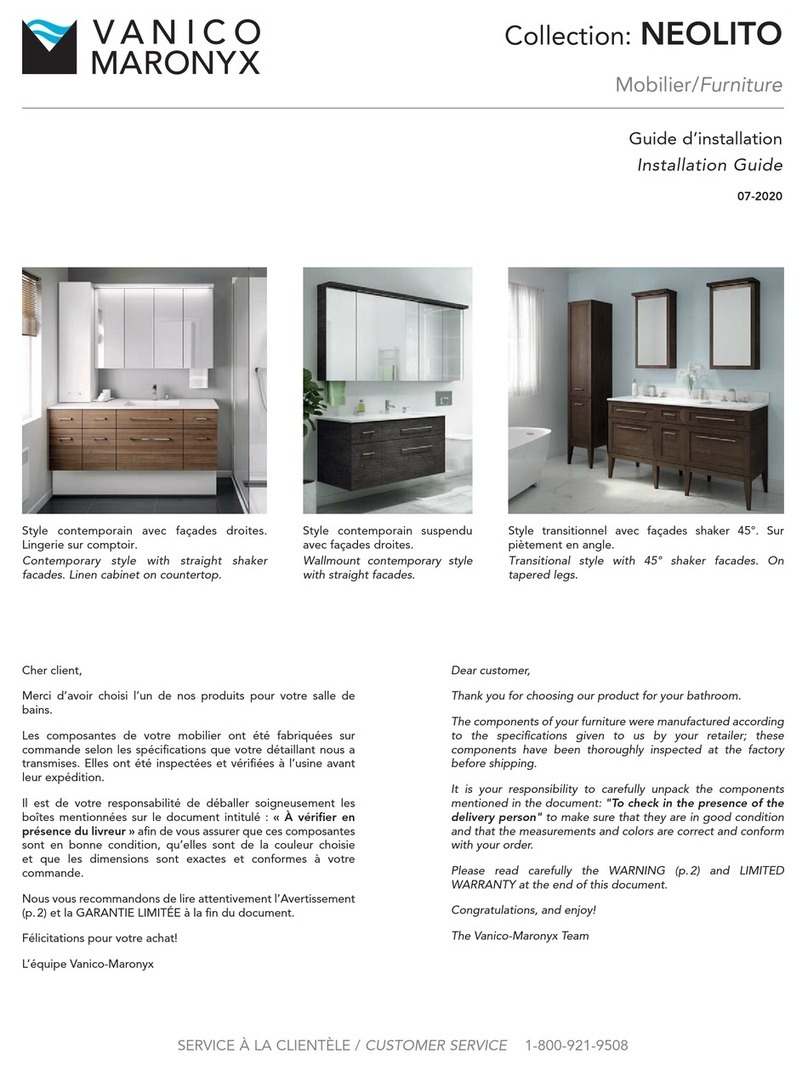
Vanico Maronyx NEOLITO User manual

Vanico Maronyx

Vanico Maronyx NEOLITO User manual

Vanico Maronyx Collection DUO User manual

Vanico Maronyx

Vanico Maronyx Collection DUO User manual

Vanico Maronyx AVANTI User manual

Vanico Maronyx

Vanico Maronyx AVANTI User manual

Vanico Maronyx EVOLO Series User manual

Vanico Maronyx

Vanico Maronyx EVOLO Series User manual

Vanico Maronyx NEW-YORK 07-2014 User manual

Vanico Maronyx

Vanico Maronyx NEW-YORK 07-2014 User manual

Vanico Maronyx MUSE 10-2019 User manual

Vanico Maronyx

Vanico Maronyx MUSE 10-2019 User manual

Vanico Maronyx MIX User manual

Vanico Maronyx

Vanico Maronyx MIX User manual

Vanico Maronyx CONSOLE GALA User manual

Vanico Maronyx

Vanico Maronyx CONSOLE GALA User manual

Vanico Maronyx SOHO User manual

Vanico Maronyx

Vanico Maronyx SOHO User manual

Popular Indoor Furnishing manuals by other brands

Jysk ABILDSKOV 3678000 manual

Jysk

Jysk ABILDSKOV 3678000 manual

Summer SURE AND SECURE 27681 instruction manual

Summer

Summer SURE AND SECURE 27681 instruction manual

Tilia Eos YW Assembly

Tilia

Tilia Eos YW Assembly

Next BROOKLYN 756075 Assembly instructions

Next

Next BROOKLYN 756075 Assembly instructions

Next Valencia Coffee Table 884904/661740 Aassembly Instructions

Next

Next Valencia Coffee Table 884904/661740 Aassembly Instructions

Next BRONX CHEVRON T10404 Assembly instructions

Next

Next BRONX CHEVRON T10404 Assembly instructions

Living Spaces JAXON 7YU666W owner's manual

Living Spaces

Living Spaces JAXON 7YU666W owner's manual

Enwork Equilibrium Round Installation instruction

Enwork

Enwork Equilibrium Round Installation instruction

Homelegance 1660BK Assembly instruction

Homelegance

Homelegance 1660BK Assembly instruction

Twoey inside 0820 Assembly instructions

Twoey inside

Twoey inside 0820 Assembly instructions

siena GARDEN Astana Assembly instructions

siena GARDEN

siena GARDEN Astana Assembly instructions

Modern Office Y11364 Assembly instructions

Modern Office

Modern Office Y11364 Assembly instructions

DETAIL Tabouret Detail T2 DHS392B owner's manual

DETAIL

DETAIL Tabouret Detail T2 DHS392B owner's manual

Lightolier PTS7-2 specification

Lightolier

Lightolier PTS7-2 specification

Signature Design by Ashley Alwyndale A4000541 Assembly instructions

Signature Design by Ashley

Signature Design by Ashley Alwyndale A4000541 Assembly instructions

Alice's Garden LECCO RWH2CHR quick start guide

Alice's Garden

Alice's Garden LECCO RWH2CHR quick start guide

asalvo 12678 instructions

asalvo

asalvo 12678 instructions

atmosphera IVO 140024A instruction sheet

atmosphera

atmosphera IVO 140024A instruction sheet

manuals.online logo
manuals.online logoBrands
  • About & Mission
  • Contact us
  • Privacy Policy
  • Terms and Conditions

Copyright 2025 Manuals.Online. All Rights Reserved.