7.
Ins alla ion
•
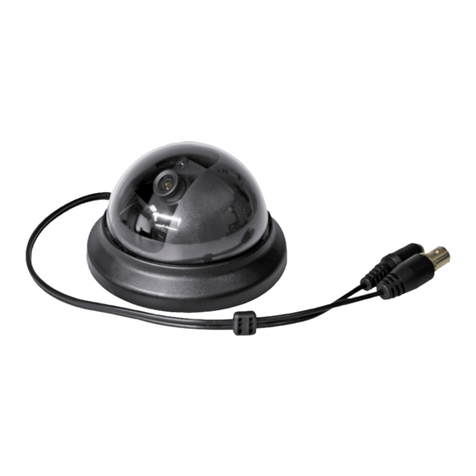
Remove t e mounting plate (4) from t e ousing (3) by turning it clockwise and lifting it.
•
Fix t e mounting plate (4) to t e ceiling wit 4 screws.
•
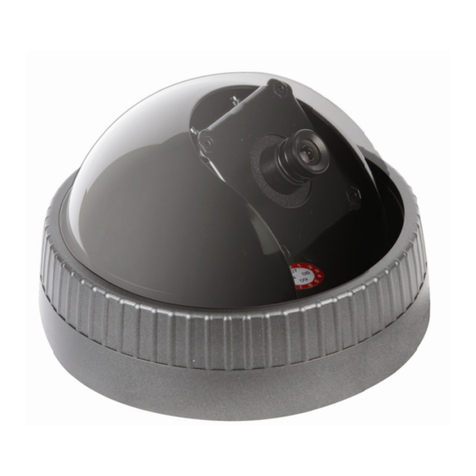
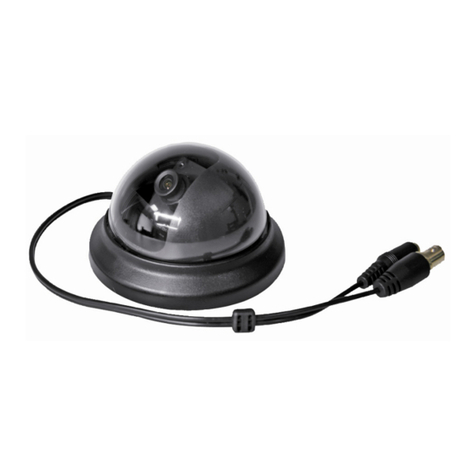
Attac t e dome to t e mounting plate (4). To do t is, line up t e pins on t e mounting
plate (4) wit t e oles in t e ousing. Put t e dome on t e mounting plate (4) and
rotate counter clockwise to secure it.
•
Connect t e video output (5a) to a monitor/DVR/multiplexer/….
•
Connect t e communication cable (5c) to t e IR receiver (7, 8 and 9):
Yellow lead Alarm input Green lead RS-485 D+
Blue lead Ground Red lead RS-485 D-
•
Use t e yellow and blue leads to make a connection to t e IR receiver and/or an existing
tamper switc (not incl.), motion sensor (not incl.), alarm system (not incl.), etc…. .
•
Provide power to t e power input (5b) of t e dome.
•
Connect a 12VDC/1A power supply (e.g. PS1210 - not included) to t e DC power input
(6) of t e IR receiver.
8.
Opera ion
•
After applying power to t e mini dome, t e camera will move to its initial position and t e
system will be in standby mode.
•
To allow t e controller to detect all connected mini pans/tilt domes, press [0] followed by
[ENTER]. After successful detection, t e receiver box will produce a s ort beep. W en
detection fails, a long beep followed by 3 s ort beeps will be produced.
Note: only t e 9 lowest ID numbers can be controlled by t e remote control.
•
Select t e mini pan/tilt dome to be controlled by pressing t e numeric button ([1]~ [9])
on t e remote control, followed by [ENTER].
Note: t ere is no direct relations ip between t e entered number and t e ID of t e mini
pan/tilt dome. T e dome wit t e lowest ID will be assigned to button [1] and so on.
•
To move t e camera position, use t e up/down/left/rig t keys on t e remote control.
Note t at only t e camera direction will c ange, not t e speed.
•
T e mini pan/tilt dome can store 16 preset points w ic can be recalled instantly.
•
To configure a preset point, go to t e desired dome and move to t e desired camera
position wit t e up/down/left/rig t keys on t e remote control. Enter a preset number by
pressing t e desired number on t e remote control followed by t e [SET PRESET] button.
Follow t e same procedure for more preset points. Entering an existing preset number
will override t e previous preset point wit t e new configuration.
•
To recall a preset point, go to t e desired dome and simply press t e preset number
followed by t e [GO PRESET] button on t e remote control.
•
T e mini pan/tilt dome contains an auto pan function. Depending on t e c osen option,
t e camera will automatically scan 4, 8 or 16 preset points:
[1] fast pan, 4 preset points [4] slow pan, 8 preset points
[2] slow pan, 4 preset points [5] fast pan, 16 preset points
[3] fast pan, 8 preset points [6] slow pan, 16 preset points
•
To start auto pan, select a number ([1]~[6]) and pus t e AUTO PAN key on t e remote
control.
•
To stop auto pan mode, press AUTO PAN again in t e remote control, or simply press a
direction button.
Note: as t e remote control is universal, following buttons are not operational:
[AUTOFOCUS] [ZOOM IN] [ZOOM OUT] [FOCUS NEAR] [FOCUS FAR] [SPEED +]
[SPEED -]
•
W en an alarm condition occurs (yellow lead), t e buzzer inside t e IR receiver will be
activated. To deactivate, press t e EVENT RST key on t e remote control. T e controller
will switc automatically to t e camera t at triggered t e alarm.
