VELTIUM LITE Zero User manual

INSTALLATION
MANUAL
V.1.02

2INSTALLATION
MANUAL
CONTENTS
WELCOME 3
ABOUT THIS MANUAL 3
WARRANTY 3
SAFETY MEASURES 4
BEFORE STARTING 5
IDENTIFICATION OF THE CHARGER 5
OPTIONAL ACCESSORIES 6
ELEMENTS INCLUDED IN THE PACKAGING 6
REQUIRED TOOLS 7
INSTALLATION 8
INSTALLATION OF THE LITE ZERO/UNO/KUBO CHARGER 8
INSTALLATION 13
INSTALLATION OF THE STAND ELEMENT 16
INSTALLATION OF THE SIM CARD 19
INSTALLATION OF THE CURVE DEVICE 20
INSTALLATION OF THE THREE-PHASE METER SET 22
CONNECTION OF THE CHARGER TO ANOTHER CHARGER,
OR TO A COMMUNICATIONS ELEMENT 25
TECHNICAL SPECIFICATIONS 26
CHARGERS 26
ACCESSORIES 29

3INSTALLATION
MANUAL
WELCOME
ABOUT THIS MANUAL
This manual contains important and essential information for the correct installation
of LITE series chargers and their accessories.
This manual, including the images appearing herein, are the intellectual property of
VELTIUM, which reserves the right to change its contents without having to update
previous manuals. It cannot be reproduced by third parties without their express
authorisation. It is only available for users.
It is forbidden to copy, disclose or share this document in whole or part, or to make
it available to others, and particularly to competing companies, without the prior
authorisation of VELTIUM.
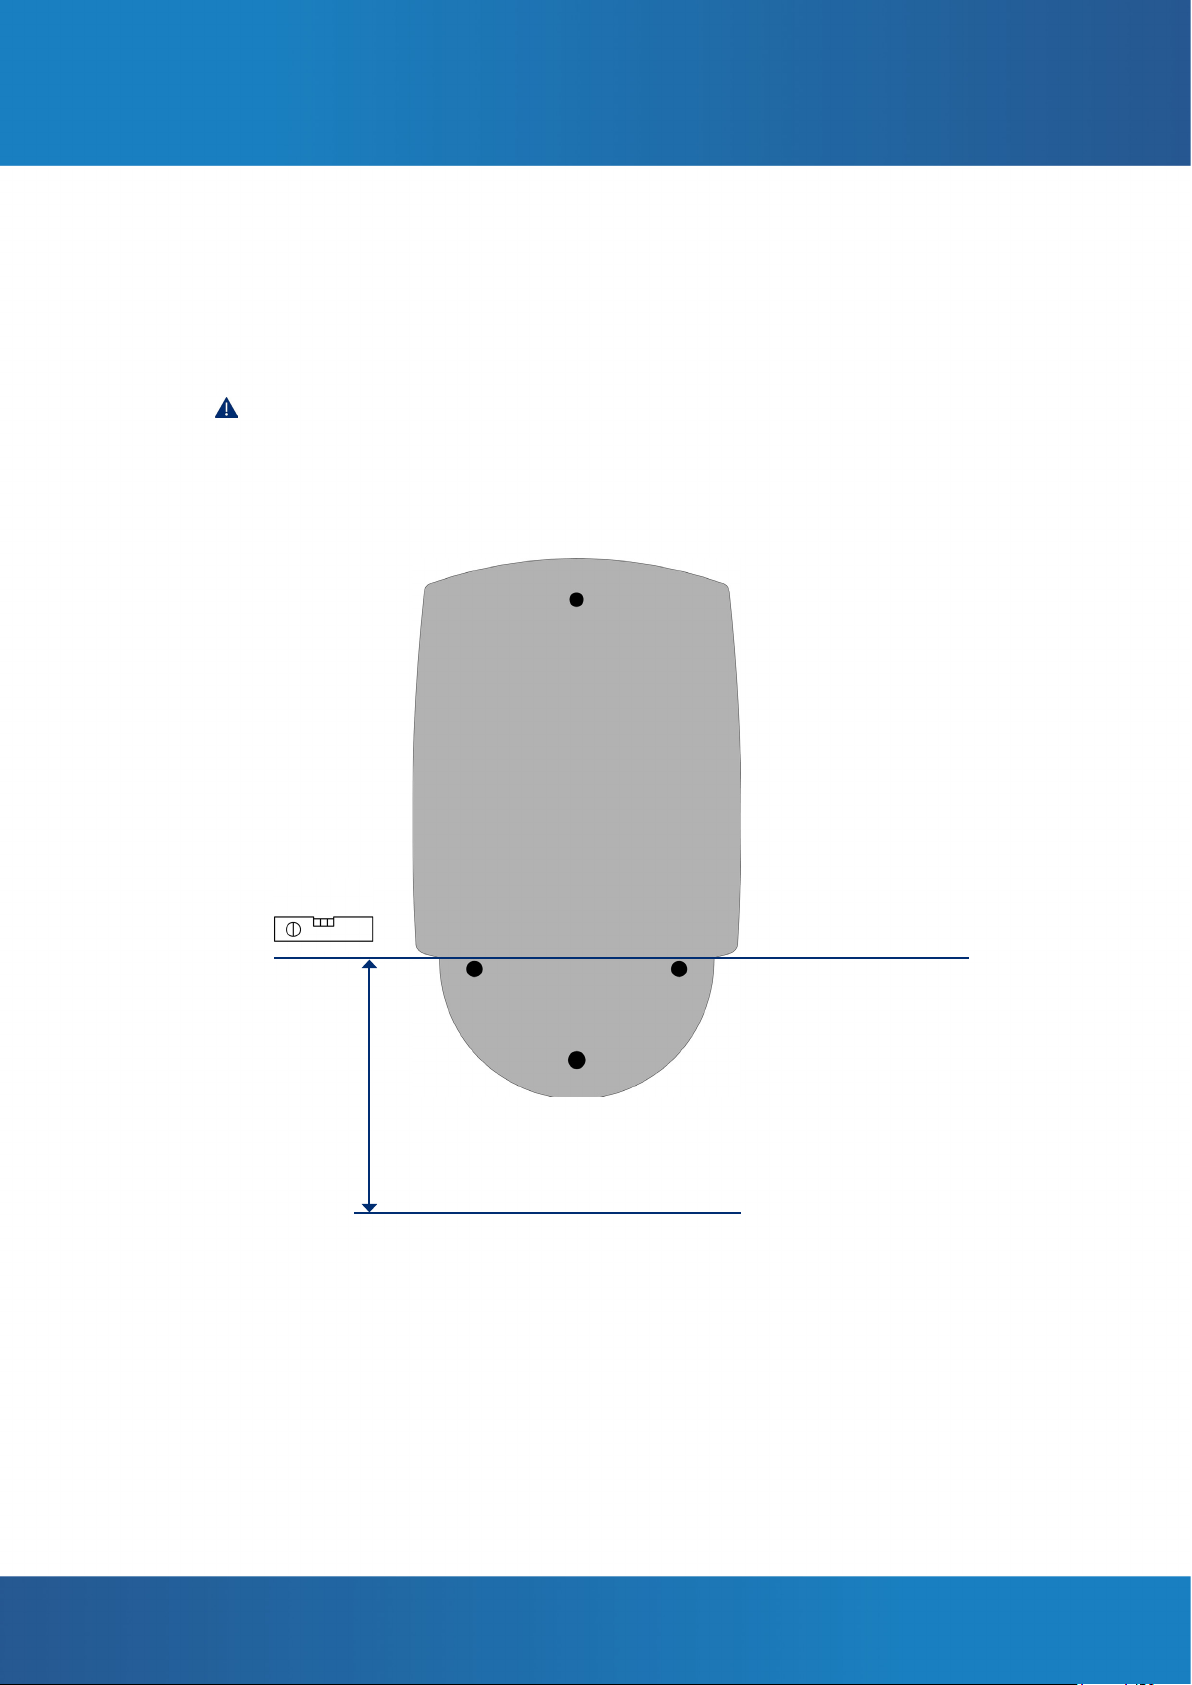
The images appearing in this manual are for information purposes only and have no
contractual validity.
The original manual is written in Spanish. Translation of the original manual into
dierent languages has the sole purpose of clarifying its content. In the event of
discrepancy between the translated document and the original, the original version
takes precedence over the translation.
WARRANTY
VELTIUM guarantees this product and its accessories against defects in their materials
and manufacturing process for a period of 2 years from the date of purchase. During
this period, VELTIUM will repair or replace any defective product. In the event of repair
or replacement, the warranty period for the new items will be the time remaining for
the other original parts, or 6 months, whichever is longest. The warranty will be void
in the following cases:
• Defects caused by an accident, improper use, inadequate maintenance or normal
wear and tear.
• Unauthorised replacement, modication or addition of any part.
• Installation, repair or dismantling of the unit by unqualied personnel.

4INSTALLATION
MANUAL
WELCOME
SAFETY MEASURES
The charger must only be installed by qualied personnel following applicable local
regulations.
• Use the unit within the parameters and conditions specied at “TECHNICAL
SPECIFICATIONS”
• Visually inspect the unit prior to installation. Contact the distributor in the event
of detecting faults, breakages, dirt or humidity.
• Take all necessary precautions if you have an electronic medical implant. Consult
a doctor on the eects of the charging process on your implant.
• Do not remove, destroy or damage the stickers or labels on the unit.
• Do not step on, strike or drop the charging cable or the connector.
• Do not apply tension to the cable under any circumstances.
• Do not use extension cables or adapters for the charging cable.
• The charger must always be connected to the installation’s ground connection.
• Do not install the charger near inammable, explosive or combustible materials,
chemicals or solvents, gas pipes, steam vents, radiators or batteries.
• Do not install the charger in areas susceptible to ooding, high humidity or
running water.
• Before installing the charger, ensure that the surface on which it is to be assembled
can withstand the mechanical stresses associated with the weight of the charger
and its use.
• This unit will be permanently connected to the AC supply network.
• The power supply line must be connected to an existing installation. This line
must have the necessary protections according to local regulations, and must
always be of a maximum calibre equal to the charger’s maximum output (32 A).
This unit requires an external residual-current device.

5INSTALLATION
MANUAL
BEFORE STARTING
IDENTIFICATION OF THE CHARGER
The charger model is visible on its cover (LITE Zero, Uno or Kubo). The charger also
comes with a label on the side indicating its model.

6INSTALLATION
MANUAL
BEFORE STARTING
ELEMENT QUANTITY
LITE Zero, Uno, Kubo
LITE Charger 1
Bushing 1
4.8x38 screw 1
4.8x90 screw 3
SX8x40 wall plug 4
Cap 3
Blind grommet 1
Hollow crimp ferrule for 6 mm2cables 3 (Zero, Uno) - 5 (Kubo)
Spare ACCESS CODE label 1
Template for installation 1
Charge cable support 1
OPTIONAL ACCESSORIES
ELEMENT QUANTITY
STAND
STAND 1
M5x12 screw 1 (single STAND)
2 (double STAND)
M5x70 screw 3 (single STAND)
6 (double STAND)
CURVE
CURVE 1
Flange 1
THREE-PHASE METER SET
Iskra IE38MD three-phase energy meter 1
Iskra SG-E1 smart gateway 1
ELEMENTS INCLUDED IN THE PACKAGING

7INSTALLATION
MANUAL
BEFORE STARTING
REQUIRED TOOLS
LITE (Zero, Uno, Kubo)
Drill
8 mm bit
Phillips PH2 screwdriver
Hammer
Pencil or marker
STAND
Spanner
4 mm Allen or hex key
CURVE
3.2 mm athead screwdriver
THREE-PHASE METER SET
Phillips PH2 screwdriver

8INSTALLATION
MANUAL
INSTALLATION
1CHECK THAT THE POWER SUPPLY IS DISCONNECTED
Make sure that the power supply is disconnected at the charger point of installation.
2CHECK THE CONNECTIONS
Check that the electrical wiring required to power the charger is available at the point
of installation.
OPTIONAL: If you are also going to install a CURVE device, check that the wiring for
the device is also available. For more information, see ‘INSTALLATION OF THE CURVE
DEVICE’.
OPTIONAL: If you are going to connect the charger to a three-phase energy meter,
a communications device (modem, router, switch, ...) or to another charger, check
that the Ethernet wiring from that device is also available. For more information,
see “INSTALLATION OF THE THREE-PHASE METER SET” and/or “CONNECTION OF THE
CHARGER TO ANOTHER CHARGER, OR TO A COMMUNICATIONS ELEMENT”.
INSTALLATION
INSTALLATION OF THE LITE ZERO/UNO/KUBO CHARGER
3OPTIONAL: INSTALLATION OF THE STAND ELEMENT
If the installation of a STAND element is necessary to anchor the charger to the
ground, see “INSTALLATION OF THE STAND ELEMENT”.
4OPTIONAL: SIM CARD INSTALLATION
If it is necessary to install the SIM card, see “INSTALLATION OF THE SIM CARD”.

9INSTALLATION
MANUAL
INSTALLATION
Place the template in the desired position, approximately 1.2 m from the horizontal
reference to the ground.
We recommend that you use a spirit level to ensure that the template is perfectly
level.
5PLACE THE TEMPLATE
1.2 m
Ground
Connector height

10 INSTALLATION
MANUAL
INSTALLATION
6PREPARE THE CONNECTIONS
Following the template indications, proceed with the following steps:
1. Place the tube for the power supply wiring at the indicated height.
2. Cut and strip the cables to the recommended length.
3. Fit the ferrules.
Always use an appropriate tool (crimper) to avoid poor connections likely to cause
overheating in the connection terminals.
20 mm
hollow crimp
ferrule
5.5 cm
Connection tube
25 cm
Lite Zero/Uno
20 mm
hollow crimp
ferrule
5.5 cm
Connection tube
25 cm
Lite Kubo

11 INSTALLATION
MANUAL
INSTALLATION
7PREPARE THE CHARGER INSTALLATION
1. Mark the holes to be made.
2. Drill the holes.
3. Fit the wall plugs.
Insert the screw of the upper part and tighten it into the bushing as far as it will go.
In the case of the STAND, use the screws supplied with it in the packaging.
8FIT THE UPPER SCREW
8 mm
1
2
3
Wall mounting: 4.8x38 screw
STAND assembly: M5x12 screw

12 INSTALLATION
MANUAL
INSTALLATION
Connect the electric terminals of the power cable to the corresponding points on the
charger.
Make sure that all screws are securely tightened for eective contact of the
conductor’s active elements.
9CONNECT THE CHARGER
Neutral
Phase 1
Phase 2
Phase 3
Ground
Neutral
Phase 1
Ground
LITE Zero/Uno LITE Kubo
• OPTIONAL: If you are also going to install a CURVE device, connect the wiring from
that device. For more information, see “INSTALLATION OF THE CURVE DEVICE”.
• OPTIONAL: If you are going to connect the charger to a three-phase energy meter,
a communications device (modem, router, switch, ...) or to another charger, check
that the Ethernet wiring from that device is also available. For more information,
see “INSTALLATION OF THE THREE-PHASE METER SET” and/or “CONNECTION OF
THE CHARGER TO ANOTHER CHARGER, OR TO A COMMUNICATIONS ELEMENT”.

13 INSTALLATION
MANUAL
INSTALLATION
10 OPTIONAL: INSTALLATION OF THE CURVE DEVICE (ZERO/UNO)
In the event of having to install the CURVE device, see “INSTALLATION OF THE CURVE
DEVICE ”.
11 OPTIONAL: INSTALLATION OF THE THREE-PHASE METER SET
(UNO/KUBO)
In the event of having to install the THREE-PHASE METER SET, see “INSTALLATION OF
THE THREE-PHASE METER SET ”.
12 OPTIONAL: CONNECTION OF THE CHARGER TO ANOTHER
CHARGER, OR TO A COMMUNICATIONS ELEMENT
Intheeventofhavingtoconnectthechargertoanotherchargerortoacommunications
element, see “CONNECTION OF THE CHARGER TO ANOTHER CHARGER, OR TO A
COMMUNICATIONS ELEMENT”.
Hang the charger on the upper screw bushing.
13 HANG THE CHARGER FROM THE BUSHING

14 INSTALLATION
MANUAL
INSTALLATION
1. Fit the three screws on the lower part of the charger and tighten them rmly.
2. Fit the caps to cover the three screws.
14 FIX THE CHARGER TO THE WALL
15
INSTALL THE CHARGING CABLE SUPPORT
1. Mark the holes to be made in the wall.
2. Drill the holes.
3. Fit the wall plugs.
8 mm
1
2
3
FRONTAL
Wall mounting: 4.8x90 screw
STAND assembly: M5x70 screw
1
2

15 INSTALLATION
MANUAL
INSTALLATION
16 SUPPLY POWER TO THE CHARGER
Close the element that cuts o the electrical circuit powering the charger.
4. Fit the screws

16 INSTALLATION
MANUAL
INSTALLATION
INSTALLATION OF THE STAND ELEMENT
1. Prepare the ground anchors for the STAND element according to the gure,
always using M12 components.
20.5 cm
15.5 cm
2. Remove the top part of the STAND element in order to access the hollow interior.

17 INSTALLATION
MANUAL
INSTALLATION
3. Place the STAND element next to the cable outlet on the ground, and pass the
power supply cables and the auxiliary wiring (for connecting other devices)
through the hollow interior from the bottom until they can be pulled out through
the corresponding grommet.
Auxiliary wiring
Electrical wiring
4. Fix the STAND element to the ground.

18 INSTALLATION
MANUAL
INSTALLATION
5. Mount the charger onto the STAND element. Follow points 9 to 13 of the charger
assembly instructions.
The fasteners to be used in this case must be those provided with the STAND
element, and not those supplied with the charger.
Given that in this case the power supply does not come through the side of the
charger, this access must be covered using the blind grommet provided with
the charger.
6. Replace the top part of the STAND element.

19 INSTALLATION
MANUAL
INSTALLATION
INSTALLATION OF THE SIM CARD
1. Remove the 6 screws joining the front and rear parts of the casing using the torx
head screwdriver, size T20. Remove the front cover.
2. Identify in the SIM card slot on the charger circuit board.
3. Slip the SIM card into its slot as indicated in the following steps:
4. Close the casing again with the 6 screws.

20 INSTALLATION
MANUAL
INSTALLATION
INSTALLATION OF THE CURVE DEVICE
The CURVE device is designed for use with the LITE Zero/Uno charger.
1. Select the circuit onto which you want to install the CURVE device.
Operation of the CURVE device is independent from the direction of the active
phase current passing through it
2. Install the CURVE device in the active phase of the circuit you wish to measure
(general or home).
Connection cables with charger
Active phase
3. Attach the CURVE device to the cable using the mounting ange.
Mounting ange
METER
Contracted
power
Electric
vehicle
power
CURVE
Home
power
PANEL
PANEL
At the meter outlet In the home circuit
Home
power
CURVE PANEL
PANEL
Electric
vehicle
power
METER
Contracted
power
Other manuals for LITE Zero
3
This manual suits for next models
2
Table of contents
Other VELTIUM Batteries Charger manuals
Popular Batteries Charger manuals by other brands

Strongarm
Strongarm TW4000 owner's manual

TecMate
TecMate Optimate 7 Select TM250 Instructions for use

Ellies
Ellies FBIC3000VA/24V user manual

alfatronix
alfatronix PVPro Light Operating & assembly instructions

Intermec
Intermec AC6 supplementary guide

Associated Equipment
Associated Equipment Heavy Duty Comercial Charger 6001 A Specifications