Vemco HR2 User manual


Table of Contents
What's New in this Release
New Features for version 2.3 vii
Support for VR2Tx, VR2AR, and VR4-UWM receiver log files vii
Sensor values in live detections display vii
Updated/Enhanced Features vii
1 Introduction
1.1 HR2 Receiver - Overview 2
1.1.1 HR2 Receiver Quick Specifications 3
1.2 HR2 Case and Parts 4
1.2.1 HR2 Case Parts 5
1.3 VEMCO High Speed Offload Cable (HSOC) 7
1.3.1 Communication cable information 7
1.4 Operation Modes 8
1.4.1 Suspend Mode 8
1.4.2 Record Mode 8
1.5 Fathom Software - Overview 9
1.5.1 Fathom software requirements 9
1.5.2 What can Fathom do? 9
1.6 Tour of the Fathom User Interface 10
1.7 Hardware Tabs 11
1.7.1 The Device Scanner tab 11
1.7.2 the Receiver tab (s) 11
1.8 Software Tabs 12
1.9 Getting Help 13
2 Getting Started
2.1 Installing the Fathom Software 16
2.2 HR2 Dummy Plug and Locking Collar 17
2.3 Connecting an HR2 Receiver to a computer 18
2.4 Launch Fathom 20
2.4.1 The Fathom Launcher 21
2.4.2 The About Fathom Window 21
i

2.5 Device Scanner Tab 23
2.6 Establishing Communication 24
2.7 Receiver Tab 28
2.8 Testing the Receiver 29
2.8.1 In-Air Test 29
2.8.2 In-Water Test 30
3 Using Fathom with an HR2 Receiver
3.1 Status Tab 34
3.2 Live Detections Tab 36
3.2.1 Time Display Options 37
3.2.2 Live Tiles and Live Detection Filter Options 38
3.3 Live Tiles Tab 39
3.3.1 Understanding the Live Tiles Display 39
3.3.2 Live Tiles Display Settings 40
3.4 HR2 Transmitter Tab 44
3.4.1 Transmitter Settings 44
3.4.2 Transmitter IDs 44
3.4.3 Configure Transmitter 44
3.5 Sensor Logging Tab 49
3.6 Watch Table Tab 51
3.6.1 Adding Tag IDs 51
3.6.2 Selecting Tags 52
3.6.3 Managing Entries 52
3.7 Advanced Tab 55
3.7.1 Hardware Configuration 55
3.7.2 Serial Communication Options 58
3.7.3 Hardware Status 60
4 Conducting a Study with an HR2 Receiver
4.1 Record Mode 66
4.2 Starting a Study 67
4.3 Offloading Data 70
4.4 Disconnecting Communication with Receiver 72
4.5 Suspend Mode (not recording) 73
HR2 Receiver User Guide
ii

5 Deploying an HR2 Receiver
5.1 Case External Dimensions 76
5.2 Deployment Facts and Tips 77
5.2.1 Mooring 77
5.2.2 Spacing 77
5.2.3 Biofouling 77
5.3 Mooring Line Attachment 78
5.4 External Cable 81
6 Viewing and Managing Receiver Data
6.1 Visualizing Data 84
6.1.1 Data Visualizer main window features 86
6.1.2 ALLDATA section features 87
6.1.3 SELECTION section features 88
6.1.4 Data Visualizer Filter Options 91
6.1.5 Using the Range Selector Tool 91
6.1.6 Noise Samples, Tilt, and Temperature (HR2, VR2Tx, VR2AR, and VR4-UWM receivers
only) 93
6.2 Exporting Data 95
6.2.1 Record Types included in each export option 98
6.2.2 Record Types by receiver model 102
6.2.3 Field Descriptions by Record Type 107
7 Maintaining an HR2 Receiver
7.1 Replacing the Main Battery 144
7.1.1 Opening the HR2 Case 144
7.1.2 Disconnecting and Removing the Battery 148
7.1.3 Installing and Connecting a Battery 152
7.1.4 Closing the HR2 Case 155
7.2 O-Ring Care 158
7.2.1 Removing O-Rings 158
7.2.2 Cleaning O-Ring Surfaces 158
7.2.3 Installing O-Rings 160
7.3 Storing a receiver 161
7.4 Cleaning Instructions 162
Contents
iii

8 Additional Information
8.1 Flash Memory 164
8.2 Status Light Flashes 165
8.3 Batteries 166
8.4 Updating the Fathom Software 167
Automatic Software Update notifications 167
8.5 Automatic Firmware Updates and Notifications 168
8.6 Installing the Communication Cable Drivers 169
9 Common Questions
9.1 HR2 Receiver Related Questions 172
9.1.1 How Long Will My HR2 Battery Last 172
9.1.2 What is considered a Quality Score for Detections? 172
9.2 Fathom Related Questions 173
9.2.1 What is Initialization? 173
9.2.2 What Date/Time Format is my Data Stored in the Receiver? 173
9.2.3 Why Do I see a discrepancy between detections in my HR2 Live views and detections
in the exported CSV file? 173
9.2.4 Where do I find the Fathom software version number? 173
10 Troubleshooting
10.1 HR2 Receiver Related Troubleshooting 176
10.1.1 The Threads Have Been Damaged 176
10.1.2 I Think The Case Might Be Pressurized 176
10.2 Fathom Related Troubleshooting 177
10.2.1 I cannot connect to my HR2 Receiver 177
10.2.2 These Detected IDs Don't Belong to me 177
Appendices 179
A Quick Start Checklist 181
B HR2 Specifications 183
C HR2 Factory Settings 185
D HR2 Data Export Detection Filters
D.1 Quality Score Filter 187
D.2 HR Residency Filter 187
HR2 Receiver User Guide
iv

E More About Help
E.1 Tour of the Help Workspace 190
E.1.1 Main areas of the Help Workspace 190
E.2 Help Navigation Pane Tabs 191
E.2.1 Using the Navigation Pane 191
E.2.2 Table Of Contents (TOC)Tab 191
E.2.3 Glossary Tab 191
E.2.4 Quick Start Topics Tab 191
E.3 Help Top Toolbar 192
E.4 Topic Navigation Tools 192
E.4.1 Chapter mini Table Of Content 192
E.4.2 Toggler (Help only, appears inline in PDF) 192
E.4.3 Drop-down text (Help only, appears inline in PDF) 193
E.4.4 Expanding text (Help Only, appears inline in pDF) 193
E.5 Using the Search Tool 193
F Open Source Licenses 195
G Contact Information 197
H Warranty and Disclaimer 199
Glossary 202
For the latest versions of user guides and software, visit our website.
© 2018 AMIRIX Systems Inc. All rights reserved. The information contained herein includes
information which is confidential and proprietary to AMIRIX Systems Inc. and may not be used or
disclosed without prior written consent of AMIRIX Systems Inc.
The Bluetooth® word mark and logos are owned by the Bluetooth SIG, Inc. and any use of such marks
by AMIRIX Systems Inc. is under license.
Other trademarks and trade names are those of their respective owners.
WARNING: If the HR2 is not used in the manner specified in this manual, then the manufacturer's
warranty protection may be voided.
Contents
v

vi
This page intentionally left blank to ensure new
chapters start on right (odd number) pages.

vii
What's New in this Release
Fathom 2.3 provides fixes to known issues in the previous version, along with the following new and
updated features. Topics that are related to new or updated features are marked with a red asterisk in
the Online Help Table of Contents.
New Features for version 2.3
Support For VR2Tx, VR2AR, And VR4-UWM Receiver Log Files
Support has been added for viewing (using the Visualize Data application) and exporting data (using the
Export Data application) from VR2Tx, VR2AR, and VR4-UWM receiver log files. Note that
communication with, and configuration of VR2Tx, VR2AR, and VR4-UWM receivers still requires the
VUEsoftware.
Sensor Values In Live Detections Display
When watching live detection data in the Live Detections tab, sensor tag detections will now be
accompanied by a sensor reading in ADC units.
Updated/Enhanced Features
Status Tab detections breakdown (HR2 receivers only)
The Data box in the receiver Status tab now shows detections broken down into self (detections of the
receiver’s own built-in transmitter) and external (non-self) detections.

viii
This page intentionally left blank to ensure new
chapters start on right (odd number) pages.

1
1
Introduction
The Fathom software has been developed to aid in preparing your HR2 receivers for
deployment, retrieving data from your HR2 receivers, and in visualizing and exporting data from your
HR2, VR2W, VR2AR, VR2Tx, and VR4-UWM receivers when your study is complete.
Fathom software key features
lInitializing, configuring and uploading data from VEMCO HR2 Receivers
lViewing live detection data in real time (great for testing and troubleshooting)
lIntegrated easy-to-search help (for both the Fathom software and the HR2 Receiver)
lExport receiver data to CSV format for inspection and manipulation in a program of your choice
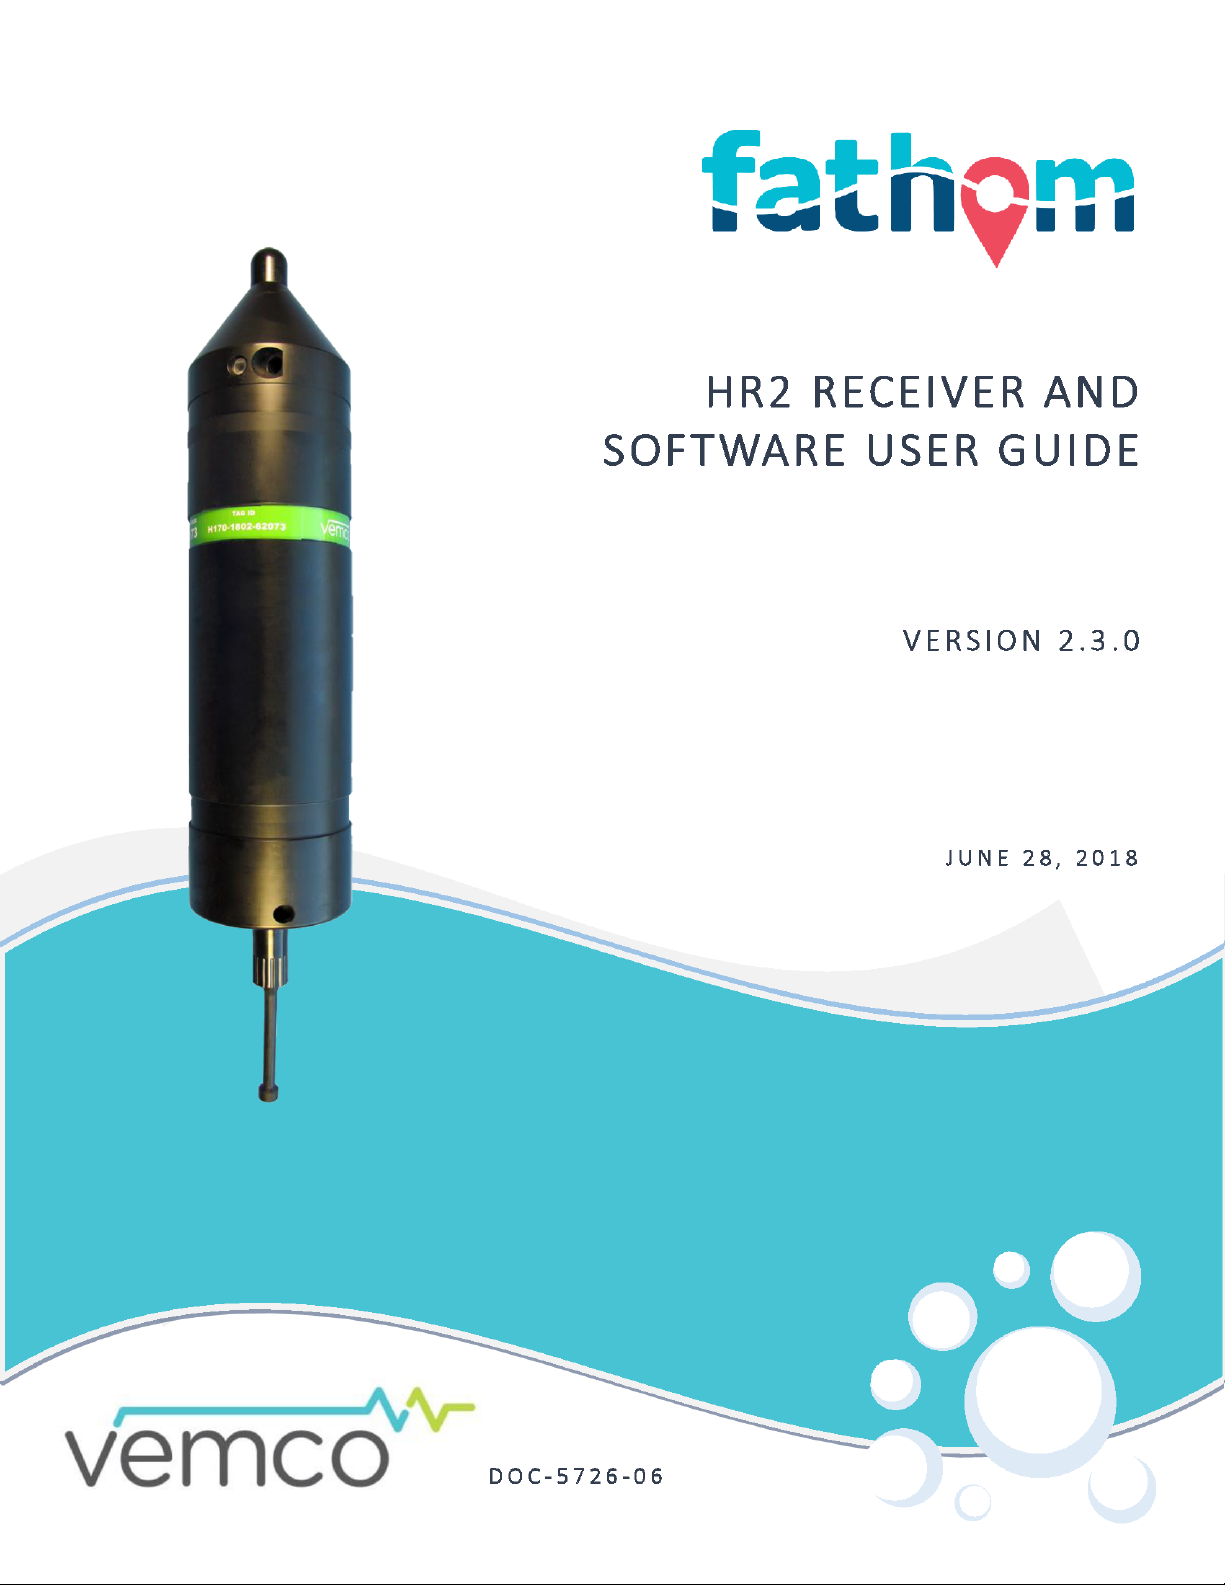
The HR2 Receiver
The new, feature-rich HR2 (High Residence)receiver is an excellent choice for tracking many fish
with higher accuracy than ever before using our smallest fish tags (V4, V5, and V9). The High
Residence telemetry system was designed specifically to allow researchers to monitor or position many
tagged animals with sub-meter accuracy. The HR2 receiver detects both PPM1(VEMCO's traditional
coding system) and HR2(VEMCO's new High Residence coding system) transmissions from 180 kHz
tags (transmitters).
This Section Contains Information On The Following:
1.1 HR2 Receiver - Overview 2
1.2 HR2 Case and Parts 4
1.3 VEMCO High Speed Offload Cable (HSOC) 7
1.4 Operation Modes 8
1.5 Fathom Software - Overview 9
1.6 Tour of the Fathom User Interface 10
1.7 Hardware Tabs 11
1.8 Software Tabs 12
1.9 Getting Help 13
1Pulse Position Modulation (PPM) is a signal modulation technique that allows computers to share data by measuring the time each
data packet takes to reach the computer (transmitter to receiver).
2High Residence (HR) is a VEMCO technology that allows for the reliable detection of hundreds of animals in a particular location
at one time. Each transmitter carries a unique ID and can be programmed to transmit as quickly as once per second while keeping
transmission collision rates to a minimum. HR transmitters can also be programmed with traditional PPM coding, and are thus
compatible with both VEMCO HR2 receivers and 180 kHz VR2Ws.

1.1 HR2 Receiver - Overview
The 180kHz HR2 Receiver is a submersible and autonomous or cabled receiver capable of decoding
two different methods of transmitting IDs to satisfy different study design objectives. To remain
compatible with VR2W receivers, the HR2 can detect tags transmitting our traditional PPM (pulse
position modulation) and the new HR transmissions at the same time.
This means that you can use the HR2 with your existing VR2W-180 receivers in
collaboration with other researchers in a large scale monitoring network or you can use
HR2 receivers to set up a small scale positioning experiment. HR2s are currently being
used to monitor and position migrating salmon in rivers, eels migrating to sea and non-
native predator impacts on native fish.
Common uses for HR2 receivers
lMonitoring hundreds of fish moving quickly through acoustic gates
lUltra-fine scale positioning for behavioural studies including fish passage,
spawning, and habitat selection
lHigh residence studies of hundreds of tagged animals
lFrequent and precise positioning of fish (i.e. sub-meter every second depending on
tag transmission rate)
lMonitoring migration survival
lMonitoring predator and prey behavior
Advantages
lThe HR system provides highest possible resolution data (high spatial resolution for
positioning studies (~1m) and frequent animal positions (of the order of seconds)
lAutonomously deployed HR receivers can easily be moved to different areas
lAdd as many tagged animals to the system as desired without affecting the frequency with which
positions are calculated
lConnect a cable to any receiver at any time to view detections in real time
lCompatible with VR2W-180 kHz receivers; detects two transmission systems simultaneously
(PPM & HR) to support high residence and long term monitoring studies
lCommunicate diagnostic information (for example, receiver health, tilt, ambient noise level,
temperature, detection counts) to a surface VR100-200 through a transponding link
lDetects VEMCO’s family of high frequency tags (weighing 0.42g to 2.0g) making it ideal for
juvenile to large fish (20g+ weight)
Transponding
Rather than employing a diver to check your receivers, you can communicate with the receivers
remotely from the surface to learn about their status (tilt,battery level,number of detections, and
number of detections of IDs of interest). Having transponding capability adds tremendous value in
numerous scenarios including VPS studies, range testing and knowing if fish have passed a receiver
gate.
The HR2 communicates to the surface through our VR100-200
active tracking receiver. It is compatible with all VR100-200
models sold since January 2013.
2
HR2 Receiver User Guide

You will require a 180 kHz transponding hydrophone to attach to the VR100-200 to communicate with
the HR2. HR2 receiver information that can be accessed through the VR100-200 includes:
lUnit health
lNumber of detections on the receiver
lTilt, noise and temperature
lBattery life and memory usage
lDistance to the receiver (to aid in locating the HR2)
lTransmitter configuration options
1.1.1 HR2 Receiver Quick Specifications
HR2 Quick Specifications
Dimensions 40 cm (15.9") x 10 cm (3.9") diameter
Weight (in-air) w Lithium-metal battery: 2.88 kg
wAlkaline battery: 3.16 kg
Receiver Frequency 180 kHz
Battery Life Lithium-metal: Approximately 6 months
Alkaline: Approximately 2 months
Data Capacity and Type PPM/HR: (170,000,000 detections)
Operating Temperature -5°C to +40 °C; Water must not freeze.
Maximum Depth 300 meters (440 psi)
PCSoftware Fathom
Communication Cable (RS-485 up to 12 Mbps)
External power supply (optional) 10-30 VDC
For additional information, see "HR2 Specifications", on page183.
3
1.1 HR2 Receiver - Overview

1.2 HR2 Case and Parts
The HR2 receiver is housed in a corrosion resistant black plastic high pressure case. The case consists
of two main parts:
lthe end cap which houses the hydrophone and internal battery tray that holds the battery, and
lan outer cylinder that is unscrewed to install the lithium or alkaline battery pack.
The HR2 is shipped closed, with the battery installed and connected. It is shipped with a dummy plug
connected to the communications port on the bottom of the receiver.
The only time the case needs to be opened is when replacing the battery or preparing the unit for long-
term storage (6 months or more).
IMPORTANT: The receiver is NOT ready to record data yet, as it is shipped in Suspend Mode.
Your first task is to connect it to a computer and the Fathom software and place it in Record Mode.
For more information, see "Getting Started", on page15.
Figure 1-1: HR2 Receiver with external Dummy Plug installed
WARNING: The HR2 pressure case and seal have a maximum static depth rating of 300 meters
(440 psi). Physical shocks to the receiver, such as bumping into a solid object when it is at any depth,
can result in a considerably higher pressure on the casing than just the depth pressure and water
may enter the HR2 case.
If the O-rings or their mating surfaces are dirty or damaged, then water may also enter the case. If
you are suspicious that water has entered the case, then follow the suggestions in "I Think The Case
Might Be Pressurized", on page176.
4
HR2 Receiver User Guide

1.2.1 HR2 Case Parts
Here's a quick tour of the HR2 receiver's external and internal case parts.
External Case Parts
Figure 1-2: HR2 Receiver EXTERNAL case parts
Item Name Description
1 Hydrophone The receiver's "microphone" and most delicate part.
2 End Cap Hole End Cap steel rod remover tool hole (top).
3 Status light (LED)/
Pressure release valve
The light flashes red,green, or blue to indicate the
receiver's status. For more information, see "Status Light
Flashes", on page165.
The release valve will open if the internal pressure is
greater than the external pressure (see section 8.2.2).
Never cover this valve (with tape or paint, for example).
4 Cable Tie grooves These grooves (top and bottom of receiver) are used to
attach the HR2 to a mooring line. For more information,
see "Mooring Line Attachment", on page78.
5 Identification Label The VEMCO product label contains the product name,
serial number,contact information, and important warn-
ings.
6 Outer Case Hole Outer Case steel rod remover tool hole (bottom).
7 Dummy Plug A locking collar covers and protects the HR2's external
8-pin cable connector. Used for storage and transport, the
plug is replaced by the RS-485 cable when com-
municating with the receiver, using the Fathom software.
8 RS-485 connector To connect the receiver to the RS-485 cable for com-
munication.
5
1.2 HR2 Case and Parts

Internal Case Parts
Figure 1-3: Opened HR2 Receiver INTERNAL parts (without battery pack)
6
HR2 Receiver User Guide

1.3 VEMCO High Speed Offload Cable (HSOC)
To communicate with the HR2 receiver, Fathom uses a VEMCO high speed communication cable. The
cable consists of two parts:
lthe main cable (black) which connects to the receiver, and
lthe interface box with USB cable (white) that connects to the computer.
Figure 1-4: VEMCO High Speed Offload Cable
1.3.1 Communication Cable Information
Make note of the following capabilities and limitations in the use of the HSOCcable:
lThe HSOC is powered by a PC USB port or USB bus that can provide 500 milliamps. It can
offload data from an HR2 receiver that has an expired internal battery or if the battery has been
removed.
lThe HSOC should not be used with a USB bus that does not have 500 mA available (e.g. USB
bus not powered externally).
lIf the internal battery is dead/missing, and you plug in the HSOC, you’ll have to wait for the HR2
receiver to boot before you can "talk" to it.
lThe HSOC supports data transfer rates up to 12 million bits per second (12Mbps). Speed is
reduced if used with cables greater than 10m in length.
7
1.3 VEMCO High Speed Offload Cable (HSOC)

1.4 Operation Modes
The HR2 receiver has two operating modes: Suspend and Record Mode.
1.4.1 Suspend Mode
Suspend Mode is a low power state used when the HR2 is being shipped or in storage for an extended
period of time. When in Suspend Mode, the receiver will not detect transmitters.
NOTE:In Suspend Mode, the status LED does not flash.
For details on how to place the HR2 in Suspend mode using the Fathom software, see "Suspend Mode
(not recording)", on page73.
CAUTION: The HR2 is shipped in Suspend mode, with the internal battery connected. Always put the
receiver in Record mode (start a study) before deployment.
1.4.2 Record Mode
During testing and deployment, using the Record Mode allows the receiver to detect transmitters and
record tag information. Because the receiver is shipped and stored in Suspend Mode, it must be put in
Record Mode before it can detect tags.
NOTE: In Record Mode, the receiver Status LED will flash 2 quick red flashes
every 5 seconds.
For information about entering Record Mode using Fathom, see "Record Mode", on page66.
8
HR2 Receiver User Guide

1.5 Fathom Software - Overview
The Fathom software has been developed to aid in preparing your HR2 receivers for deployment,
retrieving data from your HR2 receivers, and in visualizing and exporting data from your HR2, VR2W,
VR2AR, VR2Tx, and VR4-UWM receivers when your study is complete.
With HR2 receivers, Fathom performs such tasks as setting the receiver’s clock, configuring the built-in
transmitter, configuring sensor (noise, tilt, temperature) logging, setting up a watch table, retrieving
receiver data files, visualizing detection and diagnostic data, and exporting receiver data to CSVformat.
The visualization and data export features may also be used with VRL files (offloaded using the VUE
software) from VR2W, VR2AR, VR2Tx, and VR4-UWM receivers.
We advise that HR2 users always update to the latest version of Fathom on your entire suite of PC's
and laptops. By always using the latest version of Fathom everywhere, you can be assured of
compatibility with the newest HR2 receiver.
1.5.1 Fathom Software Requirements
The Fathom software requires either of the following operating systems:
lWindows 10
lWindows 8
lWindows 7
1.5.2 What Can Fathom Do?
Through a cabled connection from your receiver to your computer, you can perform tasks such as:
lstarting a new study
lconfiguring a receiver’s built-in transmitter
lviewing detection and diagnostic data in real time
loffloading receiver data and
lexporting offloaded data to CSV format
Information on using Fathom to perform these tasks can be found throughout the User Guide.
9
1.5 Fathom Software - Overview

1.6 Tour of the Fathom User Interface
The Fathom User Interface (UI) provides quick access to all the tools you need to manage your HR2
receiver and the data it collects.
Here's a quick look at the interface.
Figure 1-5: Fathom main UIview
1 - Hardware Tabs - The Hardware Tabs provide access to communication ports and receivers (when
a receiver is connected and identified). For more information, see "Hardware Tabs", on the facing page.
2 - Receiver Operation buttons - The Receiver Operation buttons provide access to various receiver
functions such as Offloading Data and Starting a study. For more information, see " Receiver Tab", on
page28.
3 - Receiver Information - The Receiver Information section provides basic information about your
connected receiver (serial number and if the receiver is ON-Recording, or OFF-NOT Recording.
4 - Software Tabs and Panels - The Software Tabs and Panels provide information on receiver status
and configuration options. For more information, see "Software Tabs", on page12.
5 - Help - The Help icon provides access to the Help system, for Fathom and your HR2 receiver. For
more information, see "More About Help", on page189.
6 - Context-Sensitive Help - The Context-Sensitive Help1icon provides access to help for the specific
section you are currently using, such as the Status tab (in the example above). For more information, see
"More About Help", on page189.
1Context-sensitive help (CSH) provides information for the specific feature that you are currently using.
10
HR2 Receiver User Guide

1.7 Hardware Tabs
Fathom hardware tabs provide access to communication ports and receivers (when a receiver is
connected and identified).
Figure 1-6: Device Scanner and Receiver hardware tabs
1.7.1 The Device Scanner Tab
The Device Scanner tab is the initial, or start-up tab. When you connect a receiver, the software
attempts to identify it. For more information, see " Device Scanner Tab", on page23.
lIf a receiver is identified, a receiver icon is displayed; double-clicking this icon will open a
hardware communication tab for that receiver (a Receiver tab).
lIf Fathom is unable to identify the connected receiver, you must perform a manual connection
to open a communication tab for that receiver. For more information, see "If no receiver is
detected", on page25
1.7.2 The Receiver Tab (s)
AReceiver tab is used, and only available, when Fathom is connected and communicating with an HR2
receiver. For more information, see " Receiver Tab", on page28.
NOTE:Each connected receiver gets its own tab.
11
1.7 Hardware Tabs
Table of contents
Other Vemco Receiver manuals