manuals.online logo
Brands
  1. Home
  2. •
  3. Brands
  4. •
  5. Vent-Axia
  6. •
  7. Controllers
  8. •
  9. Vent-Axia 563531A User manual

Vent-Axia 563531A User manual

ECOTRONIC SELV 12V
Humidity Controller
FITTING AND WIRING INSTRUCTIONS
Suitable for use with a single Vent-Axia SELV 12 fan up to 5.6A,
eg. Solo SVH, VA100SVL 12, VA100SVX 12, LuminAirTM H.
StockRef:-563531A
PLEASE READ ALL INSTRUCTIONS
CAREFULLY BEFORE INSTALLATION
AND LEAVE WITH THE END USER
VENT-AXIA ECOTRONIC SELV 12V FITTING AND WIRING INSTRUCTIONS
PLEASE READ ALL INSTRUCTIONS CAREFULLY BEFORE INSTALLATION
OPERATION
The Ecotronic humidity controller has been
designed for maximum versatility. It has a single
pole relay with two change-over contacts. The
relay is energized either by manual override, or in
automaticmodewhentheroomRelativeHumidity
(RH) reaches the set-point. The relay remains
energized until the room RH falls below the set-
point. The RH set-point is adjustable.
Theintegral pullcordswitches betweenautomatic
humiditycontrolandmanualoverride.TheEcotronic
indicatorlightswhenthe fanisinmanualoverride.
The indicator will NOT light under automatic
humidity control, even if the relay is energized.
There is no permanent OFF position.
NOTE:Oninstallationitispossiblethatthehumidity
controller will run continuously until it has
acclimatized to the environment.
SITING
IMPORTANT:Themainstransformercontroller
suppliedwiththefanmustbesitedoutofreach
of a person using a fixed bath or shower. It
provides 12V AC Safety Extra Low Voltage
(SELV) to the Ecotronic controller, which in
turn supplies the fan with 12V AC SELV. This
means that the Ecotronic and the fan may be
installedwithinreachofapersonusing a fixed
bath or shower. However, the Ecotronic and
fan must not be placed where they could be
submerged in water or regularly exposed to
direct water spray, E.g. from a shower head
whether permanently fixed or movable.
Ambient temperature range: 0 to 40OC. Site away
from direct sources of heat. Do not site above a
radiatororotherheatsource.Donotsiteinanarea
containingexcessivelevelsofgrease.Donotplace
in direct sunlight as this may affect the sensor.
The Ecotronic should ideally be mounted away
from the fan on an inside wall between the major
moisturesourceandthedoortotheotherroomsof
thebuilding.TheEcotronicneedsfreeaircirculation
and should be sited where the pullcord can be
operatedeasily. Do notsite closer than 100mmto
the ceiling, cupboards, etc.
FITTING
The Ecotronic is designed to fit any non-metallic
UK single mounting box with a minimum depth of
20mm.Fixingcentres60.3mm.Asurfacemounting
boxisavailable(Vent-AxiaRef.410020). DoNOT
use a metallic mounting box.
WIRING
WARNING:TheEcotronicMUSTNOTbeearthed.
It is Class III SELV .
The Ecotronic MUST be connected to a 12V
50HzACSELV supply.Itprovides12V50HzAC
SELV for a Vent-Axia SELV 12 range fan.
DO NOT connect more than one fan to the
Ecotronic.Themaximumloadis5.6A(Inductive
or Resistive). Only connect together products
from the Vent-Axia SELV 12 range as they are
specially designed to work on 12V AC and are
not compatible with mains voltage.
All electrical connections should be made by
a properly qualified electrician. The siting and
installation MUST comply with the current
I.E.E. Regulations (BS7671 UK) or the
appropriate standards in your country.
Note: Ecotronic does not need a lamp connected
intheinputoroutputcircuit.Ifalampisusedplease
note that for reliable operation we recommend a
tungsten filament lamp. The manufacturers of
somefluorescentandlowenergylightingsystems
indicate that these can interfere with some
electronic controller circuits.
Wiring to the mains transformer controller should
be via a switched spur with a 3A fuse (UK). The
installation MUST be provided with a double pole
isolatorswitchwithacontactseparationof atleast
3mm. The switch should be located outside the
room if it contains a fixed bath or shower, or in
accordance with mandatory wiring and safety
regulations.
The SELV wiring MUST be with mains voltage
rated non-metallic sheathed cable. The SELV
wiring should be physically separated and
insulated from any mains supply or other
cabling. Cut the outer sheathing back as little as
possible so that the insulating sheath almost
reaches the terminal block. 1.5 mm2wire is
recommendedforatotalcablelengthupto2.5mat
5.6A.
Whenusing surface wiringthat is notcontained in
conduit,thecablesmustbesecurelyclippedtothe
mounting surface, close to the controller.
WARNING: For your safety please ensure that
the mains supply is isolated before making
electricalconnections.
Electricalconnectionsdependonthemodeloffan
and the required mode of operation, see the fan
leaflet for connection details. Figure 1 shows an
example of wiring connections.
Doublecheckthewiringmakingsureallconnections
are secure. Fit the Ecotronic to the mounting box
with the two screws provided. Do not over-tighten
the screws. Do not trap any wires or the pullcord
stringwhenfitting thetwopieces together. Switch
the mains supply on and check operation.
HUMIDITY SET-POINT ADJUSTMENT
BEFORE ADJUSTING THE CONTROLLER,
SWITCH OFF THE MAINS SUPPLY.
Unscrew the screws holding the Ecotronic to the
mountingboxwhilst supportingtheEcotronicand
wiring.Tiltittoexposetheadjustershaftwhichhas
RH% marked nearby on the label.
The Ecotronic is factory set to switch on at about
72%RH.
TO LOWER the set-point turn the adjuster shaft
CLOCKWISE. This makes the Ecotronic MORE
sensitive to RH%, i.e. it will come on at a lower
RH%.
TO RAISE the set-point turn the adjuster shaft
ANTI-CLOCKWISE. This makes the Ecotronic
LESS sensitive to RH%, i.e. it will come on at a
higher RH%.
Check all the connections and carefully refit the
Ecotronic. Switch the mains supply back ON and
checkoperation.
All regulations and requirements MUST be
strictly followed to prevent hazards to life and
propertybothduringandafterinstallation,and
during any subsequent servicing and
maintenance.
1
2
12V 50Hz~
SELV supply
12V 50Hz~
1 2 N L
Vent-Axia
SELV 12
transformer
controller
Vent-Axia
Ecotronic
SELV 12
Controller
3A
N
~
L
Mains
supply
220-
240V
50Hz
ECOTRONIC TERMINAL CONNECTIONS
1 SELV 12V 50Hz ~ supply 4 Relay normally open contact (closed for RH% or manual override)
2 SELV 12V 50Hz ~ supply 5 Relay normally closed contact (open for RH% or manual override)
3 Relay common contact
Vent-Axia
SELV 12 fan
Fig.1. EXAMPLE WIRING CONNECTIONS.
Fan On when relay energised by RH% or manual override, Off otherwise.
5 4 3 2 1
468471E 0607
As part of the policy of continuous product improvement Vent-Axia reserves the right to alter specifications without notice.
The Vent-Axia Guarantee
Applicableonly toproductsinstalledandusedintheUnitedKingdom. Fordetailsofguaranteeoutside
theUnitedKingdom contact yourlocalsupplier.
Vent-Axia guaranteesitsproducts fortwoyearsfrom the dateofpurchaseagainst faultymaterialor
workmanship. Intheeventof anypartbeingfoundtobedefective,theproductwillberepaired,or atthe
Company’soption replaced,withoutcharge,providedthattheproduct:
1) hasbeeninstalledand usedinaccordancewith the instructionsgivenwitheach unit.
2) hasnotbeenconnected toanunsuitableelectricitysupply.(Thecorrect electricitysupply
voltageisshown on theproductratinglabel attached totheunit.)
3) hasnotbeensubjected tomisuse,neglector damage.
4) hasnotbeen modifiedorrepairedbyany personnotauthorisedbythecompany.
IF CLAIMING UNDER TERMS OF GUARANTEE
pleasereturnthecompleteproduct,carriagepaidtoyouroriginalsupplierornearestVent-AxiaCentre,
bypostorpersonalvisit. Pleaseensurethatitisadequatelypackedandaccompaniedbyaletterclearly
marked‘Guarantee Claim’statingthe natureofthefaultandproviding evidenceofdate andsourceof
purchase.
Theguaranteeis offered toyouasan extrabenefit,anddoesnot affectyourlegalrights.
VENT-AXIASALESCENTRES
UKNATIONAL
CALL CENTRE
NewtonRoad,
Crawley,
WestSussex RH109JA.
Telephone: 01293530202
Fax: 01293565169.
REPUBLIC OF IRELAND
Vent-AxiaVentilation Ltd.
921WesternIndustrialEstate,
NaasRoad,Dublin 12.
Telephone: (01)4504133
Fax: (01)450 4570.
Internet site at: www.vent-axia.com
Did you find these instructions easy to use ? We value your comments.
Contact us via:
email: [email protected]
Head Office: Fleming Way, Crawley, West Sussex RH10 9YX
Tel: 01293 526062 Fax: 01293 551188

Other Vent-Axia Controllers manuals

Vent-Axia 475775 Assembly instructions

Vent-Axia

Vent-Axia 475775 Assembly instructions

Vent-Axia SAC3 Assembly instructions

Vent-Axia

Vent-Axia SAC3 Assembly instructions

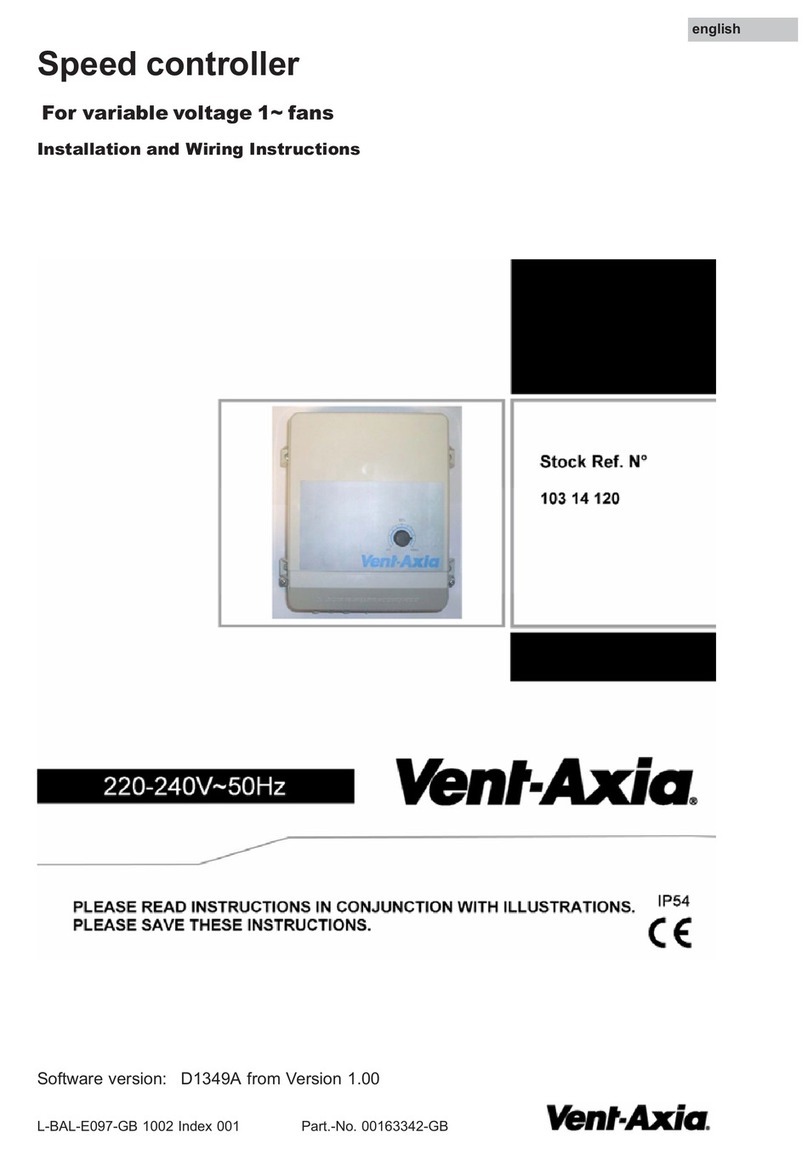
Vent-Axia 103 14 120 Assembly instructions

Vent-Axia

Vent-Axia 103 14 120 Assembly instructions

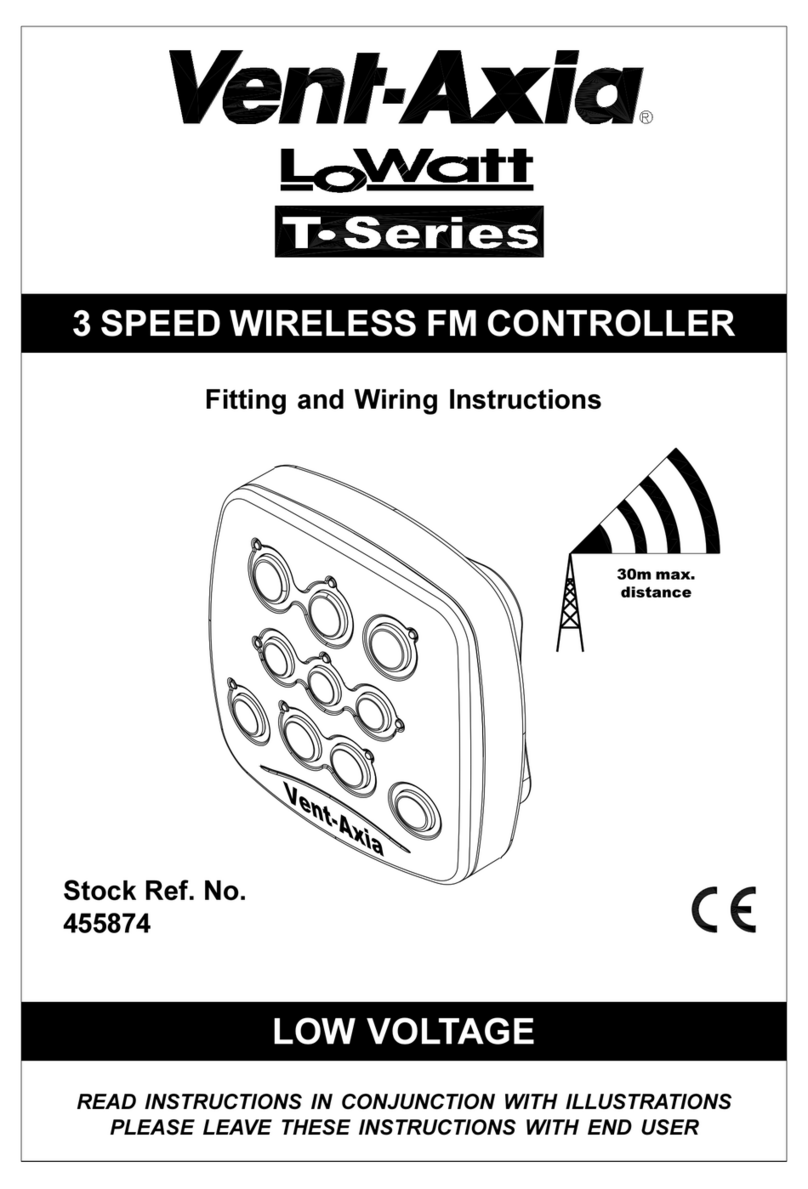
Vent-Axia LoWatt T Series User manual

Vent-Axia

Vent-Axia LoWatt T Series User manual

Vent-Axia SAC 5 Assembly instructions

Vent-Axia

Vent-Axia SAC 5 Assembly instructions

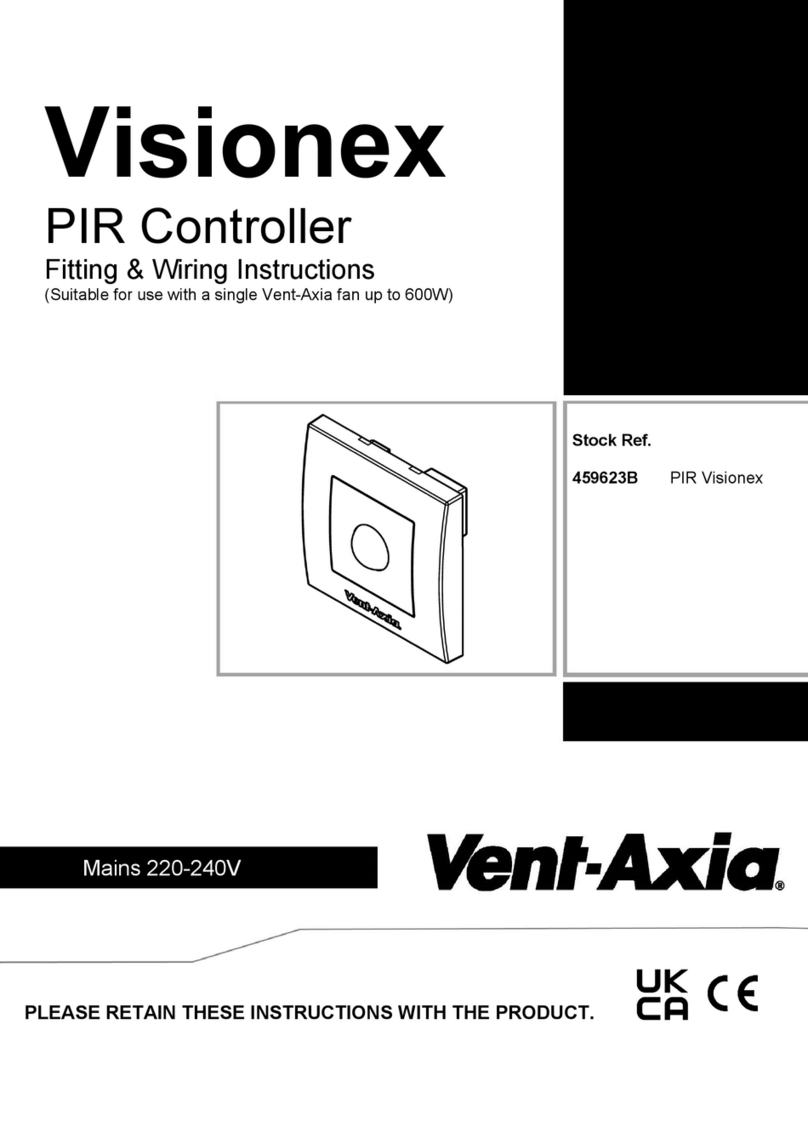
Vent-Axia Visionex User manual

Vent-Axia

Vent-Axia Visionex User manual

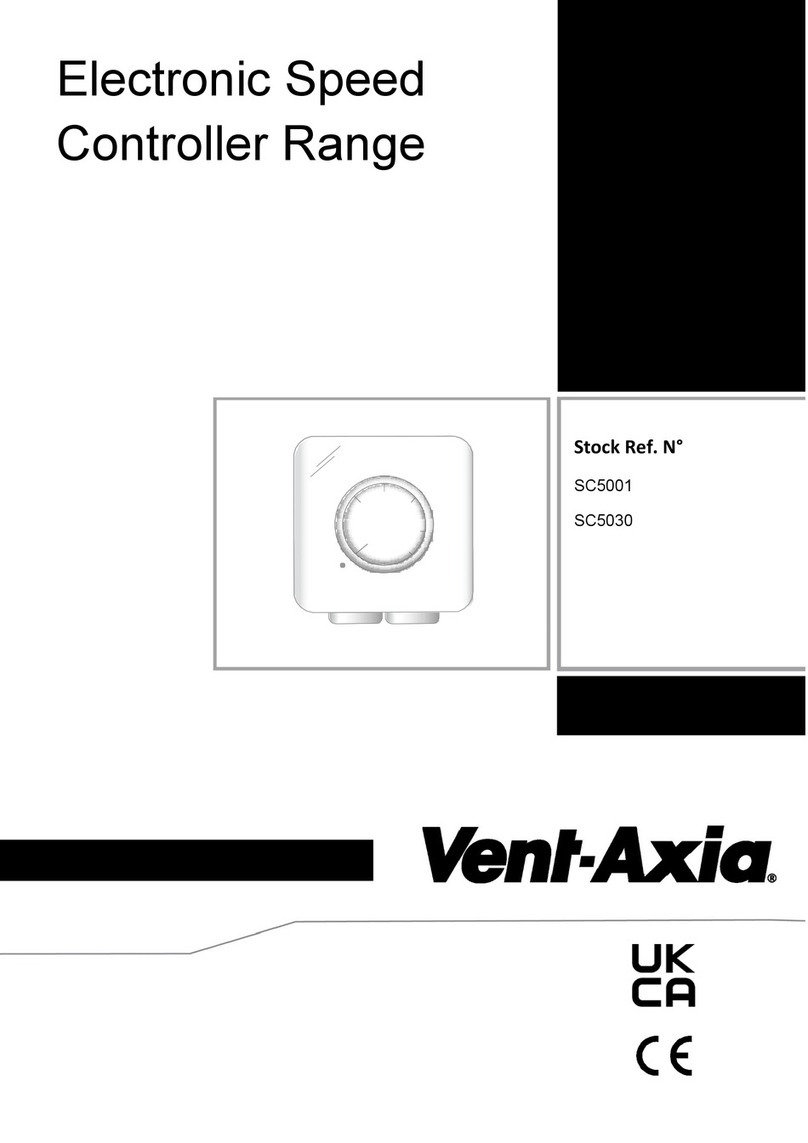
Vent-Axia SC5001 User manual

Vent-Axia

Vent-Axia SC5001 User manual

Vent-Axia ECOTRONIC SELV24 User manual

Vent-Axia

Vent-Axia ECOTRONIC SELV24 User manual

Popular Controllers manuals by other brands

Danfoss 324166 Installation and operation

Danfoss

Danfoss 324166 Installation and operation

American DJ Light Copilot User instructions

American DJ

American DJ Light Copilot User instructions

Deif ASC installation instructions

Deif

Deif ASC installation instructions

Bosch WORCESTER GREENSTAR WIRING CENTRE Installation, commissioning & servicing instructions

Bosch

Bosch WORCESTER GREENSTAR WIRING CENTRE Installation, commissioning & servicing instructions

Linak TWINDRIVE TD32 user manual

Linak

Linak TWINDRIVE TD32 user manual

Hanna HI8410 instruction manual

Hanna

Hanna HI8410 instruction manual

Extron electronics Basic MediaLink Controllers MLC 52 RS Specifications

Extron electronics

Extron electronics Basic MediaLink Controllers MLC 52 RS Specifications

LG G3F-TC4A user manual

LG

LG G3F-TC4A user manual

United Automation INFRESCO T 4KW user manual

United Automation

United Automation INFRESCO T 4KW user manual

Sevcon Dragon8 Applications Reference Manual

Sevcon

Sevcon Dragon8 Applications Reference Manual

Origin Effects RevivalDRIVE Footswitch user guide

Origin Effects

Origin Effects RevivalDRIVE Footswitch user guide

Lectrotab ALC-1 manual

Lectrotab

Lectrotab ALC-1 manual

Festo DGSL E Series operating instructions

Festo

Festo DGSL E Series operating instructions

Honeywell PEHA D CDH8U5 Series Installation and commissioning instructions

Honeywell

Honeywell PEHA D CDH8U5 Series Installation and commissioning instructions

BenQ LU950 installation guide

BenQ

BenQ LU950 installation guide

NatComm DS5 user guide

NatComm

NatComm DS5 user guide

BENDIX EC-14 ANTILOCK CONTROLLER manual

BENDIX

BENDIX EC-14 ANTILOCK CONTROLLER manual

Deer Shield SUPER PRO quick start guide

Deer Shield

Deer Shield SUPER PRO quick start guide

manuals.online logo
manuals.online logoBrands
  • About & Mission
  • Contact us
  • Privacy Policy
  • Terms and Conditions

Copyright 2025 Manuals.Online. All Rights Reserved.