VentAHood ARS OMG Operating manual

Air Recovery System
Owner and Maintenance Guide
Thank You For Choosing Vent-A-Hood®
We know you will be pleased with your purchase decision.
Since 1933, our company has earned an outstanding reputation
because of our commitment to performance, quality, and
reliability.
The Importance of Cooking Ventilation
The main purpose of cooking ventilation is to capture the
by-products of cooking. These by-products are heat, steam,
smoke, odor, hazardous gases, and grease. Without proper
cooking ventilation, these by-products can cause a great deal
of harm to the home.
L026 1010A

Page 2L026
Safety
READ AND SAVE THESE INSTRUCTIONS
WARNING - TO REDUCE THE RISK OF FIRE, ELECTRIC
SHOCK, OR INJURY TO PERSONS, OBSERVE THE
FOLLOWING:
A. Use this unit only in the manner intended by the manufacturer.
If you have questions, call the manufacturer.
B. Before servicing or cleaning unit, switch power off at service panel
and lock the service disconnecting means to prevent power from
being switched on accidentally. When the service disconnecting
means cannot be locked, securely fasten a prominent warning
device, such as a tag, to the service panel.
C. Installationworkandelectricalwiringmustbedonebyqualied
person(s) in accordance with all applicable codes and standards,
includingre-relatedconstruction.
D. Sufcientairisneededforpropercombustionandexhausting
ofgasesthroughtheue(chimney)offuelburningequipment
to prevent back drafting. Follow the heating equipment
manufacturer’s guideline and safety standards such as those
published by the National Fire Protection Association (NFPA),
and the American Society for Heating, Refrigeration, and
Air Conditioning Engineers (ASHRAE) and the local code
authorities.
E. When cutting or drilling into wall or ceiling, do not damage
electrical wiring and other hidden utilities.

Page 3 L026
Safety (Continued)
WARNING - TO REDUCE THE RISK OF INJURY TO PERSONS,
IN THE EVENT OF A RANGE TOP GREASE FIRE, OBSERVE THE
FOLLOWING:
A. SMOTHER FLAMES with a close-tting lid, cookie sheet, or
metal tray, then turn off the burner. BE CAREFUL TO PREVENT
BURNS.Iftheamesdonotgooutimmediately,EVACUATE
AND CALL THE FIRE DEPARTMENT.
B. NEVER PICK UP A FLAMING PAN - You may be burned.
C. DO NOT USE WATER, including wet dish cloths or towels - a
violentsteamexplosionwillresult.
D. UseanextinguisherONLYIF:
1) YouknowyouhaveaClassABCreextinguisherandyou
already know how to operate it.
2) Thereissmallandcontainedintheareawhereitstarted.
3) Theredepartmentisbeingcalled.
4) Youcanghttherewithyourbacktoanexit.
WARNING - TO REDUCE THE RISK OF
A RANGE TOP GREASE FIRE:
A. Never leave surface units unattended at high settings. Boilovers
cause smoking and greasy spillovers that may ignite. Heat oils
slowly on low or medium settings.
B. Always turn hood ON when cooking at high heat or when
ambeingfood(i.e.CrepesSuzette,CherriesJubilee,Peppercorn
Beef Flambe).
C. Clean ventilating fans frequently. Grease should not be allowed
to accumulate on fan or in blower housing.
D. Use proper pan size. Always use cookware appropriate for the
size of the surface heating element.

Page 4L026
Safety (Continued)
THIS MANUAL SHOULD REMAIN WITH THE HOOD
FOR FUTURE REFERENCE
CAUTION
TO REDUCE THE RISK OF FIRE, AND TO PROPERLY EXHAUST
AIR, BE SURE TO DUCT EXHAUST AIR OUTSIDE. DO NOT VENT
EXHAUST AIR INTO SPACES WITHIN WALLS OR CEILINGS, OR
INTO ATTICS, CRAWL SPACES, OR GARAGES.
WARNING
TO REDUCE THE RISK OF FIRE OR ELECTRICAL SHOCK, DO
NOT USE THIS FAN WITH ANY SOLID-STATE SPEED CONTROL
DEVICE.
CAUTION
FOR GENERAL VENTILATION USE ONLY. DO NOT USE TO
EXHAUST HAZARDOUS OR EXPLOSIVE MATERIALS AND
VAPORS.
WARNING
TO REDUCE THE RISK OF FIRE, USE ONLY METAL DUCTWORK.

Page 5 L026
Operating Instructions
A. Models with Halogen Lights
Black Switch - This switch operates a single-speed motor. The
single-speed motor is either off or on, and is not controlled by the
SensaSource®heat sensor or the red switch.
Black Switch
White Switch - This switch controls the lights. “LOW” level lighting
(position I) is 25 watts per bulb, “HIGH” level lighting (position II) is
50 watts per bulb. Off is in the middle position.
White Switch

Page 6L026
A
Hood Cleaning
A. Hood Canopy
Wipedowntheinteriorandexteriorofthehoodasneededwithasoft
cloth and warm soapy water (liquid dish detergent is acceptable). Do
not use acids, abrasives, strong detergents, solvents, or scouring
pads. Stainless steel should be treated with a quality stainless steel
cleaner such as Stainless Steel Magic®(Vent-A-Hood®part number
SS64). Follow all label instructions. Do not polish across the grain
or in circles.
B. Blower Unit
WARNING: To reduce the risk of personal injury, be sure the
power is turned off in the hood before removing the shield(s)
and blower housing(s).
The blower captures grease by-products in the grease pan attached
to the bottom of the blower. Cooking habits determine how often the
grease pan will need to be cleaned.
To remove the grease pan, unsnap the suitcase latches (A) (one on
each side of the pan).

Page 7 L026
B
Hood Cleaning (Continued)
The grease pan (B) may now be lowered from the hood.
Clean the grease pan in a sink of warm, soapy water (liquid dish
detergent) and let soak for a few minutes. Wash with a sponge or
dishcloth, rinse and let drain. Reinstall the grease pan and snap
the suitcase latches in place. The grease pan alternatively may be
placed into a dishwasher.
C. Blower Wheel
WARNING: To reduce the risk of personal injury, be sure the
power is turned off in the hood before removing the grease pan.
Regular cleaning of the grease pan should prevent grease
accumulation on the blower wheel. If grease build-up should occur,
the blower wheel may easily be cleaned in place using a soft bristle
toothbrush and a common degreaser such as Formula 409®. Take
carenottomoveorlosethemetalbalancingclipsthatmaybeafxed
to the wheel.
In instances where the blower wheel may need to be removed, follow
theinstructionsonthenextpage.

Page 8L026
B
Hood Cleaning (Continued)
A soft bristle toothbrush with warm soapy water may be used to
clean the blades, or soak the blower wheel in warm soapy water.
When reinstalling the wheel onto the motor shaft, make sure the set
screwmakesdirectcontactwiththe“atspot”onthemotorshaft.
Slide the blower wheel onto the motor shaft as far as it will go and
tighten the set screw (clockwise) to lock the blower wheel in the
correct position.
Remove the grease pan as described in Hood Cleaning, Section
B. If the blower wheel needs to be removed, a 1/8” T-handle hex
wrenchisnecessary.AT-handlehexwrench(A)maybeobtained
from Vent-A-Hood®to accomplish this (Vent-A-Hood®part number
AW101). There is a small set screw on the side of the hub of the
wheelthattightensupagainsta“at”spotonthemotorshaft.Theset
screw must be turned ½turn counterclockwise to remove the blower
wheel. Insert the T-handle allen wrench through the guide hole (B)
locatednexttotheblowerhousinglatch,throughthebladesofthe
blower wheel, and into the set screw. Use caution to avoid bending
or distorting the blower wheel and take care not to move or lose the
metalbalancingclipsthatmaybeafxedtothewheel.Ifthewheel
isdifculttoremove,theareawherethemotorshaftmakescontact
with the blower wheel hub may need to be sprayed with a common
penetrating oil such as WD-40®.

Page 9 L026
Maintenance/Troubleshooting
Replacing the ARS Filter Components
1. Remove the duct cover front panel. The panel is held in place
with four snaps at the corners and at least one snap on the left and
right.Beginbypullingthepanelawayatonecornereitherwithnger
tips or a plastic utensil. Work around the duct cover disengaging
one snap at a time until all of the snaps are loose. Beware of sharp
corners and edges. Use caution to prevent bending, scratching, or
sropping the cover.
2. Liftthesmoketrappinglterupwardandremoveitforwardout
oftheductcover.Discardlterwithhouseholdrefuse.
3. Lift the odor absorbing canister by the handles. Raise the canister
so that the canister bottom is just above the bottom of the duct cover
opening and slide the canister out of the duct cover. Replace activated
carbonmediaordiscardlterwithhouseholdrefuse.
4. InstallnewltersfollowingtheinstallationproceduresintheARS
installation manual.
Replacing the Activated Carbon Media
1. Remove the odor absorbing canister by following the procedure
above.
2. Remove the screws holding the cover inside the top of the odor
absorbing canister.
3. Invert the odor absorbing canister over a household refuse
container. Shake the odor absorbing canister to remove all of the
activated carbon pellets.
4. Withtheodorabsorbingcanisterupright,relltheunitwiththe
new activated carbon pellets (Vent-A-Hood part number PARS-C).
Lightly shake or vibrate the odor absorbing canister to settle the
pellets. Fill all voids completely and leave a small mound of pellets
above the cover opening to allow for future settling.
5. Replace the cover using the screws that were removed in step
2 above.

Page 10L026
Maintenance/Troubleshooting (Continued)
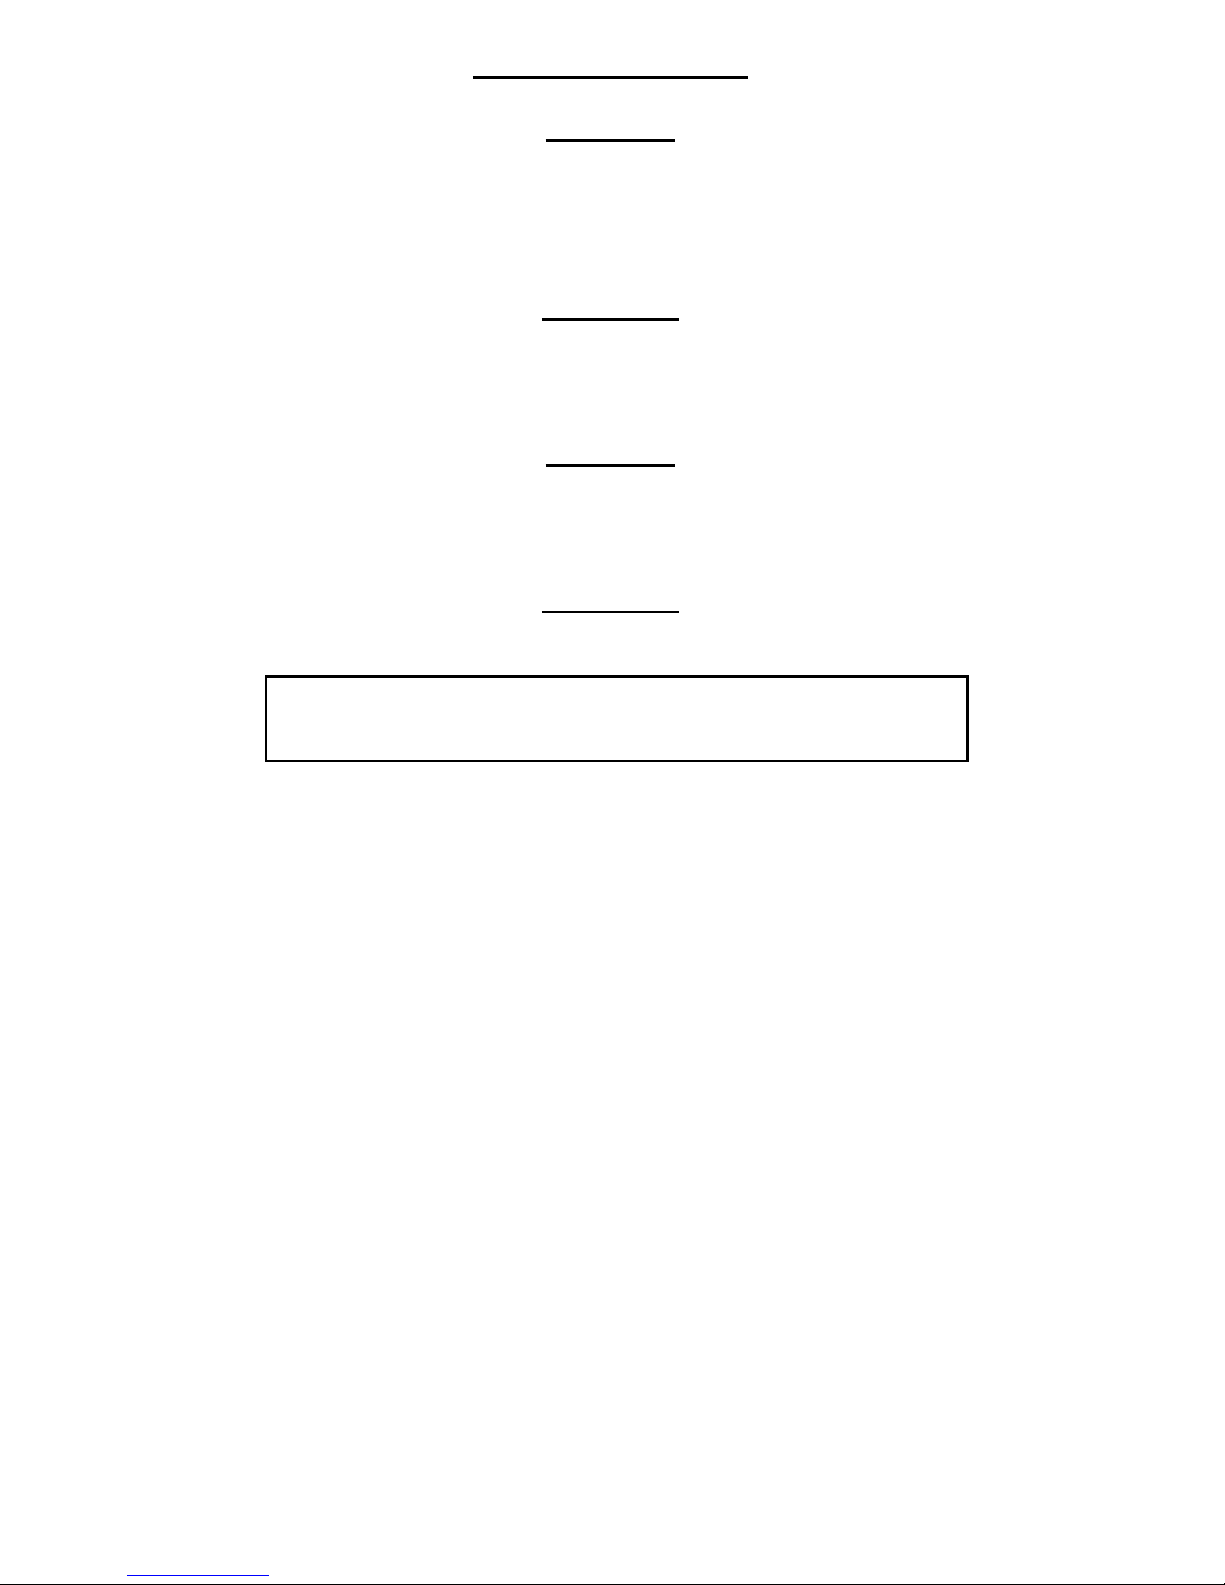
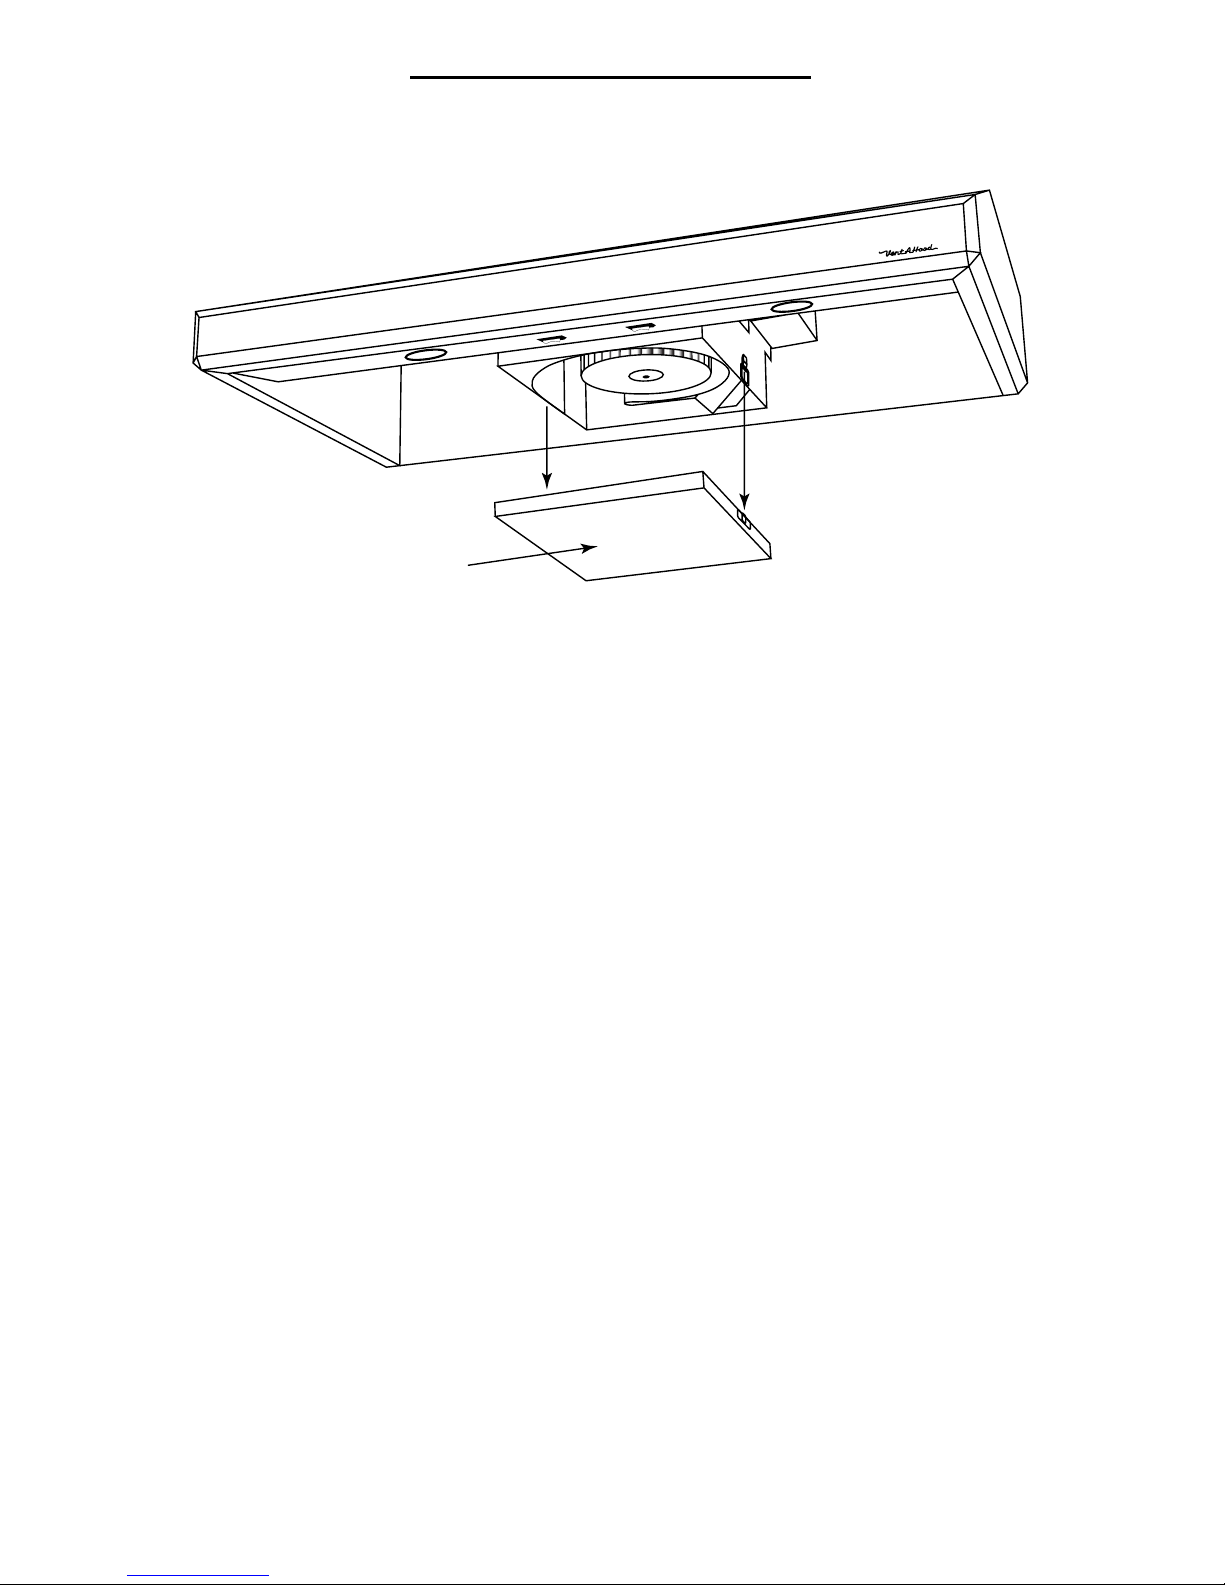
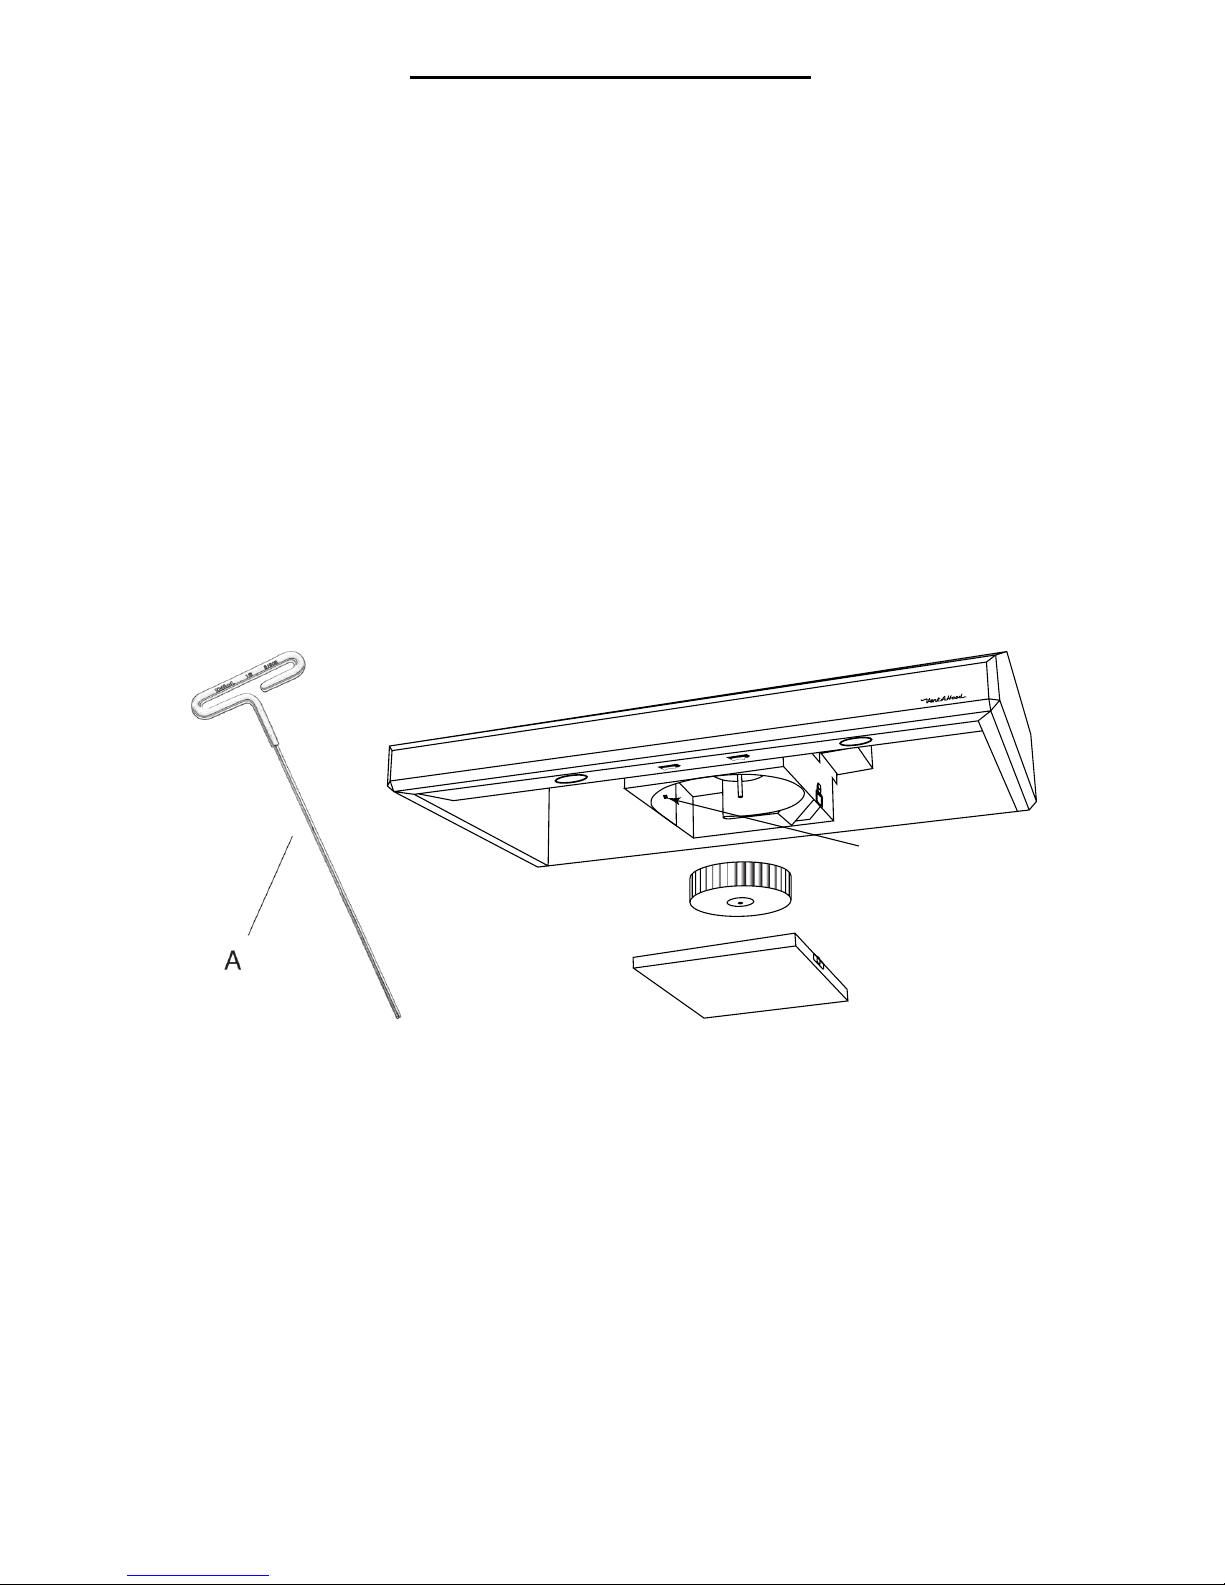
A. Light Bulb Replacement
WARNING: To reduce the risk of personal injury, turn off power
and allow lights to cool before proceeding.
Toremovethebulb,turnitcounterclockwise.Ifthelightisdifcultto
remove, it may be necessary to use the light bulb suction cup that
has been provided with this manual.
Replace the bulb with a GU10 120 volt, 50 watt halogen bulb (Vent-
A-Hood®part number P1110).
B What To Do If...
Smoke is in the kitchen. Check the following:
Is the hood sized appropriately for the type of cooking equipment
it is ventilating?
The purpose of a hood is to collect cooking contaminants and hold
themuntiltheblowerunitcanexhaustthemtotheoutside.Therefore,
it is necessary to size the hood based on the type of cooking
equipment that is being used. Whenever possible, hoods should
overlap the cooking equipment by at least three inches on each
side. The hood should also project out to the front edge of the front
burners. Finally, the height of the hood can affect its performance.
Generally speaking, taller hoods are more suitable for professional
style ranges, whereas under cabinet hoods are recommended for
standard cooking equipment.
Does the blower capacity of the hood match the cooking
equipment it is over?
K250 Single Blower - For standard electric or small gas cooking
equipment.
Is the hood mounted at the appropriate height off of the cooking
surface?
The height of the hood off the cooking surface is very important. The
higher the hood is mounted, the less effective it will be. Hoods only
collect cooking vapors; they will not pull cooking contaminants back
into the hood if they escape unto the kitchen. Generally speaking,
the deeper the hood, the higher the hood can hang and still be
effective.
K Series Wall Mount 24”

Page 11 L026
Maintenance/Troubleshooting (Continued)
Is the hood making a rubbing or scraping noise?
This may be caused by the blower wheel coming in contact with the
blower housing. Refer to Hood Cleaning, Section C for blower wheel
installation details.
NOTE: If smoke still enters the kitchen after following these
suggestions, contact your dealer for additional service and/or
suggestions.

Page 12L026
Vent-A-Hood®warrants to the original consumer-purchaser its
products to be free of defects in material and workmanship for a
period of one year from the date of purchase with the following
limitations:
A. Light bulbs
B. Freight damage
C. Damage caused by faulty installation
D. Incidental or consequential damage
E. Commercial application
F. Misapplication or modication of or to any part of the
Vent-A-Hood®product
Warranty
To make a warranty claim, contact the dealer where the hood was
purchased. They will contact the appropriate service agents. It is not
necessary to register the product directly with Vent-A-Hood®.
Service
Vent-A-Hood Ltd.
P.O.Box830426
Richardson, TX 75083-0426
(972) 235-5201
www.VentAHood.com
Customer_Service@VentAHood.com
This manual suits for next models
1
Table of contents
Popular Test Equipment manuals by other brands

Agilent Technologies
Agilent Technologies U4002A installation guide

Tektronix
Tektronix 485 instruction manual

Tektronix
Tektronix TDS 500C manual

Larsen & Toubro
Larsen & Toubro Universal Test Kit instruction manual

TELink
TELink BLE 1x6 Test System 3.2 Assembly and maintenance manual

Vigor Equipment
Vigor Equipment V4461 operating instructions