5
When the backlight feature is set to OFF, the backlight will
only illuminate for 3 seconds whenever a key is pressed.
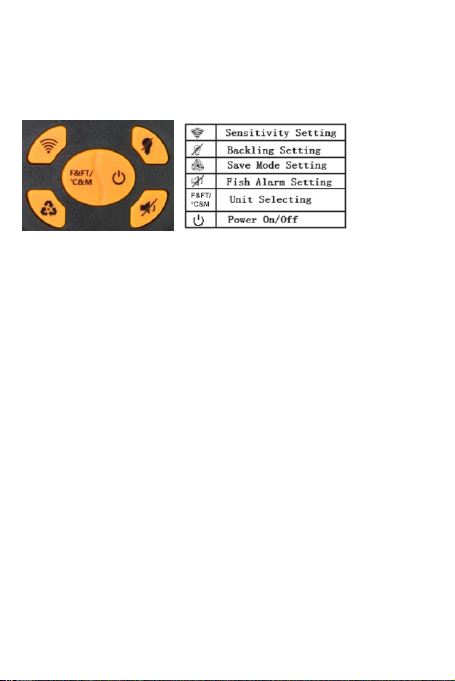
FISH ALARM
An alarm sounds when a group of fish are detected. The
alarm feature could be turn off if you prefer quiet fishing.
BATTERY SAVE MODE
When the Battery Save Mode is ON, the fish finder will
only send a sonar pulse every 3 seconds, instead of 3
sonar pulses every one second. This mode only updates
the display every 3 seconds and should not be used while
actively targeting fish. It’s useful for monitoring changes in
depth and bottom contour in 3 second intervals. The
screen can be refreshed by pressing the Power Key.
UNITS OF MEASURE
There are two sets of measure units: ℉&FT, or ℃&M.
The default unit of measure is ℃&M for temperature and
depth. It can be changed to ℉&FT as per the previous
instructions.
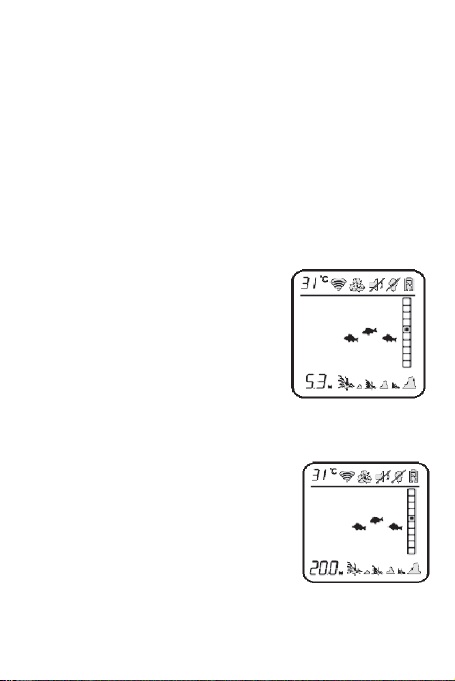
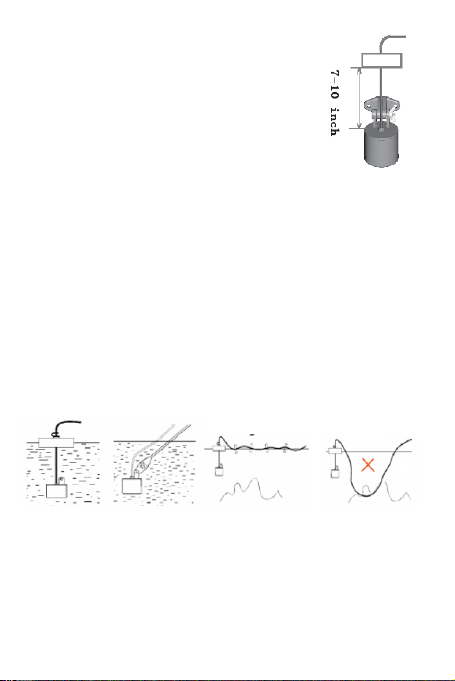
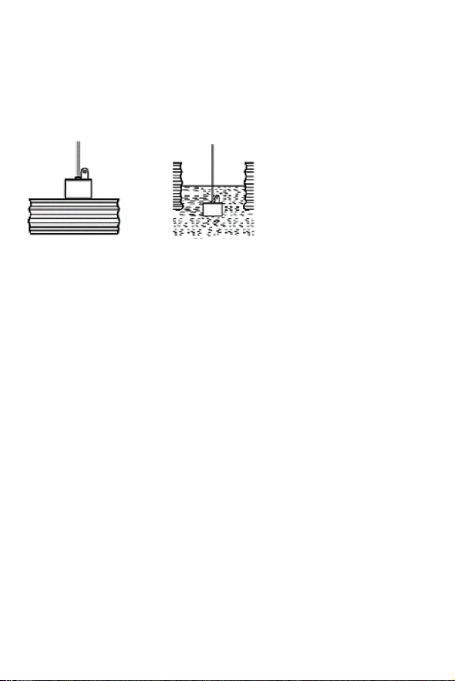
Water Depth Readout
The depth readout on the bottom left corner of the screen
will appear after the power is turned ON and the sonar
sensor is placed in water between 2 feet and 328 feet (0.6
to 100 Meters). If the depth exceeds these range, the
depth readout will indicate “---”.
The reading “---”may also occur in water that is extremely
dirty, or where there are heavy silt or mud bottoms. Sonar
is a sound signal that travels through water. Sonar will not
travel through air. So the smallest air bubble between the