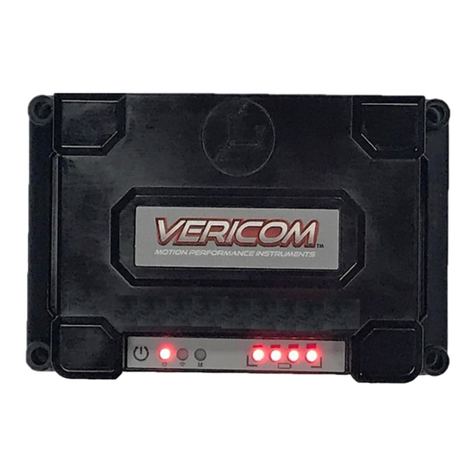
V-SenseTM Brake Meter©
Quick Start Guide
The V-Sense Director tablet app includes 6 primary screens: Start Testing, File Setup,
Sensor Setup, Test Viewer, Manage Tests, and Tools.
Start Testing
The Start Testing screen is the screen from where all testing is initiated. This screen
includes the ‘Send Test Setup’ button – which is used to send the test instructions
to the V-Sense POD. The standard Brake Testing options include a 3 seconds brake
test and a 7 second brake test. For most low speed tests 30 MPH or less, the 3
second test is enough time. If your test is conducted on a ‘slippery’ surface or with
a test vehicle from a speed above 50 MPH or with poor braking (less than 0.4 Gs),
the 7 second brake test is used.
Brake Test Process
•Power ‘ON’ the V-Sense POD.
•Power ‘ON’ the tablet and open the V-Sense
Director app.
•Mount the V-Sense POD on the test vehicle
(typically on the wind shield or other fixed
location on the vehicle).
•Connect the V-Sense POD to the tablet via
Bluetooth from the Tools page of the app.
•With the test vehicle to the test location (the
location should be reasonably smooth and
consistent ‘grade’) stop the vehicle on the
road/surface where you plan to hit the brakes of
the test vehicle.
•On the ‘Start Testing’ page, select the 3s Brake
Test or the 7s Brake Test. Next, click ‘Send Test
Setup’ to the V-Sense POD. DO NOT move until
the screen shows the ‘green’ START test and
‘red’ CANCEL test buttons.
•When you are ready to accelerate to the brake area, click on the green ‘START TEST’button. The
Tablet is now ‘listening for the Start Trigger’ (the Start Trigger is set to -0.2Gx).
•Accelerate HARD to the target speed (generally 10 to 20 MPH).
•When you arrive to the brake test location (the same location where you clicked the ‘Send Test Setup’
button), SLAM the brakes hard to mimic a ‘Panic Braking’ situation.
•Hold the Brakes thru the ENTIRE test until the Tablet shows the message that the test is completed
and ready for download to the tablet.


