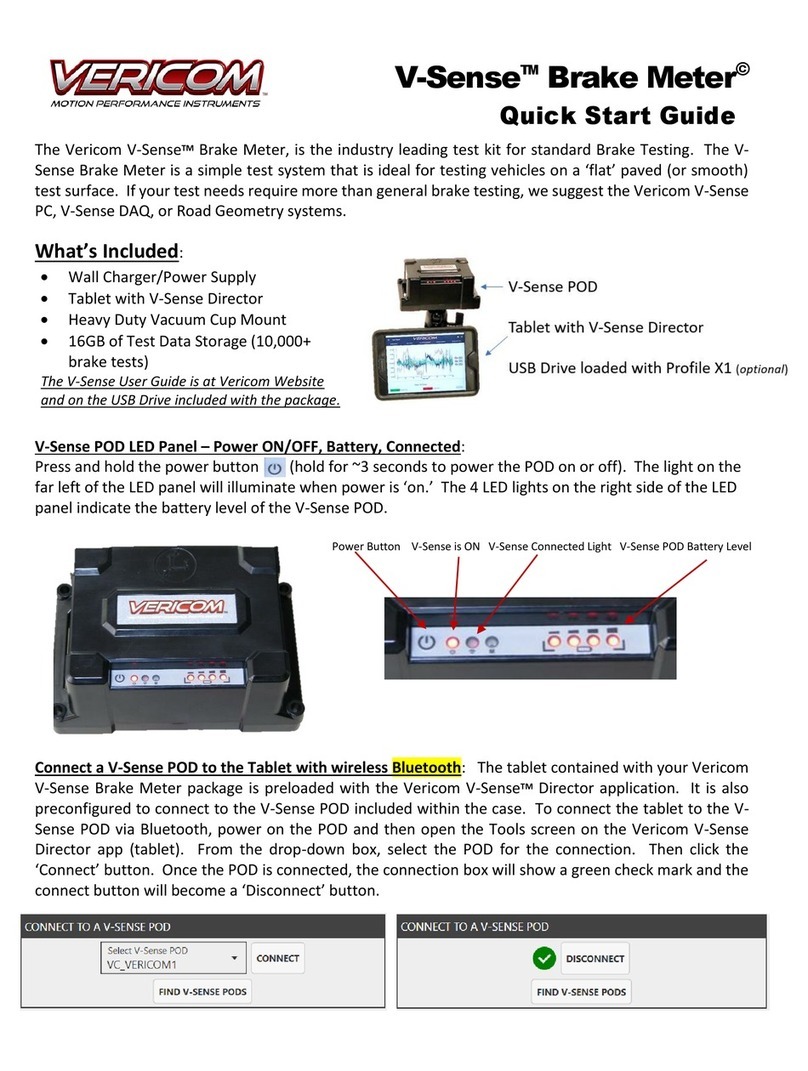
V-SenseTM Series + Profile X1©
User Guide
Calibration Check: An important option includes the Calibration
Check feature. The Calibration Check feature allows a user to
validate that the V-Sense POD has maintained the original factory
calibration. To conduct the Calibration Check, connect the V-Sense
POD to the PC via Bluetooth. Then select the Calibration Check
button.
Place the V-Sense POD on its back.
Place the V-Sense POD on its bottom.
After selecting the Calibration Check button, a window showing the
Start Calibration Check button will appear. Prior to clicking the Start
button, ensure the V-Sense POD is resting on a flat surface (such as a
table) and disconnect all wires and remove the vacuum cup mounting
bracket. Click the Start button when ready.
After selecting the Start Calibration
Check button, the system will prompt
to place the V-Sense POD on each
side. (1) Back, (2) Front, (3) Right-Side,
(4) Left-Side, (5) Top, (6) Bottom.
After each prompt to place the V-
Sense POD on a specific side, the
system will wait for the user to select
the Continue button. Prior to
selecting the Continue button, place
the V-Sense POD on the side as
designated by the Calibration Check
window. With the V-Sense POD
positioned as needed, click the
Continue button and DO NOT MOVE
the V-Sense POD until the prompt for
the next side appears.
After the V-Sense POD has been rotated to
all 6 sides as prompted by the system, a
window showing the Calibration Check
results will appear. If the window is GREEN,
the check has passed. If it is RED, the check
did not pass. The date of the calibration
check is saved to the V-Sense POD. The V-
Sense POD and Profile software will
automatically calculate the result. If Gx, Gy,
and Gz are within 0.1% of the factory
calibration, the test will show PASS.


