A. Opening the package
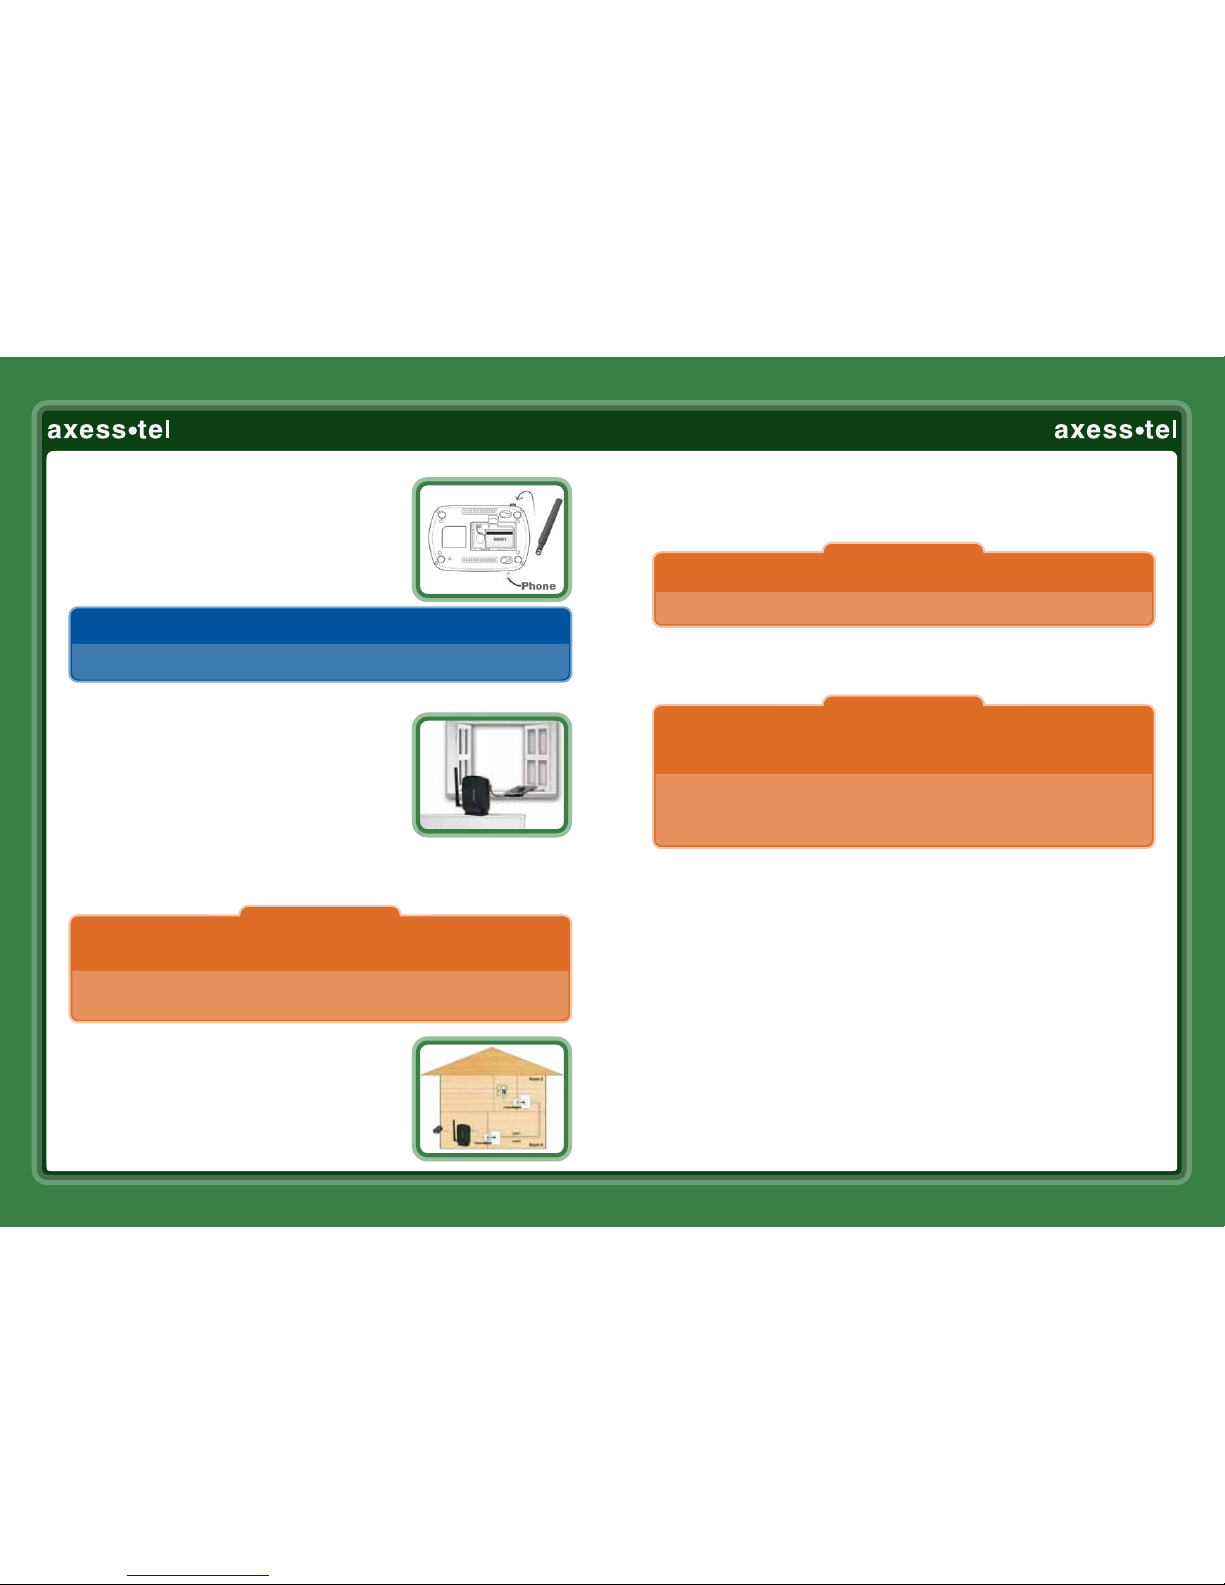
1. Connect the antenna and power supply
2. Install battery.
3. Connect the corded or cordless phone using
RJ-11 phone cable.
Note: Please connect the terminal to external power using the supplied power
adaptor before performing activation. Use wired or cordless telephones
compatible to FCC part 68 only. Non-compliant telephones may not work
properly.
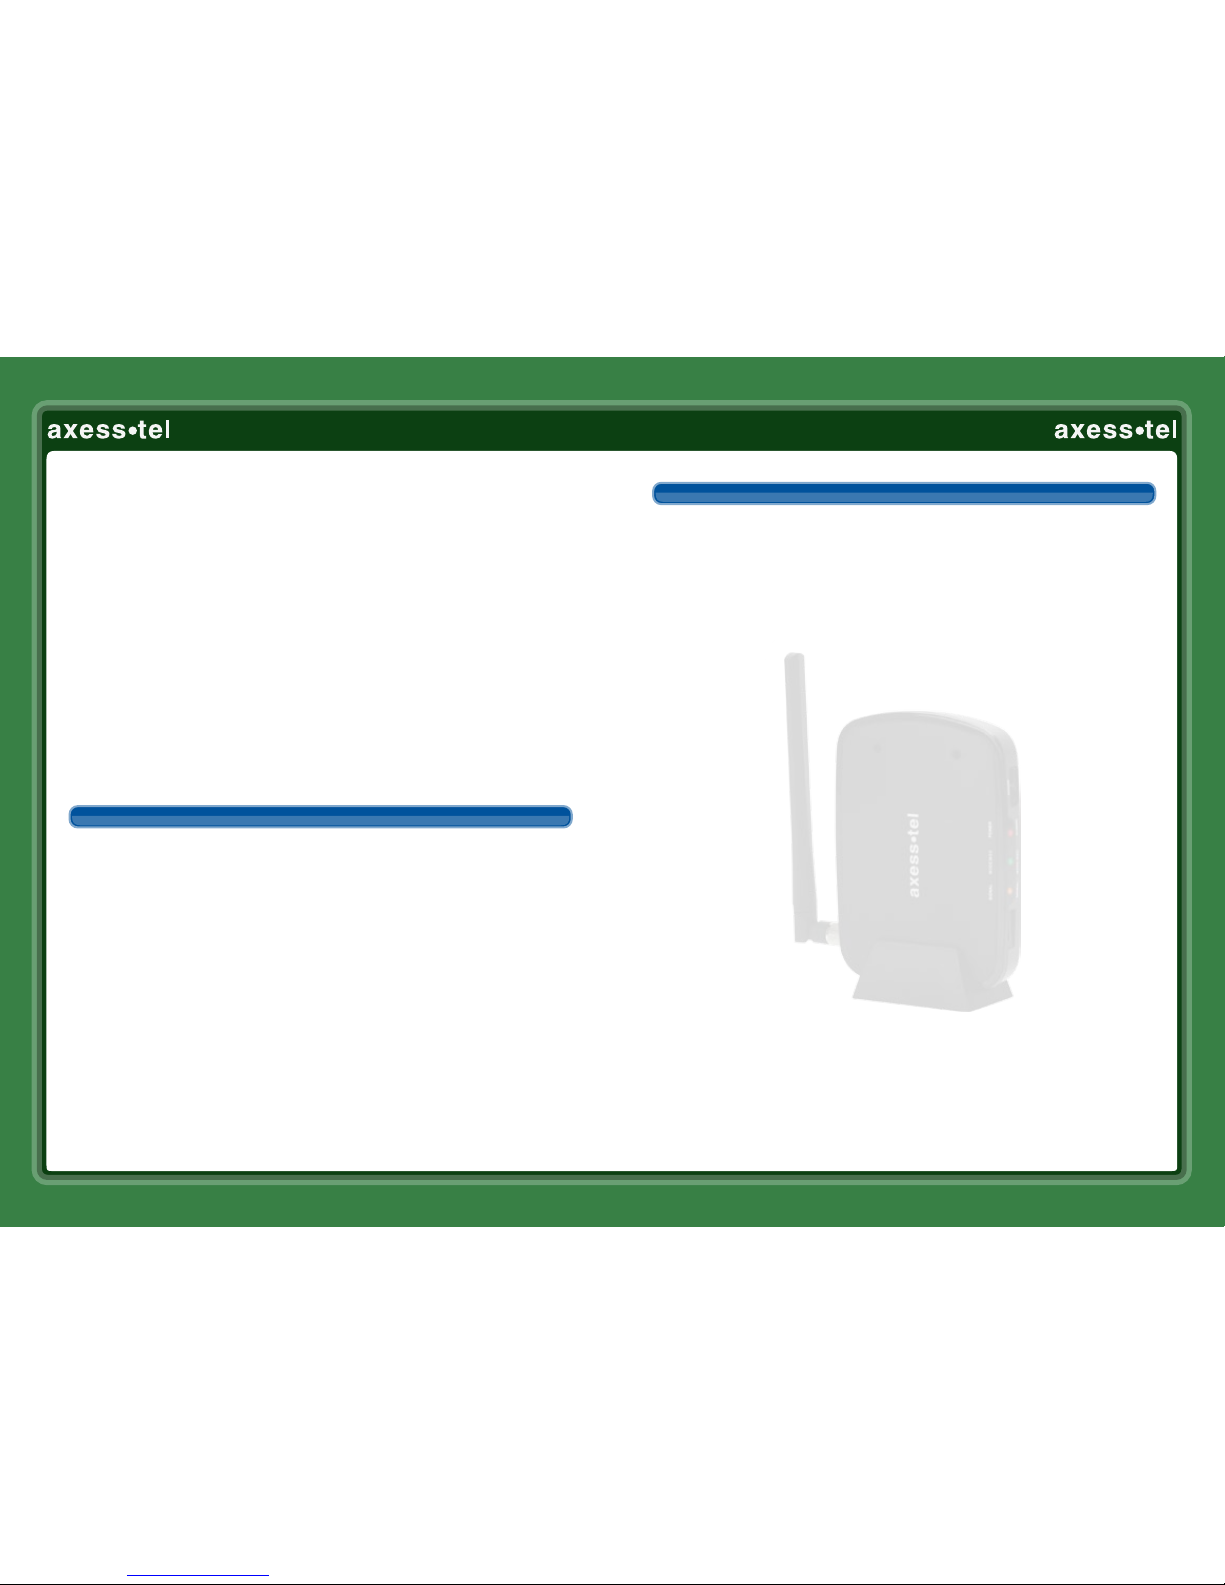
B. A-GPS for E911
Your terminal supports an AGPS feature to meet a FCC
911 mandate, which makes the location of the terminal
available to 911 operators in the case of emergency
situations. During the emergency call, all the LEDs on the
terminal will blink and your location can then be
determined by the 911 operator. In order to increase the
location accuracy, the external GPS antenna must be connected to the terminal and
positioned at a location that can receive satellite signals, such as outside the home
or building or near a window without obstructions to the sky.
C. Connecting the Terminal to home wiring.
The TX240G can be connected to a home wall phone jack
to generate a dial tone service throughout the entire
home and allow users to use phones from any other
home wall phone jack. Please verify that the home wall
D. Isolating inside home wiring
IMPORTANT NOTE
The accuracy of the GPS location will signicantly degrade if the GPS antenna is
not connected to properly or located indoor or at a place with obstruction to the
sky. In such cases, the emergency dispatcher will not be able to accurately locate
your position. The GPS signal and location accuracy can be dependent on many
factors and cannot be guaranteed.
1 2
IMPORTANT NOTE
DO NOT CONNECT YOUR TERMINAL TO A WALL JACK IF PSTN LINE IS STILL IN SERVICE.
Connecting the terminal to the live wall jack may interfere with the existing
phone service and damage the terminal.
IMPORTANT NOTE
To use your home phone wiring with your TX240G wireless terminal you rst
need to isolate your inside phone wiring from the lines that come into your
house from the phone company. This is a step you should not skip, even if you
think your phone line is already dead and disconnected. If you don't isolate your
inside phone wiring, and the phone company decides to send voltage across the
line you thought was inoperative, it could damage your telephone equipment
and the TX240G terminal inside your home.
Step One — Disconnect the outside phone line from your house wiring
To isolate your inside wiring, perform the following steps:
1. Find the box on the outside of your house where the telephone lines come into
your house from the telephone company lines in the street. This is called the
Network Interface Device or “NID” for short. It's sometimes also called the
demarcation point or“demarc” and is the point at which the outside wiring
from the street (owned by the telephone company) meets the wiring inside your
home (owned by you). When you open the box, which is usually locked or
fastened with a screw, you will have access to the side containing the wires
going into your home, but not the side with the lines coming from the street.
You may also see a ground wire coming out of the phone company's side
of the box. Leave this in place! This wire protects you against lightning strikes
and other high voltages that could come from the telephone wiring in the street,
so make sure it is never disconnected. Ground wires are usually colored green.
phone jacks do not have existing active telephone service and that they are not
powered. Wall jack tester can help check if the wiring is active.
Please check page 7~8 of user manual forimportant safety information.