4. Connect to the internet.
• If you’re using a LAN connection:
Using an Ethernet cable,
connect the Vital Select X8
to your LAN using the port
labeled LAN A.
• If you’re connecting through Wi-Fi:
— Swipe down from the top of the home screen.
When you see the status bar, swipe down again.
— Tap the Wi-Fi icon.
— Toggle “Wi-Fi On.”
— Select a secure Wi-Fi network.
5. Replace the back plate.
6. Log in and set your PIN. Use the credentials found in your Welcome email
and follow the prompts to create a new password and PIN.
7. Complete the training on your Vital Select X8 and start taking payments.
Vital®Select X8Setup
LAN A LAN B
IMPORTANT: For information on connecting to a secure Wi-Fi network,
visit www.vitalpos.com/wifisecurity.
IMPORTANT: If you have not already scheduled an appointment to set
up and configure your Vital Back Office, please call 800.224.9730.
Thank you for choosing Vital. You should have already received a Vital
Welcome email from no-reply@vitalpos.com providing a link to the Vital
Back Office and your user credentials. If you cannot find this email, check
your junk/spam folder or contact 800.224.9730.
Follow these steps below to set up your Vital Select X8:
1. Remove the back plate. Pull up and
toward you from the bottom of the X8.
2. Connect to power. Connect the X8 Power
Supply to the corresponding Vital Select
X8 power port and an AC power source.
3. If applicable, connect the Cash
Drawer. Plug the Cash Drawer
Connection Cable into the bottom of
the Cash Drawer and the Cash Drawer
Port into the back of the Vital Select X8.
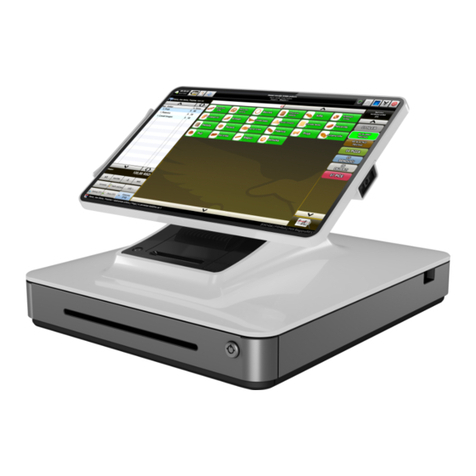
This package includes:
• Vital Select X8
• X8 Power Supply
• Paper Rolls
• Cash Drawer (if purchased)
• Cash Drawer Connection Cable
(if Cash Drawer purchased)
Back Plate
(Back)
Cash Drawer
(Bottom)
