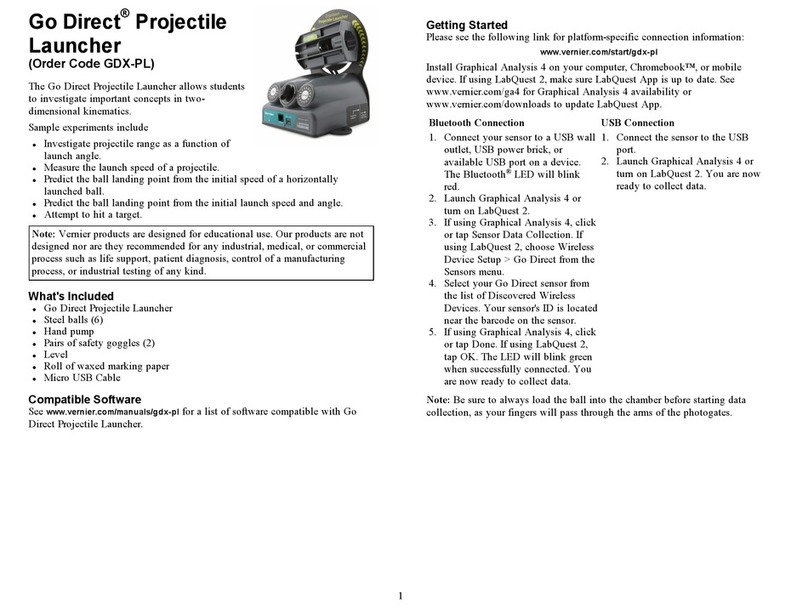
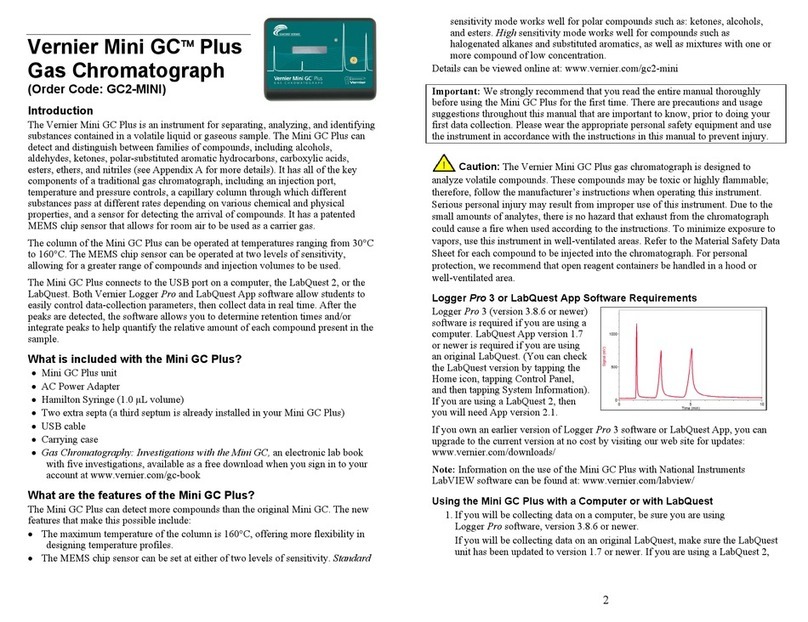
Vernier Drop Counter User manual

Vernier Drop Counter
(Order Code VDC-BTD)
The Vernier Drop Counter is used to perform
accurate, automatic titrations. This digital sensor
can be used in conjunction with a pH Sensor (or
other sensor) to accurately record drops of titrant
added (or mL of titrant, with calibration of drop
size) during a titration. Using the Vernier Drop
Counter, you can perform the following kinds of
experiments:
•Collect pH vs. volume data in a typical acid-
base titration.
•Collect conductivity vs. volume data using a
Vernier Conductivity Probe and the Vernier
Drop Counter (conductimetric titration).
•Collect ISE mV vs. volume data using a
Vernier ISE Sensor and the Vernier Drop
Counter.
•Collect mV vs. volume data using a third-party ORP or ISE with the Vernier
Electrode Amplifier and the Vernier Drop Counter.
•Collect temperature vs. volume data using a Stainless Steel Temperature Probe
(or monitor temperature simultaneously with pH).
NOTE: This product is to be used for educational purposes only. It is not
appropriate for industrial, medical, research, or commercial applications.
What is included with the Vernier Drop Counter?
•Vernier Drop Counter sensor
•A cable that connects the Vernier Drop
Counter to a DIG/SONIC channel of the
Vernier LabPro, Vernier LabQuest
TM
or CBL 2™ interface.
•Plastic reagent reservoir
•Plastic valve with a double stopcock
fitting (screws onto the base of the
reagent reservoir, with a gentle half
turn)
2
•Vernier Microstirrer, a stirrer that fits onto the
tip of your pH Sensor, and is used along with a
standard magnetic stirring plate
•Drop Counter sensor booklet (this booklet)
How the Vernier Drop Counter Works
The Vernier Drop Counter has an optical-path slot
that is 5.7 cm (2.25 in.) in length. When the infrared beam between the source and
detector is blocked by a drop of titrant, a digital signal is sent to the LabPro, and the
data collection program records a drop. The drops are then converted to volume units
(e.g., milliliters), using a calibration feature in our software.
Using the Drop Counter with a Computer, TI graphing calculator,
LabQuest, or PalmOS handheld
1. Install the required software.
•If using a computer, Logger Pro 3 version 3.5 or newer is the preferred choice.
If you do not have Logger Pro 3, install the Drop Counter software available at
www.vernier.com/labview/software/dropcounter.html.
•If using a TI graphing calculator, install either the EasyData or DataDrop
program available at www.vernier.com/calc/software.
•If using a Palm OS handheld, make sure you are running Data Pro version 1.15
or newer.
Computers (Logger Pro 3 or Drop Counter software)
Logger Pro 3 is the preferred computer software for use with the Vernier Drop
Counter. The separate Drop Counter application is necessary only if you are using a
Vernier LabPro, but are unable to upgrade from Logger Pro 2 to Logger Pro 3.
TI Graphing Calculators (DataDrop or EasyData program)
At www.vernier.com/calc/software/datadrop.html, there are links for downloading
versions of the DataDrop calculator program for each type of TI graphing calculator
with which you can perform experiments using a Drop Counter. Using TI Connect™
software or TI Connect along with a TI-GRAPH LINK cable, you will need to load
one of these programs onto your TI handheld.
Note: TI-83 Plus and TI 84 Plus users may prefer to load the application called VST
Apps that includes all the Vernier supplemental applications including DataDrop.
VST Apps can be downloaded from our website, www.vernier.com.
You may also use the EasyData App to operate the Drop Counter. You can
download EasyData from our web site at: www.vernier.com/easydata.html.
Palm OS Handhelds (Data Pro version 1.15 or newer)
When using the Drop Counter with a Palm OS handheld and LabPro, you will use
the general data-collection program, Vernier Data Pro. You may, however, need to
update your current version of Data Pro to version 1.15 or newer. To do that, go to
the Software Downloads section of our web site, www.vernier.com.

3
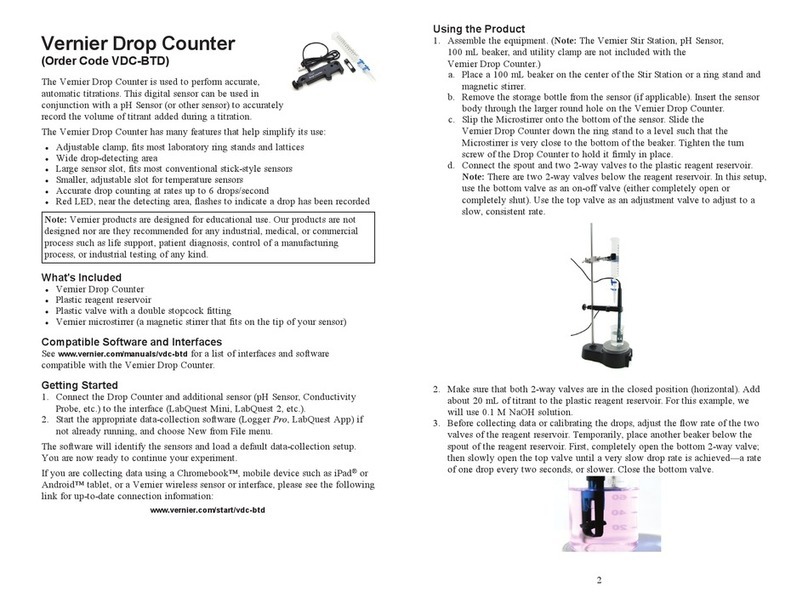
2. Assemble your equipment as shown here.
a. Note that the magnetic stirrer, ring stand,
100 mL beaker, and utility clamp are not
included with the Vernier Drop Counter. As an
alternative to using the magnetic stirrer,
students can use a stirring rod to stir manually
(we do not recommend this as a standard
method).
b. Arrange your magnetic stirrer on the base of
the ring stand. Place a 100 mL beaker on the
center of the stirrer.
c. Remove the pH storage bottle from the pH
Sensor. Insert the pH Sensor body through the
larger round hole on the Vernier Drop
Counter.
d. Slip the Microstirrer (shown here) onto the bottom
of the pH Sensor. Slide the Vernier Drop Counter
down the ring stand to a level such that the
Microstirrer is very close to the bottom of the
beaker. Tighten the turn screw of the Drop Counter
to hold it firmly in place.
e. Connect the pH Sensor to CH 1 of the interface, and connect the cable of
the Vernier Drop Counter to the DIG/SONIC 1 channel.
f. Connect the spout and two 2-way valves to the plastic reagent reservoir.
Note: There are two 2-way valves below the reagent reservoir. In these
directions, we will use the bottom valve as an on-off valve (either
completely open or completely shut). We will use the top valve as an
adjustment valve, to deliver drops at a slow, consistent rate.
3. Making sure that both 2-way valves are in the
closed position (horizontal), add about 20 mL of
titrant to the plastic reagent reservoir. For your
first run, we recommend using 0.1 M NaOH
solution.
4. Before collecting data, or calibrating the drops,
you should adjust the flow rate of the two
valves of the reagent reservoir. Temporarily,
place another beaker below the spout of the
reagent reservoir. First, completely open the
bottom 2-way valve; then slowly open the top
valve until a very slow drip rate is achieved–a
rate of one drop every two seconds, or slower.
Now close the bottom valve.
4
5. Add the solution to be titrated to the 100 mL beaker. For this run, we recommend
using about 5 mL of 0.1 M HCl solution. Add enough distilled water so the
solution level covers the bulb of the pH Sensor (about 35–40 mL). If you are
going to use a small magnetic stirring bar, or use a stirring rod, less distilled
water will be required (about 1–20 mL). Optional: Add two drops of
phenolphthalein indicator. Turn on the magnetic stirrer. Important: Minimizing
volumes of solution titrated, and maximizing stirring efficiency will
significantly improve your titration results!
6. Start up the appropriate program.
1
Computer (Using Logger Pro 3 software)
If using Logger Pro 3 software, open the file “Drop Counter-pH” from the Drop
Counter folder. The Drop Counter folder is located in the Probes & Sensors folder.
Computer (Using Drop Counter software)
If using the Drop Counter software on a computer, simply launch the program.
2
LabQuest
If using a LabQuest, start the LabQuest App. If your sensor does not auto-ID,
manually set up the sensor.
TI Graphing Calculator
If using a calculator, start the DataDrop program or the EasyData App.
Follow the steps below to use the DataDrop program.
a. Press the key on your calculator and select DataDrop.
b. Use the numbered options (1-6) to prepare to collect data. If you wish to use
the stored calibration for the Drop Counter, type 2to start collecting data.
Follow the steps below to use the EasyData program.
a. Press the key on your calculator and select EasyData.
b. Select 8(Other Sensors…) from the Setup menu.
c. Select 5(DIG/SONIC1) as the location of the Drop Counter. Select .
d. Select 2(Drop Counter) from the Select Sensor menu. Select .
Palm OS Handheld
If using a Palm OS handheld, you will need to perform a few setup steps.
a. Start Data Pro from the Applications screen.
b. Choose New from the Data Pro menu.
c. On the Main screen, tap .
d. Tap the DIG/SON 1: button and choose Drop Counter.
e. Tap to return to the Main screen.
1
DataPro will stop collecting data at 501 points, which is approximately 20 mL of
titrant added.
2
Logger Pro 3 will stop collecting data a 1500 points, which is approximately
60 mL of titrant added.
5
7. There are three different ways to handle the reporting of volume.
•Do not calibrate drop volume In this case, you can skip to Step 8, and begin
collecting data.
•Manually enter a drops/mL ratio value If you have done a previous
calibration with a particular apparatus, you can enter the drops/mL ratio.
•Perform an Automatic drops/mL calibration You can use a 10 mL graduated
cylinder and perform this calibration (see “To Calibrate Drop Volume” section
below for specific directions on this procedure).
8. Start data collection. Important: No data will be collected until the first drop
falls through the Drop Counter’s slot. Completely open the lower 2-way valve
(the upper valve should still be set to a slow drop rate). You will now see pH vs.
volume data being plotted on a graph. When you are satisfied that the titration has
proceeded past the equivalence point, stop the data collection, and shut off the
lower 2-way valve of the reagent reservoir. A plot of pH vs. volume will be
displayed for your data collection.
9. After collecting data, the program will allow you to view graphs of the first or
second derivative vs. volume—second derivative vs. volume is shown here. Data
from calculators and Palm OS handhelds can be imported into Logger Pro 3 for
further analysis or enhanced display or printing capability.
To Calibrate Drop Volume (in mL)
To calibrate drops so that the volume of titrant is recorded in units of milliliters,
choose Calibrate Drops in your program. The Automatic menu choice helps you to
measure the volume of an individual drop by counting the number of drops that pass
through the Vernier Drop Counter and dividing by the total volume of the drops. To
calibrate drops:
a. Place a 10 mL graduated cylinder below the slot of the Drop Counter.
b. Fill the reagent reservoir with titrant.
c. Choose to start the calibration routine in your program.
d. Open the bottom 2-way (on-off) valve to begin releasing drops from the
vessel through the Drop Counter (the top valve finely adjusts the drop rate).
e. Continue to release drops until there are between 9 and 10 mL of liquid in
the graduated cylinder.
f. Close the bottom valve on the vessel to stop the drops.
g. Type the precise volume of liquid in the graduated cylinder in the Volume
(mL) box of the Calibrate drops dialog box.
h. Choose to stop the calibration routine of your program.
i. The number of drops/mL will be displayed. It may be helpful to record the
value for that particular reagent reservoir for future titrations.
j. You can now continue with the titration (return to Step 8 above).
Alternately, the Manual choice allows you to input a previously determined value for
drops/mL. Simply enter the drops/mL value (e.g., 28.0), then continue with the
titration.
6
To Calibrate the pH Sensor (or a different sensor)
For many titrations, it will not be necessary to calibrate the pH Sensor. Without
calibration, you can expect pH readings to be accurate to ±0.25 pH units. Having pH
offset by this much will not affect the location of the equivalence-point volume. In
those cases where a very accurate calibration is required, however, our programs
allow you to do a two-point calibration, using two pH buffer solutions. The general
procedure, using a pH-4 buffer and a pH-7 buffer as an example, is:
First Calibration Point
a. In your program, choose to do a new calibration.
b. Rinse the pH Sensor with distilled water and place it into a buffer of pH 4.0.
c. Type 4in the edit box as the pH value. Swirl the sensor, wait until the
voltage stabilizes, then choose to keep the calibration point.
Second Calibration Point
d. Rinse the pH Sensor with distilled water, and place it into a buffer of pH
7.0.
e. Type 7in the edit box as the pH value for the second calibration point.
Swirl the sensor and wait until the voltage stabilizes. Click Keep, then click
OK. This completes the calibration.
f. You are now ready to collect data using the new calibration. Note: If you
want to use these new calibration values at a later time, you can simply
record the slope and intercept values found on the Manual Entry tab and
type them in when needed.
The Manual Entry tab allows you to enter the Slope and Intercept values determined
during a previous two-point calibration.

7
Typical Titration Data
8
Helpful Tips for Using the Vernier Drop Counter
•It is important to remind students that a slow drip rate (two seconds per drop or
slower) is important. This provides enough time for the drop to be added to the
solution and thoroughly mixed, and the pH (or other sensor) to respond. When
passing through the equivalence point, without adequate stirring after addition
of drops of titrant, you may see a resulting delay or lag. Even if this lag is barely
noticeable in the pH vs. volume graph, it will be more apparent in the follow-up
first or second derivative graphs. Following some or all of these tips will reduce
or eliminate this error.
•It is also helpful if the amount of titrant in the beaker is minimized. Less liquid
means faster mixing. This is why we recommend using a 100 mL beaker instead
of a 250 mL beaker whenever possible.
•Using the Vernier Microstirrer helps deliver solution directly to the pH bulb,
increasing response to a fresh drop.
•Add only as much distilled water to the solution being titrated as is necessary to
cover the bulb of the pH Sensor (or other electrode). If you are using a 100 mL
beaker and a small stirring bar, you may need as little as 15-20 mL of solution.
If you use the Vernier Microstirrer, you will need more solution to cover the
bulb (35–40 mL), but you may get better mixing.
•Using the plastic reagent reservoir that is supplied with the Drop Counter,
instead of a standard buret, provides a wider diameter and less change in the
hydrostatic pressure per unit volume of titrant above the 2-way valve.
•Another advantage of using the plastic reagent reservoir is the pair of 2-way
valves, using one for drop rate adjustment, and the other as an on-off valve. This
eliminates the need to do a fine adjust during the initial readings, and also
allows the user to set a consistent rate, along with a calibration of drops/mL.
•If you want to allow for more thorough mixing when you are near the
equivalence point, you can also manually release drops at a slower rate for that
region of data.
Using other Sensors with Drop Counter
Vernier Drop Counter can be used with other Vernier sensors such as our Ion-
Selective Electrodes, Conductivity Probe, or older Vernier pH Sensors that do not
auto-ID. It can accommodate third-party electrodes when used in conjunction with
our Electrode Amplifier. It can also take simultaneous pH and temperature readings,
as shown here. To use any of these other sensors, use the following instructions.

9
Logger Pro 3 (computers)
1. Set up the equipment and start Logger Pro 3.
2. Open the Drop Counter folder located in the Probes
& Sensors folder. If one of the file names seems
appropriate, open it and proceed normally. If none
of these file names seem appropriate, open the file
named “Drop Counter-pH” and proceed with
Step 3.
3. Choose Show Sensors from the Experiment menu.
4. Click on the picture of the pH Sensor in Channel 1 and select Choose Sensor
from the pop-up menu.
5. Choose the sensor you will be using from the drop-down list.
6. Click on the picture of your sensor in Channel 1 and select Calibrate from the
pop-up menu.
7. Calibrate the sensor using one of these methods.
•If you wish to perform a new calibration, proceed with the calibration
instructions outlined earlier in this manual.
•If you wish to manually enter a calibration, choose Equation/Options from the
Live Calibration pull-down list. Enter the appropriate slope and intercept from
a previous calibration or from the chart below.
DataDrop (TI graphing calculators) and Data Pro (Palm OS handhelds)
1. Connect a Vernier auto-ID sensor, then press the Clear button on a TI graphing
calculator, or choose New from the Data Pro menu with a Palm OS handheld. In
both cases, the sensor you have connected should automatically be identified, and
a calibration loaded.
2. If you use a non-auto-ID sensor, or if the calibration that is loaded by default is
not the unit you wish to use, another option is to manually select the new sensor,
and/or manually enter a new calibration value. To do this, go to Setup in the
DataDrop or Data Pro programs, and choose a new sensor, or choose to manually
enter a new calibration (you can enter a slope and intercept value for the sensor
you are using from the chart below).
Slope Intercept
Conductivity (0–200 µS/cm) 65.70 0
Conductivity (0–2000 µS/cm) 847.2 0
Conductivity (0–20000 µS/cm) 7819 0
ISE (mV) 137.55 –168.23
Electrode Amplifier (mV) 223.21 –390.63
pH Amplifier (mV) 223.21 –390.63
pH Amplifier (pH units) –3.838 13.72
10
LabQuest
1. Set up the equipment and start LabQuest App.
2. If your sensor does not auto-ID, choose Sensor Setup from the Sensors menu.
3. Open the drop down menu next to the Channel in which the sensor is connected.
Select the sensor you are using from the list.
4. Select OK to continue.
Vernier Drop Counter Specifications
•Detector rise time: <70 ns
•Detector fall time: <70 ns
•Power requirements: 55 mA at 5 VDC
•Infrared source: Peak at 890 nm
Limited Warranty
Vernier warrants this product to be free from defects in materials and workmanship
for a period of five years from the date of shipment to the customer. This warranty
does not cover damage to the product caused by abuse or improper use.

11
12
Vernier Software & Technology
13979 S.W. Millikan Way •Beaverton, OR 97005-2886
Toll Free (888) 837-6437 •(503) 277-2299 •FAX (503) 277-2440
info@vernier.com •www.vernier.com
Rev. 10/2/07
Logger Pro, Logger Lite, Vernier LabQuest, Vernier LabPro, Go!
Link, Vernier EasyLink and other marks shown are our
trademarks or registered trademarks in the United States.
CBL 2 and CBL, TI-GRAPH LINK, and TI Connect are trademarks of Texas Instruments.
All other marks not owned by us that appear herein are the property of their respective owners, who may or may not be
affiliated with, connected to, or sponsored by us.
Printed on recycled paper.
Table of contents
Other Vernier Laboratory Equipment manuals

Vernier
Vernier Red Tide USB650 User manual

Vernier
Vernier STIR User manual

Vernier
Vernier CL-BTA User manual

Vernier
Vernier Drop Counter User manual

Vernier
Vernier Mini GC Plus User manual

Vernier
Vernier GC-MINI User manual

Vernier
Vernier Go Direct Sound User manual

Vernier
Vernier Go Direct Sound User manual
Popular Laboratory Equipment manuals by other brands

Thermo Scientific
Thermo Scientific KingFisher Flex Service manual

Bruker
Bruker Ascend 600'89 user manual

VWR
VWR Mega Star 600 instruction manual

HTL
HTL Discovery Pro quick start guide

Knauer
Knauer Azura Assistant ASM 2.1L user manual

Beckman Coulter
Beckman Coulter AutoMate 2500 series Instructions for use